
A drill press is one of the most valuable tools in any workshop. Whether you’re a woodworker, metalworker, or DIY enthusiast, it delivers unmatched precision and consistency. But even the best drill press can produce off-center holes, uneven depths, or vibrations if not set up correctly. That’s why understanding how to set up a drill press for perfect accuracy is essential before you begin any serious project.
Unlike a handheld drill, a drill press depends on proper calibration and setup to perform at its best. Everything — from table alignment to chuck seating — affects accuracy. A small error in setup can cause the bit to wander or create oversized holes.
According to FineWoodworking, even a 1-degree misalignment between the table and spindle can ruin precision drilling. Thankfully, setting up your drill press isn’t difficult.
With the right steps and a few adjustments, you can transform it into a high-precision machine capable of perfectly straight holes every time.
Understanding the Importance of Proper Setup
A well-set-up drill press is about more than just convenience — it’s about control, consistency, and accuracy. When your drill press is properly adjusted, you reduce bit wander, prevent uneven holes, and ensure repeatable drilling depths.
Accuracy starts from the bottom up. The base provides stability, the table offers support, and the spindle controls precision. If any one of these is misaligned, even slightly, it affects the final result.
According to Popular Mechanics, many accuracy problems arise from simple oversights — like uneven table height or a misaligned chuck. A good setup eliminates these issues from the start, making your work cleaner and more professional.
Taking the time to properly calibrate your drill press means fewer mistakes, smoother finishes, and longer tool life. It’s the foundation for every project that demands precision.
Assembling and Positioning the Drill Press
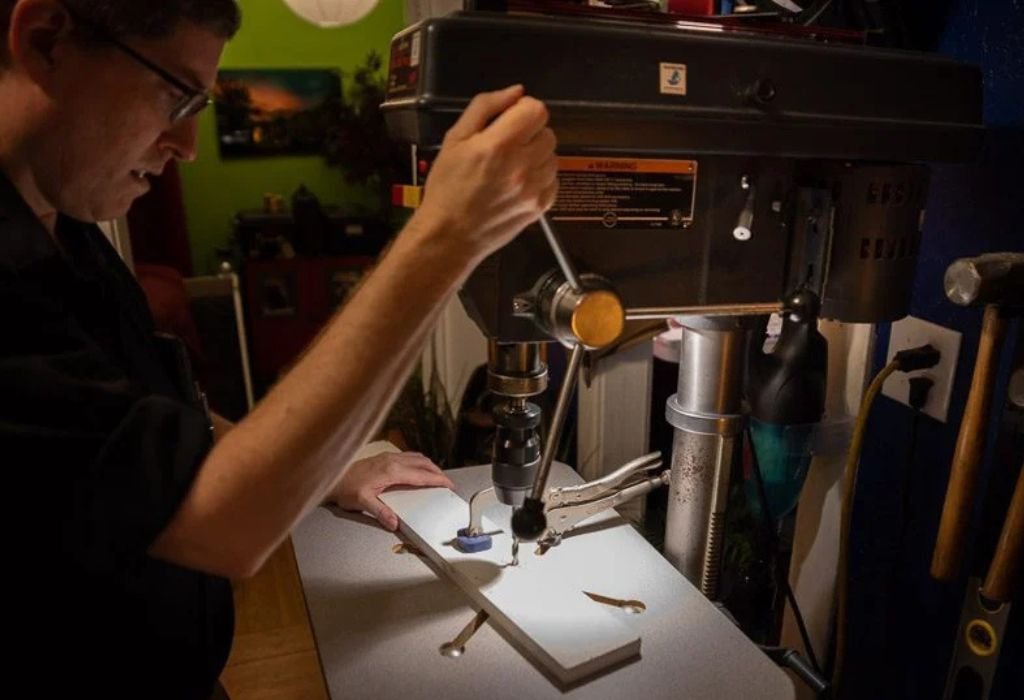
The first step in achieving perfect accuracy is assembling your drill press correctly and placing it in a suitable location. Start by selecting a flat, level surface — an uneven floor can introduce vibration that affects accuracy.
If your drill press is a floor model, bolt it to the ground using anchor bolts. For benchtop versions, secure it firmly to a sturdy workbench. This minimizes movement when drilling through hard materials.
Next, check that all major components — base, column, table, and head — are securely fastened. Tighten bolts evenly without over-torquing. When everything is stable, adjust the table height and angle to match your most common drilling positions.
Good positioning also means accessibility. Ensure there’s enough space around the press for large workpieces and proper lighting. Stability and visibility are the cornerstones of accurate work.
Leveling and Aligning the Table
Your table alignment directly determines whether your holes are perfectly perpendicular or slightly angled. To set it up accurately, use a machinist’s square or digital angle gauge.
Place the square vertically on the table with one edge against the drill bit. Lower the quill until the bit nearly touches the base of the square. If there’s any gap, adjust the table tilt mechanism until the bit aligns perfectly.
Many drill presses include a tilt scale for convenience, but it’s rarely precise. Always verify alignment manually for best results. If your table has a rotation feature, ensure it’s centered and locked securely after adjustment.
According to Family Handyman, even slight tilt errors can cause your bit to drift, especially on deep holes. Once the table is aligned, mark a small reference line on the column — this helps you realign quickly after making adjustments later.
Do I need to check alignment every time?
Only after heavy drilling or adjusting the table tilt.
Can I use a carpenter’s square instead of a machinist’s square?
Yes, for woodworking, it works fine; machinist squares are better for metal.
What’s the best angle for the table?
For general use, keep it at 90° unless angled drilling is required.
Should I use shims to level the table?
Only if the built-in tilt mechanism can’t adjust far enough.
What if my table sags under weight?
Support long workpieces with an auxiliary stand or adjustable jack.
Checking and Seating the Chuck
Your chuck is the key to holding bits securely and spinning them accurately. Even a slight misalignment here can lead to noticeable wobble.
Unplug the machine and lower the quill. Hold the chuck firmly and check for side-to-side play. If it feels loose, remove it completely and inspect both the chuck taper and spindle taper. Clean them with a lint-free cloth to remove dust or oil.
To reseat the chuck, push it firmly onto the spindle taper and apply upward pressure. Use the friction method: place a wooden block under the chuck, lower the spindle onto it, and press gently. This ensures a perfect taper fit without using tools.
Spin the chuck by hand — it should rotate smoothly without resistance. If you notice wobble, re-clean and reseat. According to FineWoodworking, 80% of chuck wobble problems are caused by dirty or improperly seated tapers.
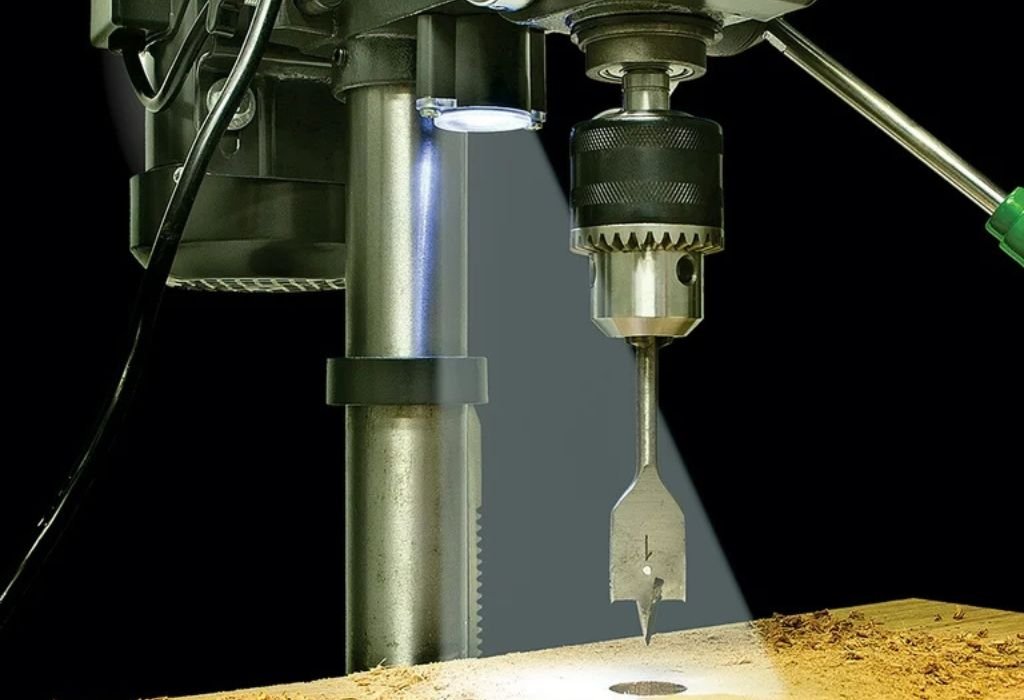
Aligning the Drill Bit to the Table
Once your table and chuck are properly adjusted, it’s time to check whether your drill bit is perpendicular to the table surface.
Insert a straight bit into the chuck and tighten it evenly. Lower the bit until it almost touches the table. Use a small mirror or square to see if the bit aligns vertically. If it appears off-center, loosen the table bolts slightly and readjust the angle until it’s perfectly vertical.
This alignment ensures every hole you drill goes straight down without veering sideways. For precise projects like joinery or metal fabrication, even a one-degree error can cause visible imperfections.
Take your time during this step — alignment is the heart of precision drilling.
Adjusting Belt Tension and Spindle Speed
Belt tension and spindle speed affect drilling smoothness and accuracy. Too much tension strains the bearings, while too little causes slippage and inconsistent holes.
To adjust, unplug the drill press and open the pulley cover. Press on the belt midway between pulleys; there should be about ½ inch of deflection. Adjust the motor position to increase or decrease tension accordingly, then tighten the lock bolts.
Next, set your spindle speed. Use slower speeds for large bits or metal and faster speeds for small bits or wood. Refer to your drill press’s speed chart for recommended settings.
According to Popular Mechanics, correct belt tension not only improves accuracy but also extends bearing life significantly. Smooth, stable rotation is essential for clean drilling performance.
Can I over-tighten the belt?
Yes — excessive tension can damage bearings over time.
Should I change speed often?
Yes, matching speed to material prevents heat buildup.
What happens if the belt slips?
Holes will be inconsistent in depth and size — retension immediately.
Is high speed better for accuracy?
No, moderate speed ensures smoother cuts and longer bit life.
Do I need to oil the belt?
Never — belts should remain dry to maintain friction.
Testing Runout and Accuracy
Once everything is aligned, it’s time to test the drill press for accuracy. Runout refers to how much the drill bit deviates from true rotation.
Insert a straight bit and bring it close to a fixed reference point (like a pencil held against the table). Spin the chuck by hand. If the tip moves in a small circle instead of staying in place, you have runout.
To measure precisely, use a dial indicator placed against the bit near the tip. The reading should be under 0.003 inches for good accuracy. If it’s higher, reseat the chuck or replace a bent bit.
According to FineWoodworking, most runout issues are caused by dirty tapers, not defective machines. Testing regularly keeps your setup precise and dependable.
Setting Depth Stop and Workpiece Support
A depth stop lets you drill consistent holes — crucial for joinery, countersinking, or repetitive work. Adjust the stop by lowering the quill to your desired depth and tightening the lock nuts on the depth rod.
For large or heavy workpieces, use clamps or a vise to secure them on the table. Avoid holding materials by hand, as even slight shifts can ruin accuracy or cause injury.
For long boards, add auxiliary supports or roller stands. Stability at every point ensures uniform drilling results.
This setup is especially important for production-style work or when drilling a series of holes in identical parts.
Maintenance for Long-Term Accuracy
Even a perfectly set up drill press loses precision over time without proper care. Regular maintenance keeps it performing like new.
Clean the table, chuck, and column after every session to remove dust and debris. Lubricate moving parts like the quill and feed handles with light machine oil, but keep the chuck taper dry.
Inspect the belts monthly for wear or cracks. Check all bolts for tightness and reverify table alignment every few months. According to Family Handyman, minor tune-ups every 3–4 months can extend your drill press life by years and maintain perfect accuracy.
How often should I lubricate the spindle?
Every few weeks with a drop of light oil.
Can dust affect accuracy?
Yes, buildup interferes with motion and causes friction.
Should I leave bits in the chuck after use?
No, remove them to avoid jaw tension deformation.
Do I need to cover the press?
Yes, especially in humid areas to prevent rust.
What’s the lifespan of a well-maintained drill press?
Over 15 years with consistent care and proper use.
Conclusion
Setting up your drill press for perfect accuracy may seem like a detailed process, but it’s worth every minute. Proper alignment, clean components, and correct speed settings guarantee precision, consistency, and safety in every hole you drill.
By following these steps — from leveling the table to testing runout — you’ll transform your drill press into a precision instrument. Small adjustments can make a big difference, especially in fine woodworking or metal fabrication projects.
As Popular Mechanics notes, the true mark of a skilled craftsman isn’t the tools they own but how well they maintain and calibrate them. A properly set-up drill press is proof of that principle — producing cleaner holes, smoother finishes, and more professional results every time.
With a little patience and routine maintenance, your drill press will stay accurate for years — helping you create flawless projects, one perfect hole at a time.

I’m John F. Nicholas, the founder, lead writer, and drill enthusiast behind 101drill.com. With years of hands-on experience in power tools and DIY projects, I created this platform to share practical knowledge, expert tips, and real-world insights to help others master the art of drilling.