
A bathroom renovation seemed easy until someone tried installing a shower fixture through a glass mosaic tile. Every attempt with a regular drill caused chips to pop from the surface before the hole even formed.
Learning how to drill through glass mosaic tile safely became the turning point where frustration changed into confidence.
Glass mosaic tiles are thinner and more fragile than standard ceramic or porcelain, which makes pressure and heat much more dangerous.
Most people push too hard, drill too fast, or skip cooling, causing the tile to crack instantly. With the right technique, slow drilling, and proper support, the process becomes smooth and safe.
Whether someone needs to install a hook, run plumbing, or mount bathroom accessories, the steps remain the same.
A Dremel provides gentle control that protects delicate glass tiles better than a standard power drill. This guide explains every stage clearly so anyone can drill through glass mosaic tile without damaging the surface.
Why Glass Mosaic Tiles Require Special Drilling Technique
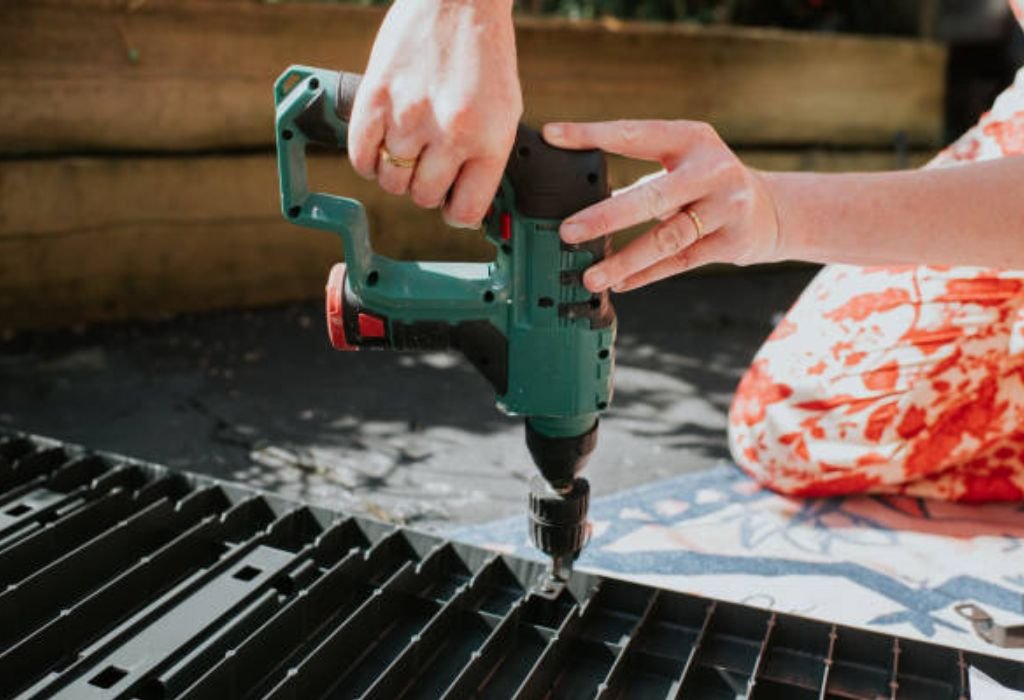
Glass mosaic tiles are thin and brittle, which makes them extremely sensitive to vibration and pressure. The small tile pieces are attached to a mesh backing, so drilling affects multiple contact points at once. A single slip can crack the tile instead of creating a clean opening.
Unlike large tiles, mosaic pieces have less surface area to distribute stress. Drilling must be slower and more controlled to prevent chipping at the edges. Even small mistakes can damage the surrounding tiles.
Glass reacts differently from ceramic because it cannot absorb heat. Without constant cooling, temperature changes can create sudden fractures. Understanding these challenges helps prevent damage during drilling.
Tools and Materials Needed for Drilling Mosaic Tile
A Dremel rotary tool with variable speed control provides safe and precise grinding. Fixed-speed drills rotate too fast and create heat that glass cannot handle. A flexible shaft attachment improves accuracy in tight spaces.
Diamond-tipped drill bits are required because they grind the tile instead of cutting through it. Small bits allow controlled drilling without applying too much pressure. Using the right size prevents excessive stress on fragile tiles.
Water is the most important cooling method during drilling. A spray bottle, wet sponge, or clay dam keeps the drilling area wet. Safety gear like goggles, gloves, and a dust mask protects from fine shards.
Choosing the Right Diamond Bits for Mosaic Tile
Diamond core bits create clean, circular openings without cracking the tile. Start at a slight angle to prevent slipping on the smooth surface. Once a groove forms, the bit can be leveled for steady drilling.
Diamond burr bits help widen or smooth the hole after the initial cut. Their rounded shape allows gentle grinding without chipping the tile edges. Low speed and light pressure maintain stability.
Avoid metal or carbide bits because they apply cutting force instead of abrasion. Glass mosaic tiles cannot tolerate sharp pressure and may break instantly. Choosing the correct bit is essential for success.
Preparing the Tile Surface Before Drilling
Clean the tile using mild soap or alcohol to remove dust and residue. Dry the surface completely before applying tape. Smooth glass needs traction for the bit to stay in place.
Apply masking tape over the drilling point to prevent slipping. The tape also reduces chipping during the first contact. On uneven mosaic surfaces, use two overlapping strips for stability.
Support the tile firmly to avoid movement. If the tile is already installed, use padding behind the drilling area if possible. Never drill without stable support because vibration can crack the tile.
Safety Precautions Before Starting the Process
Wear protective eyewear to shield from sharp fragments that may fly during drilling. Gloves prevent cuts when handling broken tile edges. A dust mask helps avoid fine particles created during grinding.
Keep the workspace free from distractions to maintain steady control. Do not drill near tile edges because those areas are weaker. Make sure the tile is fully supported before starting.
Never apply force to speed up drilling. Glass responds best to gentle and slow grinding. If you hear cracking sounds, stop immediately and cool the area.
Step by Step Method to Drill Through Glass Mosaic Tile
Mark the drilling point and cover it with masking tape. Start the Dremel at the lowest speed and hold it at a slight angle. Once a shallow groove forms, level the tool and continue slowly.
Let the Dremel grind naturally instead of pushing downward. Keep the area wet to prevent heat buildup and stress. Move in tiny circular motions if the bit needs stability.
Reduce pressure as the bit reaches breakthrough. The tile is most fragile during the final moment. Lift the tool straight up once the hole is complete.
Cooling Techniques to Prevent Cracks and Chips
Continuous cooling is the key to safe drilling. Drip water over the drilling point using a spray bottle. A wet sponge placed behind the tile keeps moisture flowing.
A clay dam can hold a pool of water around the drilling area. This keeps the bit submerged and reduces friction. Never drill while the tile is dry.
Avoid using oil or lubricants because they do not cool effectively. Water remains the safest coolant for glass drilling. Stop and cool the tile if it becomes warm.
How to Control Hole Size and Avoid Tile Breakage
Start with a small bit to create the initial opening. Increasing size gradually prevents sudden stress. Using larger bits immediately can cause cracking.
Use diamond burr bits to widen or smooth the hole. Move slowly around the edge using gentle motions. Keep the surface wet throughout the process.
Check progress frequently to avoid removing too much material. If chips appear, smooth them gently before continuing. Patience ensures a clean finish.
Common Mistakes and How to Prevent Damage
Applying pressure is the most common mistake when drilling glass mosaic tile. Let the bit grind slowly without forcing it downward. Patience prevents cracks and surface damage.
Drilling at high speed creates heat quickly. Always use the lowest speed setting for safety. Fast rotation increases risk instead of improving results.
Skipping cooling is another frequent error. If the tile becomes warm, stop immediately and cool it. Proper cooling protects the tile from stress.
Troubleshooting Cracks, Chips, and Slips
Small chips occur when pressure increases during breakthrough. Reduce speed near the end and lighten contact. Smooth edges later using a fine burr bit.
Slipping happens when the bit lacks grip on polished surfaces. Masking tape or starting at an angle prevents wandering. Once a groove forms, drilling becomes stable.
Stress cracks appear when heat builds too quickly. Stop and cool the tile before continuing. If cracks spread, do not continue drilling.
Cleaning and Finishing the Drilled Tile Hole
Rinse the tile under clean water to remove fine dust. Avoid rubbing while dry to prevent scratches. Pat gently with a soft cloth once clean.
Smooth rough edges using a fine diamond burr bit. Keep the area wet during finishing for a polished result. This step improves both appearance and safety.
Allow the tile to dry completely before installation or use. Inspect the hole for chips or uneven spots. Proper finishing ensures a clean and professional outcome.
When Not to Drill Mosaic Tile and Alternatives
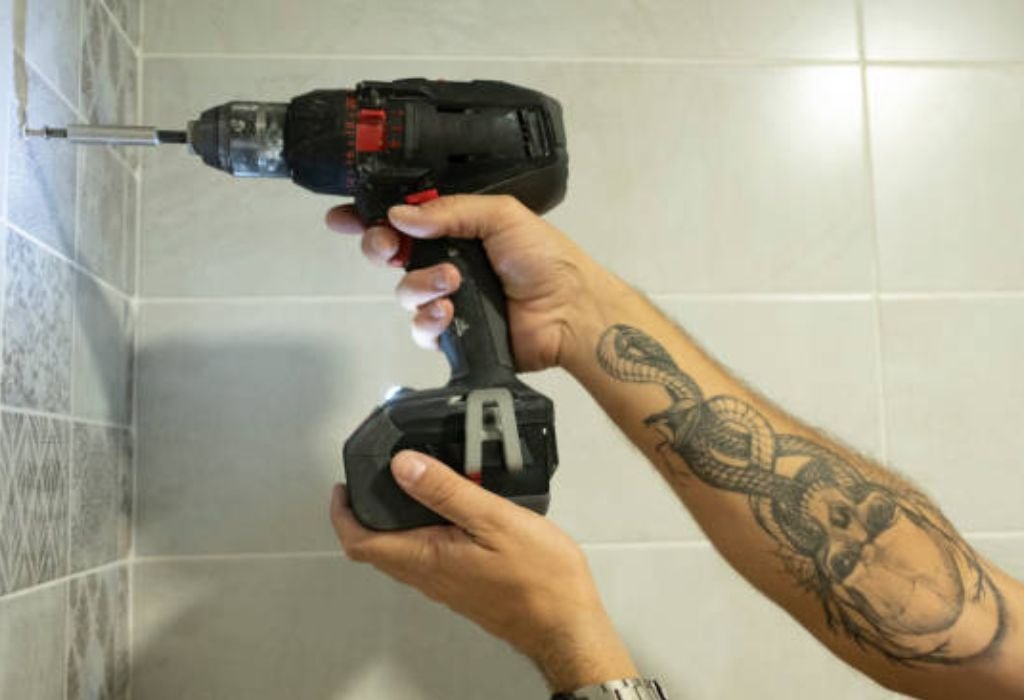
Do not drill tempered or specialty glass tiles because they are designed to shatter under stress. These materials cannot be drilled after manufacturing. Attempting it will always fail.
Avoid drilling fragile or damaged tiles that already show cracks. Weak points may spread instantly during drilling. Replacing the tile is safer than risking breakage.
Consider using tile with pre-cut holes or switching to acrylic in high-risk areas. Acrylic provides similar appearance with easier handling. Choosing the right material prevents frustration.
Care and Maintenance of Diamond Bits
Rinse diamond bits under clean water after use. A soft brush helps remove fine tile particles. Allow the bits to dry fully before storing.
Avoid applying heavy pressure because it wears down the coating faster. Let the bit grind naturally at a slow speed. Proper technique extends tool life.
Store bits in a dry container away from moisture. Keep sizes organized for quick access. Good maintenance ensures consistent performance.
Quick Answers to Glass Mosaic Tile Drilling Issues
Can I drill mosaic tile with a regular drill?
A regular drill rotates too fast and increases cracking risk, while a Dremel allows safer control.
Do I need special bits for mosaic tile?
Yes, only diamond-tipped bits work because they grind instead of cutting.
What speed should I use?
Always use the lowest speed setting to prevent heat and stress.
Can I drill mosaic tile without water?
No, drilling dry tile causes overheating and leads to cracks.
How do I stop the bit from slipping?
Apply masking tape and start at a slight angle until a groove forms.
Why did the tile crack near the end?
Breakthrough is the most fragile stage, so reduce pressure before finishing.
Can I widen the hole later?
Yes, use fine diamond burr bits and keep the tile wet.
Is it safe to drill installed mosaic tile?
Yes, if supported securely and cooled continuously.
How do I know if my tile is tempered?
Tempered tile may show a dotted pattern under polarized lenses and cannot be drilled.
What should I do if small chips appear?
Smooth the edges gently using a fine burr bit while cooling the surface.
Conclusion
Drilling through glass mosaic tile becomes safe and manageable when the right tools and techniques are used. Working slowly, applying minimal pressure, and keeping the surface cool are the most important steps to prevent cracks and chips.
With proper preparation and patience, even beginners can create clean holes for fixtures, hooks, and home projects.
Choosing the correct diamond bits, supporting the tile properly, and avoiding high-risk materials greatly increases success.
Knowing how to troubleshoot common issues and finish the hole correctly ensures a professional final result. With this guide, anyone can drill through glass mosaic tile confidently and safely.

I’m John F. Nicholas, the founder, lead writer, and drill enthusiast behind 101drill.com. With years of hands-on experience in power tools and DIY projects, I created this platform to share practical knowledge, expert tips, and real-world insights to help others master the art of drilling.