
Installing a new hook or fixture on a glass backsplash often starts with excitement. The surface looks sleek and modern until the moment a drill comes near it. Suddenly the fear of cracking expensive glass replaces the confidence you had a few minutes earlier.
Imagine standing in the kitchen with tools ready and everything measured perfectly. The drill touches the glossy surface and slips sideways without leaving a mark. That tiny skid is enough to make anyone step back and rethink the entire plan.
Most people assume drilling through glass should be quick and simple. They try to push a little harder hoping the bit will finally catch. Instead the pressure creates small chips that spread faster than expected.
Then there are those who approach the process calmly and get flawless results. They start slowly keep the surface cool and let the drill bit grind gently into the glass. The hole forms clean and smooth as if the backsplash was never at risk.
This guide is for anyone who wants that same smooth stress free experience. You will learn how to prepare the glass start drilling without slipping and control pressure correctly. Every step focuses on protecting the backsplash while creating a precise opening.
Understanding the Nature of Glass Backsplash Panels
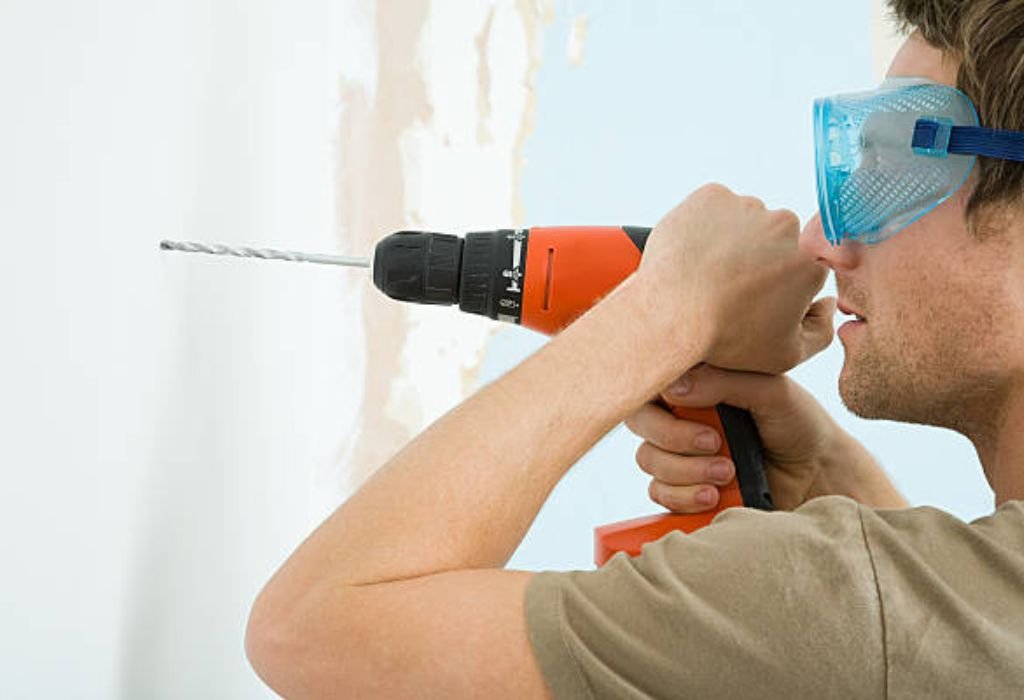
Glass backsplashes are stylish but more delicate than they appear. The glossy surface does not let the drill bit bite immediately which creates slipping. This is why drilling requires patience instead of force.
Backsplash panels are often thin which increases sensitivity. Even light pressure can create tiny fractures that spread across the surface. Knowing how the material reacts helps reduce mistakes.
Heat builds faster in vertical installations. Without cooling the surface expands while the wall behind stays cool. This imbalance leads to sudden cracking near the drilling area.
Many homeowners assume drilling through backsplash is similar to tile. Glass behaves differently and needs slower grinding rather than cutting. Understanding these differences makes the process safer.
Tools and Protective Gear You Will Need
A variable speed drill gives better control during drilling. Slow rotation prevents heat and lets the bit grind gradually. Fast drilling increases cracking risk.
Diamond coated bits are the best choice for glass backsplashes. They create smooth openings without shocking the surface. Spear point bits help prevent wandering during the start.
Painter’s tape helps the drill bit grip the surface. The tape also reduces chipped edges around the hole. It gives stability during the first contact.
Water is necessary for cooling while drilling. A spray bottle or slow drip keeps the area moist. Cooling helps prevent thermal stress on the glass.
Safety glasses and gloves should always be used. Tiny fragments may break away when drilling through the final layer. Protection ensures a safe working environment.
Preparing the Surface Before Drilling Begins
Clean the backsplash to remove any grease or dust. A clean surface allows tape to adhere firmly. Dirt increases slipping and makes drilling harder.
Apply two layers of tape where the hole will be made. This provides friction and protects the glossy surface. Mark the exact spot with a fine marker.
Check what is behind the backsplash before drilling. There may be electrical wires or plumbing lines. Avoid drilling blindly to prevent damage.
Support the drill with both hands for control. Stability helps maintain alignment during the starting phase. Movement can cause scratching or cracking.
Make sure the backsplash is firmly attached to the wall. Loose panels vibrate under pressure. Stable installation reduces drilling stress.
Can I drill without using tape on the backsplash?
Tape prevents slipping and helps protect the surface so it should always be used.
Should I clean the area before marking the drill point?
Yes cleaning improves tape adhesion and drilling accuracy.
Do I need to remove old adhesive behind the glass?
Not unless it affects the drilling spot or prevents stability.
Can I drill through painted glass backsplashes?
Yes but drilling must be slow because paint can chip more easily.
How do I find what is behind the wall?
Use a stud finder or check installation plans before drilling.
Starting the Hole Without Slipping
Begin drilling at the slowest possible speed. High rotation makes the bit slide across the glass. Slow grinding forms a shallow indentation.
Hold the drill slightly angled for the first few seconds. This helps the bit catch the surface gently. Straighten slowly once the groove is formed.
Do not press down during the starting stage. Allow the bit to skim until it gains traction. Pushing creates stress that leads to cracking.
Use both hands for balance and control. One hand guides direction and the other stabilizes speed. A steady grip prevents vibration.
Stop immediately if the bit wanders. Reposition and restart slowly. Wandering creates scratches that weaken the surface.
Maintaining Speed Cooling and Pressure
Keep drilling speed between 400 and 600 RPM. Faster drilling builds heat quickly. Slow rotation keeps the backsplash safe.
Apply light pressure while drilling. The bit must grind through rather than push. Force increases vibration and risk of cracking.
Use constant cooling during drilling. Water prevents rapid temperature rise. Cooling stabilizes both the glass and adhesive behind it.
Take short pauses if the surface starts to warm. These breaks allow heat to dissipate naturally. Patience leads to cleaner results.
Keep the drill straight after the guide groove forms. Angle changes create uneven grinding. Alignment ensures a smooth hole.
Why does the bit stop cutting during drilling?
It may be clogged or overheated so cooling and cleaning restore performance.
Can I drill faster by adding more water?
No water controls heat but speed must remain slow for safety.
How much pressure should I use while drilling?
Only light hand pressure and let the bit grind gradually.
What if the glass feels warm while drilling?
Stop allow cooling and resume slowly to avoid stress fractures.
Why is there a rough grinding noise?
The bit may be dull or dry so add water and clean the surface.
Avoiding Cracks and Chipping During Drilling
Do not drill near the edge of the backsplash. Edge areas are more fragile and crack easily. Leave enough distance for safety.
Check for pre-existing scratches before drilling. Small marks can spread under pressure. Avoid drilling through damaged spots.
Do not change the drilling angle suddenly. Smooth movement keeps stress distributed evenly. Sudden shifts weaken the glass.
Avoid rushing during the final layer. The breakthrough point carries the highest stress. Slow movement prevents chips on the backside.
Keep the surface supported at all times. Vibration increases cracking risk. Stability ensures a cleaner drilling result.
Deepening the Hole Smoothly Without Damage
Once the bit sinks into the surface maintain consistent speed. Do not increase rotation to speed up progress. Patience keeps the backsplash intact.
Apply water continuously during drilling. Cooling protects the glass from temperature imbalance. Dry drilling should never be attempted.
Avoid pressing harder to advance the bit. Grinding slowly removes material evenly. Force causes widening and uneven edges.
Stay steady and avoid shifting direction. Small movements change pressure points. Consistency leads to a round smooth opening.
Listen for changes in drilling sound. A smooth tone indicates proper grinding. Harsh noise signals overheating or dust blockage.
Finishing the Hole Cleanly and Safely
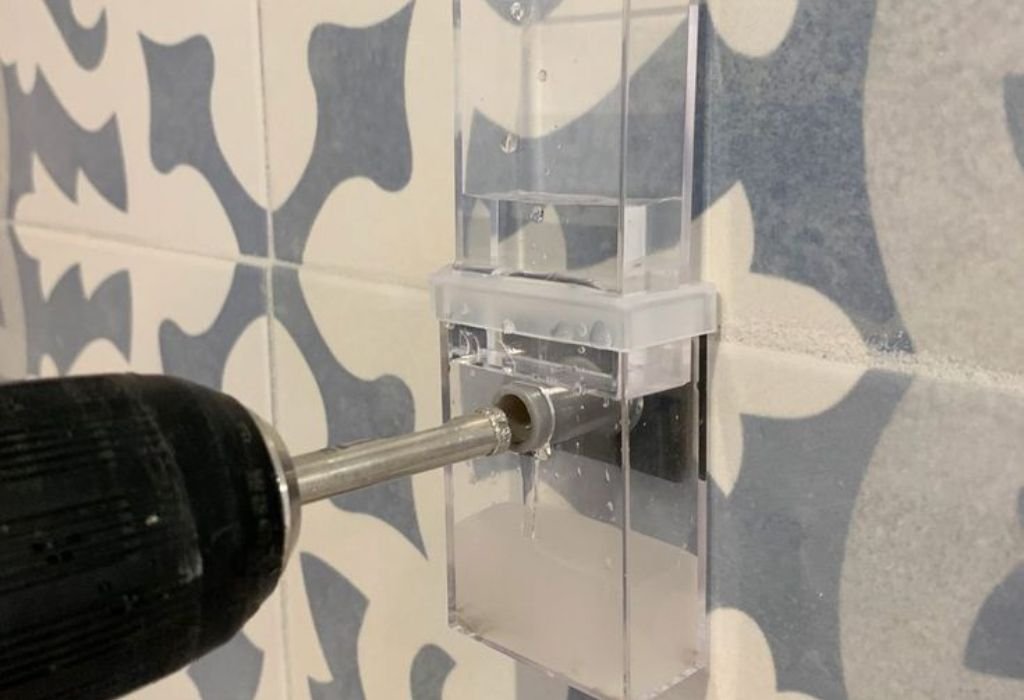
Reduce pressure as the bit reaches the final depth. The exit layer is more fragile than the surface. Slow completion prevents backside chipping.
Lift the drill gently once the hole is complete. Pulling too quickly can damage the entry edge. Controlled removal keeps the surface smooth.
Rinse the drilled area thoroughly. Glass dust can scratch if left behind. Cleaning prepares the surface for hardware.
Use fine grit sandpaper to soften the edges. Wet sanding prevents airborne particles. Smooth edges make installation safer.
Check both sides of the hole for hidden cracks. Some may not be visible at first glance. Early detection prevents future damage.
Should I polish the edges after drilling?
Light polishing removes micro chips and creates a safer finish.
How long should I wait before mounting hardware?
Wait until the area is fully dry to ensure proper adhesion.
Can I widen the hole after drilling?
Widening is risky because it stresses the backsplash so avoid doing it.
What if the hole looks slightly uneven?
Minor sanding can improve the shape but major flaws require restarting.
Should I clean behind the backsplash as well?
Yes loose dust may fall behind and should be removed if accessible.
Frequent Mistakes to Avoid When Drilling Backsplash Glass
Using high drilling speed is the most common error. Fast rotation generates heat and cracking. Slow progress keeps the surface safe.
Applying force instead of letting the bit grind causes stress. Gentle pressure prevents sudden fractures. Patience delivers better results.
Skipping cooling leads to temperature imbalance. Water keeps the drilling point consistent. Dry drilling increases failure risk.
Changing the angle during drilling causes vibration. Keeping the drill straight ensures a clean hole. Sudden shifts weaken the surface.
Finishing too quickly creates chipping during breakthrough. Slow completion protects the backside. Clean edges depend on steady movement.
Conclusion
Drilling through a glass backsplash becomes safe when done slowly and correctly. Low speed cooling and light pressure prevent cracking throughout the process. Preparing the surface with tape and proper marking increases accuracy and control.
Diamond bits grind through the surface gradually instead of forcing it. Continuous cooling maintains temperature balance behind the glass. Finishing the hole gently ensures smooth edges ready for installation.
Avoiding common mistakes such as rushing applying pressure or skipping water prevents damage. With patience and the right approach anyone can drill through a glass backsplash confidently. The correct technique turns a delicate task into a clean and successful result.

I’m John F. Nicholas, the founder, lead writer, and drill enthusiast behind 101drill.com. With years of hands-on experience in power tools and DIY projects, I created this platform to share practical knowledge, expert tips, and real-world insights to help others master the art of drilling.