
Most people never think about disassembling a keyless drill chuck until something goes wrong. The chuck may stop gripping bits properly or feel stiff when tightening even though the drill still works.
At first the problem may seem minor like dust build up or a bit slipping during drilling. Over time the jaws may jam completely or refuse to open which makes normal use impossible.
A keyless chuck is designed to operate smoothly without tools but internal parts can wear or collect debris. When this happens cleaning the outside will not solve the issue because the problem is inside the mechanism.
Disassembling the chuck allows proper cleaning inspection and lubrication of the moving components. However opening it the wrong way can damage the jaws bearings or threaded mount.
Understanding how to take apart a keyless chuck safely prevents mistakes and expensive replacement. With the correct steps most users can restore smooth performance and extend tool life at home.
Why Someone May Need to Disassemble a Keyless Drill Chuck
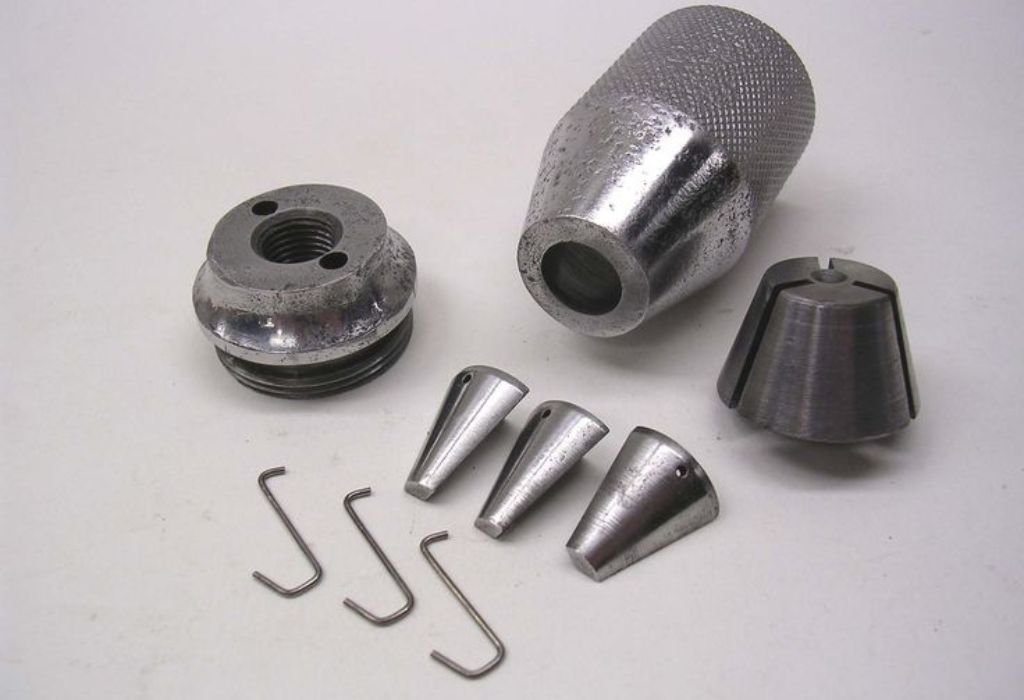
A keyless chuck may begin slipping during drilling which indicates internal wear. When the jaws cannot hold the bit securely the problem is often caused by dirt or lubrication failure. Disassembly allows direct access to the components responsible for gripping.
Sometimes the chuck becomes hard to rotate even when empty. This stiffness suggests debris has built up in the jaw tracks and needs removal. Cleaning the outside of the chuck does not reach these internal areas.
Metal shavings can accumulate inside the chuck during drilling. These particles restrict movement and prevent the jaws from opening fully. Disassembling helps clear the debris and restore smooth operation.
A damaged bit may snap inside the chuck leaving fragments trapped behind the jaws. Removing the broken section often requires partial disassembly. This prevents further internal damage and keeps the mechanism functional.
Long term use may cause internal grease to dry out. Without lubrication the jaws and bearings wear faster and create grinding resistance. Opening the chuck allows proper re lubrication and extends its lifespan.
Knowing when disassembly is necessary helps avoid unnecessary force or tool damage. Addressing internal problems early prevents complete failure. Safe disassembly keeps the drill reliable and easier to maintain.
Tools Required Before Starting Disassembly
A bench vise provides stability during disassembly and keeps the drill secure. Soft padding should be used to protect the drill body from marks or cracking. This creates a safe working position without risk of slipping.
A strap wrench offers extra grip when the chuck sleeve is difficult to loosen. Using this tool prevents surface damage that pliers or metal grips can cause. Controlled rotation reduces stress on internal components.
Hex keys or Allen wrenches may be needed depending on the drill model. Some chucks have a retaining screw inside the jaws that must be removed first. Turning the screw clockwise releases it because it uses reverse threading.
A small hammer with a wooden or rubber handle can assist in tapping loose components. Light tapping helps break internal friction without damaging the housing. Excessive force should always be avoided during this process.
Penetrating oil may be necessary when parts are stuck due to dirt or corrosion. Applying a small amount at the jaw opening loosens buildup inside the chuck. Allowing time for the oil to settle increases effectiveness.
Having the correct tools ensures safer disassembly and reduces the risk of breakage. Using improper tools leads to scratches bent parts or seized components. Preparation guarantees smoother progress during each step.
How to Remove the Chuck From the Drill Safely
Begin by disconnecting the drill from power completely. Removing the battery or unplugging the cord prevents accidental activation. Safety must always come first before handling rotating components.
Open the jaws fully and check for a retaining screw inside. Some models use a reverse threaded screw that must be turned clockwise to remove. If no screw exists the chuck is mounted directly onto the drill spindle.
Insert the appropriate hex key into the open jaws and tighten gently. Position the drill so the hex key points outward while secured in a vise. This setup allows controlled force to break the threaded connection.
Rotate the chuck counterclockwise using steady pressure. The connection may feel tight at first due to factory thread lock or long term usage. Once loosened the chuck will unthread smoothly from the spindle.
Avoid striking the hex key with excessive hammer force. Sudden impact can damage internal gears or crack the drill housing. Gentle pressure and patience are safer and more effective.
Removing the chuck from the drill allows full access for disassembly. Once detached it becomes easier to inspect and clean internal parts. This step ensures safe handling for the remaining process.
How to Open and Disassemble the Keyless Chuck
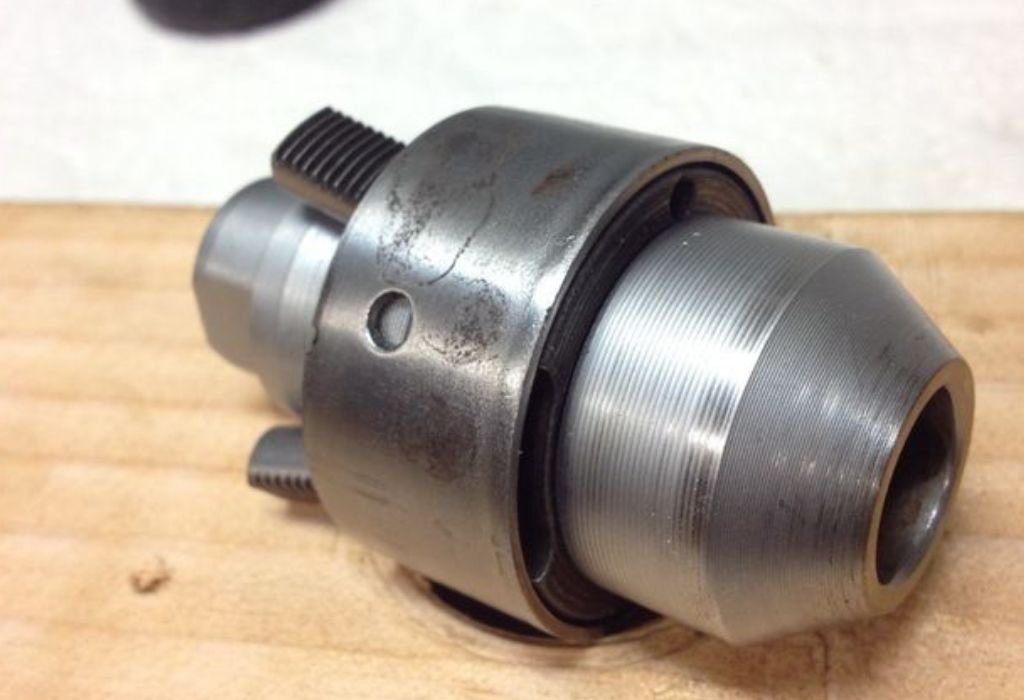
Start by examining the front collar of the chuck for a removable section. Some models have a threaded front cap that can be unscrewed by hand or with a strap wrench. Removing this cap exposes the jaws and internal sleeve.
Rotate the outer sleeve while applying upward pressure to separate components. Internal bearings and jaw carriers will slide out once alignment matches the housing grooves. Work slowly to avoid spilling small internal pieces unexpectedly.
Remove the jaws carefully and place them in order. Each jaw is machined to fit a specific track and should not be mixed during reassembly. Keeping them organized prevents alignment issues later.
Clean all parts using a brush and compressed air. Metal dust and dried grease often accumulate in jaw channels and bearing seats. Removing buildup restores smooth internal movement and prevents future jamming.
Apply fresh lubricant sparingly to contact surfaces. Excess grease can attract debris and cause new problems inside the chuck. Light coating ensures smooth rotation and proper jaw operation.
Disassembling the chuck allows complete restoration of function. Taking time with each part reduces wear and extends lifespan. Once clean and lubricated the chuck can be reassembled for reliable performance.
Important Questions Before Taking Apart a Chuck
Do all keyless chucks come apart the same way?
No designs vary between drill brands and models. Some have removable caps while others are sealed. Always check the manufacturer’s instructions.
Is it necessary to remove the chuck from the drill first?
Yes removal provides safer access for disassembly. Working while attached increases risk of slipping. Detaching the chuck prevents accidental damage.
Can I use pliers to open a stuck chuck?
No pliers can deform the housing and ruin smooth rotation. A strap wrench is the safer alternative. Proper tools protect the components.
What if the front cap will not unscrew?
Apply penetrating oil and allow time to loosen. A strap wrench increases grip without scratching. Forcing the cap may crack the housing.
Can a sealed keyless chuck be disassembled?
No sealed versions are not designed for opening. Attempting to force them causes permanent damage. Replacement is the only option.
Should I replace worn jaws inside the chuck?
Yes worn jaws cannot grip bits securely. Replacing them restores holding strength. Continuing to use worn jaws is unsafe.
How often should a chuck be cleaned internally?
Only when symptoms appear such as slipping or stiffness. Routine external cleaning is usually enough. Internal cleaning is not required regularly.
Can I lubricate the chuck without opening it?
Light oil at the jaw opening may improve movement. It will not fix internal buildup. Full disassembly is needed for deep cleaning.
Is reassembly difficult after disassembly?
No if parts are kept organized during removal. Each jaw must return to its original track. Careful alignment ensures proper function.
When should the entire chuck be replaced?
Replace if cracked seized or heavily worn. Repairs are not safe in severe cases. A new chuck restores full performance.
Conclusion
Disassembling a keyless drill chuck is a useful skill for restoring smooth operation and fixing internal issues. When the jaws become stiff or fail to grip cleaning the outside is not enough to solve the problem. Opening the chuck allows full access to the internal mechanism.
Following proper steps prevents damage during removal and disassembly. Using correct tools such as a strap wrench and hex key ensures controlled handling. Avoiding force protects the housing and internal components.
Once cleaned and lubricated the parts operate more smoothly. Reassembling the chuck in the correct order restores jaw alignment and gripping strength. This process can extend tool lifespan and prevent future jamming.
Knowing when disassembly is appropriate also prevents unnecessary work. Some chucks are sealed and must be replaced instead of opened. Recognizing the difference ensures safe and effective maintenance.
With patience and preparation most users can disassemble a keyless chuck successfully. Proper care keeps the drill functioning reliably for many years and reduces long term repair costs.

I’m John F. Nicholas, the founder, lead writer, and drill enthusiast behind 101drill.com. With years of hands-on experience in power tools and DIY projects, I created this platform to share practical knowledge, expert tips, and real-world insights to help others master the art of drilling.