
When it comes to precise drilling, even the best tools fail without proper setup. Many beginners assume accuracy depends solely on the drill bit, but the truth is—it all starts with how you center your drill press.
A drill press out of alignment causes crooked holes, uneven finishes, and wasted materials. Whether you’re working on wood, metal, or acrylic, even a fraction of misalignment can throw your entire project off balance.
Imagine drilling a hole that’s slightly off-center—it may seem minor, but in fine woodworking or metal fabrication, that can ruin the entire piece. The good news is that centering your drill press isn’t complex; it simply requires attention to detail and the right steps.
This guide breaks down the entire process—from understanding the importance of centering to performing fine-tuned adjustments using common tools. With clear instructions, tips, and safety insights, you’ll soon be drilling with confidence and precision that rivals professional workshops.
By the end, you’ll know exactly how to align your table, spindle, and chuck perfectly—achieving the kind of flawless accuracy that makes every project a masterpiece.
Understanding the Importance of Centering a Drill Press

Centering a drill press means aligning the drill bit’s rotational axis perfectly with the workpiece and table surface. This alignment ensures each hole is straight, symmetrical, and exactly where you intend.
When your drill press isn’t centered, the bit can “walk” or drift slightly, creating holes that are angled or oversized. Over time, this can dull your bits and even strain the machine bearings.
The table, spindle, and chuck must all work together in perfect harmony for accurate drilling. A well-centered setup eliminates vibration and keeps bit travel perfectly perpendicular to your material.
If precision is your goal—especially for metal, joinery, or mechanical parts—learning to center your drill press correctly is not optional. It’s the foundation of professional drilling.
For detailed reference on basic alignment concepts, see The Spruce Crafts’ guide.
Components Involved in Centering
Before adjusting, it’s important to know which parts directly influence centering.
The Base and Column
These form the structural support of your drill press. If your base isn’t level, your alignment will always be off. Ensure it rests on a stable, flat surface.
A bent or loose column also disrupts vertical alignment. Check its stability regularly and tighten all bolts securing it to the base.
The Table
The drill press table must be perfectly perpendicular to the bit’s axis. If it tilts slightly, the hole will enter at an angle.
Use a machinist square or digital angle gauge to verify the table’s position relative to the spindle.
The Spindle and Chuck
The spindle transmits rotation from the motor to the bit, while the chuck holds the bit itself. Any play or wobble here affects centering directly.
To check spindle runout, insert a straight rod or alignment bar in the chuck and spin it slowly. The movement should be minimal—ideally less than 0.001 inch.
For additional checking tools, you can find dial indicators at Harbor Freight Tools.
Tools Needed to Center a Drill Press
Having the right tools simplifies the process and ensures accuracy. Commonly required items include:
- Machinist square
- Dial indicator or runout gauge
- Allen wrench set
- Level or inclinometer
- Straight alignment rod or steel dowel
- Clean cloth and mild lubricant
These tools allow precise adjustments, whether you’re correcting table tilt or spindle misalignment.
A reliable dial indicator—such as those available on Grainger—helps you measure deviations during rotation to fine-tune accuracy.
Step-by-Step Guide: How to Center a Drill Press
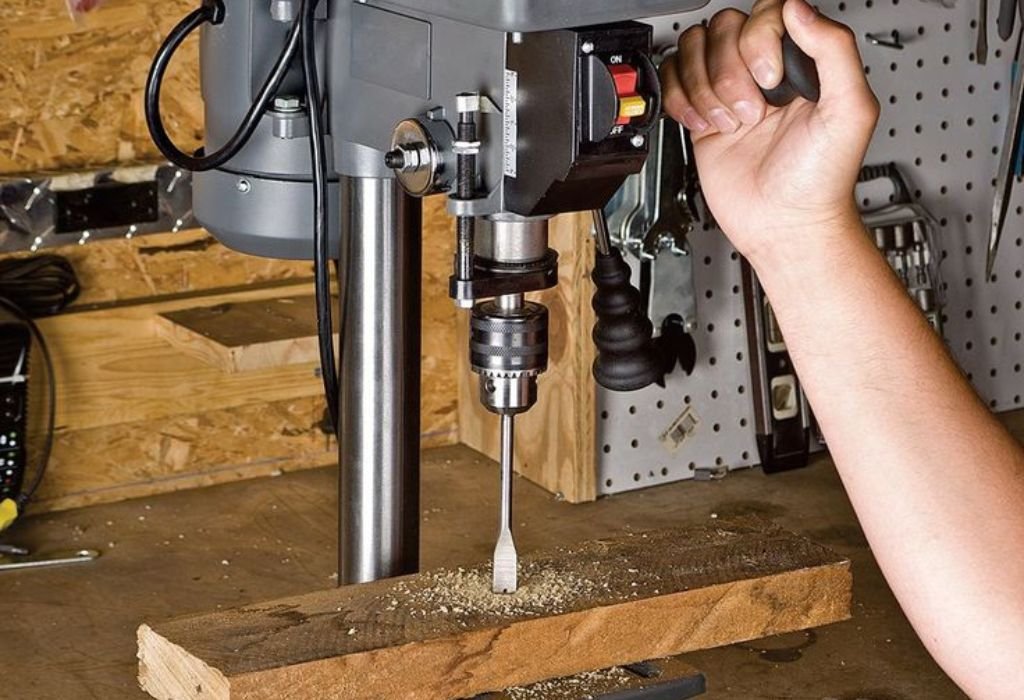
Step 1: Unplug the Drill Press
Always begin by disconnecting power to ensure safety. Never attempt adjustments while the machine is running.
Step 2: Clean the Surfaces
Dust and debris between the table and base can affect alignment. Wipe every surface clean before proceeding.
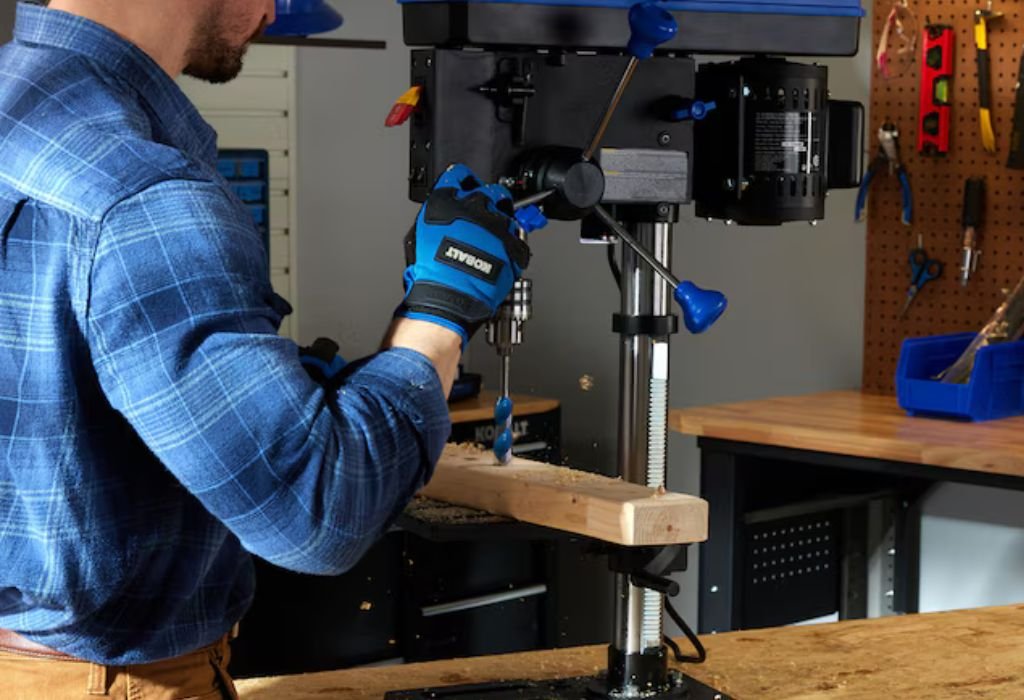
Step 3: Check Table Perpendicularity
Lower the bit close to the table surface. Place a machinist’s square next to the bit to see if there’s a gap.
If the bit tilts, loosen the table bolt slightly and adjust until perfectly square. Tighten securely once aligned.
For visual guidance, visit Wood Magazine’s alignment tutorial.
Step 4: Test Spindle Runout
Insert a steel rod in the chuck and rotate by hand. Observe any side-to-side wobble.
If wobble exists, loosen the chuck slightly, reseat it, and retest. Persistent runout may indicate a worn spindle bearing.
Step 5: Center the Bit Over the Table Hole
Many drill press tables have a central opening. Adjust the table position so the drill bit aligns exactly with this center.
Lock the table height and position once satisfied.
Step 6: Perform a Test Drill
Using a scrap piece of wood or metal, make a small hole. Check if the hole’s sides are symmetrical and vertical.
If it leans or seems off-center, repeat the alignment steps until accurate.
Tips for Perfect Alignment and Accuracy
Small errors compound quickly when drilling multiple holes, so consistency is key.
Check alignment periodically, especially if you adjust table height or rotate it for angled drilling. Always re-square afterward.
Keep all bolts and adjustment screws snug to avoid gradual drift from vibration.
When working on precision parts, use a center punch to mark the exact drill location—it helps guide the bit and reduces walking.
For advanced precision, consider using a laser alignment tool like those explained on Sawmill Creek Forums.
Remember, precision doesn’t come from expensive tools alone but from consistent, careful setup.
Common Mistakes and How to Avoid Them
Many beginners make simple errors that throw off accuracy.
Over-tightening bolts: Excessive pressure can warp the table or base slightly. Tighten securely but not aggressively.
Ignoring runout: Even a small spindle wobble leads to cumulative error over multiple holes.
Skipping test drills: Always verify accuracy with a sample hole before starting a major project.
Not cleaning surfaces: Dust or metal shavings beneath the base or table can tilt alignment unnoticed.
Rushing adjustments: Precision demands patience—minor tweaks make major differences.
Following these habits ensures long-term precision and prevents costly mistakes.
How Often Should You Recheck Centering?
Drill presses maintain alignment well when stationary, but vibrations and repeated adjustments can gradually shift components.
For hobby use, inspect alignment monthly or before large projects.
For professional or heavy-duty work, check weekly, especially if drilling metal or dense material.
If you frequently adjust table height, recheck perpendicularity each time.
Regular maintenance ensures dependable accuracy and extends the machine’s lifespan.
Advanced Techniques for Maximum Precision
Once you’ve mastered basic centering, these advanced tricks can improve accuracy even further.
Use a test dial indicator to measure micro-movements while rotating the chuck manually. Aim for less than 0.001-inch variation.
Upgrade to precision bearings if your spindle shows excessive play—this dramatically improves runout control.
Install a table fence or jig system for repeatable positioning when drilling multiple identical pieces.
Balance your drill bits by checking for uneven wear or bent shanks. Replace any that vibrate excessively.
Professional machinists often use centering scopes or edge finders for critical alignment, tools available through MSC Industrial Supply.
These techniques elevate your accuracy from “good” to “exceptional.”
Maintenance for Long-Term Accuracy
Even a well-aligned drill press will drift over time without proper maintenance.
Lubricate the spindle quill lightly with machine oil every few weeks to ensure smooth movement.
Check the table clamp lever and rotation joints for looseness. Tighten whenever needed.
Keep belts clean and tensioned correctly to avoid vibration that could impact centering.
Periodically inspect your drill bits—dull or bent bits exert uneven pressure on the spindle, causing misalignment.
A consistent maintenance schedule will keep your drill press performing like new.
For a full maintenance guide, see Family Handyman’s drill press care tips.
How do I know if my drill press is centered correctly?
Lower a bit toward the table and check if it aligns perfectly with the center hole. Also, test-drill a small hole—if it’s straight and clean, alignment is correct.
Why does my drill press vibrate after centering?
Vibration usually means the belt is too loose, the table isn’t locked securely, or the bit is unbalanced.
Can I use a laser guide to center the drill press?
Yes. Many modern laser systems project an X-mark that helps position the bit precisely over your mark.
What tool checks drill press alignment best?
A dial indicator or machinist square provides the most reliable measurement for alignment and runout.
Do I need to center the press after every use?
No, but recheck alignment regularly—especially after moving the machine or changing table height.
What happens if the press is off-center?
You’ll get angled holes, excessive bit wear, and possible damage to bearings or the table surface.
Conclusion
Centering a drill press for perfect accuracy transforms your drilling results from average to professional. Proper alignment ensures every hole you make is straight, smooth, and exactly placed.
The process may take a few extra minutes, but the payoff in precision and tool longevity is worth it. By maintaining a stable base, squared table, and true spindle alignment, you eliminate the small errors that ruin good work.
Regular checks, clean surfaces, and careful adjustments keep your drill press operating at peak accuracy.
Whether you’re crafting wooden furniture, drilling metal plates, or creating intricate components, remember—accuracy starts with setup.
With these centering techniques mastered, you’ll have complete control and confidence in every project, ensuring your drill press delivers the flawless precision it was designed for.

I’m John F. Nicholas, the founder, lead writer, and drill enthusiast behind 101drill.com. With years of hands-on experience in power tools and DIY projects, I created this platform to share practical knowledge, expert tips, and real-world insights to help others master the art of drilling.