
Boring a cylinder may sound like a task meant for professional machinists, but with the right setup, tools, and techniques, it’s entirely possible to achieve at home using a drill press.
Learning how to bore a cylinder with a drill press the right way not only saves money but also helps you gain precise control over your project.
The process requires more patience than power. Unlike industrial lathes or boring machines, a drill press demands careful alignment, steady feed rate, and consistent technique to achieve the smooth, uniform finish that a true cylinder requires.
Many beginners attempt it too quickly, only to end up with rough surfaces, uneven diameters, or damaged tools. With proper guidance, however, your drill press can become a reliable tool for accurate cylinder boring.
Understanding Cylinder Boring and Why Precision Matters
Cylinder boring is the process of enlarging or refining the diameter of a cylindrical hole with extreme precision. It’s commonly used in engine repair, metal fabrication, and custom tool creation.
Inaccurate boring leads to problems like uneven walls, increased friction, and poor mechanical performance. The smoother and more concentric the bore, the better your final result will be.
When using a drill press instead of a lathe, maintaining stability and symmetry becomes even more critical. You must control cutting pressure, feed rate, and alignment to ensure both accuracy and smoothness.
Whether you’re working on aluminum, cast iron, or steel, understanding the limits of your drill press ensures safe and effective boring. Proper preparation and alignment will transform your results.
For further insights on boring mechanics, you can read Machinery’s Workshop’s metal drilling fundamentals.
Tools and Materials You’ll Need
Before beginning, gather all essential tools. Having the right setup ensures accuracy and prevents tool damage.
You’ll need:
- A sturdy drill press with adjustable speed
- Boring head or boring bar attachment
- Vise or clamping system for securing the workpiece
- High-speed steel (HSS) or carbide-tipped bits
- Cutting fluid or oil for lubrication
- Calipers or micrometer for measuring diameter
- Safety gear — goggles, gloves, and ear protection
Optional but helpful tools include a dial indicator for alignment and a depth gauge for consistent boring depth.
Each of these tools plays a vital role in achieving precision and maintaining safety throughout the process. Investing in quality equipment ensures smoother finishes and longer tool life.
Reliable boring heads and accessories are available from suppliers like Grainger Industrial.
Preparing the Drill Press and Workspace
A clean and well-organized workspace reduces errors and improves efficiency. Start by unplugging the drill press before setup to avoid accidental activation.
Clean the table surface, removing dust, oil, or chips. Place your vise or clamp system securely on the drill press table.
Check the drill press alignment by lowering the chuck and ensuring the spindle runs perfectly perpendicular to the table. Misalignment can cause the bore to tilt or become oval-shaped.
Set the spindle speed according to the material. For softer metals like aluminum, higher speeds work well. For harder materials like steel or cast iron, slower speeds prevent overheating and tool wear.
Finally, ensure proper lighting and ventilation. Clear visibility helps maintain consistent feed and prevents accidental overcutting.
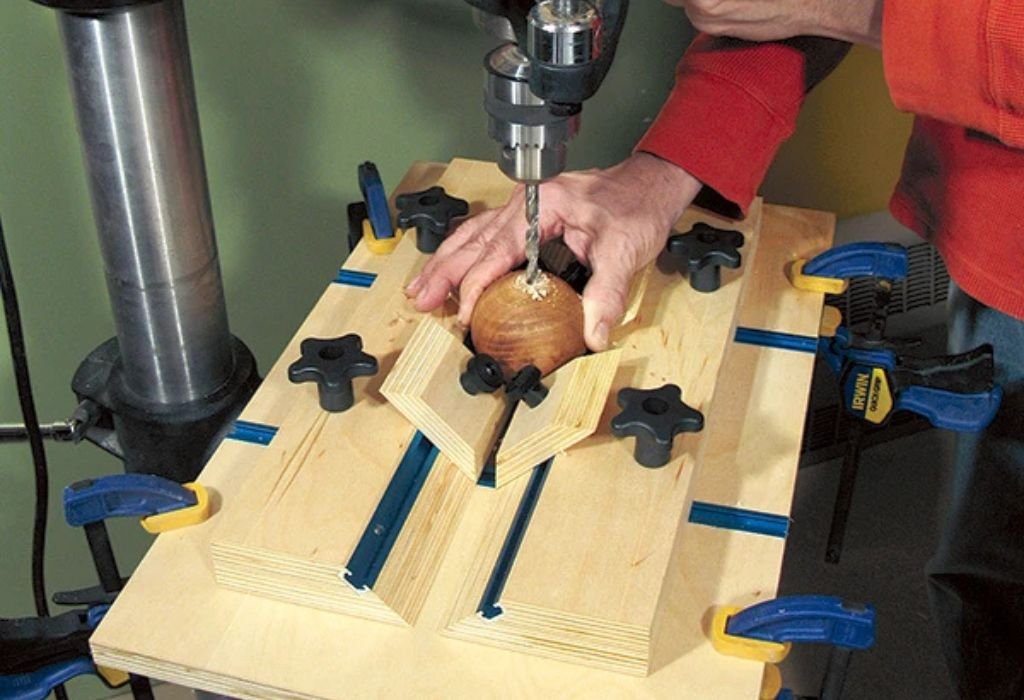
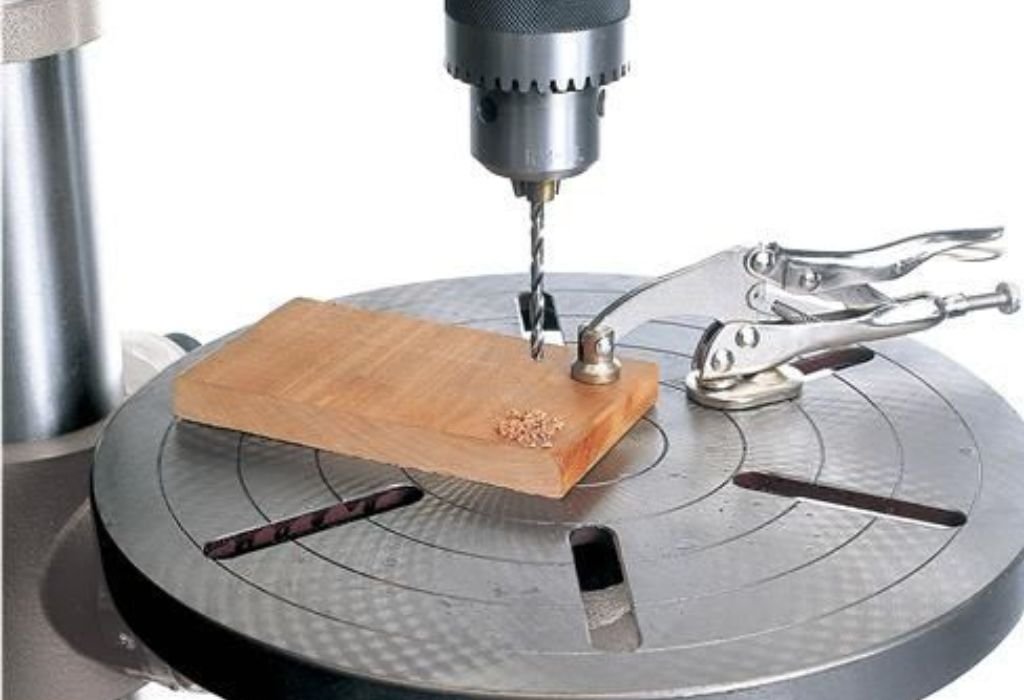
Setting Up the Workpiece for Boring
Correct positioning of the workpiece is crucial for achieving a uniform bore. Begin by securing your material in a machinist’s vise or a V-block clamp.
Align the center of the cylinder directly under the drill press spindle. Any deviation from the center will result in an uneven cut.
Use a center punch to create a small starting indentation. This guides the bit and prevents it from wandering off.
Double-check your clamping setup — the piece should be firm but not over-tightened, as excessive pressure can deform thin materials.
Ensure that your vise or clamps are bolted tightly to the table, so vibration during operation doesn’t affect accuracy. Once secured, test the spindle motion to confirm that the bit moves freely above the marked center without touching the clamps.
Selecting the Correct Bit and Speed
Choosing the right cutting tool and speed is the difference between a clean bore and a damaged part. For general use, HSS boring bits are excellent for aluminum and mild steel, while carbide-tipped bits handle harder materials efficiently.
The bit should be sharp, properly angled, and mounted securely in the chuck or boring head.
Speed settings depend on material hardness and bore diameter. Larger holes and harder metals require lower RPMs. A typical range might be 500–800 RPM for steel and 1,000–1,500 RPM for aluminum.
Lubrication is essential. Apply cutting oil consistently during operation to reduce heat and friction. It not only improves finish quality but also extends tool life significantly.
If you’re unsure about exact speeds, consult your drill press manual or use general charts like those found on Engineer’s Edge.
Step-by-Step Process: How to Bore a Cylinder with a Drill Press
Step 1: Start with a Pilot Hole
Begin by drilling a pilot hole slightly smaller than your desired bore size. This gives the boring tool an accurate starting point and reduces cutting resistance.
The pilot hole should be perfectly centered and deep enough to guide the boring bit smoothly through the workpiece.
Step 2: Mount the Boring Head
Insert the boring head or bar into the drill press chuck. Make sure it’s tightly secured and aligned with the pilot hole.
If your boring head allows adjustable offsets, set it according to the diameter you want to achieve. Precision in this adjustment determines the accuracy of your final bore.
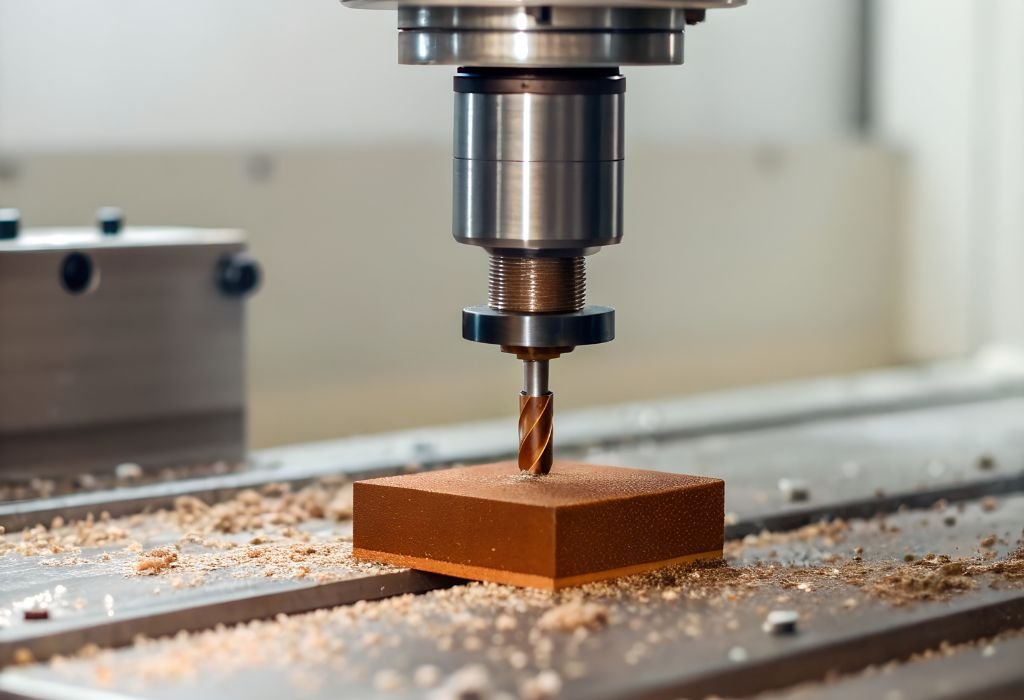
Step 3: Begin the Boring Process
Turn on the drill press at the chosen speed. Slowly lower the boring head into the pilot hole using steady pressure.
Avoid forcing the bit; let the tool do the work. Apply cutting oil frequently to keep the tool cool and the surface smooth.
Withdraw the bit periodically to clear chips and prevent clogging. Each pass should remove only a small amount of material for a cleaner finish.
Step 4: Measure and Adjust
After each few passes, stop the machine and measure the bore diameter using a caliper or micrometer.
If it’s smaller than required, adjust the boring head slightly and repeat the process. Incremental adjustments ensure you don’t exceed the target diameter.
Step 5: Finishing the Bore
Once the desired size is reached, make one final light pass to smooth out tool marks.
Clean the surface with a cloth and inspect for rough edges or chatter marks. A perfectly bored cylinder will have a mirror-like finish and uniform diameter from top to bottom.
Maintaining Accuracy During Boring
Maintaining accuracy throughout the process is vital. Start with proper alignment, but also pay attention to feed pressure and cutting speed.
Too much pressure causes chatter — the bit vibrates and leaves uneven marks. Too little pressure can result in poor cutting and burnishing rather than cutting.
Consistency is key. Keep a steady rhythm when lowering the bit, and avoid sudden stops.
If you’re working on deep bores, remove chips frequently to prevent tool binding. Excess debris can cause friction and throw the bit off balance.
Finally, keep your tools sharp and clean. Dull bits wander and scratch the surface, ruining the smooth finish.
Safety Precautions While Boring
Always wear eye protection when using a drill press. Metal shavings can fly unexpectedly, posing serious hazards.
Secure loose clothing, jewelry, and hair before operating. These can easily catch in the rotating parts.
Never adjust the workpiece or boring head while the machine is running. Wait until it comes to a complete stop.
Use gloves only when handling the workpiece before or after machining — never during operation.
If you notice excessive vibration, noise, or heat, stop immediately and check alignment or tool wear. Safe operation ensures both quality and longevity of your equipment.
Common Mistakes and How to Avoid Them
Rushing the Process: Boring too quickly removes excessive material, leading to chatter and uneven surfaces. Take small, consistent passes instead.
Improper Clamping: A loose workpiece shifts easily and causes tapered holes. Always secure it firmly before starting.
Using Wrong Speed: Too high a speed overheats the tool, while too low can cause rough finishes. Match the RPM to material hardness.
Skipping Lubrication: Lack of cutting oil leads to friction and tool wear. Always keep the surface lubricated.
Ignoring Measurement: Overcutting is irreversible. Measure frequently to ensure you remain within tolerance limits.
By avoiding these common mistakes, you’ll achieve a perfectly smooth and accurate bore every time.
Aftercare and Maintenance of Tools
Proper maintenance ensures consistent performance and tool longevity.
Clean your boring bits and drill press thoroughly after each project. Remove metal chips and wipe surfaces dry to prevent rust.
Apply a thin coat of light machine oil to protect metal parts. Keep cutting tools sharp — dull tools compromise precision and safety.
Periodically check the spindle alignment and chuck runout. Minor adjustments prevent vibration and extend bearing life.
A well-maintained drill press not only performs better but also ensures consistent results in every future boring project.
Can you really bore a cylinder using a drill press?
Yes, with the right setup and steady technique, a drill press can bore small cylinders accurately for light to moderate tasks.
What type of bit should I use for cylinder boring?
Use a boring head or boring bar with a sharp HSS or carbide-tipped bit depending on the material hardness.
How do I keep the bore perfectly round?
Maintain consistent pressure, steady feed rate, and ensure the workpiece is centered under the spindle.
Do I need cutting oil for every material?
Yes. Lubrication reduces heat, extends tool life, and improves the finish of the bore.
What speed should I use for boring metal?
For steel, 500–800 RPM works well. For softer metals like aluminum, use around 1,000–1,500 RPM.
Why is my bore surface rough?
This could be due to dull tools, incorrect speed, or too much feed pressure. Adjust and recheck alignment.
Conclusion
Mastering how to bore a cylinder with a drill press the right way takes patience, precision, and practice. By focusing on alignment, clamping, and steady feed control, you can achieve results that look and perform professionally.
The key lies in preparation — selecting the correct tools, setting the right speed, and ensuring the workpiece is firmly secured. Every small detail contributes to smoother operation and cleaner finishes.
Avoid the temptation to rush the process. Let the tool do the cutting while you guide it carefully. Over time, your skill will improve, and each bore will become more consistent and precise.
A well-maintained drill press can handle a surprising range of tasks, from simple holes to detailed cylinder boring. With attention to accuracy and technique, you’ll unlock its full potential and produce flawless, mirror-smooth cylinders every time.

I’m John F. Nicholas, the founder, lead writer, and drill enthusiast behind 101drill.com. With years of hands-on experience in power tools and DIY projects, I created this platform to share practical knowledge, expert tips, and real-world insights to help others master the art of drilling.