
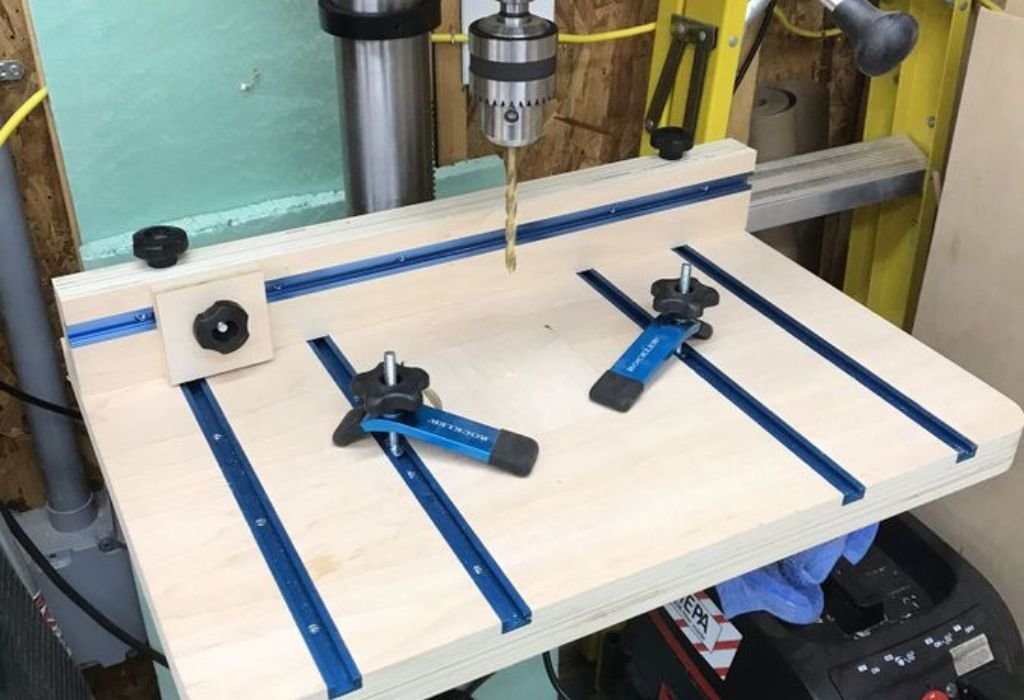
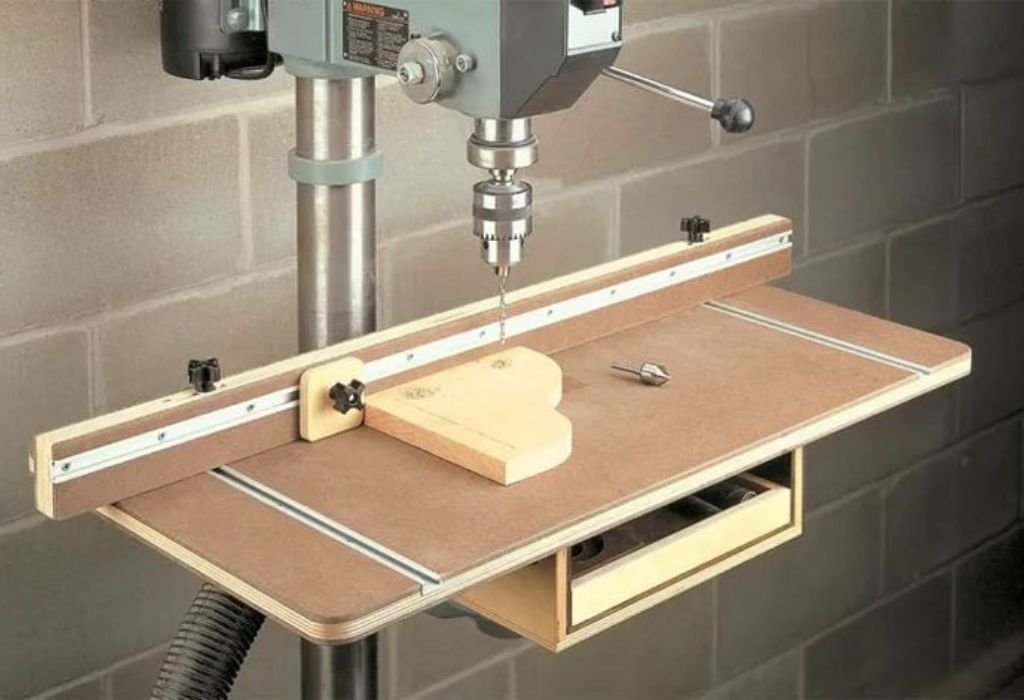
A drill press is built for precision, but even the most advanced model can fail if it isn’t firmly secured to its base. Bolting down your drill press is not just about stability — it’s about achieving perfect accuracy, consistent performance, and complete safety.
When a drill press vibrates or shifts during use, every hole you drill becomes slightly misaligned. Over time, these tiny deviations lead to poor finishes, tool wear, and unnecessary frustration. Beginners often underestimate how important it is to fix their drill press solidly before starting a project.
Properly bolting down the machine transforms how it feels to operate. The vibrations disappear, the bit moves smoothly, and every cut feels controlled. It’s the difference between an amateur setup and a professional-grade workspace.
From choosing the right location and anchors to performing safety checks and maintenance, every detail matters. Once you complete the process, your drill press will not only work better but also last longer and operate more quietly.
Choosing the Right Location for Your Drill Press
Finding the perfect spot for your drill press is the foundation of smooth operation. The placement must ensure comfort, safety, and accessibility while minimizing vibration.
Always choose a flat, level surface that can handle the machine’s weight. The ground beneath must be stable — uneven flooring can cause movement no matter how tight your bolts are.
The drill press should be positioned with enough clearance for long materials. Keep space in front and on both sides so boards or metal pieces don’t strike walls or other equipment.
Make sure you have good lighting above the drill press. Poor visibility makes alignment difficult and increases the risk of mistakes. Also, position it close to a power outlet to avoid stretching cables across walkways.
Once the ideal location is selected, clean the area thoroughly and ensure the floor or bench is completely dry. This will prepare your base for firm anchoring.
Preparing the Surface for Mounting
A clean, level surface ensures the bolts and anchors grip correctly. Start by removing dirt, sawdust, or oil from the floor or bench using a vacuum or damp cloth.
For concrete floors, check for cracks or weak areas. The anchor strength depends on how solid the surface is. If cracks exist, fill them first and let them cure before installation.
If you’re mounting on a wooden bench, inspect the boards for tight joints. Reinforce weak areas with extra screws or wood glue to eliminate flex.
Next, use a spirit level to check flatness. A small slope may not seem serious, but it throws the drill off balance and adds stress on the column.
If the surface isn’t perfectly level, place shims or leveling pads under the drill press base before bolting. This step ensures a secure and vibration-free setup once installed.
Marking and Drilling the Mounting Holes
Accuracy in marking determines how well your drill press will sit after bolting. Set the drill press in its final position and make sure it’s straight.
Using a pencil or marker, trace through the mounting holes on the base onto the surface below. Remove the drill press gently without disturbing the markings.
Double-check each mark’s position using a measuring tape. All holes should be symmetrical so that pressure distributes evenly across the base.
Once confirmed, use a drill with a bit that matches your anchor or bolt size. Drill vertically into the marks to avoid angled holes. For concrete floors, use a masonry bit; for wooden benches, a sharp wood bit works best.
After drilling, clean out any dust or debris. This helps the anchors sit firmly inside the holes and increases their holding strength.
Choosing the Correct Bolts and Anchors
Your bolt type should match both your surface and your drill press size. Choosing incorrectly can lead to instability or damage.
For concrete floors, heavy-duty wedge or sleeve anchors are best. They expand inside the hole and create a solid grip that resists vibration.
For wood benches, use thick lag bolts with flat washers. The washer spreads tension and prevents the metal base from cracking under pressure.
The ideal bolt size is usually between ⅜ and ½ inch in diameter. Ensure it’s long enough to penetrate deeply into the surface, typically about 1½ inches for maximum hold.
Avoid using standard screws or nails—they lack the tensile strength needed to secure machinery. Stainless steel bolts are ideal for humid environments since they resist rust and corrosion.
Always check that the bolt heads sit flush against the base once tightened to prevent unwanted wobble.
Step-by-Step Guide to Bolting Down the Drill Press
Step 1: Position the Drill Press
Place the drill press back over your drilled holes. Align the base openings exactly with the anchor or bolt holes. Double-check the orientation of the table and handles for comfort before tightening.
Step 2: Insert the Anchors or Bolts
For concrete, place each anchor into its hole and tap lightly with a hammer until level with the surface. For wooden benches, insert lag bolts through the base holes and into the bench.
Step 3: Tighten Evenly
Using a wrench, tighten bolts gradually in a diagonal pattern. This ensures the pressure is evenly distributed and the base stays flat. Uneven tightening can twist the cast iron and misalign the column.
Step 4: Check for Level
Place a level on the drill press table and adjust if needed. A perfectly level machine ensures straight drilling and reduces side strain on bits.
Step 5: Final Test
Run the drill press briefly. Observe for any movement or vibration. If you notice shaking, stop and retighten each bolt carefully until fully stable.
Once secure, your drill press will run quietly and drill holes with exceptional smoothness.
Ensuring Proper Level and Alignment
Leveling and alignment are critical to prevent inaccuracies and wobbling during use. Start by checking both the base and table with a precision level.
If the table tilts even slightly, your holes will not be perfectly vertical. Adjust the tilt mechanism until the bubble in the level centers.
The spindle should move straight up and down without lateral motion. Lower the chuck toward the table and ensure it meets squarely.
If there’s any deviation, loosen the mounting bolts slightly, adjust the position, and retighten once perfect alignment is achieved.
This attention to fine detail ensures smooth operation and reduces long-term wear on your machine’s bearings.
Common Mistakes to Avoid
When bolting down a drill press, even small oversights can lead to long-term issues. Avoid these frequent mistakes to ensure a professional setup.
One common mistake is using bolts that are too short. Short bolts lose grip over time, allowing the press to loosen gradually.
Another mistake is skipping washers. Without them, bolt heads can dig into the cast iron and damage the base.
Never bolt down a drill press on an uneven surface—it will vibrate no matter how tight the bolts are. Always level before tightening.
Lastly, do not overtighten bolts. Excess force can distort the base plate or strip the threads. Tight but not forced is the rule of thumb.
Maintaining Bolts and Checking Stability Over Time
Once your drill press is bolted down, maintenance ensures it stays secure for years. Periodically check all bolts for tightness. Vibrations from drilling can cause gradual loosening.
Inspect the area around each anchor for signs of movement or cracking. If you find any, remove the bolt, clean the hole, and reinstall with fresh hardware.
Apply a small amount of machine oil to exposed bolt threads to prevent rust, especially in damp environments.
It’s also wise to test stability after large or heavy drilling projects. A gentle shake test confirms that everything remains solidly in place.
With simple periodic care, your drill press will remain rock-solid and precise for decades.
Improving Stability for Heavy-Duty Work
For larger industrial presses or constant metal drilling, extra reinforcement may be beneficial.
Adding rubber or neoprene pads beneath the base absorbs vibration and reduces noise. This makes the press smoother to operate and extends bearing life.
If your workshop floor allows, install a thin steel mounting plate under the base before bolting. This spreads force evenly and increases grip strength.
You can also secure the drill press to both the floor and a nearby wall brace for ultimate rigidity. This setup ensures zero movement even under the toughest workloads.
The smoother your foundation, the easier and quieter every drilling session becomes.
Safety Tips During Installation
Safety should always come first during installation. Never perform adjustments while the drill press is plugged in.
Wear gloves to protect your hands from sharp edges, and safety glasses to shield against flying dust or debris.
Keep the base area clear of clutter while you work—loose tools or cords can cause tripping accidents.
When drilling into concrete, wear a mask to avoid inhaling fine dust particles.
Before starting the machine, double-check that all bolts are snug and the cover guards are properly fitted. A secure press ensures safe operation and better performance for every project.
Benefits of Bolting Down the Drill Press
Once bolted, your drill press feels dramatically different. The operation becomes smooth, quiet, and controlled.
Proper anchoring eliminates vibrations that cause chatter marks or uneven holes. This directly improves drilling accuracy and extends tool life.
A stable press also prevents sudden movement, protecting both the workpiece and the operator from mishaps.
Over time, your machine will require less maintenance because the stress on its internal parts is evenly distributed.
In short, bolting your drill press down not only enhances performance but also ensures safety, precision, and reliability in every project you undertake.
Do I really need to bolt down my drill press?
Yes. Bolting prevents vibration and shifting during drilling, ensuring clean and accurate holes.
Can I use regular wood screws instead of bolts?
No. Wood screws cannot handle the torque and vibration from the drill press. Always use heavy-duty bolts.
How tight should the bolts be?
Tight enough to prevent any movement, but not so tight that the base becomes distorted.
Should I use rubber pads under the base?
Yes, rubber pads absorb shock and reduce vibration, especially on hard concrete floors.
What if the floor is uneven?
Use shims or adjustable leveling pads before bolting down to achieve a flat, stable surface.
Can I move the drill press later?
Yes, but you’ll need to remove the bolts carefully and re-anchor it in the new location.
Why is my drill press still vibrating after bolting?
It may not be level or the bolts could be unevenly tightened. Recheck alignment and adjust as needed.
Conclusion
Bolting down your drill press is the key to unlocking its true precision and power. A well-anchored machine delivers smoother performance, cleaner holes, and a safer workspace.
This process starts with choosing a solid, level surface and continues with accurate marking, drilling, and bolting techniques. Each step contributes to the overall stability of your setup.
The difference is instantly noticeable—no more wobbling, no more noise, and no more uneven drilling. Your drill press becomes an extension of your skill, ready for precise and repeatable work.
Maintenance and periodic checks keep it stable over time. With a few minutes of care, you’ll enjoy years of flawless operation.
Learning how to bolt down a drill press for smooth operation isn’t just a setup task—it’s a long-term investment in your craft, your safety, and the quality of every project you build.

I’m John F. Nicholas, the founder, lead writer, and drill enthusiast behind 101drill.com. With years of hands-on experience in power tools and DIY projects, I created this platform to share practical knowledge, expert tips, and real-world insights to help others master the art of drilling.