
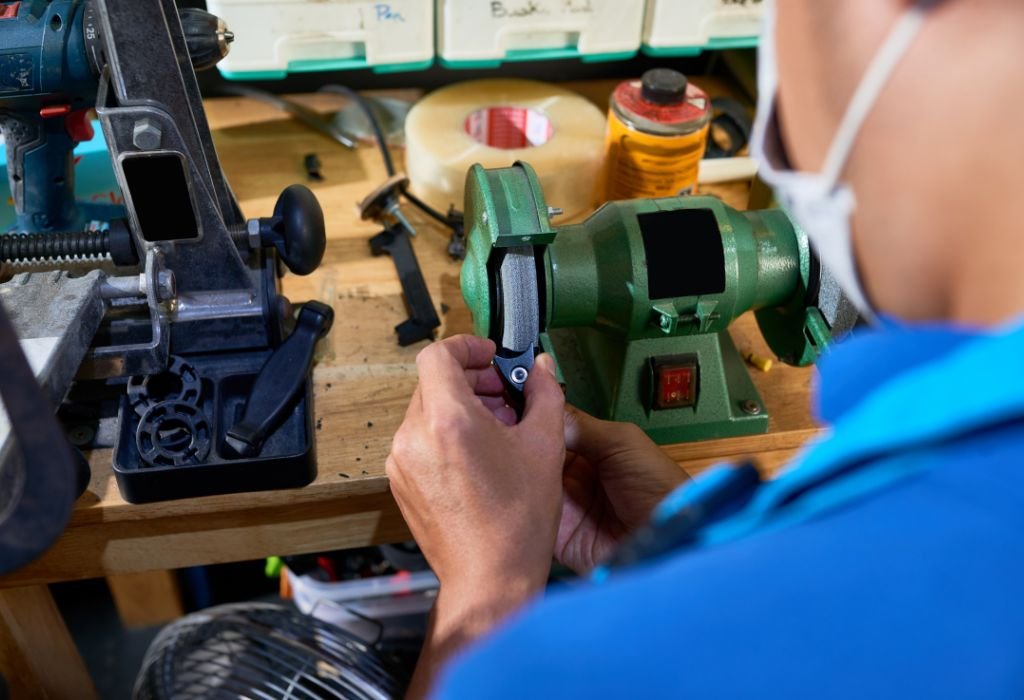
A drill press is one of the most versatile and reliable tools in any workshop. It’s designed primarily for vertical drilling, but with creativity and precision, you can adapt it to perform more advanced machining tasks.
If you’ve ever wondered how to expand your tool’s potential without breaking the bank, learning how to convert a drill press to a milling machine on budget is the perfect solution.
Buying a full-sized milling machine can be costly, especially for hobbyists and DIY enthusiasts. But if you already own a sturdy drill press, you can perform light milling tasks like slotting, shaping, and surface trimming by upgrading it with the right attachments and adjustments.
However, this process isn’t just about attaching new parts. It involves stabilizing your setup, reinforcing the spindle, and ensuring safe operation under lateral forces. When done correctly, your converted drill press can deliver accurate, efficient, and smooth results comparable to small milling machines.
Understanding the Difference Between a Drill Press and a Milling Machine
Before conversion, it’s crucial to understand what sets these machines apart.
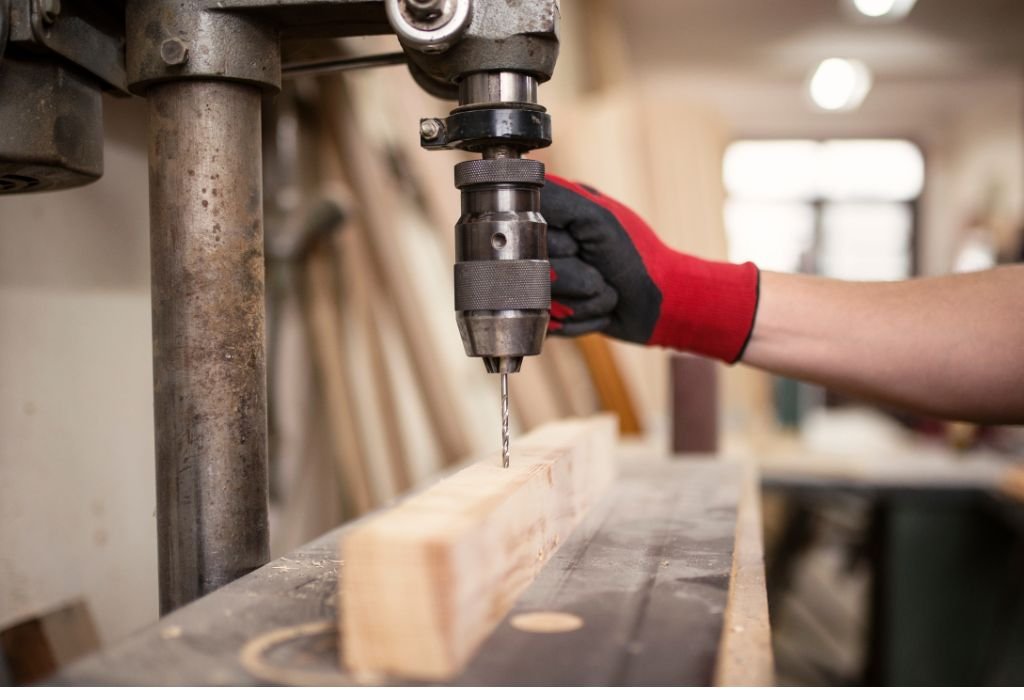
A drill press is designed for vertical drilling — applying force downward into materials to create holes. Its spindle moves up and down but isn’t built for heavy lateral or side loads.
A milling machine, however, cuts horizontally and vertically. It uses multi-toothed cutters to shape or remove material, often under significant side pressure. This means milling machines require sturdier spindles, stronger bearings, and more rigid columns than a standard drill press.
When converting your drill press, the goal isn’t to replace a true mill but to create a budget-friendly hybrid capable of light milling. With careful reinforcement, upgraded bearings, and proper accessories, you can achieve impressive accuracy for small-scale projects.
For reference on machine structure, you can explore Wood Magazine’s machine comparison guide.
Evaluating If Your Drill Press Is Suitable for Conversion
Not all drill presses can handle the stress of milling operations. You must assess its strength and rigidity before starting.
Check the column — it should be thick, stable, and made of solid cast iron or heavy steel. Thin or lightweight columns flex easily under side pressure, which can ruin your accuracy.
Next, inspect the spindle bearings. Standard drill press bearings are not designed for side thrust. If they feel loose or noisy, consider replacing them with tapered roller bearings that handle lateral loads better.
Also, ensure your motor power is sufficient. A ½ HP motor can handle very light milling, while ¾ HP or higher is preferable for moderate work.
Finally, confirm that your table locks securely and can support clamps or vises. If the table tilts or vibrates easily, you’ll need to reinforce it before milling.
Upgrading weak points before conversion ensures better safety and smoother performance.
Tools and Materials Needed for the Conversion
To successfully convert your drill press into a milling setup, you’ll need a few specialized tools and accessories.
Essential items include:
- Cross-slide vise or XY milling table
- End mills or milling bits
- Drill chuck to collet adapter
- Clamps and T-slot bolts
- Upgraded bearings (optional but recommended)
- Cutting fluid or oil for lubrication
- Dial indicator for alignment checks
The cross-slide vise acts as your movement control system, letting you feed material precisely in X and Y directions while the drill press handles the Z-axis.
Quality XY vises are affordable and can be found on sites like Harbor Freight. These upgrades transform your drill press into a controlled milling platform capable of fine adjustments.
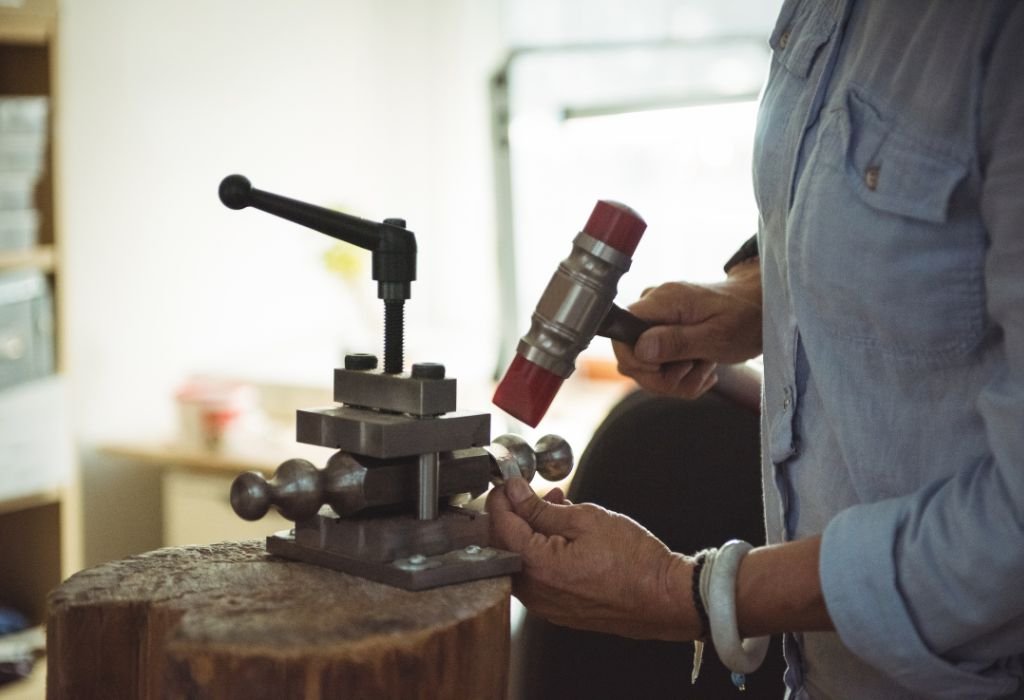
Strengthening the Drill Press Structure
Milling introduces significant side forces that drill presses aren’t originally designed for. Reinforcing the structure prevents vibration and increases accuracy.
Start by anchoring your drill press to a sturdy surface or bolting it to the floor. Movement or wobble during milling will cause chatter marks or bit damage.
Next, check the spindle alignment. Lower the chuck and use a dial indicator against the table surface to ensure perfect perpendicularity. Misalignment results in uneven cuts.
If your drill press base feels hollow or thin, consider adding a steel reinforcement plate beneath it. This distributes pressure evenly and enhances stability.
Also, tighten all bolts and column joints. Even a small amount of play reduces cutting precision dramatically.
Taking time to strengthen your setup ensures smoother milling and protects your equipment from wear.
Installing the Cross-Slide Vise or Milling Table
The cross-slide vise is the key component that makes controlled milling possible. It allows precise lateral movement of your workpiece under the rotating cutter.
Begin by placing the vise on your drill press table. Make sure it’s centered and properly aligned with the spindle.
Use T-slot bolts or heavy-duty clamps to secure it tightly. The vise must remain completely stationary during milling, as even the slightest movement will affect your cuts.
Check that the slide adjustments move smoothly and that backlash is minimal. A loose or jerky vise will make consistent cutting difficult.
Lubricate the moving surfaces with a small amount of grease to maintain smooth travel.
Once installed, test the travel in both X and Y directions to ensure full range of motion. Your vise or table now acts as the milling platform for accurate, controlled material removal.
Choosing the Right Cutting Tools and Speeds
The next step is selecting proper cutting tools for the material you’re working with.
Use end mills instead of drill bits. End mills are designed to cut sideways and produce clean edges, whereas drill bits only cut vertically.
For aluminum or plastic, two-flute end mills work best. For steel, use four-flute or carbide-tipped mills that handle hardness better.
Cutting speed and feed rate are equally important. Running too fast causes chatter, while too slow can overheat the bit.
As a general rule, use low RPMs for metal (500–800) and higher speeds for wood or soft materials (1000–1500).
Always use cutting oil or lubricant to reduce friction and extend tool life. Proper lubrication also improves surface finish and prevents overheating.
You can learn more about tooling recommendations from Engineer’s Edge.
Setting Up and Aligning the Workpiece
Accurate alignment ensures straight, smooth milling lines. Place your material inside the vise and tighten it evenly.
Before cutting, use a dial indicator to check that the surface is perfectly level. Adjust the vise jaws or add shims if needed.
Position your workpiece so that the cutting path aligns precisely under the spindle. Lower the bit to just touch the material and lock the spindle position temporarily.
Next, reset the cross-slide dials to zero. This allows you to track exact movement distance while cutting.
Ensure that all clamps are tight but not overly compressed to avoid distorting the workpiece.
Alignment might seem tedious, but it’s the secret to producing accurate and repeatable results when milling with a drill press.
Performing the Milling Operation
With your setup complete, it’s time to start cutting. Turn on the drill press and lower the bit gently into the workpiece.
Feed the vise slowly from left to right. The cutting action should feel smooth and consistent — avoid pushing too hard, as it may cause vibration.
For deeper cuts, remove small amounts of material per pass. It’s better to make several light passes than one deep one.
Keep the spindle speed steady and apply cutting oil regularly. If you notice excessive noise or chatter, stop immediately and reduce feed rate or speed.
After each pass, raise the spindle, move the vise slightly forward or backward, and continue until the desired depth or shape is achieved.
Clean the surface between passes to prevent chip buildup and ensure cleaner results.
Finishing Touches and Accuracy Checks
Once milling is complete, power off the drill press and inspect the workpiece carefully.
Measure the dimensions with calipers or a micrometer to verify accuracy. Check for smoothness — the finish should be consistent with minimal tool marks.
If rough edges remain, use fine sandpaper or a deburring tool to polish them away.
Inspect your drill press table and vise for chips or oil residue. Clean thoroughly to maintain long-term precision.
If you plan to repeat similar projects, record your spindle speed, feed rate, and bit type for future reference.
Keeping track of these details helps you replicate results efficiently in later milling jobs.
Cost-Saving Tips for Budget Conversion
You don’t need expensive modifications to get quality results. With creativity and smart purchasing, you can achieve a professional setup affordably.
Look for used XY vises or boring heads on local marketplaces or tool forums — they often cost a fraction of new ones.
Use your existing drill press accessories creatively. For example, a sturdy fence or clamp set can serve as a makeshift table guide.
Instead of buying premium collet systems, consider drill chuck adapters that accept milling bits securely.
When upgrading bearings, choose mid-grade tapered bearings rather than industrial types to save money without compromising stability.
Most importantly, maintain your tools regularly. A clean, well-tuned drill press performs better than an expensive one neglected over time.
Simple budget-conscious choices can still deliver precision and performance for any small-scale milling project.
Maintenance After Conversion

After converting your drill press, proper care ensures safety and long life.
Clean your machine thoroughly after each use. Metal chips left on the table or vise can scratch surfaces and reduce accuracy.
Lubricate the quill, bearings, and lead screws regularly. This prevents wear from the increased side forces during milling.
Inspect your cutting tools frequently — dull bits create vibration and rough finishes. Sharpen or replace them as needed.
Check all bolts and joints for tightness. Milling vibration can loosen hardware over time, so occasional re-tightening is necessary.
Finally, keep your machine covered when not in use to protect it from dust and moisture. Consistent maintenance is the key to sustaining smooth operation for years.
Can every drill press be converted to a milling machine?
Not all. Lightweight or inexpensive drill presses may lack the rigidity and bearing strength needed for milling operations.
What materials can I mill using a converted drill press?
Light metals like aluminum or brass, plastics, and wood are suitable. Avoid hard steel or cast iron, which require stronger machines.
Do I need special bearings for milling?
Upgrading to tapered roller bearings improves performance, but standard ones may suffice for light work.
How deep can I cut with a drill press mill?
Take shallow passes of 0.02–0.05 inches each. Deep cuts cause vibration and reduce accuracy.
Is lubrication necessary during milling?
Yes. Cutting oil or fluid reduces heat, improves finish quality, and extends tool life.
Can I use normal drill bits for milling?
No. Drill bits are not designed for side cutting. Always use end mills or proper milling cutters.
How much will conversion cost on a budget?
Typically between $60–$150, depending on the quality of your vise, bits, and adapters.
Conclusion
Converting your drill press into a milling machine on a budget opens a world of new possibilities in your workshop. With the right tools, setup, and attention to detail, you can achieve excellent results without spending thousands on new equipment.
Start by strengthening your machine and adding a reliable cross-slide vise. Use proper end mills, correct speeds, and consistent feed rates to achieve smooth, accurate cuts.
Take your time to align every component carefully — precision is built through patience and practice.
While your converted drill press won’t match a full-sized milling machine, it’s perfect for light-duty milling, shaping, and fabrication tasks.
By following these steps, maintaining your tools, and focusing on safety, you’ll enjoy the satisfaction of creating a versatile milling setup that performs efficiently and cost-effectively.
Your upgraded drill press becomes more than just a drilling tool — it transforms into a compact, capable machine ready for your next precision project.

I’m John F. Nicholas, the founder, lead writer, and drill enthusiast behind 101drill.com. With years of hands-on experience in power tools and DIY projects, I created this platform to share practical knowledge, expert tips, and real-world insights to help others master the art of drilling.