
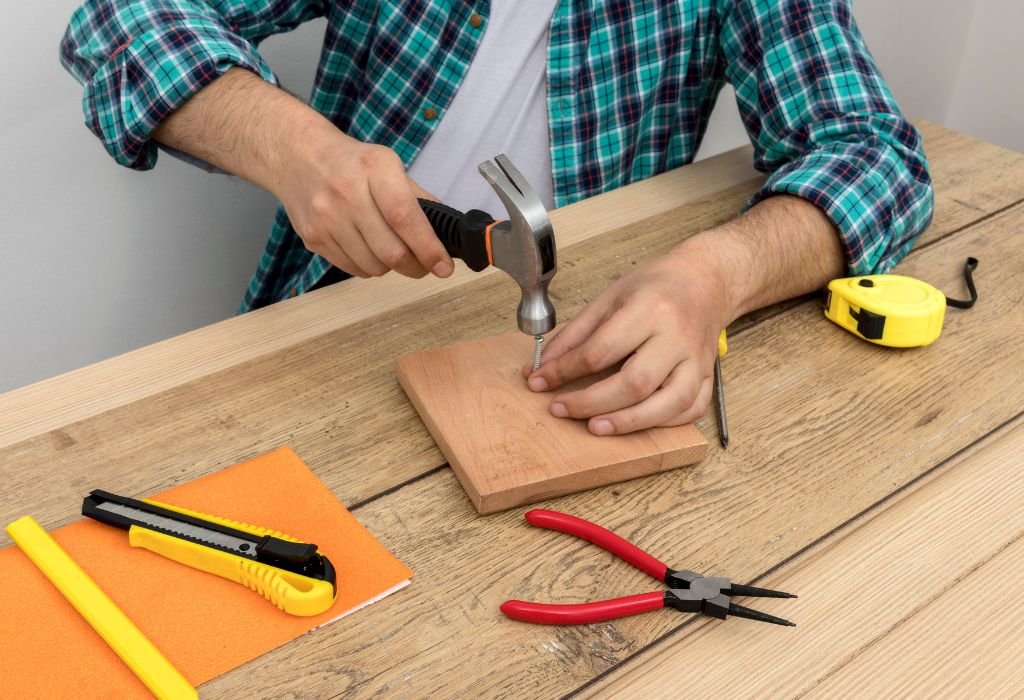
Anyone who’s ever tried drilling a straight hole by hand knows how frustrating it can be. The bit starts clean, but halfway through, it tilts slightly, leaving you with a crooked hole that throws your entire project off balance. Without a drill press, maintaining perfect alignment feels like a test of patience and precision.
For many DIYers and woodworkers, drilling a perpendicular hole without a drill press is one of those essential skills that separate amateurs from true craftsmen.
The challenge lies not in the tool, but in how you control it. Your grip, your posture, and the way you prepare the surface — all determine how straight your hole will be.
Unlike a drill press that guarantees a fixed vertical axis, handheld drilling depends entirely on your ability to hold steady. Even a tiny lean to the left or right can result in an angled bore that ruins the fit of joints or misaligns screws and dowels.
The good news is that precision doesn’t require expensive equipment. With smart preparation, visual cues, and simple guiding tools, you can achieve near-perfect perpendicular holes every single time.
Understanding the Perpendicular Challenge

Drilling a perpendicular hole means maintaining a perfect 90-degree relationship between the drill bit and the surface. A handheld drill, unlike a press, lacks a fixed axis — meaning even tiny wrist or body movements shift the bit’s angle.
As you drill deeper, those minor shifts become magnified. A 2-degree tilt near the surface can turn into several millimeters of offset at full depth. The result is uneven joint fitting, screws that don’t sit flush, and weakened connections.
Understanding this challenge is the first step toward solving it. Once you identify what causes angle deviation — hand movement, drill torque, or surface irregularities — you can control them effectively.
Why do handheld drills tend to wander?
They rely entirely on manual control, and even a slight movement changes alignment.
Can small angle errors matter?
Yes, especially when working on joints or alignment-sensitive parts.
Do deeper holes exaggerate misalignment?
Absolutely — deeper drilling amplifies any small tilt at the start.
Does drill bit quality affect accuracy?
Yes, sharper bits reduce wandering and stay straighter during drilling.
Can hand fatigue cause crooked holes?
Over time it can; steady, relaxed control gives better precision.
Preparing and Marking the Surface
Preparation determines accuracy before drilling even begins. Start by marking the hole center precisely using a sharp awl or center punch to create a tiny indentation. This ensures the bit grips instantly instead of skating across the surface.
Draw clear perpendicular reference lines crossing through the mark. These guide lines help you visually monitor your drilling angle from both directions. Clamping the material tightly prevents any movement that could shift the drill’s entry point.
Make sure your work surface is flat and level. A sloped bench or uneven wood grain will distort your visual perception. Professionals recommend cleaning away sawdust or metal shavings that might tilt the drill slightly.
Tools like the Fine Woodworking marking kit make accurate layout work simpler, improving hole alignment from the start.
Why is punching the center important?
It gives the bit a stable start point, preventing side movement.
Do guide lines really help?
Yes, they keep your hand aligned from two visible angles.
Can vibration ruin alignment?
Yes, unstable material creates chatter and pushes the bit off-course.
Should I pre-drill pilot holes?
For large bits, always — it helps the main bit follow the correct path.
What if my bench isn’t level?
Use shims under the workpiece to create a perfectly flat base.
Using a Drill Guide or Homemade Jig
A drill guide stabilizes your handheld drill and keeps it perpendicular to the work surface. It acts like a miniature drill press by controlling both angle and depth.
High-quality adjustable guides like those from Wolfcraft or Milescraft include built-in bearings and laser-etched angle settings for accuracy.
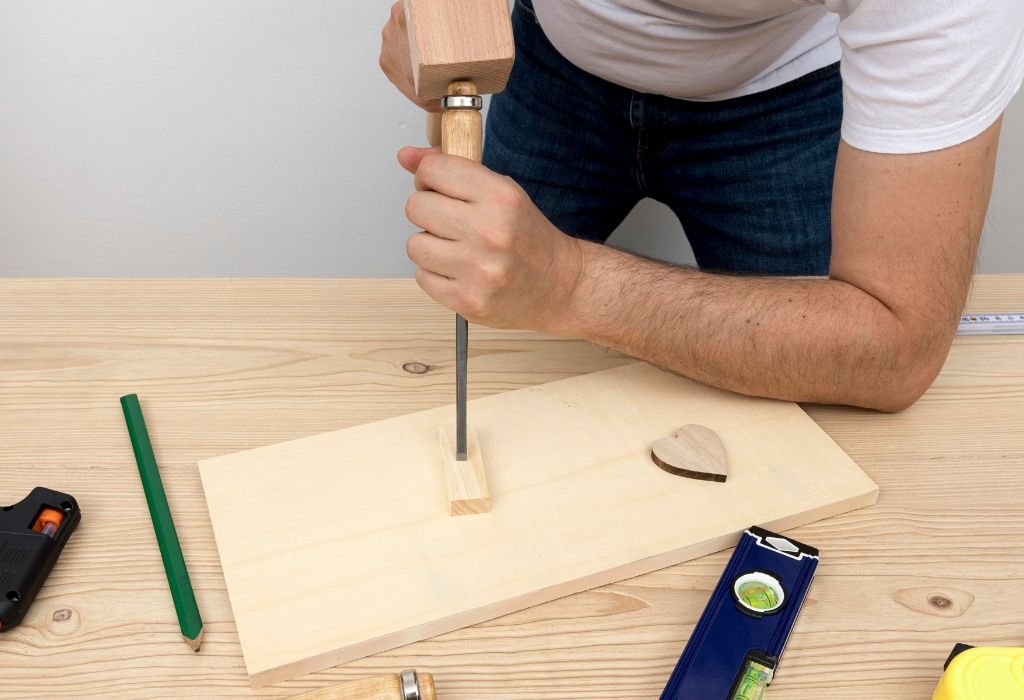
If you don’t own one, build a homemade jig. Drill a perfectly straight hole through a hardwood block using any verified 90-degree method.
Once done, place this block over your new drilling site and guide your drill through it. The block keeps your bit aligned no matter how much pressure you apply.
Clamp the jig firmly to avoid shifting. Combined with steady, low-speed drilling, this setup ensures consistent perpendicular holes across multiple workpieces.
You can explore reference jigs similar to this at Family Handyman.
FAQ
Can I reuse a wooden jig?
Yes, as long as it stays square and undamaged.
Do store-bought guides work with any drill?
Most handheld models fit easily — check diameter compatibility.
Is hardwood better than softwood for jigs?
Yes, hardwood resists deformation and gives longer accuracy.
Should I lubricate metal jigs?
Light oil helps the bit slide smoothly and reduces friction.
Can a jig improve deep-hole drilling?
Yes, it keeps your angle locked even over long drilling depths.
Using a Square or Level for Alignment
A combination square or speed square can serve as a simple yet powerful visual guide. Place the square upright beside your bit so its edge runs parallel to the drill shaft. Keep glancing sideways as you drill — if the bit remains parallel to the square’s edge, your angle stays true.
For front-to-back alignment, mount a small bubble level on top of your drill. Many professionals attach compact magnetic levels or use digital tilt meters to track movement instantly.
This dual visual system — square for side alignment and level for front balance — mimics the precision of a drill press without physical support hardware.
Do squares work with all drill sizes?
Yes, choose one large enough for easy viewing beside the bit.
Can I use a digital level?
Yes, they display degrees of tilt, improving fine adjustments.
What if lighting is poor?
Use a bright LED lamp or headlight for consistent visibility.
Does drill weight change balance?
Heavier drills make holding steady more difficult — use both hands.
Can I hold the square by hand?
It’s better clamped in place to prevent shifting during drilling.
Building a Corner Block or Right-Angle Jig

A corner block, also called an L-block, is one of the easiest DIY tools for ensuring perpendicular drilling. It consists of two pieces joined at a perfect right angle, acting as a visual and physical guide.
Position the block beside your drilling mark so the drill bit stays parallel to both inner faces. As you work, the two surfaces let you monitor vertical alignment from two directions simultaneously.
Hard maple or birch plywood makes excellent material because it resists warping. Attach sandpaper or rubber pads underneath to prevent slipping during drilling.
This simple design mimics industrial jigs while costing almost nothing to build at home.
Can a corner block replace a drill guide?
For many woodworking tasks, yes — it provides reliable alignment.
Should I glue or screw the block joints?
Screws are stronger and maintain better squareness over time.
How do I ensure both faces are perfectly 90 degrees?
Use a machinist square to verify before fastening.
Can metalworkers use this method?
Yes, steel or aluminum angle stock works similarly.
Is the block reusable?
Yes, if kept dry and undamaged, it lasts through many projects.
Using Mirrors or Visual Tricks for Accuracy
A mirror offers a surprisingly accurate way to maintain perpendicularity while drilling. Place a flat mirror at a 90-degree angle next to your work surface. As you drill, observe both your direct line of sight and the mirrored reflection of the bit. When both appear straight, you know the drill is truly vertical.
This technique gives an instant dual-angle view that’s difficult to achieve otherwise. It’s ideal for long, deep holes where alignment drifts easily, or when using large bits that obscure side visibility.
Experienced hobbyists combine mirrors with corner blocks or squares for even greater precision during complex setups.
Why does a mirror help with alignment?
It allows you to see both left-right and front-back tilt simultaneously.
What type of mirror works best?
A small flat mirror without magnification gives a true reflection.
Can I tape the mirror in place?
Yes, secure it firmly so vibration doesn’t distort your view.
Do mirrors work for metal drilling?
Yes, as long as lighting clearly shows the reflection lines.
Can I use two mirrors at once?
Yes, placing them on both sides gives full 3D alignment feedback.
Controlling Speed and Pressure
Your drilling technique affects accuracy just as much as setup. Start at a low RPM to let the bit bite gradually. Too much speed creates wobble and heat buildup, which bend or deflect the bit slightly off-center.
Apply consistent, light pressure throughout. Pushing too hard can cause the drill body to lean or flex, especially with longer bits. Allow the bit’s cutting edges to do most of the work.
If drilling deep, pull the bit out periodically to clear chips and cool it down. This prevents binding and maintains alignment during long cuts. Many professionals rely on variable-speed drills for this reason — they offer better control at critical startup and finishing moments.
Expert machinists featured in Fine Woodworking recommend practicing depth consistency by using tape markers or depth stops to avoid over-drilling.
Why avoid high speed at first?
It prevents the bit from skating and improves entry accuracy.
Can heavy pressure bend the bit?
Yes, especially with thin bits — steady control works best.
What causes smoke during drilling?
Overheating from speed, friction, or dull cutting edges.
Should I use cooling fluid for metal?
Yes, cutting oil reduces heat and keeps the bit aligned.
Can slower drilling improve finish quality?
Definitely — slower cuts produce cleaner, straighter holes.
Finishing and Checking Hole Alignment
Once drilling is complete, inspect the hole immediately. Insert a straight rod, nail, or dowel into it — it should stand upright with no visible lean from any direction.
For precision projects, test the alignment with a combination square placed against the dowel. If gaps appear, your hole may be slightly tilted. Minor misalignments can be corrected by lightly re-drilling or using a reamer for widening.
In woodworking, small deviations can be corrected by sanding the joint edge or redrilling after filling with glue or dowel inserts. For metal, use calipers to check that entry and exit points match perfectly.
Reference data from Machinery’s Handbook shows that holes within 0.5° of vertical are considered accurate for most manual applications.
How can I verify perpendicularity quickly?
Insert a dowel and check with a square from multiple directions.
What if the hole exits slightly off-center?
The entry angle was off — correct it by re-boring slightly wider.
Can fillers fix angled holes?
Yes, epoxy or dowel inserts let you start fresh accurately.
Should I inspect every hole?
For precise joinery or fittings, yes, each should be verified.
Is reaming safe for wood?
Only lightly — use low speed to prevent splintering.
Conclusion
Drilling a perpendicular hole without a drill press isn’t about brute force — it’s about precision, patience, and technique. The more you focus on alignment before drilling, the closer you’ll get to perfect results.
By combining proper surface marking, controlled pressure, and visual guides like squares, jigs, or mirrors, even a handheld drill can deliver machine-level accuracy. The key lies in consistency — keeping every movement deliberate and measured.
Each method adds a layer of reliability: a jig locks your angle, a mirror doubles your viewpoint, and low-speed drilling ensures clean, centered cuts. Over time, these techniques blend into muscle memory, allowing you to drill perfectly straight holes naturally.
Learning how to drill a perpendicular hole without a drill press easily proves that precision isn’t about expensive tools — it’s about mastering control. With the right mindset and steady practice, your results will rival those of any workshop press.

I’m John F. Nicholas, the founder, lead writer, and drill enthusiast behind 101drill.com. With years of hands-on experience in power tools and DIY projects, I created this platform to share practical knowledge, expert tips, and real-world insights to help others master the art of drilling.