
Imagine you’re working on a woodworking project, maybe building a cabinet, shelf, or frame, and you realize you need a long, clean groove to fit another piece of wood perfectly.
Normally, you’d reach for a router, but what if you only have a drill? That’s when creativity and the right technique make all the difference.
Cutting a groove in wood with a drill may sound unusual, but it’s entirely possible with the right setup and patience. A drill can replicate the work of a router by using specific bits, guides, and steady control.
The process requires understanding how grooves behave and how to guide the drill accurately to achieve straight, smooth lines.
Most beginners make mistakes like using the wrong bit, pushing too fast, or skipping alignment guides. The result is uneven cuts or chipped edges.
But when you combine the right drill attachments and a careful approach, you can create professional-quality grooves for joints, channels, or decorative work.
In this guide, you’ll learn everything about cutting grooves in wood using only a drill. From tool selection to step-by-step instructions, we’ll break down each stage so you can work confidently, even without a router.
By the end, you’ll have the skills to turn your drill into a precision groove-cutting tool.
Understanding Grooves and Their Purpose in Woodworking
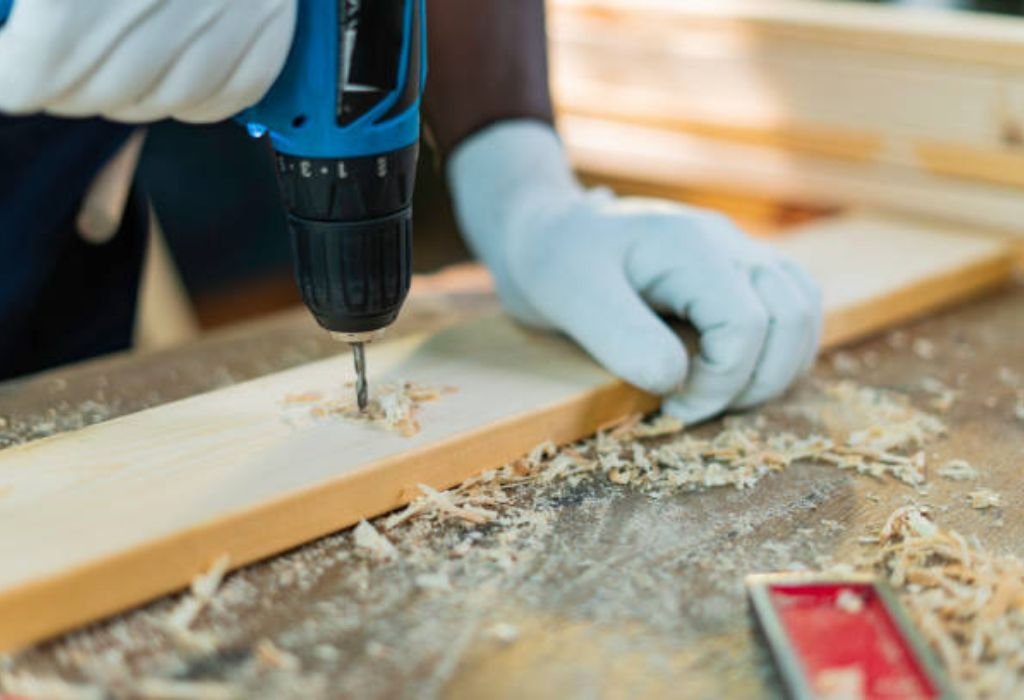
A groove is a long, narrow channel cut into wood, typically used to join two pieces together or guide components like panels or boards. It’s one of the most fundamental techniques in carpentry and furniture building.
Grooves help increase strength and stability in joints. For example, in cabinet construction, grooves are used to fit back panels or hold drawer bottoms securely. They distribute load evenly across the wood, reducing stress on screws or nails.
There are different types of grooves based on placement and purpose. Edge grooves run along the side of a board, while center grooves or dados cut across the grain. Each requires specific cutting depth and precision.
While routers are typically used for this task, a drill can achieve similar results with a steady hand and the correct bit. It’s a more accessible option for beginners or those working on smaller DIY projects.
The challenge lies in keeping the groove consistent in depth and straightness. Uneven pressure or speed can lead to wavy cuts. That’s why guiding tools or jigs are essential for accuracy.
Understanding the function of grooves gives you a clear idea of how deep and wide your cuts should be. This planning step saves time and prevents material waste later.
Best Tools for Cutting a Groove with a Drill
Using a drill to cut grooves requires a combination of attachments and accessories. The type of tool you choose will determine how smooth and efficient your groove turns out.
The most important accessory is a rotary rasp or burr bit. These bits grind wood rather than slice it, allowing you to shape grooves of various widths and depths. They’re ideal for freehand shaping.
Another great option is a straight router bit that fits into a drill chuck. Though originally made for routers, it can cut grooves efficiently if used at controlled speeds. You’ll need to move slowly to prevent burning the wood.
A drill guide or jig is essential for keeping your cuts straight. It stabilizes your drill, helping you maintain the same angle and pressure throughout the groove. Without one, the bit tends to wander.
For depth control, use drill stops or collars. These attachments prevent you from drilling too deep, ensuring consistent results across the groove.
You’ll also need clamps to secure your wood, pencils for marking, and safety gear like goggles and gloves. Sawdust can fly during groove cutting, especially at high speeds.
Investing in these basic tools ensures you can make clean, accurate grooves without damaging your wood or drill.
Choosing the Right Drill Bit Type for Groove Cutting
Not all drill bits are suitable for cutting grooves. You need bits designed to shape, grind, or remove wood rather than simply pierce it.
Straight router bits work best for long, shallow grooves. They’re sharp, durable, and produce flat-bottomed cuts. Just make sure your drill runs at medium speed to prevent overheating.
Rotary burr bits are great for freeform or curved grooves. They come in different shapes — cylindrical, conical, or round-tipped — depending on the desired profile. These bits remove wood quickly and are ideal for shaping custom channels.
For narrow grooves, Dremel-style bits or engraving cutters provide precise control. These smaller attachments are perfect for delicate or decorative work.
Avoid using twist bits or spade bits for grooves. They’re designed for drilling holes, not continuous channels. They’ll dig too deep and tear the wood grain.
When cutting across the grain, consider carbide-tipped bits, as they resist dulling better. This is especially important if you’re working with hardwood.
Having the correct bit ensures you cut clean grooves without excessive vibration or burn marks. Always check compatibility with your drill before use.
Preparing the Wood Surface Before Making a Groove
Preparation determines how smooth your final groove will be. Start by choosing a flat, clean piece of wood with no visible knots or warping. Uneven surfaces cause the bit to jump or drift while cutting.
Use a pencil and ruler to mark where you want your groove to go. Double-check your measurements and alignment. A straight line is critical, especially for grooves that need to fit other pieces of wood.
Clamp the wood securely to your workbench. Even minor movement during drilling can ruin your accuracy. If possible, use two clamps — one on each side of the groove path.
Attach your chosen bit to the drill and test it on scrap wood first. This helps you gauge speed, pressure, and cutting depth before working on your main piece.
Clean the surface of dust and debris. Fine sawdust can make the drill bit slip at the start, especially when cutting shallow grooves.
If you’re working on finished or painted wood, cover the area with masking tape before marking. This prevents chipping along the groove edges.
Proper preparation makes the actual cutting process faster, smoother, and more predictable.
Can I cut a groove without a router?
Yes, a drill with the right bit and steady control can create grooves similar to a router.
Which bit is best for groove cutting?
Use a straight router bit or rotary burr bit for clean, controlled cuts.
How do I keep the groove straight while drilling?
Use a drill guide or fence to maintain consistent alignment.
Can I cut grooves in hardwood with a drill?
Yes, but use carbide-tipped bits and lower speeds to prevent burning.
Should I drill multiple passes for deeper grooves?
Absolutely; make several shallow passes instead of one deep cut for better control.
Step-by-Step Process to Cut a Groove Using a Drill
Cutting a groove with a drill requires patience and precision. Follow these steps for the best results.
Step 1: Mark your groove path using a straightedge and pencil. Double-check alignment before you start.
Step 2: Clamp your wood securely to prevent vibration or slipping. A stable surface ensures smoother cuts.
Step 3: Attach your chosen bit — preferably a straight router or rotary burr bit. Set the drill to medium speed.
Step 4: Start at one end of the line, holding the drill at a slight angle to let the bit bite gently into the wood. Keep firm but light pressure.
Step 5: Move along the line slowly, maintaining consistent speed. Avoid stopping mid-groove, as it can leave uneven marks.
Step 6: For deeper grooves, repeat the process with multiple shallow passes. Each layer removes a bit more material evenly.
Step 7: Once complete, sand the groove edges lightly with fine-grit paper to remove rough spots.
This method takes time but delivers clean, professional-looking grooves without expensive equipment.
Controlling Depth and Width for a Clean Groove
Depth control is crucial when cutting grooves with a drill. Without it, you risk cutting too deep and weakening the wood.
Use drill depth stops to limit how far your bit goes in. These small collars attach to the drill bit and prevent over-penetration. Adjust them according to your desired groove depth.
For wider grooves, make multiple parallel passes. Slightly overlap each cut to ensure a uniform width. This technique creates a consistent channel without overworking your bit.
Maintain steady hand pressure throughout. Pressing too hard can gouge the bottom of the groove. Light, even strokes create smooth, flat bases.
If you need precision, consider attaching a drill guide with adjustable rails. It helps keep both depth and direction consistent.
After drilling, clean out the groove with a small brush or compressed air. Removing leftover dust highlights any uneven areas that may need light sanding.
Proper depth and width control lead to grooves that fit perfectly for joints or tracks.
Common Mistakes to Avoid While Drilling Grooves
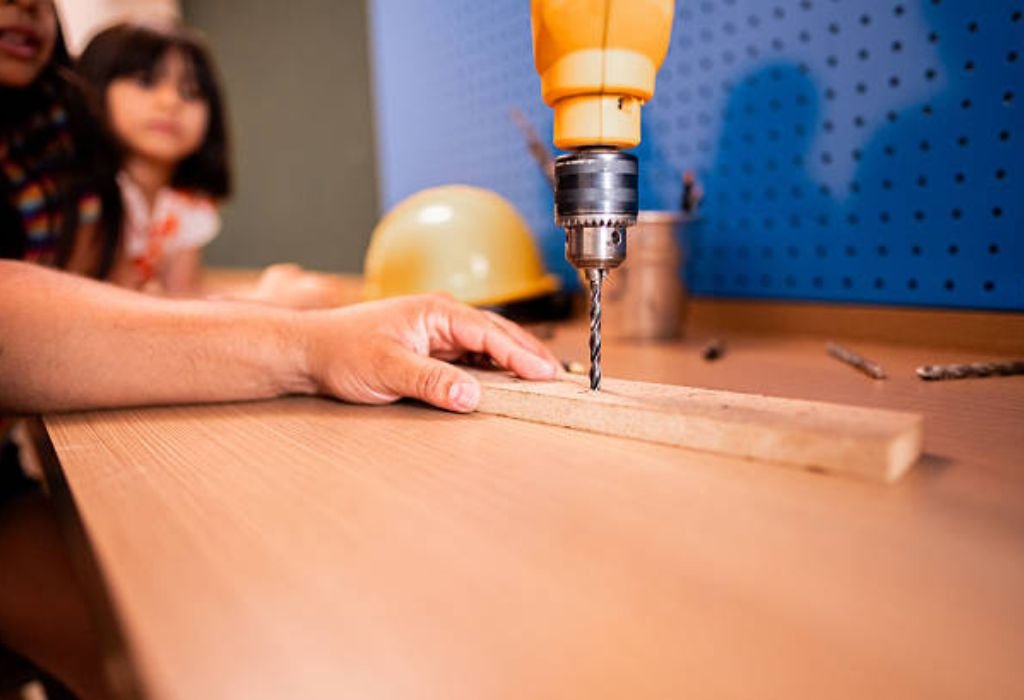
Many beginners make errors that can easily be avoided with preparation. The first mistake is using the wrong bit — twist or spade bits are not meant for grooves. They tear the grain instead of cutting smoothly.
Another common mistake is skipping multiple passes. Trying to achieve full depth in one go puts too much stress on the bit and drill. Always cut gradually.
Working without clamps is another issue. Even slight movement causes uneven grooves or tool kickback. Secure your work every time.
Ignoring drill speed is a frequent problem. High RPMs generate heat and burn marks, especially in hardwood. Medium speed with steady motion gives the cleanest finish.
Failing to test on scrap wood is another oversight. Testing helps you adjust pressure and depth before cutting your main piece.
Finally, neglecting to clear sawdust leads to inaccurate cuts. Dust buildup blocks visibility and prevents the bit from cutting evenly.
Avoiding these mistakes guarantees a smoother process and more professional results.
Why is my groove uneven?
You likely applied inconsistent pressure or didn’t use a guide. Try moving slower with steady control.
Can I use a drill press for grooves?
Yes, it offers better stability and precision for straight, controlled cuts.
Why does my wood burn while drilling?
The bit speed is too high or dull; reduce RPM and clean sawdust frequently.
What’s the best depth for grooves in furniture work?
Typically one-third of the wood’s thickness for balanced strength.
Can I widen an existing groove with a drill?
Yes, make parallel shallow passes beside the original groove for a wider channel.
Safety Precautions and Maintenance Tips
Safety is non-negotiable when using power tools. Start by wearing protective goggles and gloves. Wood chips and dust can fly unexpectedly during cutting.
Clamp your material securely on a flat surface before drilling. Loose boards can move and cause the bit to slip, leading to accidents or uneven grooves.
Always inspect your bits before starting. Dull or damaged bits increase friction and reduce control. Sharpen or replace them as needed.
Avoid wearing loose clothing or jewelry that might catch on the spinning bit. Tie back long hair if necessary.
Keep your workspace well-ventilated, especially when cutting treated wood. Dust and fumes can irritate your eyes and lungs.
Regular maintenance of your drill ensures consistent performance. Clean the chuck, check the cord, and store bits in dry conditions to prevent rust.
Following these precautions keeps you safe and ensures smoother groove-cutting sessions.
Alternative Methods for Making Grooves in Wood
While a drill is a convenient tool, other methods might suit your project better. Knowing these alternatives broadens your woodworking skill set.
A router with a straight bit is the standard tool for making grooves. It offers speed, precision, and adjustable depth control. If you plan to cut grooves often, investing in one is worthwhile.
A table saw with a dado blade can also cut wide, consistent grooves. This method is excellent for joinery work but requires setup and safety awareness.
If you prefer manual tools, use a hand chisel and mallet. Though slower, it provides unmatched control and craftsmanship for fine woodworking.
A rotary tool like a Dremel can mimic a drill but offers higher speed and smaller bits for detail grooves. It’s ideal for decorative or shallow channels.
Lastly, a plunge saw can create clean, straight grooves when guided by a rail. It’s a hybrid between a circular saw and a router.
Each tool has its advantages depending on your material, skill level, and available equipment.
Conclusion
Cutting a groove in wood with a drill may take time and patience, but it’s a practical and effective method when done correctly. With the right bit, guide, and speed, you can achieve clean, straight results that rival professional tools.
Preparation and control are key. Mark your lines, test your bit, and move slowly to maintain accuracy. Whether you’re creating a joint channel or a decorative groove, precision always pays off.
By following the techniques in this guide, your drill becomes a versatile woodworking tool capable of more than just making holes. The next time you need a groove — you’ll know exactly how to make one perfectly.

I’m John F. Nicholas, the founder, lead writer, and drill enthusiast behind 101drill.com. With years of hands-on experience in power tools and DIY projects, I created this platform to share practical knowledge, expert tips, and real-world insights to help others master the art of drilling.