
You sit at your workbench, a simple block of wood in front of you, and your drill resting nearby. You wonder if it’s possible to turn this everyday tool into something that can carve and shape wood. It feels unconventional, yet exciting — the start of a creative experiment.
Many woodworkers and DIYers have asked the same question. Drills are powerful, easy to control, and already part of every toolbox. With the right attachments, they can perform light carving, engraving, and shaping tasks surprisingly well.
Traditional carving requires chisels, gouges, and hours of manual precision. A drill, on the other hand, brings speed and accessibility. You can rough out shapes, smooth surfaces, or even engrave patterns with minimal effort.
In this guide, you’ll learn how to carve wood with a drill using simple techniques and the proper accessories. From selecting burr bits to managing drill speed, every step will help you carve safely and confidently.
By the end, you’ll see how an ordinary drill can become a creative wood-carving tool — perfect for small projects, rustic art, and learning the craft at home.
Why People Use a Drill for Wood Carving
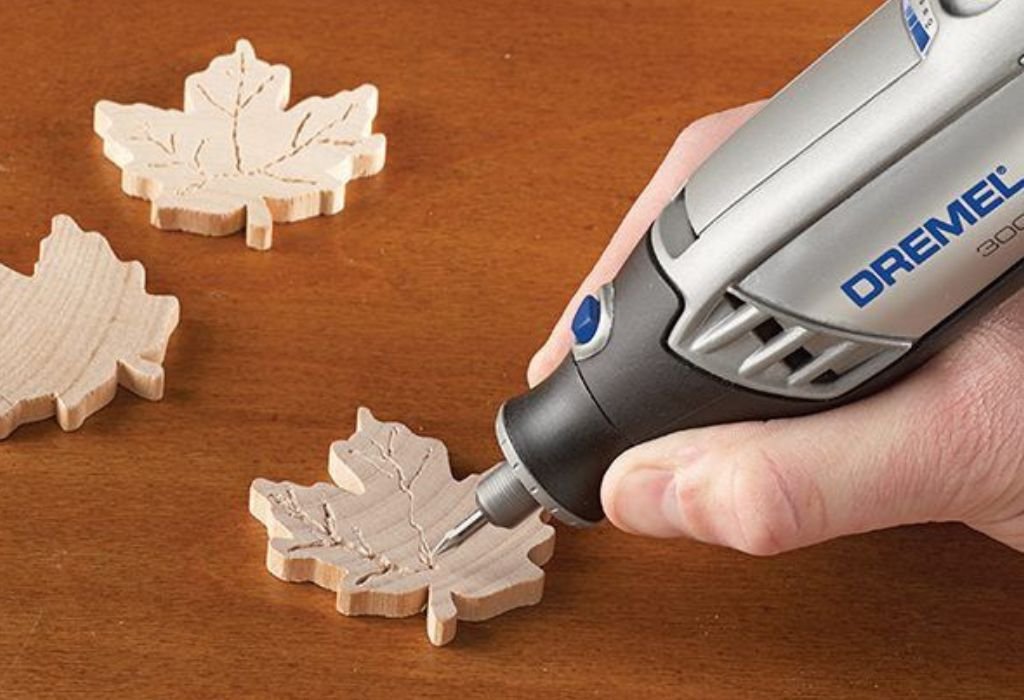
A drill offers an easy starting point for beginners who don’t own specialized tools. Its high-speed rotation and ergonomic design make it perfect for basic shaping and smoothing. With the right attachment, it can mimic the function of a rotary carver or Dremel.
People often use drills for carving when they need to remove large sections of wood quickly. Instead of using hand chisels, a power drill can grind, hollow, and contour material efficiently. This saves time during rough shaping.
Drills are also cost-effective. Buying a few burr bits or rasps costs far less than a full carving set. For hobbyists or occasional crafters, this setup delivers impressive versatility.
Another reason is creativity. Using a drill encourages experimentation with textures, patterns, and designs. You can carve abstract shapes or smooth curves by changing bit styles and rotation speed.
It’s also accessible. Most households already own a drill, so no extra investment is needed to start carving. That makes it a practical way to explore woodworking without expensive gear.
Finally, many artists use drills for finishing touches on larger sculptures. The tool’s precision and torque make it suitable for blending surfaces or refining details that chisels can’t easily reach.
Can You Really Carve Wood with a Drill?
Yes, you can carve wood with a drill — but only when used correctly. The drill doesn’t “cut” wood like a chisel; it grinds and removes material through rotational abrasion. This makes it perfect for shaping, hollowing, and smoothing rather than detailed engraving.
A drill’s torque and speed control make it versatile. You can start at a low RPM for delicate areas and increase power when removing more wood. However, too much speed can burn the surface or cause bits to slip.
What limits a drill’s carving ability is its shape and weight. Standard drills are bulkier than handheld rotary tools, which affects maneuverability. Using both hands improves stability and control.
The key to success lies in the attachments. Burr bits, rasps, and sanding drums transform your drill from a boring tool into a carving machine. Each one removes wood differently — some grind coarsely, others polish smoothly.
Drilling isn’t ideal for fine relief carving or miniature detailing. But for rustic decor, furniture shaping, or rough designs, it works extremely well. With practice, you can produce impressive results using nothing more than a power drill.
Think of it as sculpting rather than slicing. The technique requires patience, gentle motion, and a steady hand to achieve smooth, controlled forms.
Best Drill Attachments for Wood Carving
To carve wood effectively, you’ll need the right attachments. Each tool type shapes or textures the surface differently. Choosing wisely determines how smooth or rough your final result will be.
Rotary burr bits are the most popular choice. They come in various shapes — ball, cone, cylinder, and flame. Coarse burrs remove bulk material, while fine ones refine details and smooth surfaces.
Rotary rasps are similar but feature larger teeth. They work fast for rough shaping or hollowing. They leave a textured surface, perfect for rustic or organic designs.
Sanding drums and flap wheels smooth the carved areas. After roughing out with burrs, these attachments even out the surface. Using multiple grits helps achieve a polished finish.
Engraving bits are designed for fine line work, letters, or patterns. They allow more precision, though controlling them on a heavy drill takes practice.
Cutting wheels and discs can slice or groove wood but must be used carefully. Drills lack the side stability of rotary tools, so cutting motions require light pressure and firm control.
Finally, wire wheels or polishing pads can be used for finishing. They remove dust, polish grain, and bring out texture details in the carved surface.
Having a small set of these attachments lets you perform every stage of carving — from rough removal to smooth finishing.
Step-by-Step Process to Carve Wood with a Drill
Step 1: Prepare your workspace.
Set up a stable workbench with clamps or vises to hold your wood securely. A firm base prevents slipping and ensures precise control. Keep your area well-lit and free from clutter.
Step 2: Choose your wood.
Softwoods like pine, cedar, and basswood are ideal for beginners. They’re easy to carve and put less strain on the drill. Hardwoods like oak require slower speeds and more control.
Step 3: Select the right bit.
Start with a coarse burr for rough shaping. As your design takes form, switch to finer bits or sanders for smoothing. Keep all bits clean and sharp for best results.
Step 4: Adjust your drill speed.
Use lower RPMs for delicate areas and higher speeds for bulk removal. Too much speed can scorch wood or cause the bit to jump. Experiment on scrap wood first to find your comfort range.
Step 5: Begin carving.
Hold the drill firmly with both hands. Move slowly in sweeping motions, guiding the bit rather than forcing it. Let the tool’s rotation do the work.
Step 6: Refine and finish.
Once your shape is carved, use sanding attachments to smooth rough edges. Finish with fine sandpaper or polish to highlight grain and details.
Taking it step by step ensures safety, control, and consistent results.
Tips for Smoother and More Detailed Carving
Start with simple shapes before attempting complex patterns. Getting a feel for how the drill handles wood helps you control depth and direction better.
Use multiple bit sizes in one project. Coarse bits for removal, fine bits for refinement, and sanding drums for finishing. Switching tools gives texture and precision.
Avoid rushing. Patience is key in carving. Taking short breaks prevents fatigue and reduces mistakes.
Keep the drill angle consistent while carving. Changing angles mid-stroke leaves uneven grooves or gouges. Practicing wrist movement improves fluidity.
Always clean dust buildup from the carving area. Wood shavings reduce visibility and affect accuracy. A small brush or air blower works best.
Experiment with grain direction. Carving along the grain produces smoother results, while going against it creates rougher, rustic textures.
Finally, finish your piece with wood oil or sealer. It enhances color, highlights carved details, and protects the surface from moisture.
Common Mistakes to Avoid While Carving with a Drill
The most common mistake is using too much pressure. Forcing the bit can cause deep gouges or loss of control. Always let the bit’s rotation do the cutting.
Overheating is another issue. Holding the drill in one spot too long burns the wood and dulls the bit. Move the tool continuously to prevent heat buildup.
Many beginners carve without clamping their workpiece. A shifting block can cause slips or uneven cuts. Always secure your material firmly.
Another mistake is using dull bits. Worn edges tear wood fibers instead of shaving them. Replace or sharpen bits regularly to maintain clean lines.
Skipping rough shaping and jumping straight to details also leads to frustration. Always establish the basic form first before refining edges or patterns.
Avoid carving at full drill speed. High RPMs reduce control and increase the risk of accidents. Use moderate speeds for both safety and smoother performance.
Ignoring grain direction often results in splintering. Understanding how wood fibers respond to movement prevents damage and improves finish quality.
Safety Guidelines for Wood Carving with a Drill
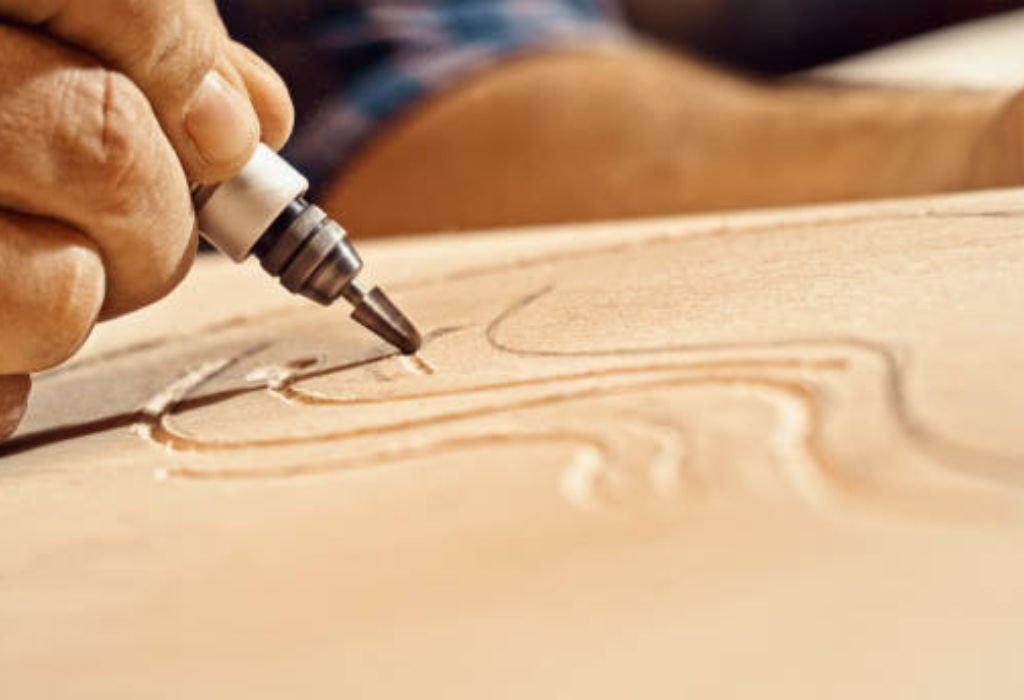
Safety comes first whenever using power tools. Always wear safety glasses to protect your eyes from flying dust and chips. A dust mask helps prevent inhalation of fine particles.
Secure the wood tightly using clamps or a bench vise. Never hold the piece with your hand while carving. Even slight slips can cause injury.
Use both hands on the drill for control and stability. Avoid awkward postures that strain your wrist or shoulder.
Keep the drill speed moderate and the bit sharp. Dull bits require more pressure and increase the risk of kickback.
Avoid loose clothing or jewelry that could catch in the spinning bit. Tie back long hair and work in a clean, organized space.
Unplug or remove the battery before changing attachments. This simple habit prevents accidental activation.
Finally, take regular breaks to reduce fatigue. Tired hands react slower, which can lead to mistakes or accidents. Carving safely ensures long-term enjoyment of the craft.
Wood Carving with a Drill: Expert Answers to FAQs
Can I use a regular drill for carving?
Yes, but lighter drills are easier to control. Standard power drills work fine if you manage speed carefully and use proper bits.
What bit is best for detailed carving?
Small rotary burr bits or engraving bits give fine detail. Use fine-toothed types for smooth lines and minimal vibration.
How do I stop the bit from burning the wood?
Lower the drill speed and keep the bit moving constantly. Burn marks indicate too much friction or dull edges.
Can I carve hardwoods like oak or walnut?
Yes, but go slow and use sharp carbide burr bits. Hardwoods resist cutting and require steady control with minimal pressure.
Do cordless drills work for long carving sessions?
Yes, though battery life limits runtime. Keep spare batteries charged or use corded drills for extended projects.
Conclusion
Carving wood with a drill opens creative possibilities beyond ordinary drilling. With the right bits, steady hands, and patience, your everyday power drill can double as a capable carving tool.
While it won’t replace traditional chisels or rotary carvers for fine details, it excels at shaping, smoothing, and crafting rustic designs. The key lies in proper technique, moderate speed, and safety awareness.
Whether you’re carving signs, ornaments, or furniture accents, the process is both rewarding and practical. Start with softwood, practice bit control, and gradually take on more complex projects.
Once mastered, drill carving becomes a powerful addition to your woodworking skills — turning a common household tool into an artistic instrument.

I’m John F. Nicholas, the founder, lead writer, and drill enthusiast behind 101drill.com. With years of hands-on experience in power tools and DIY projects, I created this platform to share practical knowledge, expert tips, and real-world insights to help others master the art of drilling.