
A jammed or worn-out drill press chuck can bring any project to a sudden stop.
Whether you’re replacing it, cleaning the spindle, or fixing bit wobble, knowing how to remove chuck from drill press properly is an essential skill for every DIYer and machinist.
This guide covers everything — from identifying your chuck type to the safest removal methods, troubleshooting, and maintenance tips.
Understanding the Drill Press Chuck
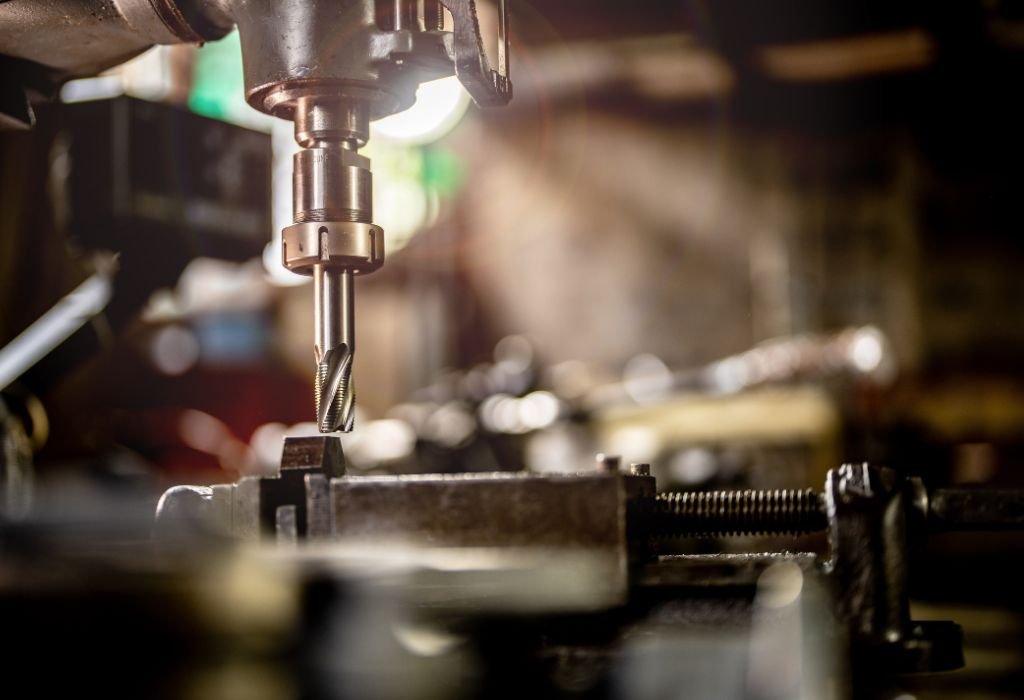
A drill press chuck is the heart of your drilling system — it grips the drill bit tightly and transfers power from the motor. Without it, even the most powerful drill press can’t perform precise holes.
Purpose of the Chuck
The chuck holds the drill bit securely in place, allowing consistent rotation. Most drill presses use either keyed or keyless chucks mounted by a taper or threaded system.
Common Reasons for Removal
There are several situations where chuck removal becomes necessary:
- To clean accumulated dust or metal shavings.
- To replace a damaged or worn chuck.
- To upgrade to a precision or keyless model.
- To fix slippage or wobbling during drilling.
Quick Q&A
What is a drill press chuck?
It’s a clamping device that holds the drill bit and ensures stable rotation.
Why remove it?
For cleaning, maintenance, or replacement when performance drops.
Do all drill presses use the same chuck?
No, chuck types vary by brand and spindle connection.
Read More: what is a drill press used for
Identifying Your Drill Press Chuck Type
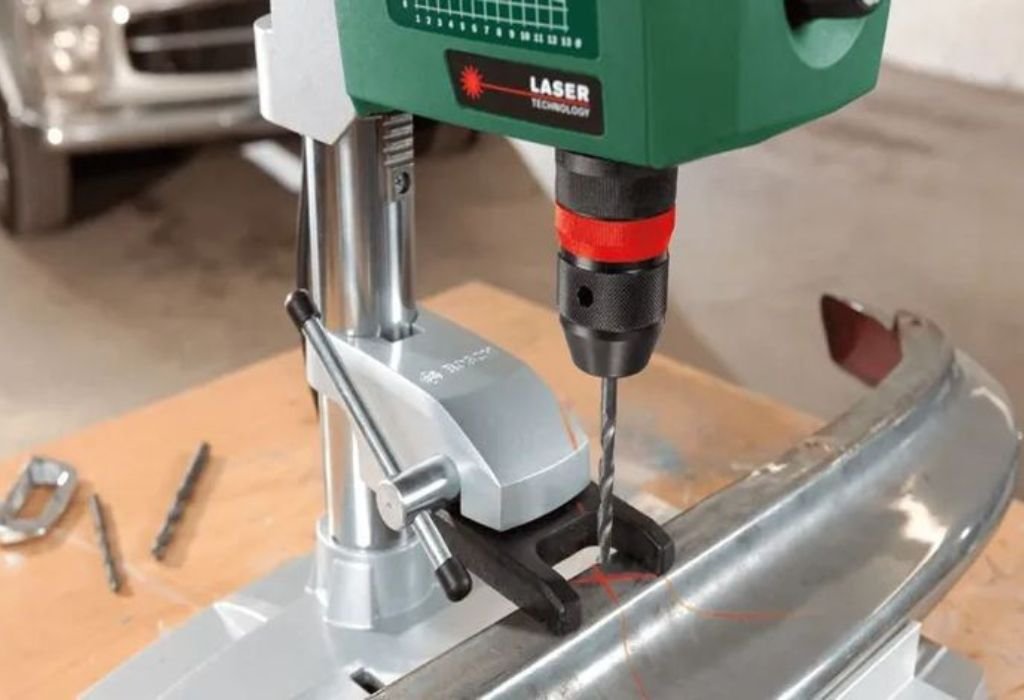
Before attempting removal, determine the chuck type — this decides the right removal method.
1. Taper-Mounted Chuck
This type is friction-fit using a Jacobs Taper (JT) or Morse Taper (MT). The chuck sits tightly on a conical spindle.
2. Threaded Chuck
Threaded models screw directly onto the spindle shaft. These usually have a retaining screw inside that’s reverse-threaded.
How to Identify Yours
- Look for a code like “JT33” or “MT2” near the chuck body — that’s a taper mount.
- If you see a screw inside when you open the jaws, it’s a threaded chuck.
Quick Q&A
How can I tell if my chuck is taper-mounted?
If you don’t see any visible threads or screws, it’s taper-mounted.
What’s a Jacobs taper?
A standardized cone-shaped mount that provides secure friction fit.
Are threaded chucks easier to remove?
Yes, they unscrew rather than requiring wedges.
Read More: how to use a drill press
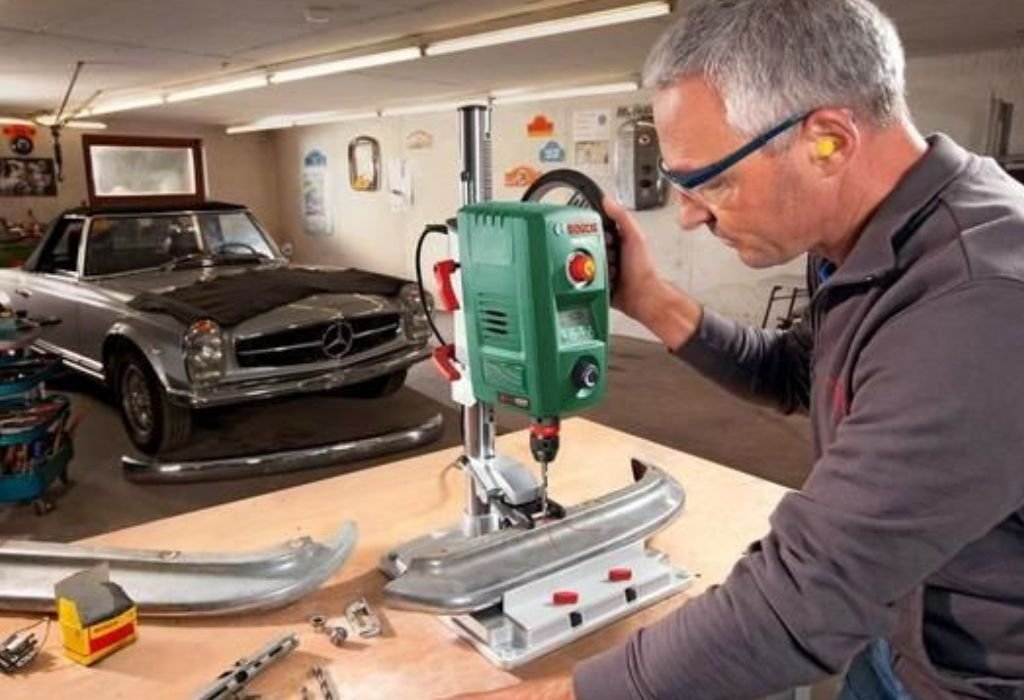
Safety Preparation Before Removal
Safety is vital when working with heavy machinery. Always follow these steps:
- Disconnect power to prevent accidental activation.
- Lower the drill table for workspace clearance.
- Wear gloves and safety glasses to protect from metal chips.
- Clean the chuck to remove debris that could cause slippage.
- Apply penetrating oil around the chuck joint to loosen any rust.
Quick Q&A
Why disconnect power first?
To avoid serious injuries from an accidental motor start.
Can you skip gloves?
No — metal edges can cause cuts during removal.
Will oil help?
Yes, it softens rust and dirt buildup for easier removal.
How to Remove a Taper-Mounted Chuck
A taper-mounted chuck requires special care since it’s press-fitted to the spindle. Forcing it off incorrectly can damage the arbor.
Tools You’ll Need
- Chuck removal wedge set
- Hammer or rubber mallet
- Penetrating oil
- Clean cloth
Step-by-Step Instructions
- Lower the spindle to its full downward position.
- Locate the taper joint between the chuck and arbor.
- Insert two wedges between the chuck and spindle.
- Tap the wedges lightly with a hammer until the chuck pops off.
- Clean both surfaces with alcohol or machine oil.
Pro Tips
- Always tap lightly to avoid bending the spindle.
- Keep wedges even on both sides to prevent misalignment.
- If it’s stuck, reapply oil and wait 10 minutes before retrying.
Quick Q&A
Can I use a screwdriver instead of wedges?
No, it can scratch the arbor surface.
What if the chuck won’t budge?
Add oil or apply gentle heat to expand the metal slightly.
Can I reinstall the same chuck?
Yes, just make sure it’s clean and dry before reassembly.
How to Remove a Threaded Chuck
Threaded chucks are commonly found on smaller or older drill presses. They’re easy to remove but often held tight with reverse-threaded screws.
Tools You’ll Need
- Allen key
- Chuck key
- Wrench
- Oil or WD-40
Step-by-Step Instructions
- Open the chuck jaws fully to access the retaining screw inside.
- Insert an Allen key and tighten it into the chuck.
- Turn counterclockwise by hand or with a wrench to loosen the screw.
- Hold the spindle and unscrew the chuck completely.
- Clean the threads with a wire brush and re-oil them lightly.
Quick Q&A
Which way should I turn the screw?
Usually clockwise — it’s a reverse thread.
Why use an Allen key?
It provides leverage for loosening the threads.
Can I use pliers?
Yes, but wrap them with cloth to avoid scratches.
What if the threads are rusted?
Apply WD-40 and let it soak for 15 minutes.
Cleaning and Maintenance After Removal
After removing the chuck, take a few minutes to clean and inspect all parts. This ensures smoother future operation.
Cleaning Steps
- Wipe the spindle taper or threads using isopropyl alcohol.
- Remove old grease, rust, or dirt with a brush.
- Check the chuck jaws for alignment and smooth motion.
- Apply light machine oil for protection.
Quick Q&A
Should I lubricate the chuck?
Yes, a small drop of oil helps maintain smooth jaw movement.
Can rust affect drilling precision?
Absolutely — it causes wobble and uneven drilling.
What’s the best cleaning product?
Use alcohol or a degreaser that doesn’t leave residue.
Reinstalling or Replacing the Chuck
After cleaning or upgrading, reinstalling the chuck is simple if done carefully.
Steps
- Align the chuck with the spindle taper.
- Push firmly upward until seated.
- Run the drill at low speed to check for wobble.
- Tighten and test using a small bit.
Quick Q&A
Do I need to grease the taper?
No, keep it dry for a friction-based grip.
Can I switch to a keyless chuck?
Yes, if compatible with your spindle taper.
What if the chuck keeps falling off?
Clean the taper again — oil or dirt may be causing slippage.
Common Problems and Solutions
Even after following steps carefully, users may face common issues.
Problem 1: Chuck Won’t Come Off
Apply more penetrating oil or heat the spindle lightly. Avoid striking hard.
Problem 2: Chuck Keeps Falling
The taper wasn’t seated firmly. Clean and re-seat the chuck.
Problem 3: Drill Bit Wobble
Occurs from dirt or a bent arbor. Use a dial indicator to check alignment.
Problem 4: Chuck Jaws Not Closing
Clean internal threads — debris often jams the mechanism.
Quick Q&A
Why does my chuck fall off repeatedly?
The taper might be oily or damaged.
Can vibration cause loosening?
Yes, frequent vibration can dislodge poorly seated chucks.
What if it’s permanently stuck?
Consult a tool repair technician for professional removal.
Maintenance Tips to Extend Chuck Life
Keeping your chuck in good condition prevents most removal issues.
Best Practices
- Clean regularly: Remove dust and shavings after each use.
- Avoid over-tightening: It wears out the jaws faster.
- Lubricate occasionally: A light oil film prevents corrosion.
- Store properly: Cover the drill press when not in use.
- Inspect before use: Check for rust or misalignment.
Quick Q&A
How long does a chuck last?
5–10 years with proper care.
Do keyless chucks wear out faster?
Slightly, because of internal clutch friction.
Can moisture damage the chuck?
Yes, it accelerates rust and seizing.
Should I apply oil often?
Once every few months is sufficient.
Conclusion
Removing a chuck from a drill press isn’t complicated when you know the right steps. First, identify your chuck type — taper-mounted or threaded — then follow the safe removal process. Always clean, inspect, and reinstall with precision to ensure your drill press performs flawlessly.
Mastering how to remove chuck from drill press not only saves money but also prolongs your tool’s lifespan. A well-maintained chuck means smoother drilling, greater accuracy, and safer operation — exactly what every craftsman needs.

I’m John F. Nicholas, the founder, lead writer, and drill enthusiast behind 101drill.com. With years of hands-on experience in power tools and DIY projects, I created this platform to share practical knowledge, expert tips, and real-world insights to help others master the art of drilling.