
Every DIYer faces this challenge at least once — drilling a hole that looks perfect from above, only to find it comes out crooked on the other side.
Uneven holes can ruin a project, weaken joints, and waste time.
The good news is that with the right tools and methods, you can drill straight holes without using a drill press. It’s all about setup, alignment, and stability.
A 2023 survey by Statista found that over 63% of DIY tool users rely solely on handheld drills for most of their work (source).
This shows how many people face the same precision challenge.
In this guide, you’ll learn proven techniques, homemade jigs, and professional tips that make every hole straight — even when using a simple hand drill.
Read More: how to use a drill press
Why Drilling Straight Is So Important
Drilling straight holes ensures that screws, bolts, and fasteners align correctly, especially in woodworking and construction projects. A slightly off-angle hole can weaken joints and throw off entire builds.
In cabinetry or furniture making, accuracy determines both strength and appearance. Even a few degrees of tilt can make panels misalign or cause gaps between parts.
Crooked holes don’t just look bad — they also lead to uneven load distribution. Over time, that imbalance can cause cracks or screw loosening.
Straight holes also improve safety by reducing vibration and bit slippage. Stable drilling prevents injuries and extends the lifespan of both the drill and bits.
What happens if I drill at an angle?
It weakens the joint, causes misalignment, and can damage materials.
Can crooked holes damage screws?
Yes. Angled holes put extra stress on screws and can make them strip or break.
Why is drilling straight critical in woodworking?
Because accurate holes ensure the structure’s strength, stability, and a clean professional look.
Common Problems When Drilling by Hand
Drilling by hand introduces many small variables that affect the result. Shaky hands, uneven pressure, or unstable materials can make holes drift off-center.
A dull drill bit makes the problem worse by forcing you to push harder, which changes the drilling angle. Constant repositioning also widens the hole and reduces accuracy.
The angle of approach is another common issue. Without a visual guide, your eyes can easily misjudge the drill’s alignment.
Inconsistent drill speed or torque can also cause wandering, especially on smooth metal or hardwood.
Why do my holes come out crooked?
Usually because the bit slips at the start or the drill isn’t held perfectly vertical.
Does drill speed affect accuracy?
Yes. A slower speed gives more control and helps prevent wobbling.
Should I mark before drilling?
Always. A clear mark or center punch prevents the bit from walking across the surface.
Essential Tools to Drill Straight Without a Drill Press
A few simple tools can completely change your drilling accuracy. You don’t need expensive machines to drill perfect holes.
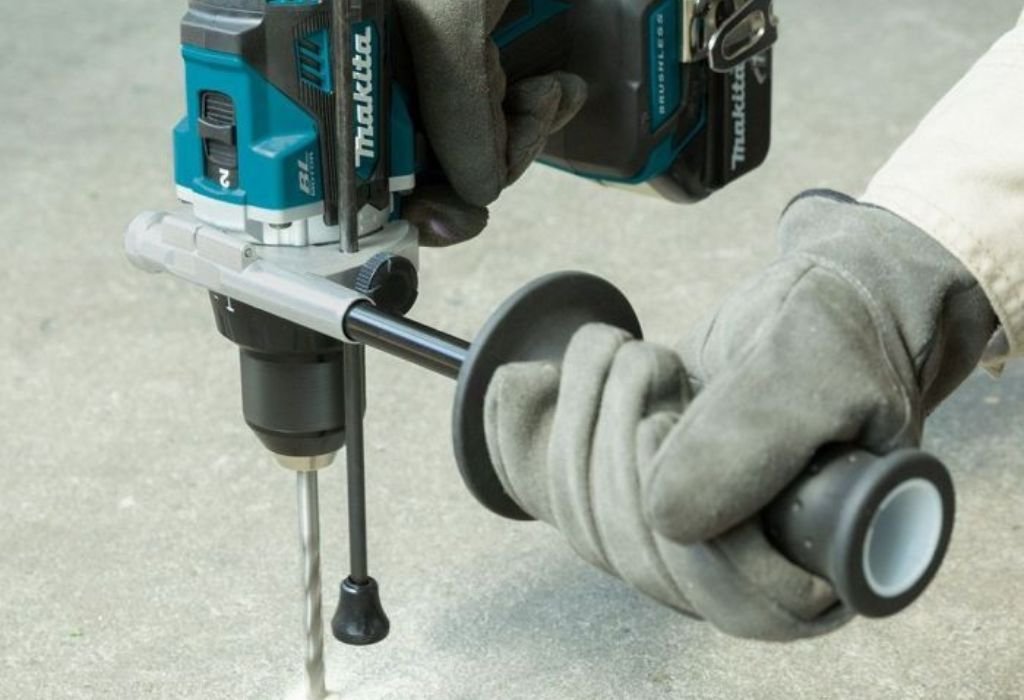
A drill guide jig is one of the best investments. It holds your drill steady at a fixed angle, usually 90 degrees.
A drill block or right-angle attachment also helps. It gives you a straight visual reference and supports the bit during the first few millimeters of drilling.
Clamps, bubble levels, and center punches are equally important. They keep your work secure and help ensure every hole is consistent.
What is a drill guide jig?
It’s a compact tool that locks the drill into position to keep the bit straight.
Are right-angle attachments useful?
Yes. They allow precise drilling in tight or awkward spaces.
Do I need clamps?
Absolutely. Clamps stabilize your workpiece and prevent vibration, which ensures straighter holes.
Step-by-Step Guide to Drilling Straight by Hand
Step 1: Mark and Punch the Spot
Start by measuring and marking your hole location. Use a center punch or a nail to create a small dent where the bit will rest.
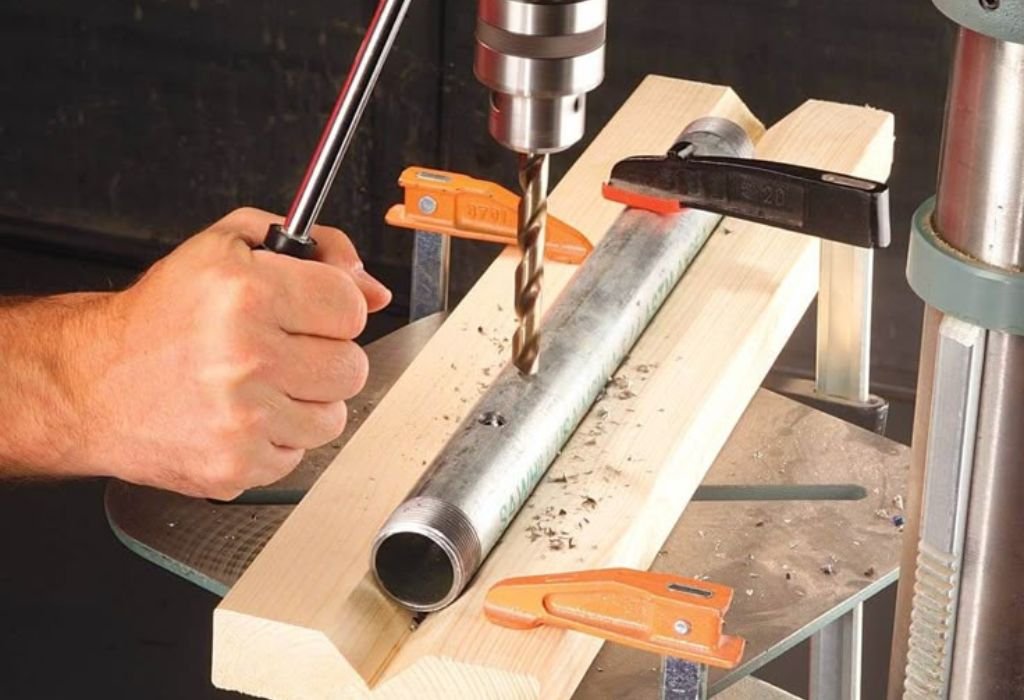
Step 2: Secure the Workpiece Firmly
Use at least one clamp to hold your work on a flat surface. Even minor movement will cause misalignment.
Step 3: Align the Drill Properly
Place the drill perpendicular to the surface. You can check alignment with a small square or a level.
Step 4: Start Slow and Steady
Begin drilling at low speed. Once the bit bites into the surface, gradually increase the speed while maintaining pressure.
Step 5: Keep Checking the Angle
Look from multiple sides as you drill. Small visual corrections prevent the bit from drifting.
Step 6: Control the Depth
Wrap a piece of masking tape around the bit to mark the desired depth. Stop drilling when you reach that mark.
How do I start drilling without slipping?
Always use a center punch or pilot hole. It guides the bit right from the start.
What’s the best drill speed?
Slow for starting, then moderate once the bit is stable.
How can I check if I’m drilling straight?
Use a mirror or place a level on top of your drill to monitor alignment.
Homemade DIY Drill Guides (Simple Tricks)
You don’t need to buy fancy jigs to achieve professional-level accuracy. A few everyday materials can help you drill straight.
The wood block method is one of the simplest. Drill a perfectly straight hole in scrap wood using a friend’s drill press or careful alignment. Then use that block as a reusable guide for future drilling.
A PVC pipe jig works well too. Cut a small piece of pipe and hold your drill inside it. The round shape naturally stabilizes the bit.
Another option is attaching a small bubble level to the back of your drill using tape. As you drill, keep the bubble centered to maintain a straight line.
Can I make a drill guide at home?
Yes. You can use scrap wood, pipes, or even metal sleeves as effective DIY guides.
How accurate are homemade guides?
They work surprisingly well for small to medium projects.
Should I test before drilling the final piece?
Always. Test your setup on scrap material before drilling the actual workpiece.
Advanced Tips for Perfect Drilling Accuracy
Even experienced builders rely on subtle techniques for better results. Mastering hand control is key to drilling straight every time.
Always use sharp bits. A dull bit doesn’t cut cleanly and can wander off course.
For deeper holes, start with a pilot hole first. It helps guide the larger bit precisely and reduces resistance.
Keep your elbows tucked close to your body. This stabilizes your upper arms and keeps your hands steady during drilling.
Good lighting and a stable footing also make a big difference in visual accuracy.
Do sharper bits drill straighter holes?
Yes. Sharp bits grip immediately and prevent wandering.
Why use a pilot hole?
It reduces strain, improves alignment, and ensures cleaner drilling.
Does lighting matter when drilling?
Absolutely. Poor visibility increases errors and misjudgment of angles.
Mistakes to Avoid When Drilling Without a Drill Press
Many beginners make small mistakes that ruin their results. The first is skipping proper marking or punching before drilling.
Another mistake is drilling at high speed right away. Fast drilling without alignment causes wobbling and uneven entry points.
Using dull or wrong-sized bits also leads to drift and material damage. Maintaining your bits ensures accuracy and longer lifespan.
Finally, never ignore material movement. Even the smallest vibration can throw off your drill by several degrees.
What’s the biggest mistake beginners make?
Not securing their material properly before starting.
Can I use a cordless drill?
Yes. Just use a moderate torque setting for better control.
Should I force the drill if it stops cutting?
Never. Let the drill do the work — forcing it can bend bits or crack materials.
When You Should Consider Using a Drill Press Instead
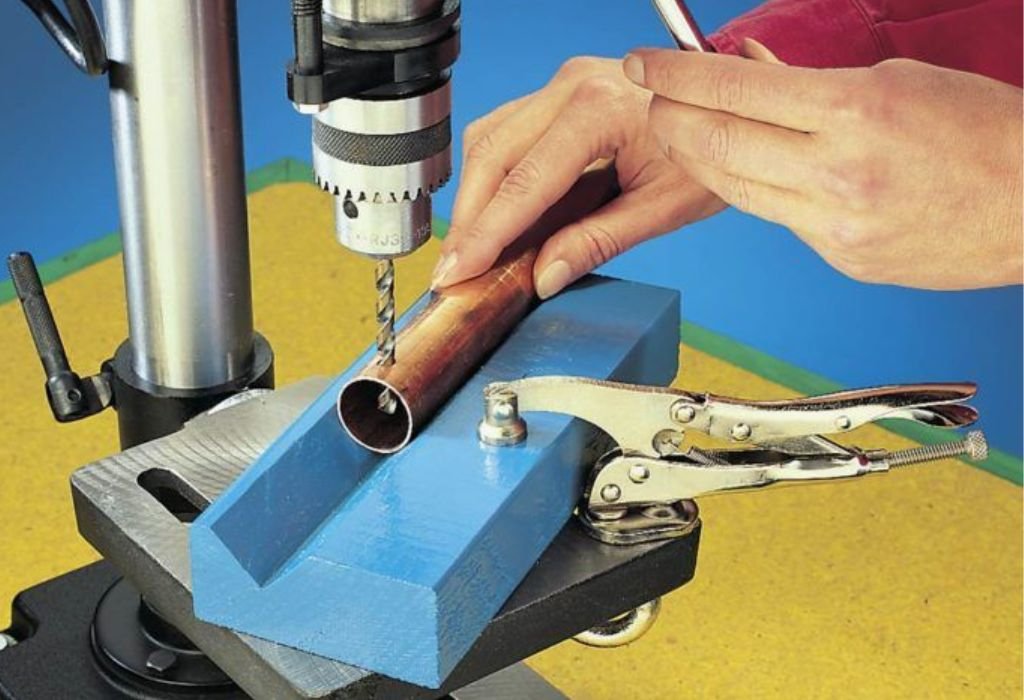
Even though it’s possible to drill straight without a press, there are situations where a drill press is necessary.
Precision metalwork, large-diameter holes, and repetitive production tasks all benefit from the consistent alignment of a drill press.
If your project requires perfect depth control or multiple identical holes, a handheld drill won’t deliver the same precision.
However, for most household and DIY work, handheld drilling with the right technique is more than sufficient.
When is a drill press essential?
When working on metal, repetitive holes, or industrial-grade projects.
Can I replace a drill press entirely?
Only for light to moderate tasks. Complex jobs still require a press.
Is it worth buying one?
Yes, if you frequently drill deep, wide, or perfectly aligned holes.
Safety Tips for Drilling by Hand
Safety should always come first, even in small DIY projects. Hand drills can still cause injuries if used carelessly.
Always wear safety glasses to protect from flying debris. Gloves help prevent minor cuts and burns from hot metal shavings.
Keep long hair and clothing away from moving parts. Secure all cables to prevent tripping.
Never touch the drill bit immediately after use. It can heat up quickly and cause burns.
Is drilling by hand safe?
Yes, if proper technique and protection are used.
What should I wear while drilling?
Snug clothing, gloves, and protective eyewear.
Should I clean bits after each use?
Yes. Clean bits cut more smoothly and last longer.
Final Thoughts — Mastering Precision Without a Drill Press
Drilling straight without a drill press may seem challenging, but it’s completely achievable with patience and practice.
Using guides, stable setups, and the right speed makes all the difference. A little preparation saves materials and ensures professional-quality results.
Focus on control, not speed. Small adjustments and proper setup are what separate clean holes from crooked ones.
With these techniques, you’ll turn any handheld drill into a precision tool — proving that accuracy isn’t about machines, it’s about method.

I’m John F. Nicholas, the founder, lead writer, and drill enthusiast behind 101drill.com. With years of hands-on experience in power tools and DIY projects, I created this platform to share practical knowledge, expert tips, and real-world insights to help others master the art of drilling.