
A broken drill bit stuck deep inside metal is one of the most frustrating moments for any DIY user or mechanic. It usually happens at the worst time right when the hole is almost done and the pressure feels just right. Suddenly the drill stalls the bit snaps and the remaining piece becomes trapped so tightly that it feels impossible to remove. People often panic at this moment because hardened steel pieces grab onto the metal walls and refuse to move.
The surprising thing is that a broken bit is not the end of the project as long as you know what to do next. The removal method depends on how deep the bit is stuck how much is exposed and how hard the metal is. Once these details are understood anyone can handle the situation calmly and fix the problem safely. Even in tough steel you can loosen the snapped bit piece by piece.
Most beginners make mistakes immediately after the break which makes things worse. They continue drilling they apply too much force or they hit the bit hoping to push it out. This creates more pressure and locks the broken piece even deeper. A calm approach stops further damage and increases the chance of a clean removal.
Every metal worker eventually deals with broken bits so knowing the right steps saves time and tools. With the techniques in this guide you can remove the piece safely avoid damaging the workpiece and continue drilling again without fear. These simple but effective steps work for steel aluminum machinery parts car frames and any other metal project.
Why Drill Bits Break Inside Metal
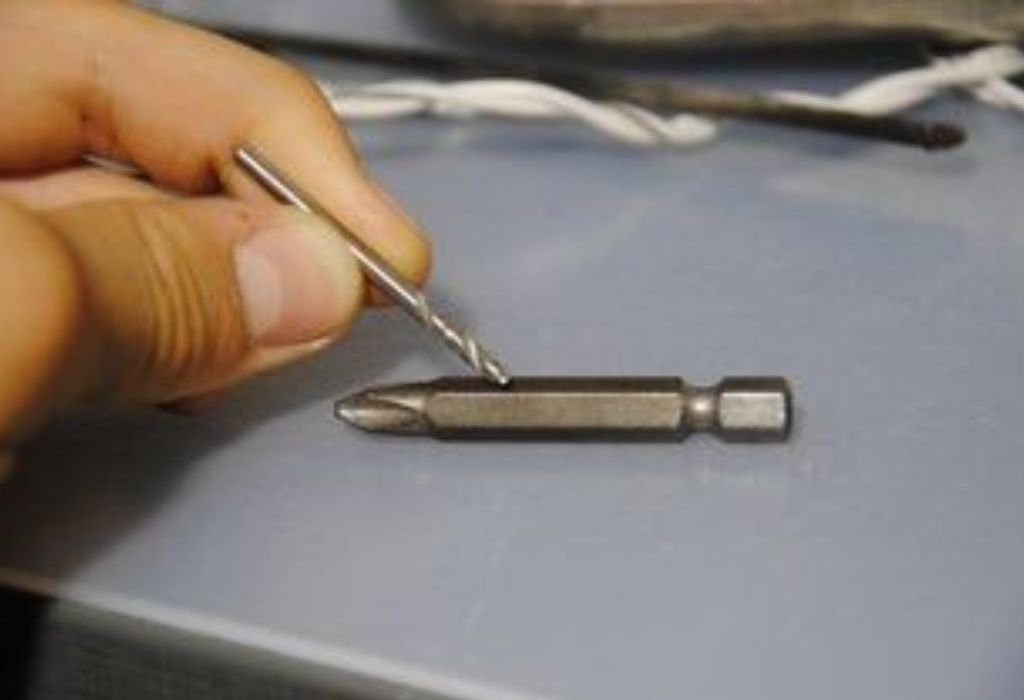
Drill bits usually break because of excessive pressure. Too much force twists the metal unevenly and causes stress at the tip. This sudden stress leads to snapping.
Another reason is drilling at a high speed. High speed increases friction which weakens the bit. Heat builds quickly and damages the cutting edges.
Dull bits also break easily. A dull tip does not slice metal it rubs which creates heat and resistance. This increases the chance of snapping.
Drilling at an angle can also cause a break. Uneven entry stresses one side of the bit more than the other. A straight entry always reduces risk.
Using the wrong bit for hardened metal also leads to breakage. Softer bits cannot handle high resistance. Choosing the correct bit type prevents most failures.
First Steps To Take Immediately After The Bit Breaks
Stop drilling instantly. Continued drilling pushes the broken piece deeper into the metal. This makes removal harder.
Turn off the drill and remove it from the broken piece. Leaving the drill attached increases stress. Removing it helps you observe the damage clearly.
Do not hit or force the broken bit. This causes the metal around it to tighten. Pressure makes the bit lock into place.
Clean the area around the break. Metal shavings often hide the bit depth. A clean view helps you choose the correct removal method.
Use a flashlight to inspect how much of the bit remains exposed. The removal method depends on visibility. A visible broken edge is easier to extract.
Removing A Broken Bit That Is Partially Exposed
If a small part of the bit is sticking out try gripping it with locking pliers. Locking pliers provide strong grip and steady turning force. This helps loosen the stuck piece.
Turn the pliers slowly in the reverse direction. Too much rotation force snaps the bit again. Slow movement protects the metal.
If the bit is tight apply penetrating oil. Oil helps loosen the metal grip. The bit becomes easier to turn.
Let the oil sit for a few minutes before trying again. Penetrating oil needs time to work. Patience makes removal smoother.
If the bit wiggles slightly keep working it back and forth. Small movements eventually loosen the stuck piece. Avoid using brute force.
Using Heat To Loosen A Stuck Drill Bit
Heat causes metal to expand slightly. This expansion helps release the pressure holding the broken drill bit. A small amount of heat is enough.
Use a heat gun to warm the area around the broken bit. Avoid applying heat directly to the bit itself. Heating the surrounding metal works better.
Once the metal warms try turning the bit gently. Expansion reduces friction. The bit may loosen quickly.
Do not overheat the metal. Excess heat can weaken or discolor the workpiece. Light heating is all you need.
Combining heat and penetrating oil improves results. This method works well for rusted or older metals. It creates enough movement to release the bit.
How To Remove A Deeply Stuck Broken Drill Bit
When the bit breaks flush with the metal surface extraction becomes harder. A center punch helps create small vibrations. These vibrations loosen the stuck piece.
Place the punch near the broken bit and tap gently. The tapping motion breaks the friction seal. This creates space for removal.
Use a left handed drill bit next. Left handed bits spin in reverse which helps pull the broken piece out. They often remove stuck bits automatically.
Start with a small left handed bit. If it begins biting into the broken piece the broken bit will unscrew itself. Slow drilling works best.
If this does not work move to an extraction tool. Extractors are designed to grip inside the broken bit. Tightening pressure removes the stuck piece.
Using A Screw Extractor On A Broken Drill Bit
Choose an extractor slightly smaller than the broken bit. A proper fit ensures strong grip. The extractor must enter the bit snugly.
Drill a shallow hole into the center of the broken bit using a left handed bit. This prepares space for the extractor. A centered hole increases success.
Insert the extractor and rotate it counterclockwise. Extractors bite deeper as they turn. This reverse pressure pulls the broken bit out.
Use steady gentle pressure while turning. Excess pressure may snap the extractor inside the hole. Broken extractors are extremely difficult to remove.
If the bit begins to move keep turning until it comes out fully. Slow extraction prevents further damage. This method works on most stuck bits.
Drilling Around The Broken Bit When Removal Fails
Sometimes the broken bit refuses to move. When this happens drilling around the bit becomes an option. This method is useful for non visible parts of machinery.
Use a carbide burr or rotary tool to grind around the broken bit. Carbide cuts hardened metal easily. This creates clearance around the stuck piece.
Once the surrounding metal is thinned the broken bit becomes loose. You can lift it out with pliers. It releases without force.
This method requires patience because hardened bits resist grinding. Slow steady grinding prevents overheating. Overheating weakens the surrounding metal.
After removal reshape the hole if needed. You may drill a new hole slightly offset. Proper alignment maintains structural integrity.
Random FAQ Block (Placed After Section 7)
Why do drill bits break inside metal?
They break due to force heat dull edges or drilling at an angle. Hardened metal increases resistance.
Can I pull a broken bit out with magnets?
Only if the bit is exposed. Deeply stuck bits require extraction tools.
Do left handed bits really work?
Yes they often pull the broken bit out while drilling in reverse. They are highly effective.
Is heat safe to use on metal parts?
Light heat is safe. Excess heat can damage delicate components.
What if the extractor breaks inside the hole?
Extractor metal is extremely hard. Only grinding tools can remove it.
How To Protect The Metal Surface During Removal
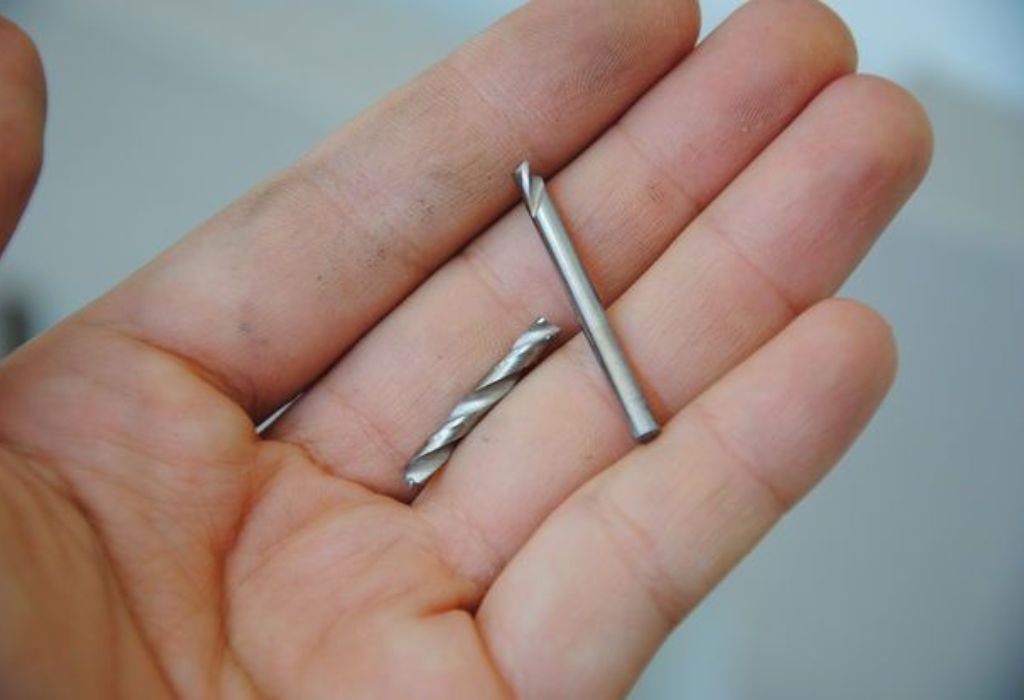
Removing a broken bit can scratch or dent the metal. Protecting the surface prevents unwanted marks. Good preparation avoids damage.
Cover the area around the break with masking tape. Tape protects the finish during tool slips. This keeps the surface clean.
Use soft jaw pliers when gripping exposed edges. Hard jaws scratch metal quickly. Soft jaws preserve appearance.
Avoid hitting the surface directly. Heavy impacts create dents that are difficult to repair. Light tapping is safer.
After removal polish the area with fine sandpaper. This removes small scratches. A smooth surface finishes the project cleanly.
How To Prevent Drill Bits From Breaking Again
Start drilling at low speed. High speed generates heat which weakens bits. Slow speed increases control.
Use cutting oil on all metal projects. Oil reduces friction and prevents overheating. Smooth drilling extends bit life.
Apply steady gentle pressure. Forcing the bit bends it inside the hole. Bent bits break easily.
Sharpen dull bits before every metal project. Sharp bits cut cleanly and reduce stress. Dull bits cause friction and snapping.
Always use the correct bit for hardened steel. Choosing the right bit prevents most breaks. Bit quality matters for long term reliability.
Long Conclusion
A broken drill bit stuck inside metal does not have to ruin your project when you know the right removal techniques. Whether the piece is slightly exposed or completely buried inside the steel there is always a safe and reliable way to loosen it. Slow movement light pressure and the correct tools prevent deeper locking and make extraction far easier.
Pliers heat penetrating oil and center punches each serve a specific role depending on how the bit broke. Left handed drill bits and screw extractors offer powerful solutions for deeply stuck pieces and are especially useful on hardened metals. Grinding around the broken bit becomes the final option only when all other methods fail and even then it allows clean removal without destroying the workpiece.
Finishing steps such as smoothing the hole cleaning the surface and rechecking alignment keep your project looking professional. With these techniques you reduce stress remove the broken bit safely and return to drilling with confidence. Learning these methods ensures that a snapped bit becomes a temporary setback rather than a major complication in your metal work.

I’m John F. Nicholas, the founder, lead writer, and drill enthusiast behind 101drill.com. With years of hands-on experience in power tools and DIY projects, I created this platform to share practical knowledge, expert tips, and real-world insights to help others master the art of drilling.