
You’re halfway through a project, the metal piece is clamped, and your drill is ready. But as you reach for a bit, you realize it’s labeled “wood.” Curiosity strikes — can it still make the hole you need, or will it ruin your tool?
Many DIYers and hobbyists face this moment of hesitation. The temptation to “just try it once” seems harmless, but drilling metal with a wood bit can create more problems than it solves. Understanding why these bits behave differently is key to protecting both your drill and your materials.
At first glance, all drill bits look similar. Yet each one is designed with a specific purpose, cutting geometry, and metal hardness suited to its target material. Using the wrong bit type can dull its edge in seconds, overheat your drill, or even cause the bit to snap.
This guide will explain whether you can use a wood drill bit on metal, what happens if you try, and how to pick the right one instead. You’ll learn the physical differences between bit types, practical safety tips, and solutions for those quick mistakes that happen mid-project.
By the end, you’ll know exactly which drill bits to use for every task — ensuring clean holes, long tool life, and a much safer working experience.
Why People Try to Use Wood Drill Bits on Metal
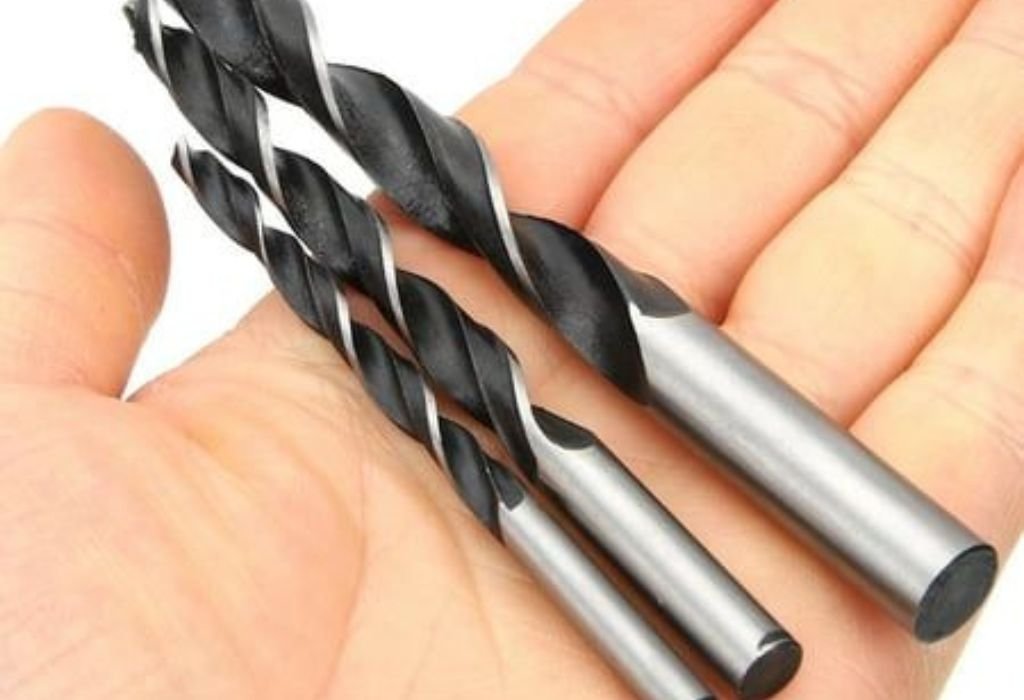
Many beginners assume all drill bits are interchangeable. After all, they share the same shape, size, and shank design. The reality is that each bit’s geometry and hardness are engineered for specific materials.
People often reach for a wood bit because it’s already installed in the drill. Convenience sometimes outweighs caution, especially when working on small metal parts or quick fixes. This leads to uneven holes and worn-out tools.
Some DIY guides mistakenly claim a wood bit can “get through” thin metal with enough force. While partially true, this advice ignores the long-term consequences for both the bit and the drill motor.
Budget limitations also play a role. Instead of buying multiple bit sets, users try to make one do everything. However, universal use shortens the lifespan of both the drill and its attachments.
Another reason is simple curiosity. Experimenting with different materials can seem harmless until friction, heat, and dullness appear. Even a brief test can permanently damage the cutting edge of a wood bit.
Finally, improper labeling or storage can confuse beginners. When drill bits aren’t clearly marked or organized, it’s easy to grab the wrong one unintentionally.
Understanding why people make this mistake helps prevent it. Knowing the risks upfront encourages smarter tool use and safer results.
Key Differences Between Wood and Metal Drill Bits
The tip design is the first major difference. Wood drill bits often feature a sharp center spur that helps guide the hole precisely through soft material. Metal bits, by contrast, have a flatter tip with split points designed to cut hard surfaces gradually.
The cutting edges on wood bits are wide and shallow, meant to shave and lift wood fibers cleanly. Metal bits rely on narrow, angled edges that scrape and slice instead of gouging. This subtle difference determines whether the bit cuts efficiently or just skids across the surface.
Material hardness also sets them apart. Most wood bits are made from carbon steel, which softens quickly under high heat. Metal bits use high-speed steel (HSS), cobalt, or carbide blends that maintain sharpness at extreme temperatures.
The coatings are another clue. Metal bits often have black oxide, titanium, or cobalt finishes for heat resistance and reduced friction. Wood bits rarely include such coatings because wood doesn’t generate comparable heat during drilling.
In short, wood bits are built for speed and clean cuts through soft fibers, while metal bits are engineered for slow, steady penetration through dense surfaces. Mixing these purposes leads to immediate wear.
Knowing these structural and material differences helps you identify the right bit for every project, and avoid the frustration of dull or broken tools.
What Happens If You Use a Wood Drill Bit on Metal
When a wood drill bit meets metal, the first thing you’ll notice is friction. The sharp spur tip of the wood bit can’t bite into hard surfaces, so it skids and overheats almost instantly. The friction produces smoke, noise, and sparks if the pressure is too high.
As the bit heats up, its cutting edge softens. Once that happens, it dulls permanently and can no longer slice through even soft wood. The drill motor also works harder, drawing more power and wearing internal gears faster.
If the bit happens to catch slightly, the uneven pressure can bend or snap it. Broken fragments can eject suddenly, posing serious injury risks. Always wear safety glasses when drilling any material.
The metal surface itself may get scorched or discolored. Excess heat transfers to the workpiece, warping thin sheets and leaving burn marks. This is especially dangerous when working near painted or coated surfaces.
Drilling metal with a wood bit can also damage your chuck or spindle. The bit’s inconsistent grip under high torque stresses the drill’s mechanical alignment. Over time, this reduces precision and causes wobbling.
Even if you manage to punch through thin metal, the resulting hole will be rough and uneven. Burrs and jagged edges make it unsafe and unfit for precise fitting.
In short, using a wood bit on metal is technically possible but practically destructive. The risks far outweigh any temporary convenience.
How to Identify Drill Bits Correctly Before Use
The easiest way to avoid mistakes is to identify your drill bits before starting. Each bit type has visible clues that reveal its purpose. Taking a moment to check prevents damage and saves time.
Wood bits typically have a pointed tip or spur. This center spike helps start holes cleanly in soft material. Some versions, like spade bits or auger bits, have wide cutting wings and screw points, designs unsuitable for metal.
Metal bits have flatter, conical tips with two sharp cutting edges meeting at the center. They lack the long spur and feature a split point to prevent wandering on hard surfaces. Their color also tends to be darker due to heat-resistant coatings.
You can also feel the difference. Run a finger gently along the edge — metal bits feel smoother and harder, while wood bits feel sharper but less dense. Handle carefully to avoid cuts.
Look for markings on the shank, such as “HSS,” “COBALT,” or “CARBIDE.” These indicate bits designed for metal. Plain steel or unmarked bits are typically meant for wood or plastic.
Keep your drill bits organized in a labeled case or divided tray. Grouping by material type prevents confusion and ensures faster selection.
Identifying bits correctly before every job eliminates guesswork and guarantees the right results for every project.
Can You Use a Wood Drill Bit on Thin Metal Sheets?
Some people wonder if thin metal sheets are an exception. Technically, a sharp wood bit might pierce light-gauge aluminum or tin. However, the success is inconsistent, and the bit will still dull quickly.
Wood bits are not designed for prolonged contact with metal. Even on thin materials, friction rises fast and creates uneven holes. The cutting edges lose sharpness after just a few seconds of drilling.
If you must drill thin metal in an emergency, proceed slowly and use very light pressure. Start at low speed to avoid overheating. The moment you see smoke or discoloration, stop immediately.
Applying a few drops of lubricant or cutting oil can slightly extend the bit’s lifespan. The oil reduces friction and prevents the surface from scorching. However, this is only a temporary workaround, not a long-term solution.
Even with careful handling, the wood bit will never match the accuracy of a true metal bit. It can slip easily, enlarge holes, or create jagged edges that need filing afterward.
For small DIY repairs, it might work once, but for repeated use, the damage accumulates. It’s far better to buy a single high-speed steel bit for clean, safe drilling.
Thin metal may seem harmless, but it still wears down wood bits rapidly. Always switch to the proper tool when working with any kind of metal.
Best Practices If You Accidentally Use the Wrong Bit
Mistakes happen, especially when drill bits look similar. If you’ve accidentally used a wood bit on metal, stop immediately to prevent further damage. Continuing can overheat your drill and ruin both bit and workpiece.
Let the bit cool naturally before touching it. Metal retains heat long after drilling stops. Trying to remove or clean a hot bit can cause burns or damage the chuck threads.
Inspect the tip carefully under good lighting. If it looks dull, discolored, or misshapen, it’s no longer safe for precise work. Dull bits tend to wander or seize in the material.
You can try resharpening a slightly worn wood bit using a fine file or bench grinder. However, this restores it only for wood use, never for metal. Once a wood bit overheats, its hardness cannot be recovered.
Clean the metal shavings from your drill and surrounding area. Fragments can scratch future work surfaces or jam the chuck mechanism. A small brush or magnet helps collect debris safely.
Before resuming work, switch to a proper metal bit. This prevents further tool wear and ensures your next hole is accurate and smooth.
Learning from small mistakes like this improves your understanding of materials and keeps your future projects safe.
Choosing the Right Drill Bit for Metal Work
Metal drilling requires bits designed for toughness and heat control. High-speed steel (HSS) bits are the most versatile and affordable choice for general use. They work well on aluminum, steel, and brass when used with moderate pressure.
For heavy-duty tasks, choose cobalt bits. These bits contain alloyed cobalt, which withstands higher temperatures without losing sharpness. They’re ideal for stainless steel or hardened metals.
Titanium-coated bits reduce friction and resist corrosion. They drill faster and last longer than plain HSS bits, but they cannot be resharpened once worn. These are excellent for repeated light-metal drilling.
Carbide bits are the hardest and most durable, designed for industrial applications. They maintain sharpness for thousands of holes but are more brittle, so they require careful handling.
Always match drill speed to bit size and material hardness. Slow speeds work best for tough metals, while softer metals can handle moderate RPMs. Excessive speed causes heat buildup and dulls even high-quality bits.
Using cutting oil or lubricant reduces friction and extends tool life. Apply a few drops directly to the hole area before drilling. The smoother motion results in cleaner holes and less strain on your drill.
Selecting the right bit ensures precise holes, reduced wear, and safer working conditions — far better than improvising with the wrong tool.
Safety Tips for Drilling Through Metal
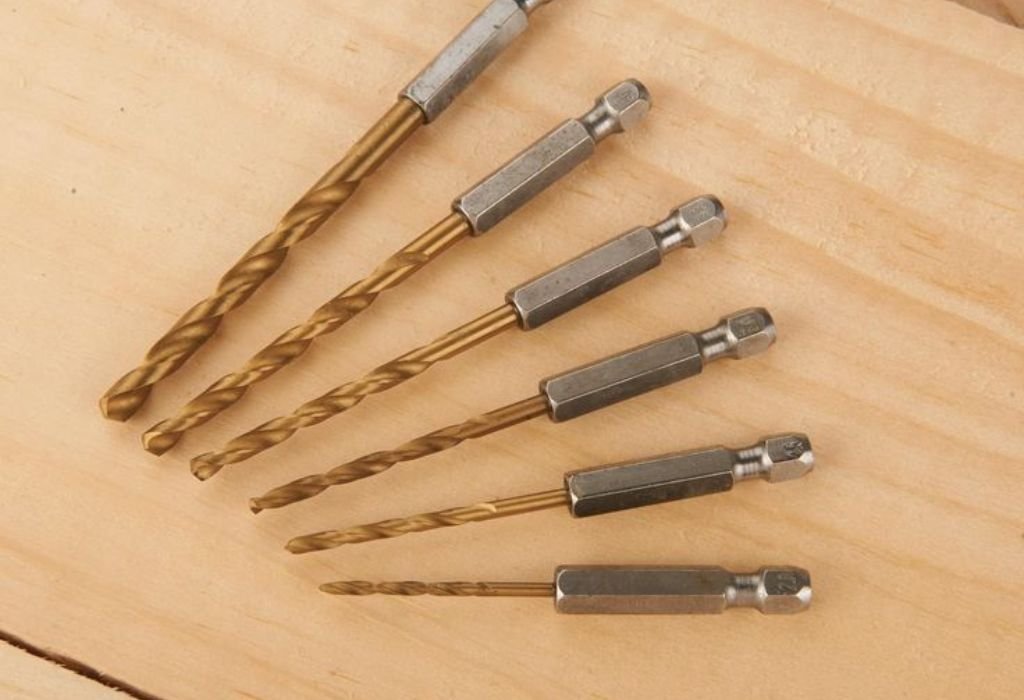
Drilling metal safely starts with proper protection. Always wear safety glasses to shield your eyes from flying metal shards. Gloves help with grip but should fit tightly to avoid getting caught in moving parts.
Clamp your workpiece firmly to a stable surface. Loose sheets or pipes can spin dangerously if the bit catches. A secure setup ensures accuracy and safety at the same time.
Use a center punch to mark where you plan to drill. This small indentation prevents the bit from wandering across the metal surface. Starting with control improves precision and reduces risk.
Keep drill speeds moderate, especially with harder metals. Slow, steady pressure allows the bit to cut efficiently without overheating. Never force the drill — let the bit do the work.
Always use lubrication when drilling metal. Oil keeps temperatures low and prevents both bit and workpiece from overheating. Without it, friction rises fast and dulls even premium bits.
Avoid drilling near flammable materials, as sparks can occur. Work in a well-ventilated area with minimal clutter. Clean up metal shavings immediately after drilling.
Following these precautions keeps your projects safe, your tools intact, and your results professional.
Frequently Asked Questions
Can wood bits be used on aluminum or brass?
Only briefly and with light pressure, but it’s not recommended. These metals are soft, but the bit still dulls quickly. Always use an HSS bit for cleaner holes and longer tool life.
Why do wood bits dull so fast on metal?
They’re made from softer steel without heat-resistant coating. When friction builds, the edge softens and loses sharpness immediately. Once dull, they can’t be restored for precise work.
Can I sharpen a wood bit for metal drilling?
No, even after sharpening, the metal hardness is insufficient. It may cut a few millimeters before overheating again. Dedicated metal bits are the only reliable option.
What’s the best lubricant for drilling steel?
Light machine oil, cutting fluid, or WD-40 all work well. They reduce friction and keep both the bit and work surface cool. Always clean the area afterward to avoid rust.
Do different metals require special bits?
Yes, harder metals like stainless steel need cobalt or carbide bits, while softer metals like aluminum work fine with HSS. Matching bit type to metal ensures smooth drilling and tool longevity.
Conclusion
Using a wood drill bit on metal may seem like a quick fix, but it often causes more harm than good. The differences in design, material hardness, and heat tolerance make wood bits unsuitable for metal work. Understanding these limits saves time, money, and equipment.
Instead, choose drill bits engineered for the job — HSS for general use, cobalt for tough metals, and titanium or carbide for professional precision. Each option delivers cleaner holes and lasts longer under heat and friction.
Proper bit selection also keeps your drill motor healthy. With less strain and smoother performance, both your tools and materials stay in top condition.
Drilling is not just about making holes; it’s about using the right combination of bit, pressure, and speed. Once you match these elements correctly, every project becomes faster, safer, and more professional.
So next time you reach for a drill, take a moment to check the bit type. That small decision determines whether your work ends in success — or a dull, smoking bit that never cuts right again.

I’m John F. Nicholas, the founder, lead writer, and drill enthusiast behind 101drill.com. With years of hands-on experience in power tools and DIY projects, I created this platform to share practical knowledge, expert tips, and real-world insights to help others master the art of drilling.