
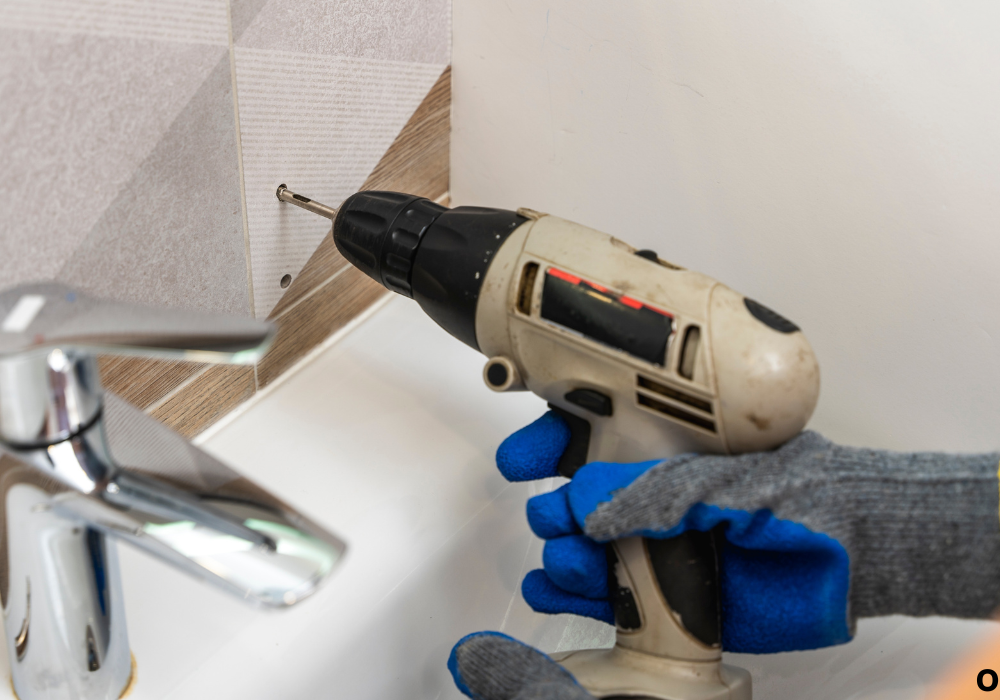
It was a weekend project gone wrong for Kevin. Armed with a masonry bit and a brand-new drill, he aimed to install towel bars in his bathroom’s porcelain-tiled wall. But within seconds, smoke rose from the bit, the drill screeched, and a small star-shaped crack spread across the tile.
Frustrated, Kevin realized that drilling porcelain isn’t as easy as drilling brick or concrete — it’s a whole different challenge.
Porcelain tile is incredibly dense, harder than ceramic, and far less forgiving. While a masonry bit is built for concrete and stone, it can work on porcelain if used carefully, with slow speed, cooling, and precision. The key lies in controlling heat and vibration, two forces that cause cracks and chips in this delicate surface.
In this guide, you’ll learn how to drill porcelain tiles correctly using a masonry bit — from choosing the right tools to mastering the technique.
Whether you’re mounting shelves, fixtures, or bathroom accessories, this guide will help you get professional results without breaking a single tile.
Understanding Porcelain Tile and Why It’s Difficult to Drill
Porcelain tiles are made by firing refined clay at extremely high temperatures. This process creates a dense, non-porous surface that’s both durable and waterproof — perfect for bathrooms and kitchens. But this hardness also makes it challenging to drill through.
A masonry bit can handle tough materials, but its carbide tip creates friction and heat. On porcelain, that heat can build up quickly, causing cracks or discoloration. The trick is to let the bit grind slowly rather than cut aggressively.
Porcelain’s slick surface also poses a problem: drill bits tend to slip before they can bite into the material. Without proper preparation, you risk scratching or cracking the tile’s glazed finish.
Understanding these challenges helps you avoid frustration. The goal isn’t speed — it’s control. Drilling porcelain is about steady rhythm, gentle pressure, and constant cooling.
Is porcelain harder than ceramic?
Yes, porcelain is denser, harder, and less porous.
Why does porcelain crack so easily?
Because it can’t handle vibration or uneven heat.
Can masonry bits work on porcelain?
Yes, but only with cooling and slow speed.
Do you need special bits for porcelain?
Diamond-tipped bits are ideal, but carbide masonry bits can work for small holes.
Does porcelain overheat easily?
Yes, friction builds up fast.
Is pressure helpful when drilling?
No, gentle, consistent pressure works best.
Can water prevent cracking?
Yes, water or oil cooling is crucial to reduce heat.
Choosing the Right Drill and Bit
When drilling porcelain tile, tool selection makes the difference between success and a broken surface. Use a variable-speed drill instead of a hammer drill. Hammering action will shatter porcelain instantly.
A carbide-tipped masonry bit is acceptable for light jobs, but diamond-tipped bits are better for clean, long-lasting results. Masonry bits chip away material; diamond bits grind smoothly through the surface, reducing heat buildup.
Make sure the bit is sharp and clean before use. Dull bits generate more friction and take longer to penetrate. For large holes (like plumbing or electrical fittings), start with a small pilot hole before switching to a larger bit.
Your drill’s speed matters too. Set it to the lowest RPM setting and maintain steady, even pressure. Patience here pays off — forcing the bit can cause both overheating and tile cracks.
Can I use a hammer drill?
No, hammering will shatter the porcelain.
Which bit type is safest?
Diamond-tipped bits give clean results.
Do masonry bits still work?
Yes, but only with gentle drilling and water cooling.
What speed should I drill at?
Low speed — around 400–600 RPM is ideal.
Should I pre-drill smaller holes?
Yes, start small and expand gradually.
Can dull bits damage tiles?
Yes, friction will overheat and crack the tile.
Do cordless drills work well?
Yes, as long as they allow variable speed control.
Preparing the Tile Surface
Before drilling, prepare your workspace carefully. Clean the tile surface with mild soap or alcohol to remove dust and grease. Dry it thoroughly — wet surfaces cause bits to slip at the start.
Mark the drilling point with a pencil, then place a small piece of masking tape or painter’s tape over it. The tape provides grip, preventing the bit from sliding. For even better control, use a drill guide or a small wooden block with a hole to keep the bit steady.
Support the tile from behind whenever possible. If you’re drilling through a wall tile, make sure it’s attached firmly to the surface. For loose tiles, place them on a flat, cushioned surface to avoid vibration.
Proper preparation minimizes risk and ensures accuracy. It’s a few extra minutes that save you from cracked tiles and wasted effort.
Do I need to clean the tile before drilling?
Yes, to remove oil and improve bit grip.
Why use masking tape?
It prevents bit slippage.
Can I use a drill guide?
Yes, it ensures precise hole placement.
Should the tile be supported?
Always — vibration can cause cracks.
Can I drill wet tiles?
No, dry them before marking.
Does surface dust matter?
Yes, it reduces friction control.
How do I prevent wandering?
Start drilling at a slight angle, then straighten up.
Step-by-Step Drilling Process
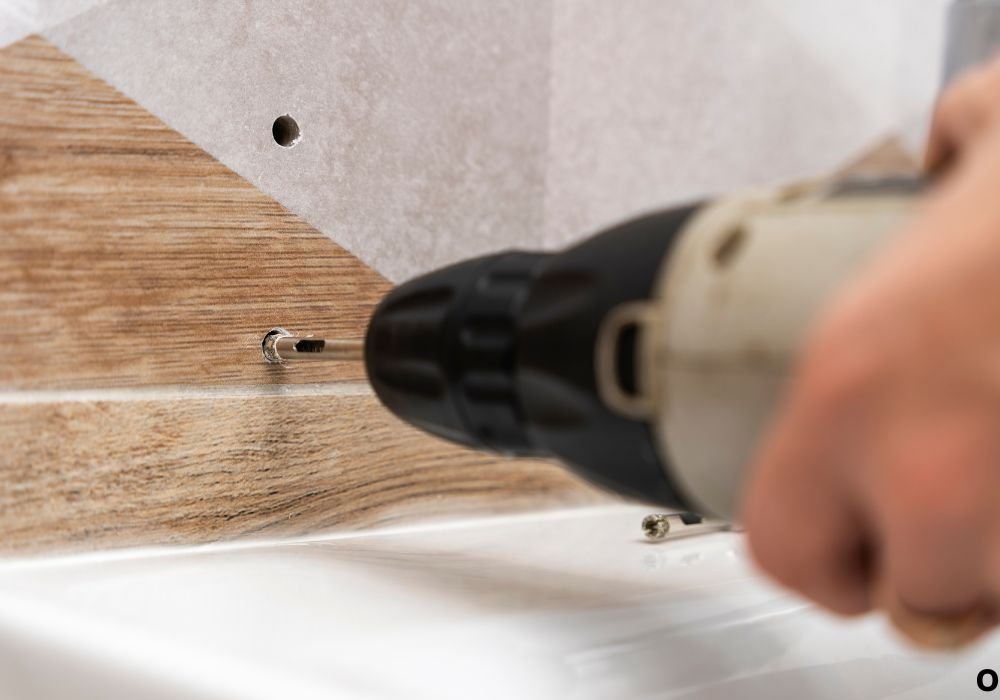
- Mark and Secure the Spot – Apply masking tape over the drilling point and mark the spot clearly. Secure the tile or surface to prevent movement.
- Set the Drill to Low Speed – Start at the lowest speed setting. Drilling porcelain is about precision, not speed.
- Start at an Angle – Hold the drill at a 45-degree angle to help the bit bite into the surface. Once the bit starts cutting, slowly straighten it upright.
- Apply Light Pressure – Let the bit grind gently. Forcing it can cause overheating or fractures.
- Cool the Surface Constantly – Drip or spray water over the bit while drilling. Water acts as a lubricant and heat controller.
- Pause Frequently – Every 10–15 seconds, lift the bit to let it cool.
- Finish Slowly – As you near breakthrough, reduce speed and pressure to prevent chipping on the exit side.
Follow these steps and you’ll achieve smooth, precise holes without damaging the tile.
Should I start drilling at full speed?
No, begin slowly and keep speed steady.
Is it okay to press harder to go faster?
No, light pressure gives cleaner results.
Do I need constant cooling?
Yes, use water continuously.
Should I use oil instead of water?
Water works best; oil can stain grout.
Can I drill dry porcelain?
No, it will overheat and crack.
Why drill at an angle first?
It helps prevent bit skidding.
Do I stop if the tile smokes?
Yes, let it cool completely before continuing.
Managing Heat and Friction
Friction is the number one cause of tile cracking. Porcelain holds heat, and masonry bits create a lot of it. Cooling isn’t just helpful — it’s essential.
Use a spray bottle or a wet sponge to apply water while drilling. Keeping the area wet minimizes heat buildup and allows smoother rotation. A clay dam or putty ring around the drill point filled with water also works perfectly for flat tiles.
Never let the bit glow or spark. That’s a sign of friction damage. Instead, stop drilling and let both the bit and tile cool down.
Even small increases in temperature can create micro-fractures that grow into visible cracks later. Maintaining a cool surface is the secret to drilling porcelain like a pro.
Can porcelain overheat quickly?
Yes, within seconds if dry.
Does cooling slow the process?
Slightly, but it prevents damage.
Can I use a wet sponge instead of water spray?
Yes, keep it damp against the bit.
What is a clay dam?
A small ring of putty holding water around the drill spot.
Does overheating cause cracks instantly?
Yes, especially in thinner tiles.
Can I reuse overheated bits?
They’ll be dull — best to replace them.
Should I use ice water?
No, extreme cold can shock the tile.
Avoiding Common Mistakes
Many beginners make the same errors when drilling porcelain. The most common one? Using hammer mode. The impact will shatter even the toughest tiles instantly. Always use standard rotation only.
Another mistake is skipping cooling. Without it, the bit overheats and damages both the tile and the tool. Drilling too fast is another issue — porcelain rewards patience, not force.
People also tend to start drilling directly on the glossy surface without marking or taping it. This leads to bit slippage and scratches. And drilling too close to edges is risky — leave at least 1 inch from any side to prevent cracking.
Remember: porcelain isn’t concrete. Treat it like glass — slow, wet, and steady.
Can I use hammer mode lightly?
No, even slight impacts can destroy tiles.
Why does speed matter so much?
High speed generates dangerous heat.
Do I need to cool constantly?
Yes, to protect the tile and bit.
Is drilling near edges safe?
No, always keep distance.
Can I start drilling without tape?
Never — it helps grip the surface.
Will fast drilling save time?
Not if you crack the tile.
How do professionals do it?
Slow speed, water, patience, and precision.
Finishing Touches and Aftercare
Once your hole is complete, rinse the area with clean water and wipe dry. Inspect for micro-cracks around the edges. If you see small chips, smooth them with a fine diamond file.
For larger holes or visible areas, apply clear epoxy or a ceramic sealer to reinforce the hole’s edge and prevent moisture intrusion. If you plan to insert anchors or screws, let the hole cool before doing so — hot tiles can expand slightly, changing hole size.
Clean the masonry bit with water and dry it to prevent rust. Store it separately from other bits to avoid dulling the edge.
Taking these last steps protects your tiles and extends your bit’s life for future projects.
Should I clean the area after drilling?
Yes, to remove slurry and dust.
Can I use sealant?
Yes, to protect edges from moisture.
What if there are chips?
Use epoxy or polish them gently.
Do I insert screws immediately?
Wait until everything cools.
Should bits be cleaned too?
Yes, rinse and dry them.
Can bits rust from water use?
Yes, keep them dry afterward.
Do these steps improve longevity?
Absolutely, they preserve both tools and tiles.
Maintenance Tips for Tools and Bits
After every project, inspect your drill bits. Look for dull edges, chips, or heat discoloration. Dull masonry bits can ruin the next tile quickly. Replace worn bits before they overheat or lose efficiency.
Store bits in a dry, padded container to prevent moisture corrosion. If using diamond-tipped bits, rinse them after drilling to remove porcelain dust, which dulls their surface.
Regular maintenance ensures consistent performance and reduces breakage risk on your next job. A well-maintained bit drills faster, cleaner, and lasts longer.
Do bits wear faster on porcelain?
Yes, the hardness wears them out quickly.
Can I sharpen masonry bits?
Only carbide ones, using a grinder.
Do diamond bits need sharpening?
No, just cleaning after use.
Is porcelain dust harmful?
Yes, wear a mask.
Should I store bits wet or dry?
Dry, to prevent rust.
Can old bits cause cracks?
Yes, dull bits increase friction.
Does regular cleaning help?
Yes, it restores efficiency.
Conclusion
Drilling porcelain tile with a masonry bit isn’t impossible — it’s all about patience, preparation, and precision. With slow speed, constant cooling, and light pressure, you can make clean, perfect holes without cracks.
Always prioritize the right setup: masking tape for grip, water for cooling, and steady control for accuracy. While diamond bits remain the best option for frequent use, a sharp masonry bit can still deliver great results if used correctly.
Porcelain may be tough, but with the right technique, you can conquer it safely. Take your time, follow each step carefully, and you’ll transform a risky task into a smooth, confident success.

I’m John F. Nicholas, the founder, lead writer, and drill enthusiast behind 101drill.com. With years of hands-on experience in power tools and DIY projects, I created this platform to share practical knowledge, expert tips, and real-world insights to help others master the art of drilling.