
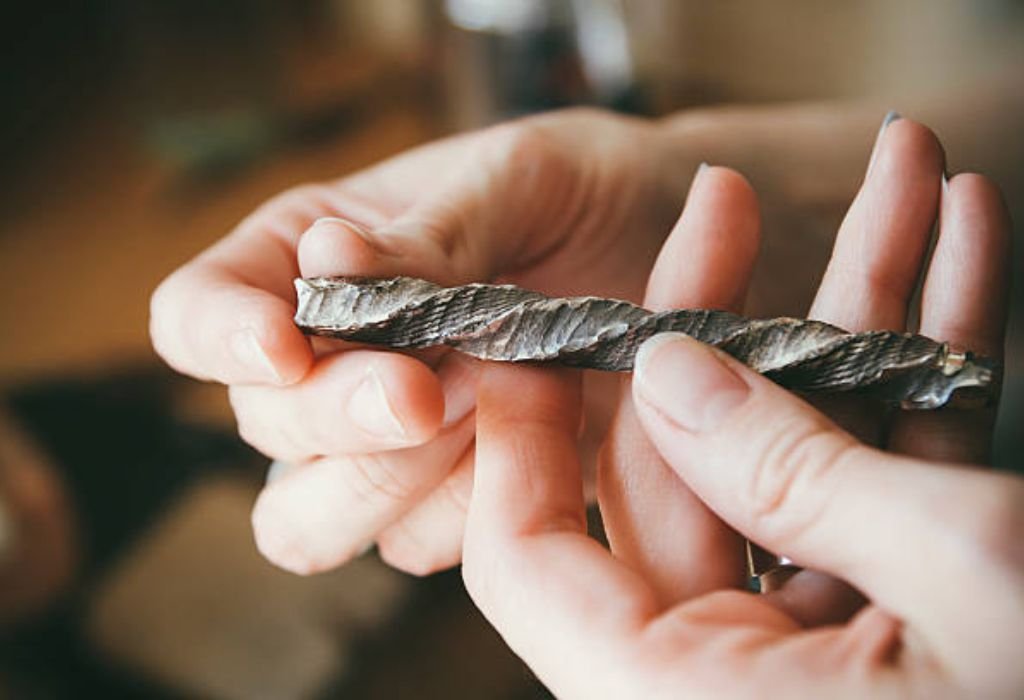
You’re midway through a weekend project — the kind that starts simple but quickly turns experimental. You have a masonry drill bit in your hand and a shiny metal sheet in front of you. The thought hits: “This bit cuts through concrete and brick — surely it can handle metal too, right?”
It’s a logical assumption. After all, masonry bits look tough, solid, and industrial. They’re made with carbide tips, spiral grooves, and sturdy steel shafts designed to handle brutal materials. To the untrained eye, they look capable of piercing anything.
But here’s where most people go wrong. Masonry and metal are opposites in how they respond to force. Masonry is brittle — it breaks under pressure. Metal is ductile — it bends, absorbs, and resists impact. The same power that makes a masonry bit perfect for concrete can actually destroy it when used on metal.
Still, the question lingers — can a masonry bit drill through metal safely? The short answer is yes, in rare cases, but it’s not efficient, safe, or smart. You can scrape through thin aluminum or sheet steel, but the damage, heat, and dullness it causes aren’t worth the risk.
What a Masonry Drill Bit Is Actually Made For
A masonry bit is a crusher, not a cutter. Its entire design is built for destruction — and that’s what makes it so good at handling concrete, brick, and stone.
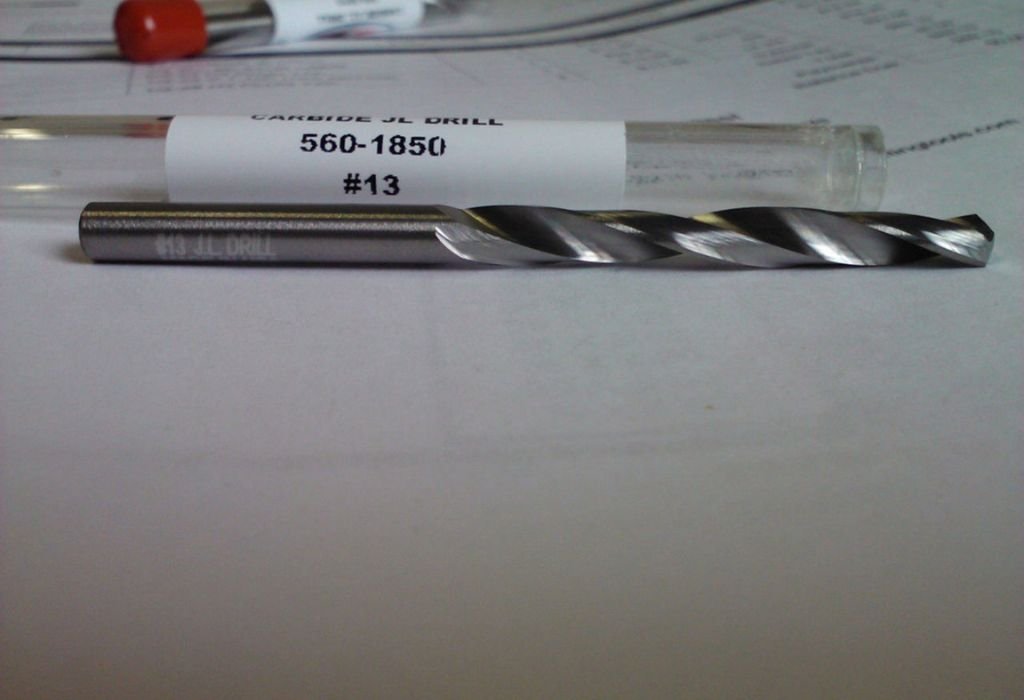
At the core of a masonry bit lies its secret weapon: a tungsten carbide tip. This super-hard material resists wear and holds its shape under the constant pounding motion of a hammer drill. Instead of slicing through surfaces, it pulverizes them into fine dust.
When you use a hammer drill, the bit both spins and strikes thousands of times per minute. That rapid percussion chips away tiny particles from the surface, creating a hole without actually “cutting.” The spiral grooves, called flutes, clear away the dust so the tip doesn’t clog or overheat.
This system is genius for brittle materials. Brick and stone crumble under repeated impact, and the bit’s geometry makes clean, controlled holes. But this design completely fails when it meets ductile materials like metal.
Metal doesn’t crack — it bends. When the blunt carbide edge of a masonry bit meets a steel surface, instead of cutting cleanly, it slides, builds friction, and generates intense heat. That heat burns the tip, ruins its sharpness, and can even cause sparks.
So while masonry bits look powerful, their purpose is limited. They thrive on hard, brittle materials — the kind that break before they bend. Anything else, especially metal, is outside their comfort zone.
Using them on the wrong material doesn’t just waste time — it can ruin your bit, your drill, and your project in a matter of seconds.
How Metal Reacts Differently During Drilling
Metal plays by a completely different set of rules when it comes to drilling. It doesn’t break like brick or crumble like mortar — it resists. It’s elastic, flexible, and can withstand enormous pressure before giving in.
When a masonry bit hits metal, it encounters something it’s not designed to handle: continuous resistance. The bit starts spinning but fails to bite into the surface. Instead, it slides and grinds, producing friction — and friction means heat.
That heat quickly escalates. Within seconds, the temperature at the tip can soar past 500°C. The metal begins to glow faintly, the bit turns blue or black, and the smell of burning oil or scorched steel fills the air.
Unlike masonry, which falls apart under vibration, metal absorbs it. The energy you apply gets trapped as heat instead of impact. The result? Your bit dulls faster, your drill struggles harder, and your progress slows to a crawl.
Metal also undergoes work hardening — a process where friction and pressure make the surface even tougher. Every second of failed drilling makes the next second harder. The surface becomes shiny, polished, and nearly impenetrable to blunt tools.
This is why drilling metal requires a completely different strategy. Instead of impact, it needs cutting geometry — sharp edges, slower speed, constant cooling, and precision pressure.
Using a masonry bit goes against every one of these principles. It’s like trying to saw through steel with a rock — technically possible, but painfully slow and dangerously inefficient.
Can a Masonry Bit Drill Through Metal?
Let’s be honest — yes, it can, but only just. A masonry bit might pierce very thin metal, like soft aluminum or tin, under the right conditions. But if we’re talking about steel, iron, or any dense alloy, the answer is a clear no.
Here’s why. A masonry bit’s carbide tip is designed to crush mineral surfaces, not cut through solid metal fibers. When it makes contact with metal, it can’t slice. Instead, it skids and scrapes, producing heat and leaving behind a rough, uneven dent.
In some cases, people manage to push through by applying extreme pressure and slow speed. But that’s a dangerous game. The friction can overheat the bit, cause it to chip or fracture, and even weld it temporarily to the surface.
If you’re using a hammer drill, things get worse. Hammer mode creates vibration and impact — something metal simply resists. The only outcome is sparks, noise, and permanent damage to both the bit and the drill chuck.
Even when you succeed, the result is disappointing. The hole edges are jagged, burned, and often off-center. The bit dulls after one use, and you risk scratching or warping the metal piece you’re working on.
So, while it’s technically possible for a masonry bit to drill through metal, it’s never worth it. The time, effort, and risk outweigh the result.
You wouldn’t use a kitchen knife to cut stone — and you shouldn’t use a masonry bit to cut steel.
What Happens When You Try It Anyway
Let’s imagine what happens step by step when you try to drill metal with a masonry bit.
You start the drill. The bit touches the metal and begins spinning — but instead of cutting, it screeches. You press harder, trying to make it bite. The noise grows sharper, and soon, you smell something burning.
That smell? It’s the bit’s tip overheating. The carbide edge reaches a point where it softens, loses hardness, and glazes over. Now, instead of a cutting surface, you have a polished, rounded one.
The friction continues, and within seconds, smoke rises. The metal heats up enough to burn your fingers if you touch it. The bit vibrates violently, causing the drill motor to strain. If you push harder, the tip might chip off or even crack under pressure.
In some cases, the metal surface begins to glow faintly red — that’s a clear sign you’re cooking both the bit and the workpiece. If you’re unlucky, the melted metal particles can fuse to the bit, effectively welding it in place.
When you pull the bit out, you’ll see a dull, discolored tip and a half-finished, rough-edged hole. The metal will have scratches and scorch marks around it.
It’s not just inefficient — it’s risky. A snapped bit can become a projectile, and overheated drills can short out or seize.
Every expert agrees: using the wrong bit on metal isn’t just a waste — it’s a hazard.
When It Might Work — and How to Do It Safely
Sometimes, you don’t have the right bit at hand and just need to get one small hole done. In that case, yes, a masonry bit can work — but only if you follow a few strict safety rules.
First, confirm that the metal is thin and soft, like an aluminum sheet, a light pipe, or a canister wall. Never try this on thick, hardened steel or iron surfaces.
Next, turn off the hammer mode completely. Hammering metal won’t help; it’ll only increase friction and vibration. Switch your drill to a slow, steady rotation speed.
Apply cutting oil, WD-40, or light machine oil generously to the drilling spot. This lubrication minimizes friction and helps the bit last longer.
Start with light pressure and let the bit gradually grind its way in. Stop every 5–10 seconds to cool the bit. You can even dip the tip in water if it gets too hot.
Keep your hands protected with gloves, and wear safety goggles. Even with lubrication, sparks or shavings can fly out suddenly.
Expect the process to take time — maybe several minutes for a single small hole. Once done, file the edges to remove burrs and sharp points.
This is purely an emergency method, not a regular practice. For frequent metal drilling, investing in the correct bits (like HSS or cobalt) will save you time, energy, and broken tools.
Best Drill Bits for Metal
When you drill metal, the right bit changes everything. The goal isn’t brute force — it’s smooth, sharp cutting.
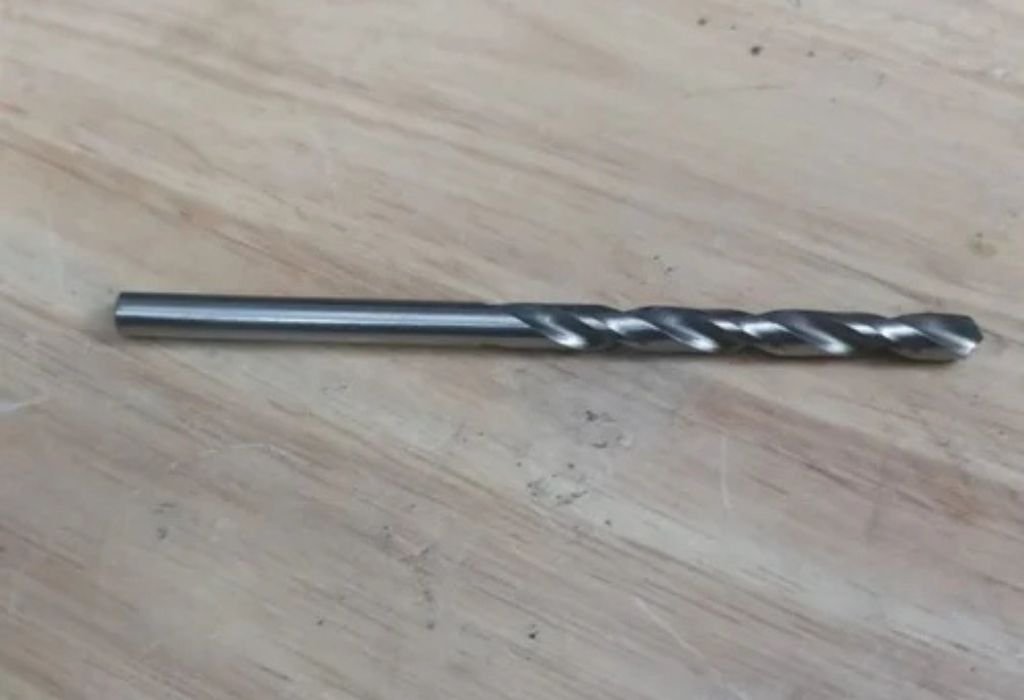
The most common and reliable choice is the High-Speed Steel (HSS) bit. It’s affordable, heat-resistant, and perfect for most metals like steel, copper, or brass.
For tougher surfaces such as stainless steel, you’ll need Cobalt bits (M35 or M42). They contain cobalt alloy, which boosts heat resistance and keeps the edge sharp even during long drilling sessions.
If you’re drilling often, consider Titanium-coated bits. The golden coating reduces friction and makes drilling faster while extending bit life.
For thin sheet metals or electrical panels, Step bits are ideal. They create multiple hole sizes without switching bits and leave smooth, circular edges.
Each of these options works by cutting, not grinding, which keeps friction low and results clean. They require less pressure and produce less heat, preserving your tool and your workpiece.
In short — masonry bits are strong, but metal bits are smart strong. The right bit turns frustration into precision.
Safety Tips for Drilling Metal
Drilling metal safely requires patience, the right gear, and proper setup.
Always wear safety goggles and gloves. Metal shavings are razor-sharp and can fly out unpredictably. Avoid loose clothing or dangling sleeves that could get caught in the drill.
Clamp your workpiece firmly before drilling. A spinning piece of metal is not just dangerous — it’s a potential weapon.
Use cutting oil or lubricant on every hole. It not only cools the bit but also prevents sparks and keeps the cutting edge sharp.
Start slow. Let the bit create a pilot mark before increasing speed. Once you see steady metal shavings, maintain a consistent pace — don’t force the bit.
If smoke appears or the bit feels hot, stop immediately and cool it down. Overheated bits lose hardness quickly and can snap mid-operation.
Lastly, keep a clean workspace. Metal shavings are slippery and conductive — never drill near flammable materials or open wires.
Safe drilling isn’t just about avoiding injury — it’s about ensuring every hole you make is precise, clean, and professional.
Conclusion
A masonry bit might look powerful, but when it comes to metal, it’s out of its league.
Its design is built for crushing brittle surfaces, not cutting flexible ones. When used on metal, it overheats, dulls, and can even damage your drill or the material.
Yes, it can scratch or scrape through thin aluminum if you’re desperate, but it’s far from ideal. The smarter, safer choice is always to use bits designed specifically for metal — HSS, cobalt, or titanium-coated.
These bits cut efficiently, stay sharp longer, and deliver professional results without the smoke, noise, or frustration.
So next time you face a sheet of metal with a masonry bit in your hand, remember: the right tool isn’t just about finishing the job — it’s about doing it right.
Choose precision over pressure, and your tools will last longer, your work will look cleaner, and your projects will run smoother every single time.

I’m John F. Nicholas, the founder, lead writer, and drill enthusiast behind 101drill.com. With years of hands-on experience in power tools and DIY projects, I created this platform to share practical knowledge, expert tips, and real-world insights to help others master the art of drilling.