
You’ve got your drill ready, your wall marked, and your project planned — maybe it’s a towel rack in the bathroom, a kitchen shelf, or a TV bracket. But the moment your bit touches the tile, it skids, squeals, and refuses to bite.
You press harder, the surface heats up, and suddenly, crack! A tile that looked perfect seconds ago now has a spiderweb of fractures.
This situation is painfully familiar for anyone who’s tried drilling into tile or porcelain without the right knowledge. These materials are beautiful, durable, and water-resistant — but they’re also incredibly brittle.
That’s where the confusion begins. People often ask, “Can I use a masonry bit for this?” After all, masonry bits are made for hard surfaces like concrete, stone, and brick. But can they handle glossy ceramic or ultra-hard porcelain without damage?
The answer is yes — a masonry bit can drill through tile and even porcelain, but it requires the right technique, patience, and preparation.
In this guide, you’ll learn exactly how masonry bits work, how to use them safely on tiles, what alternatives exist, and how professionals prevent cracks, chips, or overheated bits.
Understanding Masonry Drill Bits
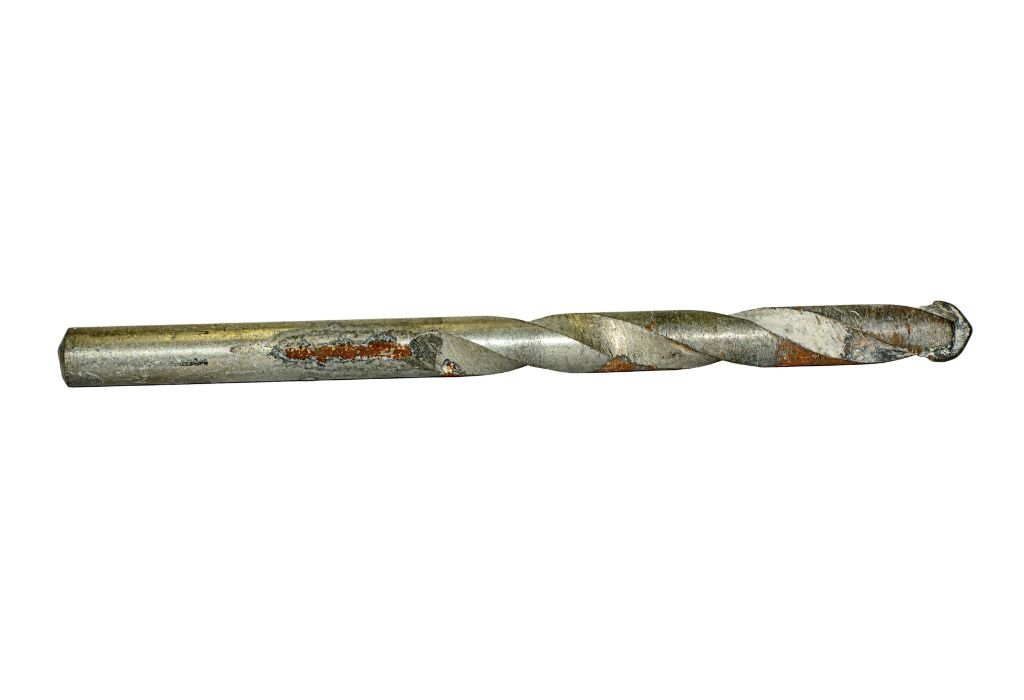
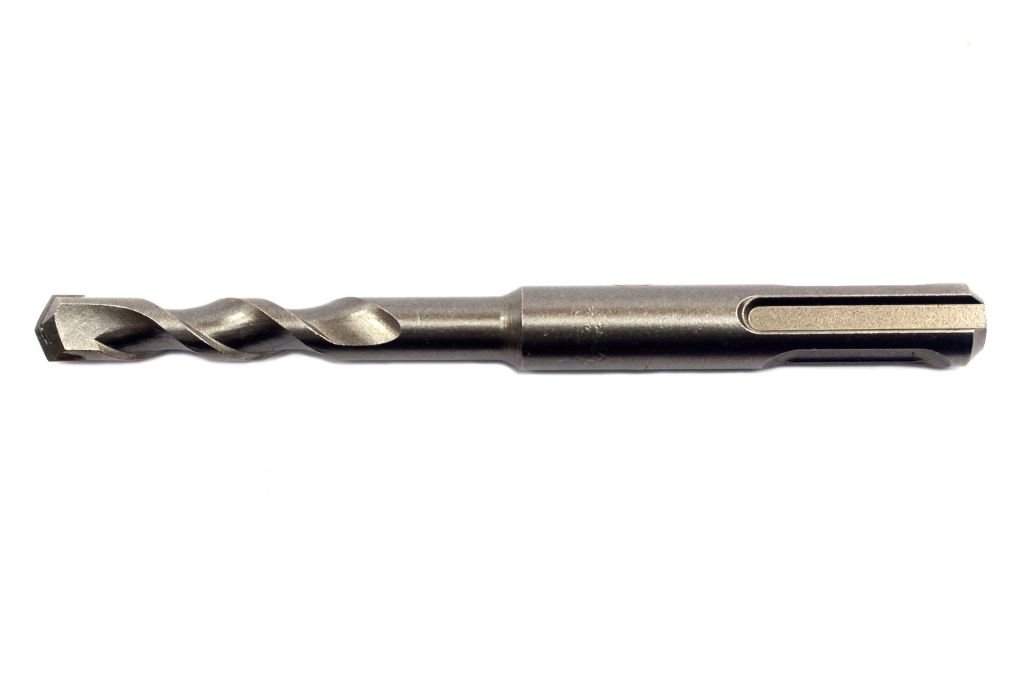
A masonry drill bit is one of the toughest tools in any builder’s kit. It’s designed to crush its way through hard materials rather than slice through them.
The tip is made of tungsten carbide, a metal so hard it can withstand extreme friction and pressure. This carbide tip is usually brazed onto a hardened steel shaft, forming a durable, vibration-resistant structure.
The bit’s fluted design isn’t just for looks — those spiraling grooves carry out dust and debris from the hole, keeping it clean and preventing jams. Unlike bits used for wood or metal, which depend on sharp edges to cut, masonry bits grind the surface into powder through thousands of micro-impacts per second.
When paired with a hammer drill, these bits combine spinning and pounding motion, creating an efficient drilling force that can cut through concrete, stone, and brick. That’s why they’re used in heavy-duty tasks like setting anchors, drilling for rebar, or installing bolts in walls.
But when it comes to tile and porcelain, things get trickier. The same hardness that makes these bits effective against concrete can make them too aggressive for fragile tile surfaces. The tile’s glazed layer is thin and brittle — it can crack if struck too hard.
That’s why when drilling tile with a masonry bit, the key is control, not force. You must disable hammer mode, lower the speed, and use steady pressure. Think of it like carving glass rather than crushing rock. The carbide tip will still do its job — but gently.
If used correctly, a masonry bit becomes a versatile tool, capable of cleanly piercing tile and porcelain without shattering them.
Can a masonry bit drill ceramic tile?
Yes, but use low speed and no hammer mode. Ceramic is softer than porcelain and easier to drill.
Are masonry bits good for porcelain?
They can work for small projects, but diamond-tipped bits perform better and last longer.
Why does my masonry bit slip on tile?
Tile glaze is slippery. Use masking tape or start with a small pilot hole for better grip.
Should I cool the bit while drilling tile?
Always. Water prevents overheating and reduces crack risk.
Can I use masonry bits for stone or marble too?
Yes, but go slowly and apply water for cooling to avoid surface cracks.
Can a Masonry Bit Drill Through Tile?
Ceramic tile may look delicate, but its glazed surface is incredibly tough. Beneath that thin glossy layer lies a softer clay base that’s easier to penetrate once you get through the surface. A masonry bit can definitely handle tile — but only if you respect the process.
Start by marking your drilling spot carefully. Place a strip of masking tape or painter’s tape over it. This gives your bit something to grip, reducing the chance of slipping. Set your drill to low speed, keep hammer mode off, and begin drilling gently.
Let the carbide tip do the work. Don’t force it — pressing too hard creates friction, and friction means heat. Excessive heat can cause cracks or dull your bit quickly. Once you break through the glaze, the underlying material will offer less resistance, and you can increase speed slightly.
It’s also important to cool the bit as you go. Every few seconds, dip the bit in water or drip a little onto the surface. This not only preserves the bit’s sharpness but prevents thermal expansion that can crack the tile.
If done correctly, the hole will be smooth, precise, and free of chips. The key takeaway? Patience. Drilling tile isn’t about strength — it’s about control and rhythm.
A masonry bit can handle tile perfectly fine if used gently, slowly, and with proper cooling. But if you rush the process, even the toughest bit can turn your beautiful wall into a repair job.
Should I use hammer mode for tile?
No. The impact force will crack the surface instantly. Use rotation only.
What drill speed is best for tile?
Low speed (400–600 RPM) gives maximum control and minimal heat.
Can I drill near the edges of tiles?
Avoid edges. Tiles are most fragile around the perimeter and can chip easily.
Do I need to replace bits often?
Not if you cool them regularly and avoid excessive pressure.
Why did my tile crack while drilling?
You likely applied too much pressure or drilled too fast without cooling.
Can a Masonry Bit Drill Through Porcelain?
Porcelain tiles are tougher, denser, and more refined than ceramic ones. They’re made from fine clay and fired at higher temperatures, which gives them less porosity and more strength. But that strength comes with a cost — drilling them is harder and riskier.
A masonry bit can penetrate porcelain, but it’s not the ideal choice for frequent or large jobs. Porcelain dulls bits faster because of its hardness. For professional use, diamond-tipped bits are a better investment. Still, if you only need a few holes, a masonry bit can do the job — with extreme care.
The first challenge is getting started. Porcelain is smooth and slippery, so your bit will wander unless you give it traction. Apply masking tape or use a center punch to make a small dimple at your drilling point. This prevents slippage and helps the bit bite into the glaze.
Next, drill at the lowest possible speed. Porcelain must be drilled slowly and with steady, even pressure. The moment you feel resistance lessen, you’ve passed the top layer — now you can slightly increase speed.
Never use hammer mode. The vibrations can cause microscopic fractures that will spread over time. Instead, rely on slow grinding and cooling. Keep a wet sponge or spray bottle nearby and use it continuously to cool the bit.
Porcelain drilling is like a game of patience. It’s slow, but the result is clean, professional, and worth it.
Why is porcelain harder to drill than tile?
Because it’s denser and fired at higher heat, making it more compact and less porous.
Can a regular drill handle porcelain?
Yes, if it has variable speed and good torque. Avoid cordless drills with weak motors.
Will masonry bits wear out faster on porcelain?
Yes. Porcelain’s hardness dulls carbide tips quickly.
Can I use oil instead of water for cooling?
No. Oil increases slippage and can stain grout lines. Use clean water only.
How can I avoid cracks in porcelain?
Drill slowly, keep the bit cool, and never engage hammer mode.
Best Drill Bits for Tile and Porcelain
While masonry bits are strong, they’re not always the most efficient for smooth, brittle materials like tile and porcelain. Professionals prefer bits made specifically for these surfaces.
Masonry bits can handle ceramic tile well when used gently. They’re affordable and widely available, making them great for occasional projects. However, for tougher materials, you’ll want specialized bits:
- Glass and Tile Bits: These have a sharp, spear-shaped carbide tip that easily pierces glaze without slipping.
- Diamond-Tipped Bits: These are the best for porcelain, granite, or marble. Instead of chipping material, they grind it down evenly, creating perfect holes with no cracks.
- Core Bits: Used for large holes like plumbing or electrical fittings.
Choosing the right bit depends on your project. For small home tasks, a masonry bit may be enough. For precision work or expensive tiles, investing in a diamond bit is smarter.
Top-rated brands like Bosch, DeWalt, Makita, and Hilti offer both carbide and diamond options. These bits last longer, resist overheating, and ensure clean finishes.
Remember — using the wrong bit may not just ruin your tool; it can ruin your tile.
Which drill bit works best for porcelain?
Diamond-tipped bits provide clean, accurate holes with minimal damage.
Can I mix bit types on one project?
Yes. Start with a tile bit to pierce the glaze, then switch to a masonry bit for deeper drilling.
Are premium bits worth the cost?
Absolutely. They last longer and save you from cracked tiles and wasted materials.
How do I identify a diamond-tipped bit?
They usually have a rough, sandpaper-like edge instead of a pointed tip.
Do tile bits work for marble or granite?
Yes, with slow speed, water cooling, and consistent pressure.
Step-by-Step: Drilling Without Cracking the Tile
Drilling through tile and porcelain may sound intimidating, but following the right method makes it smooth and safe. Here’s how to do it like a pro:
First, mark the hole clearly with a pencil and cover the spot with masking tape. This gives your bit traction and prevents sliding.
Insert the appropriate bit — either a masonry, tile, or diamond-tipped bit — and set your drill to low speed. Disable hammer mode.
Hold the drill firmly at a 90° angle and start gently. Don’t rush the first few seconds — that’s when most cracks occur. Once the bit penetrates the glaze, increase speed slightly and continue drilling steadily.
For porcelain or thick tile, apply water frequently to cool the bit. You can use a spray bottle, a damp sponge, or even have a helper trickle water slowly over the area.
If you’re drilling into tile over concrete or brick, once you break through the tile layer, you can switch to hammer mode — but only after the bit passes the brittle surface.
Finally, clean the hole of debris and dust. Test-fit your screw or anchor — it should slide in snugly without forcing.
This process might take a few minutes per hole, but it guarantees perfect results every time.
Can I use a regular drill for tile?
Yes, as long as it has a variable speed setting. You don’t need hammer mode.
What if my bit overheats mid-drill?
Stop immediately and cool it with water before resuming.
Can I drill over old grout lines?
Avoid it — grout is weak and can crumble easily.
Should I use constant water flow?
Yes, steady cooling prevents overheating and cracking.
How do I fix small chips after drilling?
Use clear epoxy or color-matched filler to blend with the tile surface.
Safety and Maintenance Tips
Drilling through tile and porcelain may seem simple, but it’s full of hazards if done carelessly. Safety should always come first.
Always wear safety goggles to protect your eyes from flying shards. A dust mask is equally important — porcelain dust contains fine silica particles that can irritate your lungs. Gloves can reduce vibration and protect your hands from sharp tile edges.
Before drilling, double-check for electrical wires or plumbing behind the wall using a stud finder. Many bathrooms and kitchens hide pipes directly behind tiles.
During drilling, keep a steady posture and firm grip. Don’t force the drill — let the bit work naturally. If it starts squealing or smoking, it’s overheating. Stop immediately and cool it.
After drilling, clean your bits with a dry cloth. If they’ve been used with water, wipe them thoroughly and store them in a dry place. Avoid rust by oiling the shank lightly if necessary.
Inspect your bits before every project. A chipped or dull tip doesn’t just slow you down — it can destroy your tile instantly.
Can masonry bits rust?
Yes. Always dry them after using water for cooling.
Is porcelain dust harmful?
Yes, it contains silica. Always wear a respirator when drilling.
Can I sharpen masonry bits at home?
Yes, but only with a diamond grinding wheel and steady hand.
How often should I replace bits?
When the tip dulls or becomes uneven — dull bits create excessive heat.
Can I use oil as coolant?
No. Oil traps debris and can damage both bit and surface. Always use clean water.
Conclusion
So, can a masonry drill bit drill through tile and porcelain? Yes — it absolutely can. But doing it right takes patience, precision, and respect for the materials you’re working with.
Masonry bits are built tough, with carbide tips strong enough for concrete. When handled carefully — with slow speed, cooling water, and no hammer mode — they can pierce tile and porcelain cleanly without cracks.
However, if you work with porcelain often, diamond-tipped bits are worth the investment. They make cleaner holes faster and last much longer.
Ultimately, successful drilling isn’t about power — it’s about control. Take your time, cool your bit, and let precision replace pressure. That’s how you move from cracked tiles to flawless, professional results every single time.

I’m John F. Nicholas, the founder, lead writer, and drill enthusiast behind 101drill.com. With years of hands-on experience in power tools and DIY projects, I created this platform to share practical knowledge, expert tips, and real-world insights to help others master the art of drilling.