
The Jacobs chuck is the heart of your drill press — it’s what holds the drill bits in place and ensures precision in every hole you make. But over time, even the most reliable chucks can loosen, wear out, or require cleaning. That’s when knowing how to remove a Jacobs chuck from a drill press easily becomes essential for every craftsman or hobbyist.
Removing a chuck might sound like a complex mechanical task, but it’s actually simple once you understand how it’s mounted and how the taper system works.
Whether you’re replacing the chuck, cleaning it, or performing maintenance, this process can be done quickly and safely with minimal effort.
According to Popular Mechanics, proper chuck maintenance not only improves accuracy but also extends your drill press’s lifespan. In most cases, you don’t even need expensive tools — just the right approach and a few safety precautions.
Understanding What a Jacobs Chuck Is
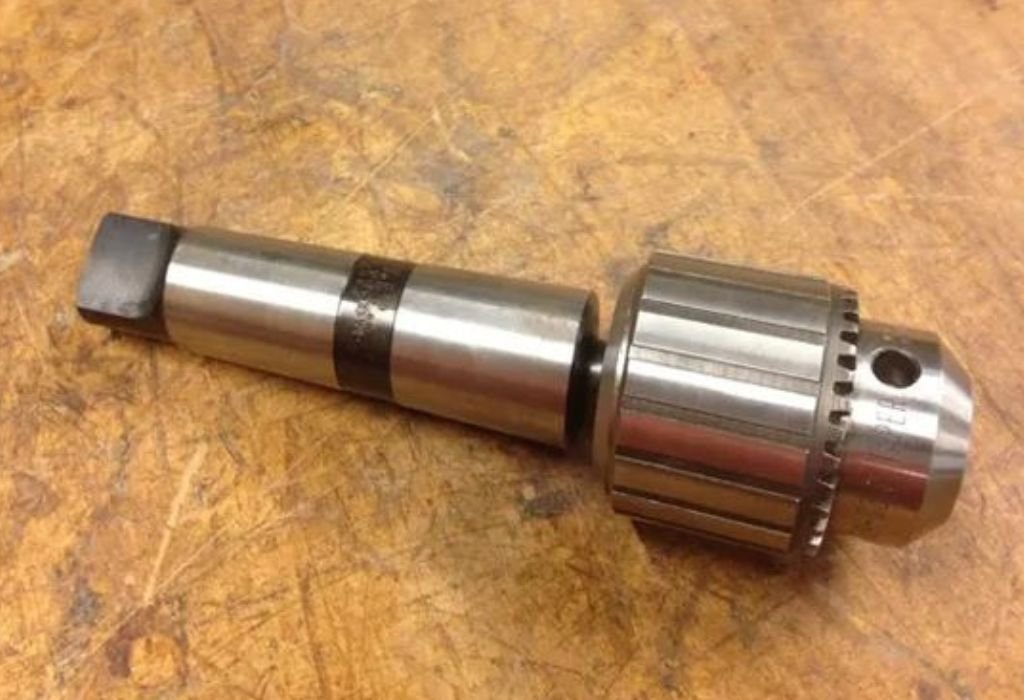
Before you begin, it’s important to know what a Jacobs chuck actually does. Named after Arthur Jacobs, who invented it in 1902, this self-centering chuck uses three jaws to grip drill bits tightly. It’s a universal design used in most drill presses and hand drills worldwide.
The chuck connects to the spindle using a Morse taper or a Jacobs taper — a friction-based connection that locks the chuck in place under pressure. Over time, this friction can either weaken (causing wobble) or strengthen due to debris and heat, making removal tricky.
There are typically two types of Jacobs chucks found in drill presses:
- Taper-mounted chucks, which rely purely on a friction fit.
- Threaded chucks, which screw directly onto the spindle.
Knowing your chuck type is critical, because removal techniques differ slightly for each. Identifying it early saves time and prevents damage to the spindle or chuck body.
Safety Precautions Before Removing the Chuck
Safety should always come first when performing any maintenance on a drill press. Even though removing a chuck is straightforward, one careless mistake can cause injury or damage the machine.
Start by unplugging the drill press from its power source. If it’s battery-operated, remove the battery pack completely. Next, clear the work area of any clutter or loose materials that might interfere with the removal process.
Wear safety goggles and gloves to protect your eyes and hands from falling parts or accidental slips. Lower the drill press table to give yourself ample working space beneath the chuck.
According to Family Handyman, ensuring proper lighting is also vital — shadows can make it hard to see how the chuck is attached. Take a few moments to examine your machine carefully before you start working.
Once you’re certain the area is safe, you’re ready to identify your chuck type and prepare for removal.
Identifying the Type of Chuck on Your Drill Press
The first step in removing your Jacobs chuck is to confirm how it’s attached. Drill presses commonly use two types of systems — taper-mounted or threaded.
- Taper-Mounted Chuck:
Most modern drill presses use this style. The chuck fits onto a tapered spindle (usually Jacobs Taper JT33 or Morse Taper MT2). The friction between the matching tapers keeps it secure. - Threaded Chuck:
Less common in drill presses, this design screws onto a threaded spindle. You can usually identify it by visible threads above the chuck collar.
To determine which you have, lower the quill and look closely where the chuck meets the spindle. If there’s a visible seam but no threads, it’s taper-mounted. If you see spiral threading, it’s threaded.
Identifying this correctly ensures you’ll use the right removal technique and avoid damaging the taper or spindle.
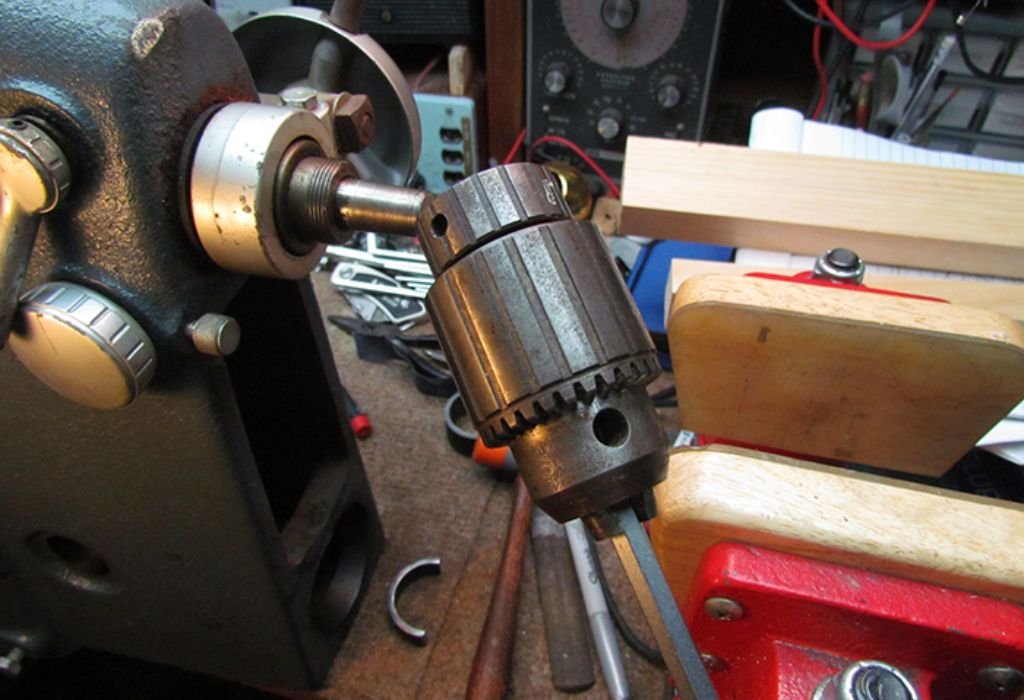
Removing a Taper-Mounted Jacobs Chuck
Taper-mounted chucks are the most common, and thankfully, they’re also the easiest to remove when done correctly. Here’s how:
- Lower the Quill: Bring the spindle down so the chuck is easily accessible. Lock it in place if your press allows.
- Insert the Chuck Removal Wedges: Jacobs removal wedges are metal tools shaped to fit the taper’s gap. Slide them between the spindle and chuck collar.
- Apply Even Pressure: Tap the wedges together gently using light hand pressure — the chuck should pop off the taper naturally.
- Catch the Chuck: Support it with one hand as it comes loose to prevent it from dropping and damaging the table.
If you don’t have wedges, a wooden block and gentle upward tapping on the chuck body can also loosen it (avoid metal hammers — they can deform the taper).
Can I remove a taper chuck without wedges?
Yes, use a soft wood block and light taps, but wedges are safer.
Will oil help loosen it?
A few drops of penetrating oil can help, but avoid overusing it.
How tight is the taper fit?
Very tight — it’s held purely by friction, not threads.
What if it’s stuck?
Apply light heat with a hair dryer to expand the metal slightly.
Can I use a screwdriver instead of wedges?
Not recommended — it can scratch or distort the spindle.
Removing a Threaded Jacobs Chuck
If your chuck screws onto the spindle, removal is slightly different. The key is to secure the spindle while gently unscrewing the chuck.
- Lock the Spindle: Engage the quill lock or hold it still with one hand.
- Insert a Hex Key: Open the chuck jaws fully and insert a large hex key into them. Tighten it securely.
- Use Leverage: Hold the hex key horizontally and tap it sharply with your palm (or a soft mallet) in the counterclockwise direction.
- Unscrew the Chuck: Once loosened, continue rotating it by hand until it comes off completely.
If the chuck is old or rusted, apply a few drops of penetrating oil at the joint and let it sit for 10–15 minutes before trying again.
Cleaning the Spindle and Chuck Taper
Once the chuck is removed, it’s the perfect time to clean both the spindle and the chuck taper. This ensures a smooth fit when reinstalling or replacing the chuck.
Wipe the spindle taper using a clean, lint-free cloth. For light rust, rub gently with fine steel wool or a Scotch-Brite pad. Avoid using sandpaper — it can alter the taper’s dimensions.
Clean the inside of the chuck with a cotton swab or small brush to remove dust, oil, or chips. As FineWoodworking suggests, keeping the taper surfaces dry and spotless is crucial for secure friction contact.
Inspect for damage or scoring. If you find deep scratches or burrs, polish them lightly. A clean, dry fit prevents future wobble and extends tool life.
Should I apply grease to the taper?
No — grease or oil can cause slipping. Keep it dry.
How do I remove stubborn rust?
Use light steel wool and alcohol, not harsh abrasives.
Can dirt cause chuck wobble?
Yes, even fine dust particles can affect balance.
Should I clean the chuck jaws too?
Yes, wipe and oil them lightly for smoother tightening.
How often should I clean the taper?
After every few months or when changing chucks frequently.
Reinstalling the Jacobs Chuck
Reinstalling the chuck is straightforward — the goal is to seat it properly without damaging the taper.
Align the chuck opening with the spindle taper. Push it onto the spindle by hand, making sure it’s straight. Then, raise the drill press table and place a soft wood block under the chuck.
Lower the spindle gently so the chuck presses against the block. Apply firm, steady pressure — this friction locks the taper in place. You’ll often hear or feel a soft “click” as it seats properly.
Spin the chuck by hand to ensure it’s centered and smooth. Avoid hammering the chuck into place — excessive force can deform the taper and cause long-term misalignment.
Testing the Chuck Alignment
After reinstalling, test your chuck for proper alignment and stability. Insert a straight drill bit and rotate the chuck by hand while observing the bit tip. It should spin in a perfect circle without side-to-side movement.
Next, run the drill press at low speed for 10–15 seconds and watch for any vibration. If wobble appears, remove and reseat the chuck, ensuring both surfaces are clean.
For advanced testing, you can use a dial indicator to measure runout (deviation). According to Popular Mechanics, good-quality drill presses have less than 0.003″ runout. Anything higher suggests misalignment or dirt in the taper.
A perfectly seated chuck guarantees accurate drilling and extends your drill press’s lifespan.
Preventive Maintenance Tips
Once you’ve successfully removed and reinstalled the chuck, routine maintenance will keep your drill press performing flawlessly.
- Clean the taper and chuck every few months.
- Avoid leaving bits in the chuck when not in use.
- Store the drill press in a dry, dust-free environment.
- Inspect for rust or wear regularly.
- Apply a thin coat of machine oil to moving parts (except the taper).
These small habits prevent future issues like wobble, rust, and stuck chucks. According to Family Handyman, preventive care can extend the lifespan of your tools by more than 40%.
Conclusion
Learning how to remove a Jacobs chuck from a drill press easily is a must-know skill for anyone serious about woodworking, metalworking, or tool maintenance. What may seem complicated at first becomes simple once you understand how the taper or threaded system works.
By following the correct method — identifying your chuck type, working safely, and cleaning the spindle — you’ll ensure smooth removal and reinstallation every time. The key is patience and precision, not force.
As FineWoodworking emphasizes, a clean, well-maintained chuck is the foundation of accurate drilling. Taking a few minutes to care for this critical component ensures consistent performance and long-lasting reliability.
With these simple steps, you can confidently maintain your drill press like a professional — keeping every project precise, safe, and smooth for years to come.

I’m John F. Nicholas, the founder, lead writer, and drill enthusiast behind 101drill.com. With years of hands-on experience in power tools and DIY projects, I created this platform to share practical knowledge, expert tips, and real-world insights to help others master the art of drilling.