
A drill press is only as accurate as its foundation. No matter how powerful the motor or how sharp the bit, if the machine vibrates or shifts, your precision vanishes. Mounting it securely is not just about convenience — it’s the difference between clean, straight holes and wobbly, misaligned cuts.
Whether you own a benchtop model for home projects or a towering floor press for metalwork, stability is the key to performance. Many hobbyists underestimate the importance of how and where they install their drill press, leading to noise, runout, and reduced accuracy.
Imagine pressing down on a large bit through thick steel, only to watch the entire machine tremble across the bench. That instability stresses bearings, dulls bits faster, and makes even simple holes frustratingly uneven.
Choosing the Right Location for Your Drill Press
Before drilling your first hole, think about where the drill press will live. Location plays a major role in stability, airflow, lighting, and safety.
Choose a flat, level surface with solid support underneath. Concrete floors or heavy-duty benches work best. Avoid uneven flooring or tables that flex under load. Each vibration you feel while drilling multiplies with time, wearing down both bearings and bits.
Ensure there’s enough clearance behind and around the machine. You’ll need space to handle long stock or large workpieces comfortably. Position the press near power outlets but away from water sources or cluttered tool areas.
For better visibility and accuracy, keep the press near adequate lighting. Mounting under dim corners makes alignment harder and increases the risk of mistakes.
According to Grainger’s drill press setup guide, vibration issues are often caused by poor placement rather than machine defects. Choosing the right base location can reduce noise and misalignment by over 40%.
Where is the best place to mount a drill press?
A flat, stable area such as a concrete floor or reinforced workbench.
Should I keep the drill press near a wall?
Yes, but allow space for material clearance and maintenance access.
Can uneven floors affect accuracy?
Absolutely — even small slopes can tilt the press, leading to angled holes.
Why does lighting matter for placement?
Poor lighting reduces precision when aligning bits and workpieces.
Is vibration worse on wooden floors?
Yes, wood absorbs and releases motion, amplifying oscillation under load.
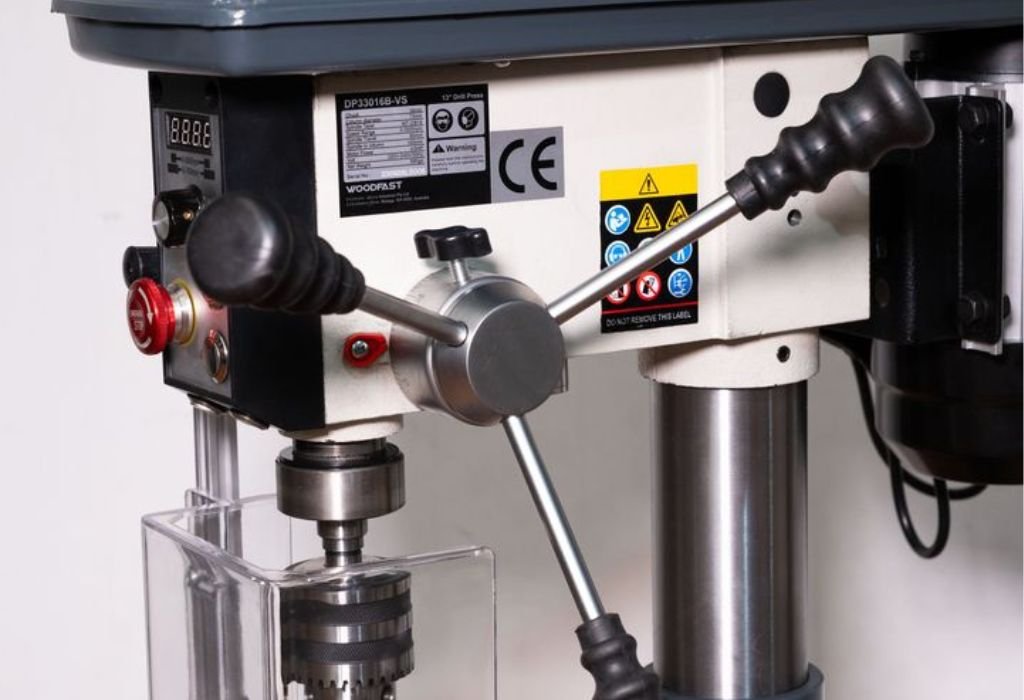
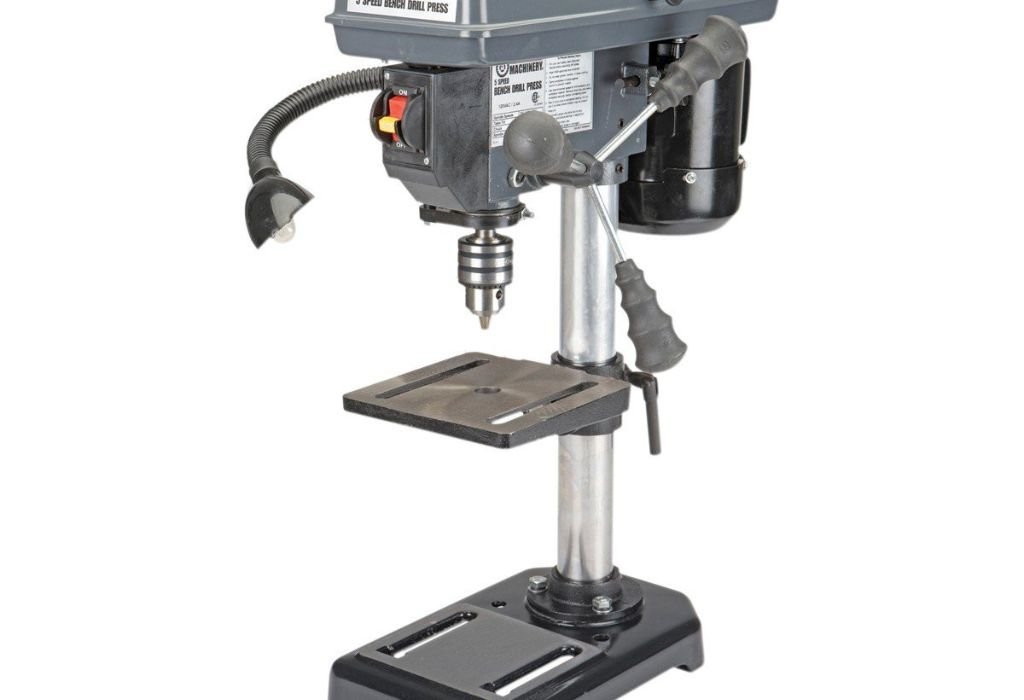
Mounting a Benchtop Drill Press
Benchtop drill presses are popular for their compact design, but their light weight often causes instability during heavy drilling. Mounting it properly ensures accuracy and safety.
Start by selecting a solid bench — at least 1½ inches thick — made from hardwood, steel, or reinforced plywood. Avoid hollow or portable tables. Place the press near the bench corner to reduce flex and allow more leverage when drilling.
Mark the mounting holes on the base using a pencil or marker. Remove the press, drill pilot holes, and reinstall using heavy-duty bolts or lag screws. Use washers and locknuts to secure the machine firmly.
For additional vibration control, place a rubber or neoprene mat between the drill press base and the bench. This absorbs shock without compromising rigidity.
Finally, test stability by applying moderate downward pressure on the handle. The press shouldn’t shift or hum. If it does, tighten the bolts and check for any surface unevenness.
For reference, The Spruce Crafts recommends mounting the machine to a bench weighing at least 100 pounds for optimum performance.
Do I need to bolt my benchtop drill press down?
Yes, especially when drilling metal or large materials that create torque.
What type of bolts work best?
Grade 8 bolts with washers and locknuts for long-term rigidity.
Can I use clamps instead of bolts?
Temporary clamps help with portability but aren’t suitable for heavy drilling.
How can I reduce bench vibration?
Use a rubber pad or anti-vibration mat beneath the base.
Is it okay to mount the drill press on particleboard?
No, it’s too weak and prone to splitting under pressure.
Mounting a Floor Drill Press
Floor drill presses offer power and height — but also require a secure foundation to stay balanced. Without anchoring, even the heaviest model can wobble during deep cuts.
Choose a smooth, level section of concrete. Sweep away debris and ensure the surface is free from oil or sawdust. Position the drill press where you have at least three feet of clearance on all sides.
Mark the bolt holes from the base onto the floor using a masonry bit. Drill pilot holes and insert anchor sleeves or wedge bolts rated for the press’s weight. Align the machine, drop the bolts through the base, and tighten evenly.
If you’re using vibration-dampening pads, place them under each foot before tightening. This minimizes resonance and improves grip.
When finished, test stability by applying pressure in different directions — the press should remain rock solid.
For professional shop setups, Popular Mechanics suggests bolting large presses directly to the floor to prevent tipping hazards.
Is floor mounting necessary for all drill presses?
Yes, heavy models perform best when anchored securely to prevent wobble.
Can I use rubber pads under the base?
Yes, they absorb vibration without sacrificing strength.
What’s the safest bolt type for concrete?
Use ⅜-inch or ½-inch wedge anchors for maximum holding power.
Can I move the drill press after bolting it down?
You’ll need to unbolt it completely, so plan location carefully first.
Does bolting reduce noise?
Yes, it minimizes vibration that often causes droning or rattling sounds.
Mounting on a Drill Press Stand
Mounting a press to a stand provides flexibility and mobility, ideal for small workshops. However, stands can introduce instability if not reinforced.
Ensure your stand’s weight capacity exceeds your press by at least 30%. Lightweight stands can flex or topple under drilling stress.
Bolt the press to the stand’s top plate using manufacturer-provided holes. Add flat washers beneath the bolt heads to distribute pressure evenly.
To improve stability, secure the stand to the floor or wall using anchor screws or mounting brackets. You can also add sandbags or steel plates to the base for extra weight.
Check levelness using a bubble level before tightening fully. A tilted stand causes uneven drilling and misalignment over time.
For best results, see Harbor Freight’s user manuals — many include illustrated diagrams for stand anchoring.
Can I use a universal stand for any drill press?
Yes, as long as the bolt pattern and weight rating match.
How do I prevent my stand from shaking?
Anchor it to a wall or add weight to the bottom shelf.
Should I use anti-slip pads between press and stand?
Yes, they enhance grip and absorb minor vibrations.
Can I mount casters for mobility?
Yes, use locking wheels rated for industrial use only.
Do I need to bolt the stand to the floor?
If you drill large pieces often, anchoring improves overall stability.
Wall-Mounted Drill Press Installation
Wall-mounting is ideal for small workshops where floor or bench space is limited. It offers solid stability when reinforced properly.
First, identify load-bearing studs in your wall using a stud finder. Avoid mounting directly to drywall or thin plywood panels.
Install a thick plywood backboard (at least ¾ inch) across several studs using lag screws. This distributes weight evenly. Then bolt the drill press base plate to the board with washers and locknuts.
Keep the mounting height ergonomic — your elbows should align with the table surface when drilling.
Recheck all fasteners after mounting. If the wall vibrates, add diagonal braces or attach vibration-dampening strips behind the backboard.
For inspiration, Instructables features several compact wall-mounted designs with reinforced frames.
Can any drill press be wall-mounted?
Only lightweight or compact benchtop models — heavy ones require floor support.
What wall type is best for mounting?
Load-bearing walls with wood or steel studs.
How can I reduce wall vibration?
Use shock-absorbing pads or cross-braces between the studs.
Can I mount it at an adjustable height?
Yes, using metal brackets or a sliding wall frame.
Is wall mounting safe for metal drilling?
Yes, if the frame and studs can handle torque and weight safely.
Reducing Vibration and Improving Accuracy
Even when securely bolted, a drill press can vibrate due to uneven floors, motor imbalance, or loose fasteners. Minimizing vibration improves hole accuracy and extends tool life.
Start by checking alignment between the spindle and table. Misalignment amplifies vibration under load. Adjust the table angle using the locking mechanism until perfectly square.
Inspect the belt tension — too tight strains bearings; too loose allows slipping. A half-inch of deflection at the midpoint is ideal.
Add vibration isolation pads under the base. Materials like neoprene or cork absorb oscillation without reducing grip.
Check the balance of drill bits, especially large or long ones. A bent bit can create severe wobble even on a stable machine.
For a detailed guide, Kaka Industrial provides industrial-level vibration control techniques.
Why does my drill press vibrate even when bolted down?
Uneven floors, unbalanced bits, or loose belts are common causes.
Can rubber mats really help stability?
Yes, they reduce vibration transmission to the floor or bench.
Should I use heavier bases?
Yes, extra mass dampens movement and keeps the press grounded.
How do I know if my table is misaligned?
If holes lean or bits deflect, the table may not be perpendicular.
Does vibration affect bit lifespan?
Yes, it causes chatter, heat buildup, and premature dulling.
Conclusion
Mounting a drill press may seem simple, but doing it right transforms your entire workshop experience. A properly secured press runs quieter, drills cleaner, and lasts far longer.
Whether bench, floor, wall, or stand-mounted, the key lies in eliminating vibration and ensuring even weight distribution. Solid bases, tight bolts, and vibration pads all contribute to the “perfect stability” every craftsman needs.
Always inspect the mounting surface before installation. Reinforce weak benches, anchor to concrete when possible, and position the press for optimal comfort and access. Remember, precision starts from the ground up — and an unstable foundation means inaccurate results no matter how good your tools are.
If you maintain, clean, and occasionally recheck your mounting bolts, your drill press will stay perfectly stable for years. You’ll notice smoother operation, cleaner holes, and reduced wear on bits and bearings.
True craftsmanship is about consistency — and nothing provides that better than a rock-solid, well-mounted drill press.

I’m John F. Nicholas, the founder, lead writer, and drill enthusiast behind 101drill.com. With years of hands-on experience in power tools and DIY projects, I created this platform to share practical knowledge, expert tips, and real-world insights to help others master the art of drilling.