
Installing blinds on a metal door feels like a simple task until you realize a drill slips, scratches the surface, and risks damaging both the paint and the steel.
Many people worry about drilling because metal doors often contain insulation foam, security plates, or protective coatings that shouldn’t be punctured.
I once watched someone try to drill into a metal door only to have the bit skate across the surface and leave a permanent dent before they discovered no-drill mounting systems.
Metal doors are tough on drill bits, and even when the hole succeeds, it introduces rust risk and damages the exterior finish. Renters have an even bigger problem because they cannot drill at all, meaning they must install blinds safely without leaving marks.
Thankfully, modern hardware options make it possible to mount blinds securely using magnetic brackets, adhesive mounts, tension rods, or clever clip-on attachments.
The best part is that these no-drill systems take only minutes to install and can be removed without damaging the door. With the right tools and correct alignment, blinds stay secure even when the door opens and closes repeatedly.
This guide walks you through every safe and effective method to install blinds on a metal door, all without picking up a drill.
Why You Should Avoid Drilling Into a Metal Door
Drilling into a metal door may seem like the fastest solution, but it creates long-term issues. Metal doors often have insulation layers that can get damaged when drilling through the surface. This damage can affect temperature control and reduce energy efficiency.
Steel doors are coated with rust-resistant paint that protects them from moisture. When drilling breaks this coating, the metal underneath becomes exposed to air and humidity. This increases the chances of rust forming around the drilled holes.
Drilling also creates permanent holes that cannot be repaired perfectly. Even if patched later, the surface texture changes and reduces the door’s appearance value. For renters, drilling is especially risky because property owners usually forbid puncturing metal doors.
Most metal doors contain internal reinforcing plates meant for security. Drilling in the wrong location can weaken the door’s strength and compromise structural integrity. Damaging these reinforcements can affect how the door withstands impact.
Using the wrong drill bit or pressure can cause dents around the hole. These dents ruin the smooth finish of a metal door and require extensive repainting. Many people underestimate how easily drilling can scar steel surfaces forever.
Finally, drilling into metal requires skill, pressure control, and cooling techniques. Without experience, a drill bit can slip and scratch the door instantly. Avoiding drilling completely makes blind installation safer, cleaner, and stress-free.
Tools and Materials for No-Drill Blind Installation
Installing blinds without drilling requires the right no-damage materials. Magnetic mounting brackets are one of the most popular choices for steel doors. They use strong magnets that attach instantly and hold blinds firmly in place.
Adhesive blind brackets are another effective no-drill option. These brackets use industrial-strength adhesive pads that bond to the door surface. Modern adhesive mounts can hold surprisingly heavy blinds when installed correctly.
Tension rods are ideal for metal doors with glass inserts or window cutouts. These rods expand between two sides of the window frame to hold blinds without screws. They create a secure fit as long as the size matches the window opening.
Over-the-door clip-on blinds work perfectly for doors that open frequently. These blinds hang from metal hooks that wrap over the top of the door. They don’t touch the door surface, which prevents scratches completely.
Measuring tape and a level help ensure accurate placement. Proper measurement ensures the blinds hang straight and match door width. A level guarantees that brackets align correctly before mounting.
Cleaning supplies such as rubbing alcohol, microfiber cloth, and degreaser help prepare the door surface. Clean surfaces allow adhesive brackets to bond stronger and last longer. Proper preparation prevents slipping and ensures stable installation.
Safety gloves help prevent cuts or scrapes during installation. Installing blinds without drilling is simpler but still requires careful handling. With the right materials, the process becomes fast and damage-free.
Method 1: Using Magnetic Blind Brackets for Steel Doors
Magnetic blind brackets are ideal for installing blinds on metal doors. These brackets use strong neodymium magnets that attach instantly to steel. They provide firm support without drilling a single hole.
Begin by cleaning the mounting area with rubbing alcohol. A clean, oil-free surface ensures maximum magnetic grip strength. Dust or residue can weaken the magnet and cause misalignment.
Position the magnetic brackets at the exact height where the blind will be mounted. Check alignment using a level to ensure straight placement. Proper alignment prevents uneven blind movement during opening and closing.
Attach the blind headrail to the magnetic brackets according to the manufacturer’s instructions. Most blinds simply snap into the bracket slot. Once secured, gently pull downward to ensure a firm hold.
Magnetic brackets work best on steel doors, not aluminum doors. You can test with a regular magnet to check if the door is magnetic. If the magnet sticks strongly, magnetic brackets are compatible.
These brackets can hold most lightweight and medium blinds. Heavier blinds may require additional support magnets. Always read the weight limits listed by the manufacturer.
Magnetic blinds can be removed easily for cleaning or relocating. They leave no marks or residue on the metal surface. This makes them perfect for renters and homeowners who want a clean installation.
Method 2: Installing Adhesive Mounting Brackets
Adhesive blind brackets are versatile and work on both steel and aluminum metal doors. They use strong mounting tape that bonds tightly to clean metal surfaces. Installation is fast and requires no tools.
Start by cleaning the door using rubbing alcohol. A perfectly clean surface ensures the adhesive sticks properly. Oils or fingerprints reduce bonding strength.
Remove the protective layer from the adhesive bracket. Position it on the door and press firmly for at least 30 seconds. Applying pressure activates the adhesive and improves long-term hold.
Allow the adhesive to cure for at least 24 hours before hanging blinds. Curing strengthens the adhesive and prevents slipping during use. Never hang blinds immediately after mounting brackets.
Attach the blind headrail to the adhesive brackets once curing is complete. Make sure the alignment remains straight by using a level. Proper alignment ensures the blinds move smoothly.
Adhesive brackets work best for lightweight to medium-weight blinds. They should not be used for heavy wood blinds. Excess weight may cause slow slipping over time.
These brackets offer a clean and modern installation without damaging the door. They can be removed later using heat or adhesive remover. Removal leaves no drill holes and requires only minor cleaning.
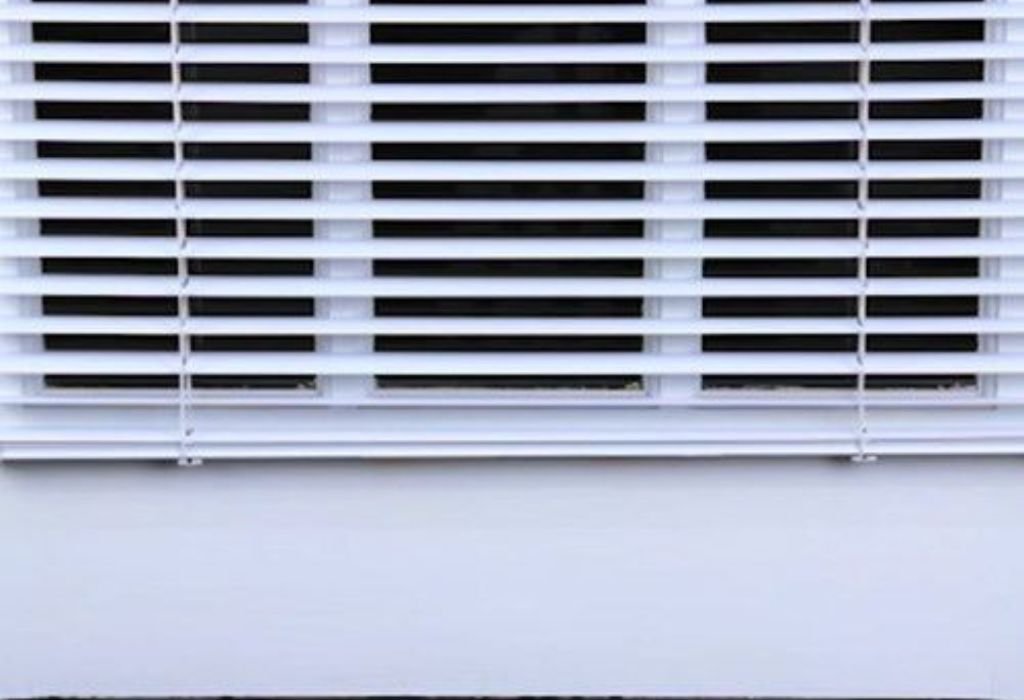
Method 3: Using Tension Rod Blinds for Window Cutouts
Tension rods are perfect for metal doors that have built-in glass windows. These rods expand sideways and grip both sides of the frame. They do not require screws or adhesives.
Measure the width of the window frame accurately. The tension rod must be long enough to create pressure between the two sides. Incorrect measurements lead to poor stability.
Rotate the tension rod to expand it until it fits tightly between the frame. Test the rod by gently pulling to confirm secure placement. The rod should not slip when pressure is applied.
Attach blinds that are designed for tension rod systems. Many curtain-style blinds are lightweight and hang well from tension rods. Some designs include clips or loops that attach easily.
Make sure the blinds hang evenly on both sides. Uneven placement causes blinds to sway when the door opens. Use a level if necessary to check alignment.
Tension rod blinds are ideal for renters and temporary installations. They can be removed easily without damage. They also work well for privacy shades and light-filtering blinds.
These rods hold best on smooth, straight window frames. Avoid installing them on uneven or curved frames. Proper placement ensures long-term stability.
Method 4: Clip-On or Over-the-Door Blinds
Clip-on blinds offer the simplest no-drill installation method. These blinds use hooks that slide over the top of the metal door. They hang down naturally without touching the door surface.
Begin by measuring the door thickness. Make sure the clip-on hooks fit comfortably without squeezing. Overly tight hooks may scratch or dent the metal.
Slide the hooks over the top edge of the door. Ensure the hooks sit flat and stable. Uneven hooks cause blinds to tilt during operation.
Attach the blind headrail to the hooks. Many clip-on blinds come with built-in mounting slots. These slots snap securely onto the hooks for quick installation.
Check that the blinds do not interfere with door movement. The blinds should not hit the floor or rub against the door frame. Adjust the height as needed.
Clip-on blinds are excellent for interior metal doors. They create a soft and elegant look without drilling holes. They also work well for glass panel doors.
These blinds can be removed quickly if you change décor or move homes. They leave no marks and require no special tools. Over-the-door blinds are perfect for renters and temporary setups.
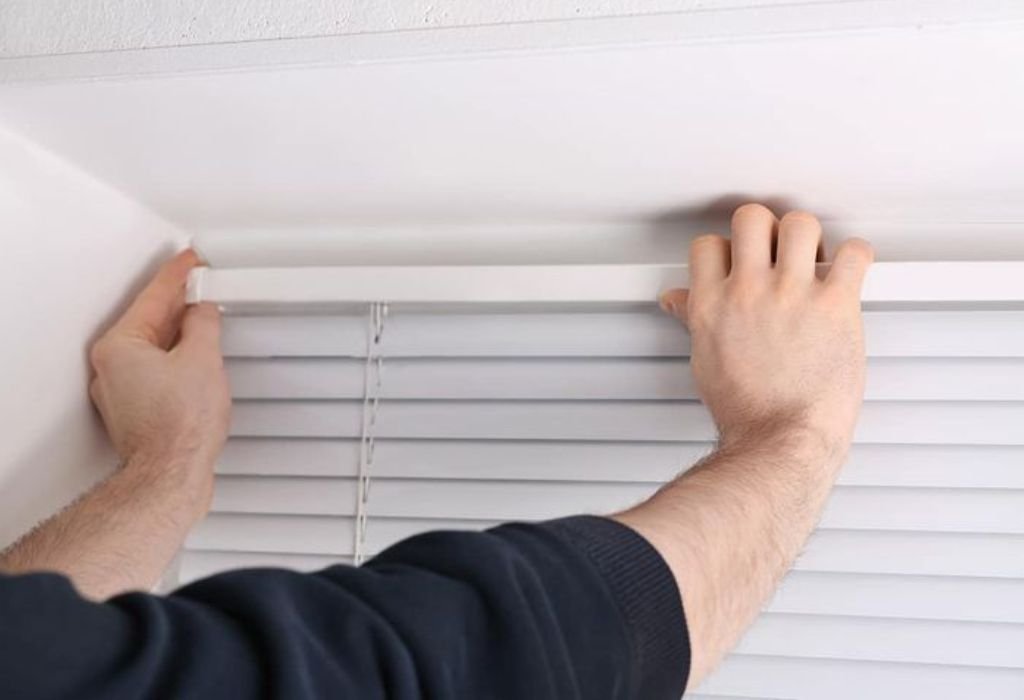
How to Measure and Align Blinds on a Metal Door
Accurate measurement ensures the blinds fit perfectly and work smoothly. Begin by measuring the width of the door or glass panel. Use a steel measuring tape for accuracy.
Measure the height where the blinds will hang. Make sure the blind length matches the door’s dimensions. Oversized blinds may obstruct door movement.
Mark the mounting points using a marker. These marks guide the placement of brackets or hooks. Double-check each mark for precision.
Use a level to ensure straight alignment. Even slight tilting becomes noticeable once blinds are installed. A level guarantees professional results.
Measure twice before attaching any mounting system. This helps avoid wasted adhesive or incorrect placement. Careful measurement saves time and prevents mistakes.
Blinds must be centered on the door for visual balance. Centered blinds create a cleaner appearance. Off-center installation looks uneven and unprofessional.
Correct alignment ensures blinds move smoothly when opening or closing the door. Misalignment can cause blinds to tap the edges or get stuck. Good measurements guarantee smooth operation.
How to Prevent Blinds from Falling or Shifting
Preventing blinds from shifting is essential for long-term reliability. For magnetic brackets, ensure the magnets are rated for the blind’s weight. Heavier blinds require stronger magnets.
Clean the metal surface thoroughly before mounting. Dust and oils reduce grip strength. A clean surface ensures consistent holding power.
Add extra support magnets if needed. Supplemental magnets increase stability. This is useful for wide blinds or heavy insulated blinds.
For adhesive brackets, allow full curing time before hanging blinds. Partial curing leads to slipping. Waiting ensures maximum strength.
Use anti-slip pads along the blind headrail if shifting occurs. These pads create friction and stabilize movement. They work well on doors that experience frequent use.
For clip-on blinds, check hook tightness regularly. Hooks may loosen slightly with door movement. Tight hooks prevent blinds from swinging excessively.
If using tension rods, adjust the pressure monthly. Rods may loosen over time due to vibration. Tightening ensures unchanged performance.
Metal Door Shade Installation Questions
Do magnetic brackets work on all metal doors?
They only work on steel doors; magnets won’t stick to aluminum.
Are adhesive brackets strong enough for heavy blinds?
They work for light and medium blinds but not for heavy wood blinds.
Can I remove adhesive brackets later?
Yes, use heat or adhesive remover for clean removal.
Do clip-on blinds scratch the door?
Only if the hooks are too tight; choose smooth, padded hooks.
How do I know if my door is steel or aluminum?
Test with a magnet — if it sticks, the door is steel.
Can blinds fall when the door slams?
Not if properly installed with strong magnets or reinforced adhesive.
Can I use tension rods on a solid metal door?
Only if the door has a window cutout; tension rods need side frames.
Will adhesive damage door paint?
High-quality adhesives usually do not, but cheap tapes might.
Are no-drill blinds safe for rental homes?
Yes, they cause no permanent damage and meet rental restrictions.
How long do adhesive mounts last?
Usually several years if the surface is prepared properly.
Conclusion
Installing blinds on a metal door without drilling is not only possible but also surprisingly easy with the right tools and techniques.
Modern no-drill systems such as magnetic brackets, adhesive mounts, tension rods, and clip-on designs offer safe, clean, and reliable alternatives to traditional drilling.
These solutions eliminate the risk of scratching the door, damaging insulation, or breaking protective coatings that prevent rust.
With careful preparation, accurate measurements, and proper alignment, even beginners can achieve a professional-looking installation in just a few minutes.
Each method offers unique advantages depending on the type of metal door and the style of blinds you want to install.
Magnetic brackets provide unmatched strength, adhesive mounts offer versatile placement, tension rods fit windowed doors perfectly, and clip-on blinds give instant installation for renters or temporary setups.
Taking time to clean the surface, verify compatibility, and follow weight limits ensures long-lasting results.
By avoiding drilling altogether, you maintain the structural integrity of the door and preserve its finish for years to come.
Whether you want to add privacy, block sunlight, or enhance home décor, these no-drill solutions give you complete flexibility without any permanent damage.
Once installed correctly, blinds stay secure, move smoothly, and withstand daily door use effortlessly. With these safe and innovative alternatives, anyone can enjoy beautiful, functional blinds on a metal door without ever picking up a drill.

I’m John F. Nicholas, the founder, lead writer, and drill enthusiast behind 101drill.com. With years of hands-on experience in power tools and DIY projects, I created this platform to share practical knowledge, expert tips, and real-world insights to help others master the art of drilling.