
A sharp drill bit is the difference between cutting through metal smoothly and struggling with heat, sparks and dull results. Many people only realize their bit is worn out when it starts squeaking, smoking or skating across the metal surface without digging in. This often leads them to wonder whether sharpening is something they can do at home or only a job for a professional.
The truth is that sharpening a metal drill bit is not difficult once you know the correct angle and technique. Anyone who has used a grinder or rotary tool before can sharpen a bit with a little patience and the right approach. Even beginners quickly learn how a properly sharpened bit bites into metal again with almost no pressure.
People often worry that sharpening might change the bit shape too much or weaken the cutting edge. But when done correctly sharpening actually increases precision, reduces heat and extends the life of the bit. This means you save money and keep your metal drilling projects cleaner and faster.
Before you start sharpening it helps to understand how a twist drill bit works. The cutting lips slice the metal while the chisel edge centers the bit. Sharpening improves both parts so the bit performs like new. This guide shows you exactly how to sharpen your metal drill bits in an easy and safe way.
Signs Your Metal Drill Bit Needs Sharpening
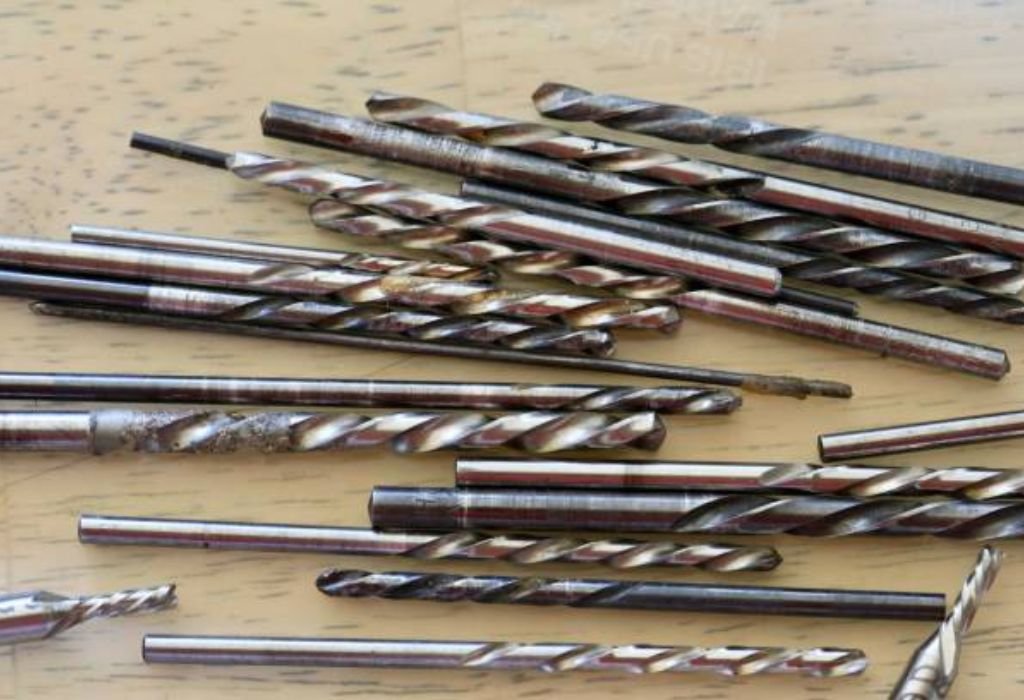
A dull drill bit often shows clear symptoms that affect drilling performance. One of the first signs is squealing noise because the lips are no longer sharp enough to cut metal. This noise usually gets louder as pressure increases.
Another sign is visible smoke or heat coming from the drilling point. This happens because a dull bit rubs instead of cutting. Excess friction quickly damages both the bit and the workpiece.
You may also notice the bit sliding across the metal surface instead of biting in. When the tip loses its sharpness it cannot stay centered. This makes drilling feel unstable.
A dull bit takes much longer to drill a hole. You may find yourself applying more pressure which is unsafe. Extra force can break smaller bits.
Inspect the cutting edges visually. If the lips look rounded or uneven sharpening is necessary. A clean sharp edge improves speed and accuracy.
Tools You Need To Sharpen A Drill Bit For Metal
The most common tool for sharpening metal drill bits is a bench grinder. A bench grinder provides stable power and consistent grinding action. This makes it easier to shape the cutting edges accurately.
If you do not have a bench grinder you can use a rotary tool with a grinding attachment. Rotary tools work well for small bits or quick touch ups. However they require more control.
You will also need safety goggles to protect your eyes from sparks. Gloves help protect your hands but make sure they are tight fitting. Loose gloves are unsafe around spinning wheels.
A container of water is helpful for cooling the bit while grinding. Metal bits heat up quickly during sharpening. Cooling prevents damage and keeps the temper of the steel strong.
A marker can also help you track your progress. Marking the cutting edges allows you to see which areas you have sharpened. This ensures even grinding on both sides.
Understanding The Correct Angle For Sharpening
Most metal drill bits require a sharpening angle of about 118 degrees. This standard angle works for general purpose drilling in steel and other metals. It provides a balance between sharpness and durability.
For harder metals you may use a 135 degree split point. This angle reduces walking and improves accuracy when drilling stainless steel. However it requires more precise sharpening.
When sharpening keep both cutting lips at equal length and angle. Uneven lips cause the bit to wobble and create oversized or uneven holes. Matching both sides is essential for clean drilling.
Holding the bit at the right orientation takes practice. Use the existing shape as your guide. Only remove a small amount of material each time.
If the angle looks uneven adjust your hand position slowly. Take your time because accuracy matters more than speed. A well sharpened angle restores perfect cutting performance.
Step By Step Guide To Sharpening A Metal Drill Bit
Turn on the bench grinder and wait until it reaches full speed. Hold the drill bit firmly with both hands to keep it stable. Position the bit so the cutting edge meets the grinding wheel at the correct angle.
Gently press the cutting lip against the wheel and grind for one or two seconds. Lift the bit away to avoid overheating. Overheating can weaken the metal.
Rotate the bit slightly while maintaining the angle. This helps shape the entire cutting lip smoothly. Consistent movement prevents flat spots.
After grinding the first lip switch to the other side. Sharpen the second lip using the same angle and pressure. Both sides must match for the bit to work properly.
Dip the bit in water to cool it down periodically. This protects the steel from losing hardness. Once cooled check the symmetry and sharpen again if needed.
Cooling The Drill Bit During Sharpening
Heat builds up quickly during grinding because metal friction is intense. Continuous heat can ruin the temper of the bit. A ruined temper makes the bit brittle or soft.
To avoid this always grind in short bursts. One or two seconds of grinding followed by a quick cooling dip works perfectly. This keeps the temperature under control.
Keep a container of clean water close to the grinder. Dipping the bit frequently stabilizes its structure. This allows longer use without damage.
If steam appears when dipping this means the bit is too hot. Allow the bit to cool naturally for a moment before continuing. This protects the metal from shock.
Proper cooling keeps the bit sharp and safe for drilling metal again. It also ensures the cutting edges retain their hardness. A cool bit always sharpens more evenly.
How To Check Your Drill Bit After Sharpening
After sharpening examine both cutting lips closely. They should be equal in length and angle. Any imbalance will cause wobbling.
Run your fingernail lightly across the cutting edge. A sharp bit should feel crisp and clean. If it feels dull sharpen again gently.
Place the drill bit on a flat surface to check symmetry. Both lips should touch the surface evenly. This helps confirm correct alignment.
Testing the bit on scrap metal is the best way to judge the result. A sharp bit will bite immediately without slipping. It also produces smooth metal shavings.
If the bit walks or squeaks the angle may be off. Repeat the sharpening process and correct the lip length. Practicing makes the technique easier over time.
How To Maintain Your Drill Bits After Sharpening
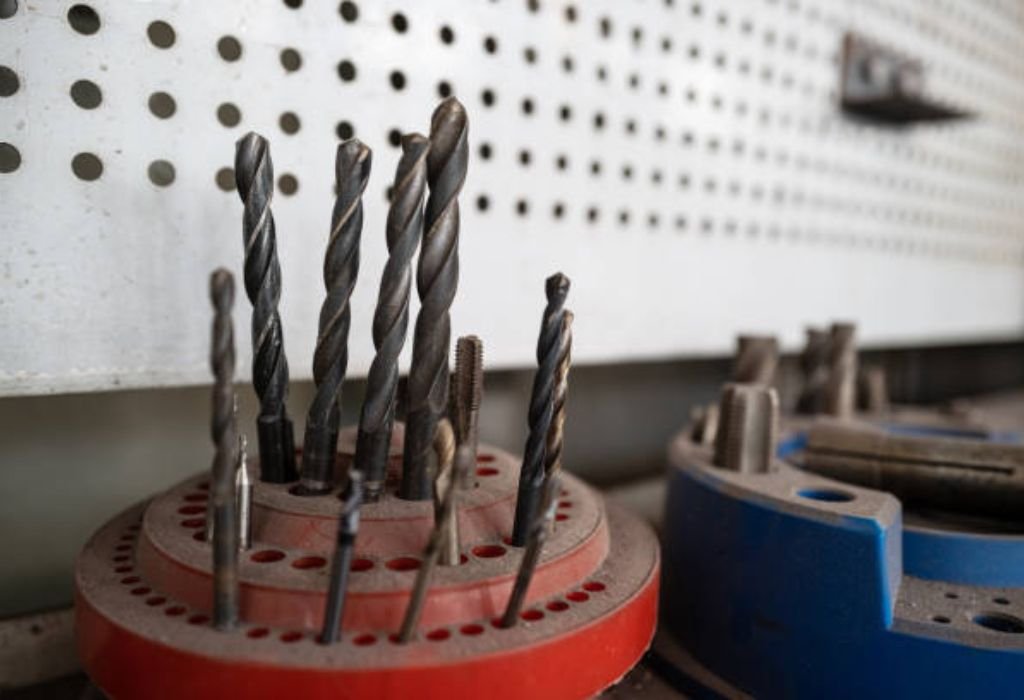
Proper maintenance keeps metal drill bits sharp for longer. After each use wipe away oil and metal shavings. Clean bits stay sharper.
Lightly coat the bits with machine oil before storage. This prevents rust and corrosion. Rust can dull cutting edges quickly.
Store bits in a dry case or container. Avoid tossing them into a toolbox where they hit other tools. Impact can damage the sharpened lips.
Sharpen bits regularly instead of waiting until they are completely dull. Light touch ups are easier and faster. Frequent sharpening also extends tool life.
Maintaining the bits ensures consistent drilling performance. Good care habits save money on replacements. A well maintained bit performs like new every time.
Random FAQ Block (Placed After Section 7)
How many times can I sharpen a drill bit?
You can sharpen a metal drill bit many times until it becomes too short. Most bits last through dozens of sharpening cycles.
Can I sharpen cobalt drill bits?
Yes cobalt bits can be sharpened easily. They handle heat well and respond nicely to grinding.
Do I need a special grinder for sharpening bits?
A standard bench grinder works well for most bits. A fine grit wheel gives smoother results.
What if the bit still slips after sharpening?
The angle might be uneven. Adjust the lips so both sides match perfectly.
Can I sharpen very small drill bits?
Yes but it requires more control. Using a rotary tool makes it easier for tiny bits.
Conclusion
Sharpening a drill bit for metal is a practical skill that saves time and money while improving drilling performance. With the right tools and the correct angle anyone can restore a dull bit and make it cut cleanly again. The process becomes easier once you learn how to balance the cutting lips and control the heat during grinding.
Short bursts of sharpening combined with regular cooling protect the bit from damage and maintain its hardness. Checking symmetry and testing the bit on scrap metal ensures you finish with perfect cutting edges. Proper storage and light touch ups keep the drill bits in excellent condition for future projects.
Whether you drill metal frequently or only occasionally sharpening gives you stronger cuts smoother holes and better accuracy every time. This simple technique helps extend the life of your tools and keeps your metal work efficient and reliable.

I’m John F. Nicholas, the founder, lead writer, and drill enthusiast behind 101drill.com. With years of hands-on experience in power tools and DIY projects, I created this platform to share practical knowledge, expert tips, and real-world insights to help others master the art of drilling.