
A magnetic drill press is one of the most powerful and precise tools in metalworking — but even seasoned professionals sometimes struggle with removing a stuck magnetic drill bit. Whether you’re using annular cutters or twist bits, improper removal can damage the arbor, warp the bit, or even injure the operator.
The key to professional-grade removal isn’t brute force — it’s method, technique, and the right tools. Over time, chips, coolant residue, or heat expansion can cause the bit to seize tightly inside the chuck or arbor.
Learning the proper removal process not only saves time but also extends your equipment’s life and keeps the drill performing at its peak.
This guide explains why drill bits get stuck, the step-by-step process to remove them safely, what tools you’ll need, how to prevent future seizing, and the common mistakes to avoid.
By following these techniques, you’ll handle your mag drill like a true professional — efficiently, safely, and without frustration.
Why Magnetic Drill Bits Get Stuck in the Arbor
Understanding why drill bits get jammed is the first step to removing them correctly. Most issues arise from heat, friction, or improper installation.
Metal Expansion from Heat:
When drilling through thick steel, both the bit and arbor heat up. As metal expands, it tightens the fit between the bit shank and the chuck.
Chip and Slag Build-Up:
Metal shavings or coolant sludge can accumulate inside the arbor bore, causing mechanical binding.
Dry Drilling Without Lubricant:
Lack of cutting fluid increases friction, welding tiny particles between surfaces.
Over-Tightened Set Screws:
Some users overtighten the locking screws, making manual release difficult later.
Rust or Corrosion:
Leaving bits in the arbor for long periods, especially in humid environments, can cause oxidation and bonding.
Recognizing the cause helps determine the correct removal technique — whether mechanical, manual, or thermal (cooling/heat-relief).
How to Remove Different Types of Magnetic Drill Bits
Not all magnetic drill bits are designed the same way — and understanding these differences helps you remove them correctly without causing damage. Each type of bit connects to the arbor slightly differently, so your removal technique should match the cutter’s design.
1. Annular Cutters
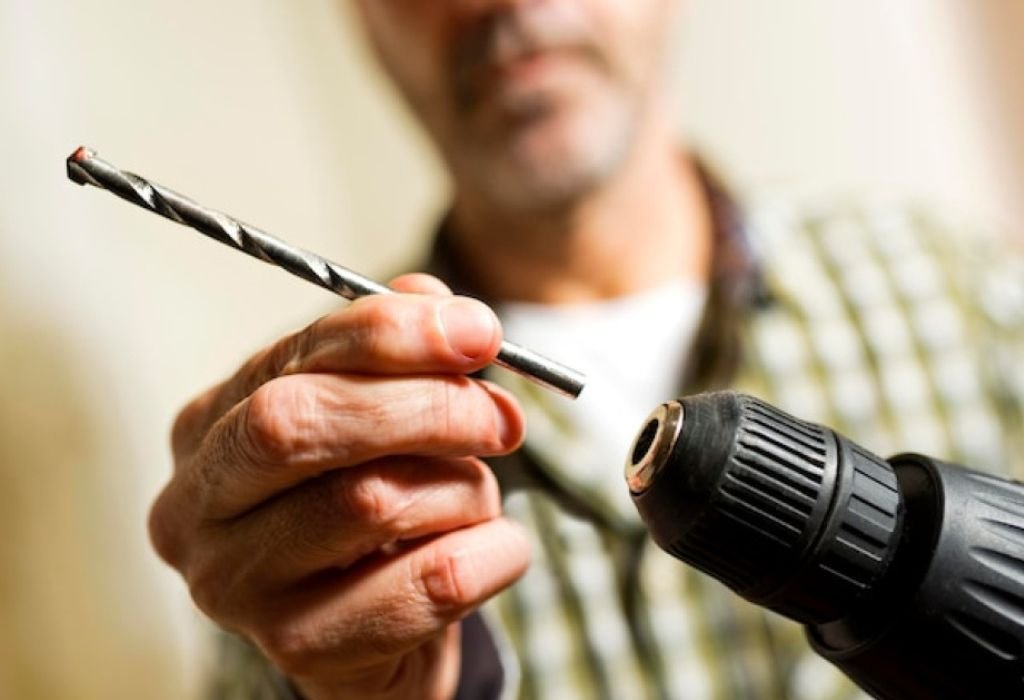
These hollow, tube-shaped cutters are most commonly used on magnetic drills. They attach via a Weldon shank (19 mm or ¾-inch) and are held in place by two side screws. To remove them:
- Loosen both set screws evenly using the correct hex key.
- If it doesn’t release easily, apply a small amount of lubricant and tap gently with a rubber mallet.
- Avoid twisting or prying — it can damage the shank flats or misalign the arbor.
2. Twist Drill Bits
Twist bits are secured using a chuck adapter or keyed chuck. If stuck, rotate the chuck counterclockwise while gently pulling the bit. If it’s rusted or jammed, use a few drops of penetrating oil and let it sit before attempting removal again.
3. Countersinks and Reamers
These bits often seize due to their conical shape and tight friction fit. Apply lubricant around the base and gently rotate them backward by hand to free the threads or taper.
4. Tapping Attachments
Threading tools can bind if swarf builds up inside. Remove them by reversing the motor direction at a slow speed — never force them out manually.
Knowing how each bit attaches and releases ensures smoother removal and less risk of damaging the drill or tool components.
Tools and Materials You’ll Need for Safe Removal
Before attempting removal, gather the right tools to prevent damage. Professionals always prepare a controlled setup instead of forcing the bit out.
Required Tools:
- Hex keys or Allen wrenches (for arbor set screws)
- Soft-jaw vise or clamp
- Lubricant or penetrating oil (WD-40, PB Blaster)
- Rubber mallet or drift punch
- Protective gloves and goggles
- Coolant or compressed air (for heat dissipation)
Optional but Helpful Tools:
- Arbor drift tool: designed specifically for releasing stuck annular cutters.
- Quick-release ejector pin: common in professional mag drills.
Always disconnect the drill from power and release the magnetic base before handling the cutter. Even a small slip can cause a deep cut or thread damage, so safety is non-negotiable.
When and How to Use an Arbor Drift Tool Properly
The arbor drift is one of the most essential yet misunderstood tools in magnetic drilling. It’s specifically designed to help remove stuck annular cutters without using excessive force or damaging the arbor.
An arbor drift is a flat, wedge-shaped steel tool that slides between the annular cutter and the drill’s arbor spindle. When tapped lightly with a rubber mallet, it separates the two parts by applying even pressure along the surface — not direct impact.
Proper Usage Steps:
- Disconnect Power: Ensure the magnetic drill is off and unplugged.
- Loosen Set Screws: Use an Allen key to release side screws from the cutter.
- Insert the Drift Tool: Place it between the cutter’s shoulder and the spindle base.
- Tap Gently: Use a rubber or nylon mallet — never a steel hammer — to nudge the cutter loose.
- Remove and Clean: Once the cutter releases, clean both contact surfaces and apply a drop of oil before reassembly.
Common Mistakes:
- Striking the drift too hard — this can crack the cutter or damage the arbor bore.
- Using makeshift tools (like screwdrivers or chisels) instead of a real drift.
- Forgetting to support the cutter; it may fall and chip its edges once released.
When used correctly, an arbor drift removes cutters quickly and cleanly — a key skill that separates professional machinists from novices.
Step-by-Step Process to Remove a Magnetic Drill Bit
Follow this systematic approach to remove the bit cleanly and safely:
Step 1: Disconnect and Secure the Drill
Unplug the magnetic drill or remove the battery for cordless units. Turn off the magnet. Secure the drill in a stable position on a workbench or clamp the base to prevent movement.
Step 2: Release the Arbor Screws
Use the correct hex key to loosen the set screws that secure the bit or annular cutter to the arbor. Don’t remove them completely yet — just loosen to relieve tension.
Step 3: Apply Lubricant or Penetrating Oil
Spray a light amount of lubricant at the base of the bit where it meets the arbor. Let it sit for a few minutes to break down any rust, heat residue, or debris.
Step 4: Use an Arbor Drift or Ejector Tool
If your mag drill includes an ejector pin, press or tap it lightly with a mallet to push the bit free. For annular cutters, insert the arbor drift between the bit and spindle, then tap gently until it loosens.
Step 5: Cool the Area (if Needed)
If expansion caused the jam, apply compressed air or coolant spray to cool the metal. The bit may contract slightly, allowing easier removal.
Step 6: Remove the Bit and Clean the Arbor
Once loosened, pull the bit straight out. Never twist or pry sideways — it can damage the arbor. Clean the bore with a soft cloth and re-lubricate it for future use.
Step 7: Inspect and Store Properly
Check the bit for wear or chipping. Coat lightly with oil to prevent corrosion, and always store in a dry, organized case.
How to Clean and Maintain the Arbor After Bit Removal
Once the magnetic drill bit is removed, cleaning the arbor is critical to prevent future seizing and to ensure smooth bit installation next time. Most stuck-bit issues occur because of residue buildup or neglect after previous use.
1. Remove Metal Debris and Residue
Use a soft brush or compressed air to remove all metal chips from the arbor bore. Avoid steel brushes — they can scratch the bore and cause future friction.
2. Wipe with Solvent or Degreaser
Apply a mild solvent (like mineral spirits) or degreaser to a clean cloth and wipe the inside of the arbor. This removes oil, rust, and coolant residue that can harden over time.
3. Inspect for Damage
Look for scratches, dents, or rust spots inside the bore. Minor surface oxidation can be removed using fine-grit sandpaper (1000–1500 grit). Deep gouges, however, require professional polishing or arbor replacement.
4. Apply a Thin Lubricant Film
Once clean, lightly coat the arbor bore with machine oil or anti-seize compound. This keeps moisture out and ensures the next bit slides in smoothly.
5. Store with Protection
When not in use, insert a small protective plug or wrap the arbor end in a dry cloth. This prevents dust and corrosion from settling inside the mechanism.
Maintaining a clean, lubricated arbor not only makes bit changes faster but also extends the lifespan of your magnetic drill by reducing wear and vibration.
Common Mistakes to Avoid
Even small errors can lead to costly damage or injuries. Here are the most common mistakes professionals warn against:
- Using Excessive Force: Hammering or twisting the bit can deform the shank or crack the cutter.
- Skipping Lubrication: Dry removal increases friction and can seize the bit tighter.
- Ignoring Cooldown Time: Removing a hot bit risks burns and thread damage.
- Leaving the Bit in the Arbor Overnight: It can rust or fuse due to thermal contraction.
- Using the Wrong Hex Key Size: Stripped screws are one of the most common issues in mag drill maintenance.
- Neglecting Safety Gear: Always wear gloves and eye protection — metal shards can eject under tension.
A patient, step-by-step approach prevents 90% of these issues.
How to Prevent Bits from Getting Stuck Again
The best professionals know that prevention saves time and money. With a few maintenance habits, you can keep your magnetic drill bits from getting jammed again.
- Always Use Cutting Lubricant: Reduces friction and keeps heat minimal.
- Clean the Arbor After Every Job: Wipe away chips, rust, and oil residue.
- Inspect Before Installation: Never use a bent or worn bit — it can bind in the bore.
- Avoid Overtightening Screws: Snug, not excessive, torque is sufficient.
- Store in a Dry, Cool Area: Prevents corrosion on both arbor and cutter.
- Replace Worn Ejector Pins: Weak springs fail to push bits out properly.
- Allow Cool-Down Time: After long drilling sessions, let the tool rest before changing bits.
These small steps ensure smooth removal every time — just like a pro.
Frequently Asked Questions (FAQs)-how to remove magnetic drill bit
Why won’t my magnetic drill bit come out?
Usually because of heat expansion, debris, or overtightened screws.
Can I remove a stuck bit using pliers?
No — it can deform the shank and damage the arbor.
What’s the safest lubricant for bit removal?
Use WD-40, PB Blaster, or any light penetrating oil.
Is it safe to tap the bit with a hammer?
Only if you use a rubber or plastic mallet — never a metal hammer.
Can heat help release the bit?
Yes, cooling and heating cycles can sometimes break the bond, but avoid direct flame.
How often should I clean the arbor?
After every drilling session to prevent rust and buildup.
Do all mag drills have ejector pins?
Most modern ones do; older models may require manual drift tools.
Can a damaged arbor be repaired?
Minor scratches can be polished, but deep gouges require replacement.
Why do bits seize more in stainless steel drilling?
Because stainless holds heat longer and expands faster.
Should I lubricate during removal or only drilling?
Both — it helps loosen stuck bits and prevents corrosion.
How do I know if my bit is still usable?
Inspect for chipped teeth, cracks, or dull edges.
What happens if I force the bit out?
You risk stripping threads, damaging the spindle, or injuring yourself.
Do I need special tools for carbide bits?
Yes, carbide cutters are brittle — always use ejector pins and drift punches.
Can I use anti-seize compounds before installation?
Yes, a thin layer prevents future binding.
Why does my bit get stuck more often in overhead drilling?
Gravity and vibration increase friction — use more coolant and slower feed rate.
Conclusion
Removing a magnetic drill bit might seem like a small maintenance task, but it’s a skill that separates beginners from professionals. Every experienced fabricator knows that forcing a stuck bit can quickly lead to broken cutters, damaged arbors, or even a ruined magnetic drill. True precision work depends not just on drilling accuracy, but also on how well you handle and care for your tools afterward.
A professional approach means understanding the science behind it — heat expansion, metal friction, and mechanical binding. When you know why the bit is stuck, you can apply the right solution: cooling, lubrication, or a gentle drift tap. Instead of rushing or using brute force, take a methodical approach that protects both the machine and the bit.
Proper tool preparation and maintenance also go a long way. Keeping your arbor clean, applying cutting oil during drilling, and loosening bits immediately after use prevent most seizing issues before they start. It’s far easier to prevent binding than to fight it later.
Ultimately, removing a magnetic drill bit like a professional is about control, patience, and understanding your equipment. Once you master the process, it becomes second nature — no stress, no struggle, just smooth, precise maintenance that keeps your mag drill working at full efficiency.
Remember: every step you take to protect your drill today ensures longer life, better performance, and safer operation tomorrow. Treat your equipment like a craftsman, not a laborer, and it will reward you with years of reliable service and perfectly drilled holes.

I’m John F. Nicholas, the founder, lead writer, and drill enthusiast behind 101drill.com. With years of hands-on experience in power tools and DIY projects, I created this platform to share practical knowledge, expert tips, and real-world insights to help others master the art of drilling.