
Drilling holes in a metal bucket may look simple until the drill bit touches the curved surface and begins to slide across the metal.
Many beginners try to start the hole only to hear a loud scraping sound as the bit skates away from the mark. This makes the task feel much harder and riskier than it actually is.
Imagine you need drainage holes for a gardening bucket or openings for a DIY smoker or charcoal starter. You mark the hole locations carefully and position the drill, but the bit slips sideways and leaves a scratch that ruins the surface.
This kind of mistake happens because buckets have rounded walls that make starting the hole more difficult.
Metal buckets are lightweight and often thin, so they flex easily under pressure. This flexing creates vibration that affects drilling stability. Without proper preparation, the drill bit cannot find the grip it needs.
Once the bit creates a small groove, drilling becomes much easier and more controlled. But the challenge lies in making the first few seconds stable and accurate. Professionals use small techniques to keep the bit steady from the start.
Metal buckets require careful support because their thin walls can dent under too much pressure. A secure setup prevents the bucket from shifting while drilling. Stability makes the difference between a messy hole and a clean, round one.
With the correct tools and drilling method, making holes in a metal bucket becomes quick and easy. Whether the bucket is stainless steel, galvanized metal or coated steel, the steps remain the same. This guide explains exactly how to drill clean holes safely and efficiently.
Why Drilling Holes in a Metal Bucket Needs the Right Method
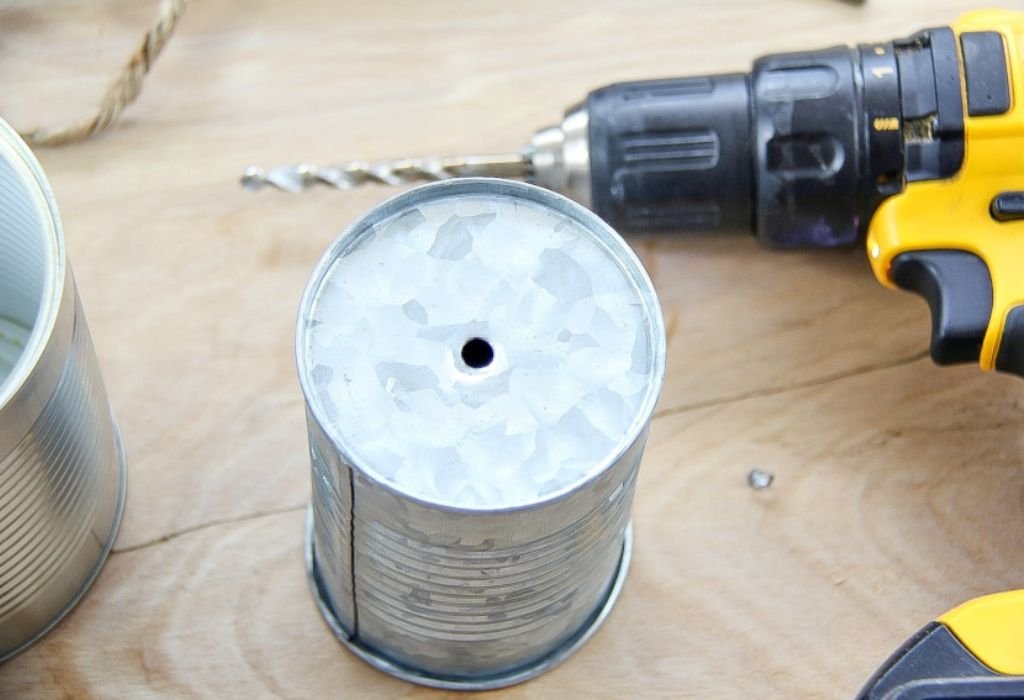
Metal buckets have thin curved walls that give the drill bit very little surface to grip. The bit contacts only a small point and easily slips away. This makes starting the hole the most challenging part.
Buckets also flex under pressure. When the bucket wall bends inward, drilling becomes uneven. This movement disrupts accuracy and control.
Many buckets are coated with paint or protective layers. Coatings can make the surface slippery before reaching the metal. Removing the coating in the drilling spot helps improve grip.
The metal in buckets can be soft or thin. Applying too much pressure can bend the wall or warp the bucket shape. Gentle drilling preserves the structure.
The curved shape causes vibration when the drill touches the metal. Vibration makes the bit harder to control. Controlling vibration improves precision.
Some buckets have seams or reinforced edges. These areas are harder to drill due to thicker metal. Understanding bucket construction helps avoid problem spots.
Using the wrong drill bit can tear the thin metal. Thin metal requires sharp bits for clean cutting. Proper bit choice ensures smooth drilling.
Tools You Need to Drill Holes in a Metal Bucket
A variable speed drill is essential for drilling thin metal. Low speed prevents slipping and gives better control. High speed can tear or distort the bucket wall.
High speed steel or cobalt drill bits work best. They cut metal cleanly without needing excessive pressure. Sharp bits reduce slipping on curved metal.
A center punch creates the starting point for the drill bit. This dent prevents the bit from wandering. A deeper dent gives better stability.
Clamps or a bucket holder help prevent movement. Buckets are light and can shift easily. Proper stability improves safety.
Cutting oil reduces heat and friction. Using oil keeps the bit sharp and prevents burns. Even a small amount helps thin metal.
Marker tools help you identify drilling points clearly. Visible marks ensure proper placement. Accurate marking prevents misaligned holes.
Safety gear is important during metal drilling. Safety glasses and gloves protect from metal shavings. Buckets produce sharp flakes when drilled.
How to Prepare a Metal Bucket Before Drilling
Marking the drilling point is the first step. Using a bright marker makes the spot easy to see. Accurate marking ensures clean placement.
A center punch must be used to make a stable starting dent. Without this dent, the drill bit will slide on the curved surface. A solid tap creates a reliable guide.
Cleaning the bucket surface improves contact. Dirt, oil or rust can interfere with drilling. A clean surface provides a better grip.
Supporting the bucket prevents flexing. Placing a wooden block inside the bucket provides firm support for drilling. This support keeps the wall stable.
Clamping the bucket keeps it from shifting. Light metal moves quickly when drilling begins. Clamping improves safety and accuracy.
Lighting must be bright enough to see the punch mark. Shadows reduce precision. Good lighting improves drilling control.
Setting the drill speed to low prepares a clean start. High speed increases slipping and heat. Slow drilling improves results from the beginning.
How to Start a Clean Hole on a Curved Bucket Surface
Starting the hole is the hardest part of drilling a bucket. The bit slips because the curved surface lacks flat contact. A deep punch mark helps prevent sliding.
Holding the drill at a slight angle helps the bit find its first bite. Once the bit creates a small groove, it becomes more stable. After forming this groove, the drill can be straightened.
Using very low speed gives the bit time to engage the metal. Slow rotation improves grip and reduces wandering. This is important for clean entry.
Applying only light pressure protects the bucket. Thin metal dents easily if pushed too hard. Letting the bit cut naturally produces cleaner holes.
Cutting oil should be applied before starting. Oil reduces friction and allows smoother cutting. Lubrication keeps the bit sharp.
Once the bit enters slightly, stabilization improves. The small groove guides the bit like a track. This prevents sideways movement.
Checking the first groove ensures the hole is centered. Correcting direction early prevents bigger issues later. Precision comes from careful starting.
Why does the drill bit slip on a bucket?
Because the curved metal surface gives almost no flat grip.
How do I prevent scratching before drilling?
Make a deep punch dent and start at low speed.
Do thin buckets dent easily?
Yes, apply gentle pressure to avoid deformation.
Can I start with a smaller drill bit?
Yes, smaller bits grip easier and reduce slipping.
Does cutting oil matter on thin metal?
Yes, it reduces friction and keeps the bit cool.
How to Drill Deeper Holes in a Metal Bucket Smoothly
Deeper holes require steady control throughout drilling. Thin metal behaves differently when drilling deeper. Consistent technique gives better results.
Cutting oil must be reapplied regularly. Deeper drilling increases friction and heat. Lubrication prevents bit dulling.
Pulling the drill out periodically clears metal shavings. Shavings clog the bit and increase resistance. Clearing them helps maintain a smooth cut.
Maintaining constant pressure prevents tearing. Too much pressure can deform the bucket wall. Gentle pressure ensures the bit cuts properly.
Using sharp bits avoids tearing thin metal. Dull bits snag and distort the metal. Sharp bits produce clean holes.
Drilling with consistent speed avoids vibration. Sudden speed changes affect alignment. Smooth motion maintains accuracy.
Checking progress helps keep drilling straight. Buckets can shift even when clamped. Frequent adjustments improve results.
Using a Drill Guide or Support Block for Cleaner Holes
A drill guide keeps the bit aligned and stable. Guides are helpful when drilling multiple holes. Stable alignment improves accuracy.
Placing a wooden block inside the bucket provides firm backing. This prevents bending or flexing during drilling. Strong backing creates cleaner entry holes.
Some guides help start holes at perfect angles. These guides reduce wandering during the first seconds of drilling. They are useful for thin metal.
Using guides reduces wrist fatigue. Controlling the drill on curved surfaces without support is tiring. Guides provide stability.
Cutting oil remains important even with guides. Guides stabilize but do not reduce friction. Oil ensures smoother cutting.
Guides also help prevent cracking near the bucket rim. Rims can be harder to drill due to thicker metal. A guide ensures controlled drilling.
Checking alignment before pressing the trigger ensures accuracy. Guides must be positioned correctly to function effectively. Good setup prevents mistakes.
Do I need a drill guide for metal buckets?
A guide helps but is not required for small holes.
Can I create my own support block?
Yes, a wooden block works perfectly as inner support.
Do guides prevent slipping?
They improve stability and reduce bit wandering.
Are guides useful for thin metal?
Yes, they help maintain consistent pressure.
Should the guide be clamped?
Yes, clamping prevents movement and improves drilling control.
Avoiding Common Mistakes When Drilling Metal Buckets
Skipping the center punch is the most common mistake. Without a dent, the bit slides immediately. This ruins alignment.
Using high speed causes slipping and heat buildup. High speed is unsafe for thin metal. Low speed gives better control.
Applying too much pressure can dent the bucket. Thin metal needs gentle handling. Let the bit do the cutting.
Using dull bits produces rough holes. Dull bits tear the metal instead of cutting. Sharp bits ensure smooth results.
Not clamping the bucket causes movement. Buckets roll easily when drilling begins. Clamping prevents accidents.
Skipping lubrication causes friction. Friction weakens the bit and overheats the metal. Oil reduces wear.
Incorrect alignment creates uneven holes. Proper positioning is crucial for round holes. Checking alignment avoids errors.
Safety Tips for Drilling Holes in Metal Buckets
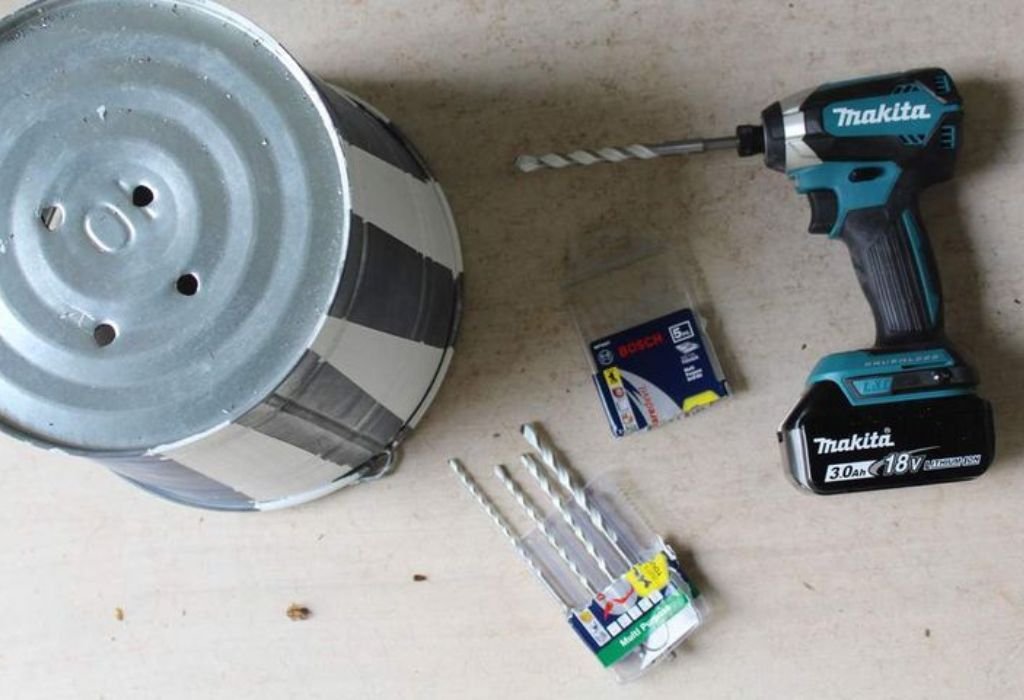
Safety glasses protect your eyes from sharp metal flakes. Drilling thin metal creates unpredictable chips. Eye protection is essential.
Tight gloves protect your hands from sharp edges. Loose gloves can get caught in the drill. Wearing fitted gloves increases safety.
Clamping prevents the bucket from rolling. Rolling leads to drill slips and injury risks. Stability improves control.
Avoid wearing loose clothing. Loose fabric can get tangled in the drill. Proper clothing keeps you safe.
The drill bit becomes hot quickly. Touching it immediately can cause burns. Let the bit cool naturally.
Cutting oil reduces heat and friction. Cooler drilling is safer drilling. Oil protects both the bit and the metal.
Good lighting helps prevent mistakes. Shadows make alignment harder. Bright lighting improves accuracy.
Do I need to wear safety glasses?
Yes, thin metal produces sharp flying chips.
Should I wear gloves?
Wear tight gloves for safety and better grip.
Is clamping necessary?
Yes, buckets roll easily without clamping.
Why does the bit get hot?
Friction from drilling metal generates heat.
Do I need cutting oil?
Yes, oil reduces heat and prevents bit damage.
Finishing and Cleaning Holes in a Metal Bucket
Deburring removes sharp edges around the hole. Burrs can cause injury when handling the bucket. A deburring tool or file smooths the surface.
Cleaning removes leftover metal shavings. Shavings can scratch surfaces or cause injury. A clean hole looks professional.
Testing the hole ensures proper size. Screws, bolts or fittings should enter smoothly. Testing prevents installation problems.
Polishing the entry reduces friction. A smooth edge helps with attachments. Polishing improves appearance.
Checking alignment ensures the hole is centered. Misaligned holes may affect the bucket’s function. Early checks avoid corrections.
Removing leftover burrs protects your hands. Burrs can catch on gloves or skin. Smoothing them increases safety.
Preparing the bucket for final use completes the process. Clean, smooth holes support proper function. This ensures a successful project.
Conclusion
Drilling holes in a metal bucket becomes simple once you use the right technique. A center punch, low drill speed and proper support prevent slipping. These steps make drilling accurate and safe.
Using cutting oil, sharp bits and stable clamping ensures smooth cutting. Avoiding common mistakes helps protect both the bucket and the drill. Clean technique always produces better results.
Metal buckets require gentle handling because their thin walls flex under pressure. With patience and proper preparation, anyone can drill perfect holes confidently. A careful approach delivers smooth, strong and professional looking results.

I’m John F. Nicholas, the founder, lead writer, and drill enthusiast behind 101drill.com. With years of hands-on experience in power tools and DIY projects, I created this platform to share practical knowledge, expert tips, and real-world insights to help others master the art of drilling.