
Few things are more frustrating than grabbing your cordless drill for a project and finding the battery completely drained.
For many DIYers, this scenario turns a quick job into an all-day delay, simply because they don’t know the best charging practices.
Research shows that improper charging can cut battery lifespan by nearly 30%, wasting both time and money.
Industry tests reveal that lithium-ion drill batteries lose up to 20% of their capacity after just 300 poor charging cycles.
A survey of tool owners found that over 60% admitted to leaving batteries on the charger overnight, one of the leading causes of early failure.
Cordless drills are powered by advanced lithium-ion or nickel-based batteries, and each chemistry has its own charging needs.
Yet most people treat every battery the same, not realizing that overcharging, deep discharging, or using the wrong method can permanently damage it.
One homeowner even shared how a simple mistake—leaving his drill battery on the charger overnight—caused it to overheat and lose capacity within months.
The good news is that with the right charging techniques, you can not only keep your drill ready at all times but also extend its life by years.
In this guide, you’ll learn how to charge a cordless drill battery properly, what to do if you don’t have the original charger, and how to avoid the most common mistakes that shorten battery life.
Quick Overview (Skimmable)
Charging a cordless drill battery the right way improves performance and extends its lifespan.
You’ll need the correct charger, a stable power source, and a clean, dry workspace.
The steps are simple: remove the battery, connect it to the charger, and wait for the indicator light to show full charge.
If you don’t have the original charger, alternative methods exist but must be used carefully to avoid damage.
Always follow safety tips like avoiding overcharging, keeping batteries cool, and checking for wear before use.
Troubleshooting common issues such as overheating, slow charging, or stuck batteries will keep your drill ready for every project.
Understanding Battery Basics for Cordless Drill Packs
Cordless drills typically use either lithium-ion (Li-Ion), nickel-cadmium (Ni-Cd), or nickel-metal hydride (NiMH) batteries. Each chemistry has its own charging behavior, lifespan, and maintenance requirements.
Lithium-ion batteries dominate today’s cordless drills because they are lighter, charge faster, and hold power longer. Studies show that Li-Ion packs deliver up to 40% more runtime compared to older Ni-Cd batteries.
Ni-Cd batteries, once standard, are known for their ruggedness but suffer from the “memory effect.” This means they lose capacity if not fully discharged before recharging.
NiMH batteries are a middle ground, offering better capacity than Ni-Cd but without the rapid charging speeds of Li-Ion. They are less common in modern cordless drills but still found in budget-friendly models.
Every drill battery is rated in ampere-hours (Ah), which tells you how much energy it can store. A higher Ah rating means longer runtime, but also a longer charging period.
Charging speed depends on the C-rate, or charge rate relative to capacity. For example, charging a 2.0Ah battery at 1C delivers 2 amps and typically takes about one hour.
Most modern packs include a Battery Management System (BMS) that prevents overcharging, overheating, and short circuits. Without this built-in protection, drill batteries would be far more likely to fail or even become dangerous.
Understanding terms like state of charge (SoC) and cycle life helps you manage battery health. A Li-Ion pack may last 500–1,000 cycles if charged and stored correctly.
How to Charge a Cordless Drill Battery (With Charger)
The safest and most reliable way to charge your cordless drill battery is by using the manufacturer’s charger. These chargers are designed to match the battery chemistry, voltage, and protection system.
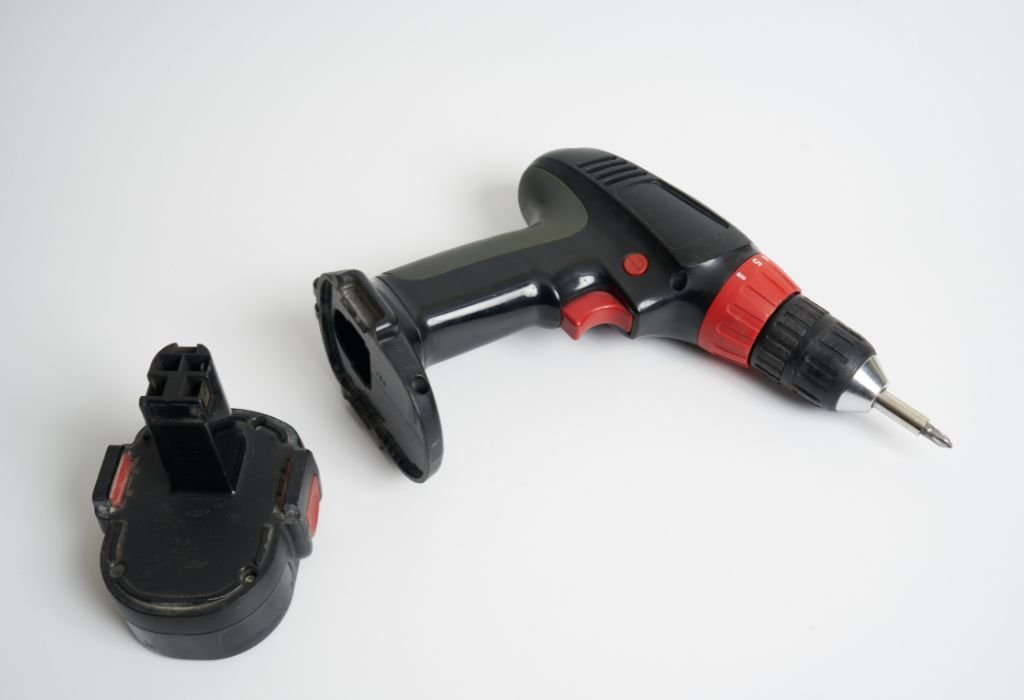
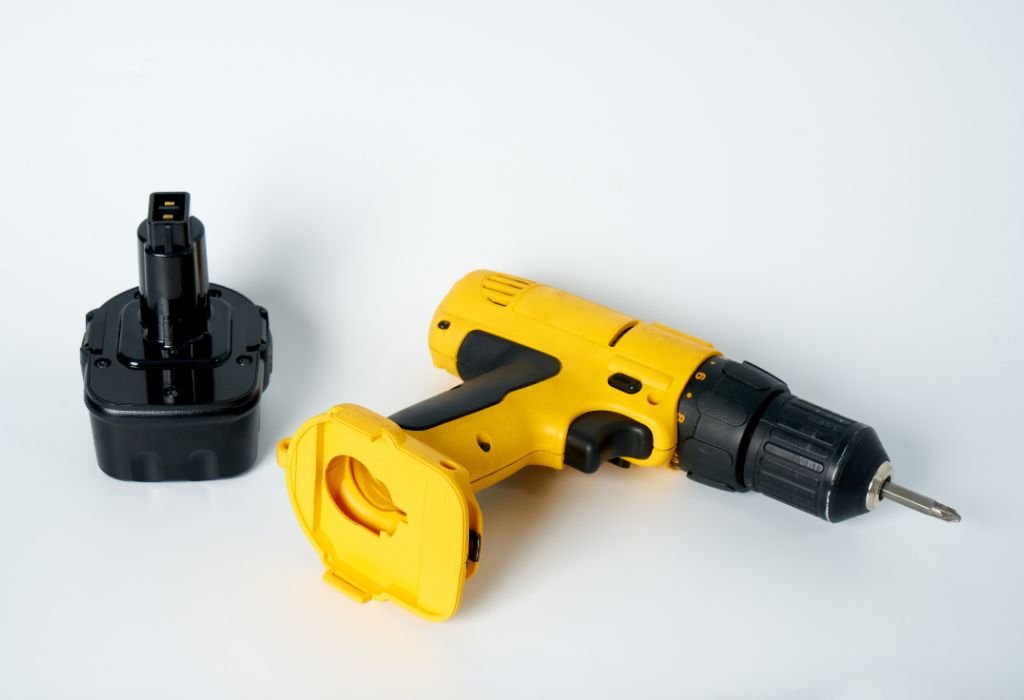
Start by removing the battery pack from the drill and inspecting it for dust, cracks, or damage. Wipe the terminals with a dry cloth to ensure good contact with the charger.
Insert the battery into the charger until it clicks into place. Most chargers feature LED lights that indicate charging status, such as red for charging and green for fully charged.
Allow the battery to charge fully before removing it. Partial charging may reduce performance, while leaving it connected for too long can shorten its lifespan.
Most modern chargers use a constant current/constant voltage (CC/CV) method. This ensures the battery charges quickly at first, then slows down to protect against overcharging.
Charging times vary depending on the capacity of the pack. For example, a 2.0Ah battery may take about 30–60 minutes, while a 5.0Ah battery could take several hours.
Always charge batteries in a cool, dry place away from direct sunlight. Heat accelerates wear, and studies show batteries stored above 85°F lose capacity nearly twice as fast.
Unplug the charger when not in use to save energy and avoid phantom power draw. Keeping chargers plugged in continuously can also lead to unnecessary heat buildup.
Alternative Methods — Charging Without the Original Charger
Sometimes you may need to charge a cordless drill battery without the original charger. While it is possible, these methods should be used cautiously because they carry higher risks.
One option is to use a universal power supply with adjustable voltage and current. Match the output to the battery’s rating, usually printed on the pack, and set the current to a safe level.
Always monitor the battery during this process, as overcharging or overheating can cause permanent damage. Never leave the battery unattended when charging this way.
Another method is connecting the drill battery to another fully charged battery of the same voltage. This creates a temporary transfer of power, but it should only be done for emergencies.
Car batteries or solar panels can also be used with a proper voltage regulator. A regulator prevents dangerous surges that could overheat or destroy your drill battery.
For Black & Decker 12V or other budget models, some users have built DIY chargers with resistors or adapters. These setups work, but they often lack safety features like automatic shutoff.
Ryobi and Hyper Tough batteries typically include a Battery Management System (BMS). This means they may refuse to charge without the proper charger since the BMS blocks unsafe power sources.
Homemade solutions should never replace the original charger for long-term use. They are best reserved for temporary situations when no official charger is available.
If your charger is lost or broken, replacing it with an OEM version is always the safest option. Using alternatives repeatedly can cut battery life short and increase the risk of fire.
Brand-Specific Instructions
Charging a Ryobi Cordless Drill Battery
Ryobi cordless drills almost always use lithium-ion batteries with a built-in Battery Management System (BMS). This means they are safest and most reliable when charged using the official Ryobi charger.
Some users attempt to charge Ryobi batteries with universal power supplies, but this can trigger the BMS to block charging. Always stick to Ryobi’s OEM charger to ensure full capacity and long cycle life.
Charging a Black & Decker 12V Cordless Drill Battery
Black & Decker 12V models are popular for light DIY work and typically use smaller Ni-Cd or NiMH packs. These batteries are less sensitive than Li-Ion but still benefit from being charged only with the original charger.
Charging takes about 3–5 hours depending on capacity, and it’s important not to leave them plugged in overnight. Overcharging Ni-Cd packs can lead to memory effect, which reduces runtime.
Charging a Black & Decker Cordless Drill (General Models)
Most modern Black & Decker drills now use lithium-ion batteries. Their chargers include automatic shutoff and trickle-prevention to protect the pack.
To maximize performance, allow the battery to cool down before charging after heavy use. Heat buildup is one of the fastest ways to shorten battery lifespan.
Charging a Hyper Tough Cordless Drill Battery
Hyper Tough cordless drills are budget-friendly tools sold mainly in retail stores. They usually include basic lithium-ion batteries without advanced cooling systems.
Always charge these batteries in a cool, dry area, and avoid improvised charging setups. Since Hyper Tough chargers are inexpensive, replacing a lost one is safer than experimenting with DIY methods.
Best Practices & Maintenance for Battery Health
Always remove the battery from the drill before charging to reduce heat buildup. Heat is the number one factor that accelerates wear in lithium-ion batteries.
Avoid charging a completely drained battery whenever possible. Studies show that shallow discharges and partial recharges can extend Li-Ion cycle life by up to 40%.
Do not leave the battery on the charger overnight unless the charger has automatic shutoff. Continuous trickle charging can slowly reduce capacity over time.
Store drill batteries at about 40–60% charge if they won’t be used for weeks. This range helps minimize stress on the cells and keeps them healthy in storage.
Keep batteries away from extreme cold or heat, such as garages in winter or hot cars in summer. Research indicates that batteries stored above 85°F lose capacity nearly twice as fast.
Use the charger designed specifically for your drill brand. OEM chargers communicate properly with the Battery Management System (BMS) to prevent overcharge or over-discharge.
Regularly clean the contacts on both the battery and charger. A clean connection ensures efficient charging and reduces the risk of overheating.
By following these best practices, you’ll maximize runtime and extend the lifespan of your cordless drill batteries.
Troubleshooting & Safety Tips
If your battery refuses to charge, check the contacts for dirt or corrosion. Cleaning them with a dry cloth often restores proper charging.
When a battery overheats during charging, unplug it immediately. Allow it to cool before trying again, as charging a hot pack can permanently damage the cells.
If your charger shows no indicator light, test a different outlet first. Faulty wall sockets are a common but overlooked problem.
Use a multimeter to check the voltage of the battery if it doesn’t charge. A pack that reads zero volts may be deeply discharged or permanently damaged.
Never attempt to revive a swollen or leaking battery. These signs point to internal failure and present a serious fire hazard.
Keep a fire extinguisher rated for electrical fires nearby when experimenting with alternative charging methods. Lithium-ion batteries can enter thermal runaway if mischarged.
If your battery charges too slowly, the charger may be underpowered or faulty. Replacing it with an OEM charger often solves the issue.
Always stop charging immediately if you notice smoke, a strange odor, or hissing sounds. These symptoms mean the battery is unsafe and should be disposed of properly.
Quick Reference and Summary Table
Charging a cordless drill battery is simple when you use the right tools and methods. This table gives you a fast overview of safe practices, alternatives, and risks.
| Method | Tools Needed | Time Required | Risk Level | Best Use Case |
| OEM Charger (Recommended) | Original charger, power outlet | 30–180 min (depends on Ah) | Very Low | Everyday charging |
| Universal Power Supply | Adjustable DC supply, multimeter | 1–3 hours | Medium | Emergency charging if OEM charger is lost |
| Battery-to-Battery Transfer | Matching charged battery, wires | 15–60 min | High | Quick emergency top-up |
| Car Battery + Regulator | Car battery, voltage regulator | 1–2 hours | High | Off-grid or field charging |
| DIY/Custom Charger | Resistors, adapters, or hobby charger | Varies | High | Experimental use only |
| OEM Replacement Charger | Replacement unit from brand | Same as OEM | Very Low | Safest long-term solution |
Always prioritize the official charger for safety and battery longevity. Alternatives should only be used in emergencies and never as permanent solutions.
1. How do you charge a cordless drill battery for the first time?
Use the OEM charger and allow the battery to fully charge before first use. This helps calibrate the Battery Management System (BMS).
2. How long does it take to charge a cordless drill battery?
Charging time depends on capacity—small 2.0Ah packs may take 30–60 minutes, while 5.0Ah batteries can take 2–3 hours.
3. Can you overcharge a cordless drill battery?
Modern lithium-ion batteries include protection circuits, but keeping them on the charger too long can generate heat and reduce lifespan.
4. How to charge a cordless drill battery without a charger?
You can use a universal DC power supply, battery-to-battery transfer, or regulated car battery setup—but these methods are risky and only for emergencies.
5. Is it safe to charge a cordless drill battery without the original charger?
It can be done, but it’s not recommended. OEM chargers are designed for correct voltage, current, and safety shutoffs.
6. How to charge a cordless drill without the charger?
Use a regulated external power source matched to the battery’s voltage and chemistry, but always monitor temperature and voltage closely.
7. How to charge a Ryobi cordless drill battery?
Ryobi batteries should always be charged with a Ryobi charger. Their BMS may block charging attempts from non-compatible devices.
8. How to charge a Black and Decker 12V cordless drill battery?
Insert the pack into the official Black & Decker charger and allow 3–5 hours. Ni-Cd versions should not be left plugged in overnight to avoid memory effect.
9. How to charge a Black and Decker cordless drill battery safely?
Use only the recommended charger and keep the battery in a cool, dry environment while charging.
10. How to charge a Hyper Tough cordless drill battery?
Hyper Tough batteries are lithium-ion and work best with their original low-cost charger. Avoid DIY methods since safety features are limited.
11. How do I know when my cordless drill battery is fully charged?
Most chargers have LED indicators—red means charging, green means full. If your charger lacks lights, refer to the manual for approximate charging times.
12. Can I use a phone charger or USB to charge a cordless drill battery?
No, phone chargers output too little voltage and current. Drill batteries require higher power that USB cannot safely provide.
13. Why is my cordless drill battery not charging?
Causes include dirty contacts, faulty chargers, overheated cells, or batteries that have dropped below safe voltage.
14. How many times can you recharge a cordless drill battery?
Lithium-ion batteries typically last 500–1,000 charge cycles if properly maintained. Ni-Cd batteries last fewer cycles due to memory effect.
15. Should I drain a cordless drill battery before charging?
No, avoid full discharges. Partial charging keeps lithium-ion packs healthier and extends cycle life.
16. Can I leave my cordless drill battery on the charger overnight?
It’s best not to, unless the charger has an automatic shutoff. Constant trickle charging shortens long-term capacity.
17. Why does my cordless drill battery get hot while charging?
Heat may result from high charge rates, ambient temperature, or internal cell resistance. Always charge in a cool, ventilated area.
18. Can I use a car battery to charge a cordless drill battery?
Yes, but only with a voltage regulator to match the pack’s voltage. Direct connection is dangerous and can cause overheating or fire.
19. How can I extend the life of my cordless drill battery?
Avoid overcharging, extreme heat, and full discharges. Store partially charged batteries in a cool place.
20. What voltage are most cordless drill batteries?
Common sizes are 12V, 18V, and 20V. Always check your drill’s label before charging.
21. What should I do if my drill battery is completely dead?
Try charging with the OEM charger first. If it won’t start charging, the pack may be deeply discharged or permanently failed.
22. Can I revive a dead cordless drill battery?
Sometimes a “jump-start” with another charged battery works, but it’s risky and not recommended for long-term use. If a battery won’t hold charge, replacement is safer.
Conclusion
Charging a cordless drill battery may seem like a routine task, but doing it correctly makes the difference between a battery that lasts months and one that lasts years. With the right methods, you not only save money but also keep your projects running smoothly.
Using the original charger is always the safest and most effective option. Alternative methods can work in emergencies, but they carry risks that should never replace proper charging long term.
Simple habits—like avoiding overcharging, storing batteries at partial charge, and keeping them cool—extend cycle life dramatically. Research shows that proper charging practices can give lithium-ion batteries up to 40% more usable lifespan.
Whether you own a Ryobi, Black & Decker, Hyper Tough, or any other cordless drill, following these best practices ensures your tools are always ready. A few minutes of care today will reward you with reliable power whenever you need it.

I’m John F. Nicholas, the founder, lead writer, and drill enthusiast behind 101drill.com. With years of hands-on experience in power tools and DIY projects, I created this platform to share practical knowledge, expert tips, and real-world insights to help others master the art of drilling.