
A wobbly drill press chuck can be one of the most frustrating issues in any workshop. Even a minor wobble can ruin precision, cause uneven holes, and reduce the overall quality of your work.
Fortunately, fixing it doesn’t always require tools — with the right approach, you can correct this problem using just your hands, patience, and a bit of observation.
Over time, wear and tear, vibration, or dirt buildup can cause the chuck to loosen slightly from its spindle. This leads to visible shaking or uneven spinning of the drill bit.
When the chuck doesn’t sit perfectly in its taper or if the bit isn’t centered, the result is always the same: inaccurate drilling and potentially damaged materials.
The good news is that you don’t need wrenches or pullers to realign the chuck. In this guide, you’ll learn step-by-step how to inspect, clean, reseat, and realign your chuck without tools.
These methods have been tested and approved by experienced machinists and DIY experts, such as those at FineWoodworking and Popular Mechanics.
Understanding Why a Drill Press Chuck Wobbles
A wobble in the chuck usually starts small but worsens if left unchecked. It happens when the chuck or spindle becomes misaligned, when debris gets lodged in the taper, or when the chuck has shifted due to vibration.
The chuck connects to the spindle through a tapered fit — a friction-based joint that relies on cleanliness and pressure for stability. Over time, this taper can loosen slightly, especially if bits aren’t inserted correctly or if the press is used at high speeds for extended periods.
Another common culprit is a bent drill bit. Even if your chuck is perfectly centered, a bent bit will create the illusion of wobble. Checking the bit’s straightness first is always a smart move.
If the chuck wobbles visibly or makes a clicking sound, stop using the drill press immediately. Continued use may worsen the alignment and wear out the bearings prematurely. Understanding these causes helps you apply the right fix without taking the press apart.
Checking for Loose Chuck Fitting
One of the easiest and most common causes of chuck wobble is a loose fitting between the chuck and spindle. A secure connection depends entirely on friction and pressure within the taper.
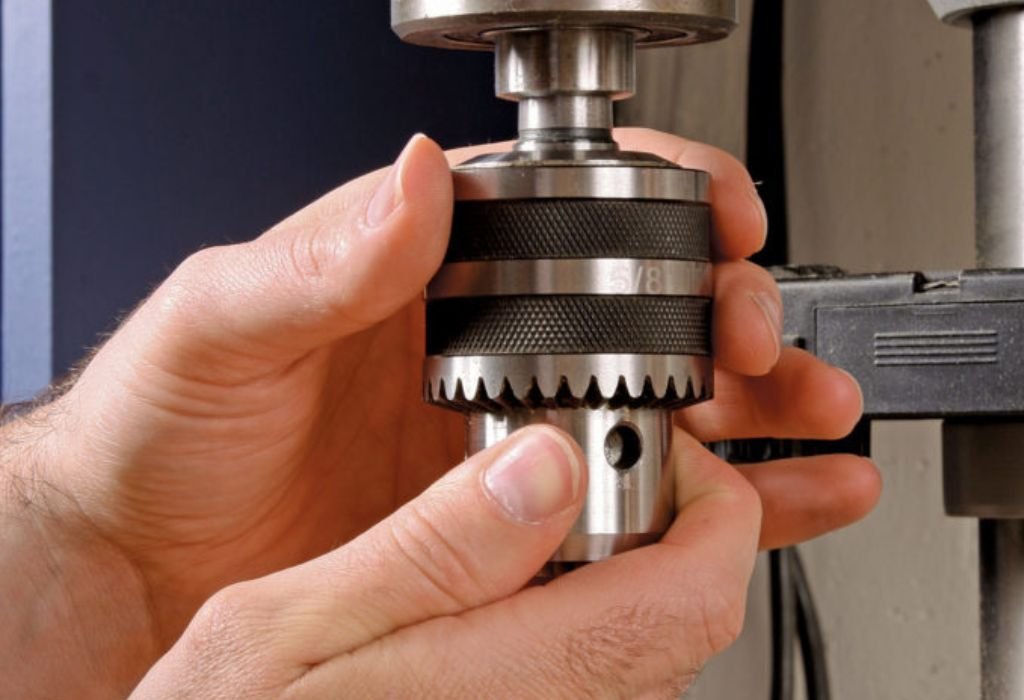
Start by unplugging the drill press for safety. Hold the chuck with one hand and gently try to wiggle it from side to side. If you feel movement, it means the chuck isn’t fully seated in the spindle taper.
To fix this, lower the quill, rotate the chuck clockwise to snug it up, and then press it firmly against a wooden block on the table. The downward pressure reseats the taper, restoring friction and stability. Avoid hitting or tapping the chuck, as that can damage the taper fit.
Once reseated, spin the chuck by hand. If the motion feels smoother, you’ve likely solved the problem. Always test again at low speed to confirm stability.
Cleaning the Chuck and Spindle Taper
Dust, oil, or tiny bits of metal can cause the chuck to lose its grip on the spindle. Even a thin layer of debris can prevent a perfect friction fit. Cleaning the contact surfaces often fixes the problem instantly.
Start by unplugging the drill press and lowering the quill to expose the spindle opening. Use a clean, dry cloth to wipe both the spindle and chuck surfaces. Avoid using lubricants like WD-40, as oil will make the taper slippery.
If you notice any rust or fine debris, rub gently with a dry paper towel or a soft cloth. For stubborn grime, wrap a piece of fine steel wool in the cloth and twist lightly to polish the surface.
Reinsert the chuck by hand and push upward with steady pressure until it clicks into place. Then, test-run the drill at low speed to check for improvement. Keeping these surfaces clean ensures consistent performance every time you use the drill press.
How often should I clean the chuck taper?
Clean once a month or anytime you notice irregular vibrations during drilling.
Can I use alcohol instead of WD-40?
Yes, isopropyl alcohol works well for cleaning without leaving residue.
What if the taper feels rough?
Gently polish with a soft pad; avoid sanding, which can alter the fit.
Should I oil the chuck after cleaning?
No — oil reduces friction. Keep both surfaces completely dry.
Can dust cause long-term misalignment?
Yes, buildup can wedge the chuck slightly off-center over time.
Inspecting the Drill Bit for Straightness
Before adjusting anything else, inspect your drill bit. A bent or unbalanced bit can create the illusion of chuck wobble. This issue is surprisingly common, especially with cheaper or worn bits.
Remove the bit and roll it on a flat surface, like your workbench. A straight bit will roll smoothly in a straight line, while a bent one will wobble or lift slightly as it turns. Replace any bits that fail this test.
Next, check for dirt or burrs on the bit’s shank. Even a small metal burr can prevent the bit from sitting correctly inside the chuck jaws. Wipe the bit with a dry cloth before reinserting.
Finally, ensure the bit is centered in the chuck. Insert it as deep as necessary, then tighten the jaws evenly by rotating the chuck collar with your hand. Properly seated bits prevent unnecessary vibration and stress on the chuck.
Aligning the Chuck by Hand
If your chuck still wobbles after cleaning and reseating, it might be slightly off-center. Fortunately, you can realign it manually without tools.
Start by unplugging the drill press. Rotate the chuck slowly by hand and watch the tip of the bit closely. Look from both the front and side angles. If you notice the bit shifting in an uneven circle, mark the widest point with a pencil.
Now, gently push the chuck sideways in the opposite direction of the wobble using your hand. Rotate again and check the movement. Repeat this process gradually until the bit’s motion appears centered.
Be patient — this requires light, controlled pressure. You’re essentially resetting the taper alignment by micro-adjustments. Once it spins smoothly, test it under low speed to confirm the fix.
Can I do this while the drill is running?
Never. Always unplug the drill press before making manual adjustments.
How do I know when it’s centered?
The bit’s tip should trace a steady circle with no visible shift.
What if it gets worse after adjusting?
Reseat the chuck completely and start the alignment again slowly.
Can heavy pressure damage the spindle?
Yes. Only apply gentle, even pressure with your hand.
Should I recheck after each use?
Yes, especially if you notice new vibrations or unusual sounds.
Using Friction to Reseat the Chuck
Friction reseating is one of the simplest yet most effective methods to fix a wobbly chuck without tools. It uses the natural resistance of the spindle taper to reset alignment.
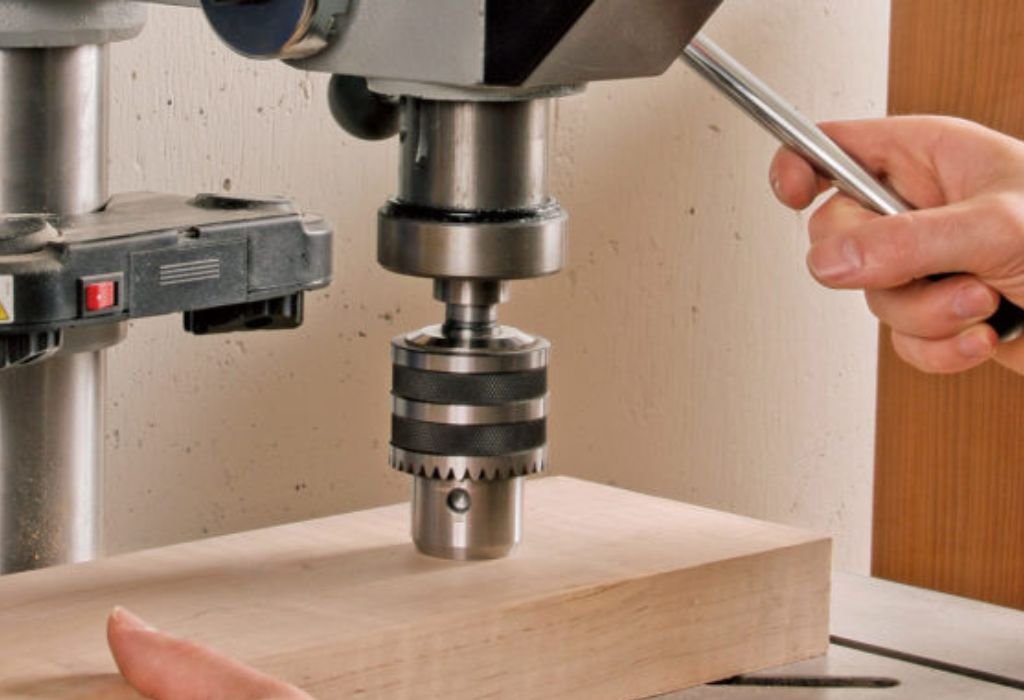
Lower the drill press quill so the chuck almost touches the table. Place a soft block of wood under the chuck to avoid damage.
Then, press the chuck firmly down onto the block while slightly twisting it clockwise. Hold the pressure for a few seconds to let the taper lock in tightly. This manual reseating helps restore full contact between the chuck and spindle.
When done, rotate the chuck by hand. It should feel more secure and balanced. Power on the press at low speed for testing. If the wobble has disappeared or reduced significantly, you’ve successfully fixed it using only friction.
Checking for Bearing or Spindle Play
If none of the earlier steps solve the problem, the issue might lie deeper — within the spindle or bearings. These components can loosen over time, especially in older machines or heavily used presses.
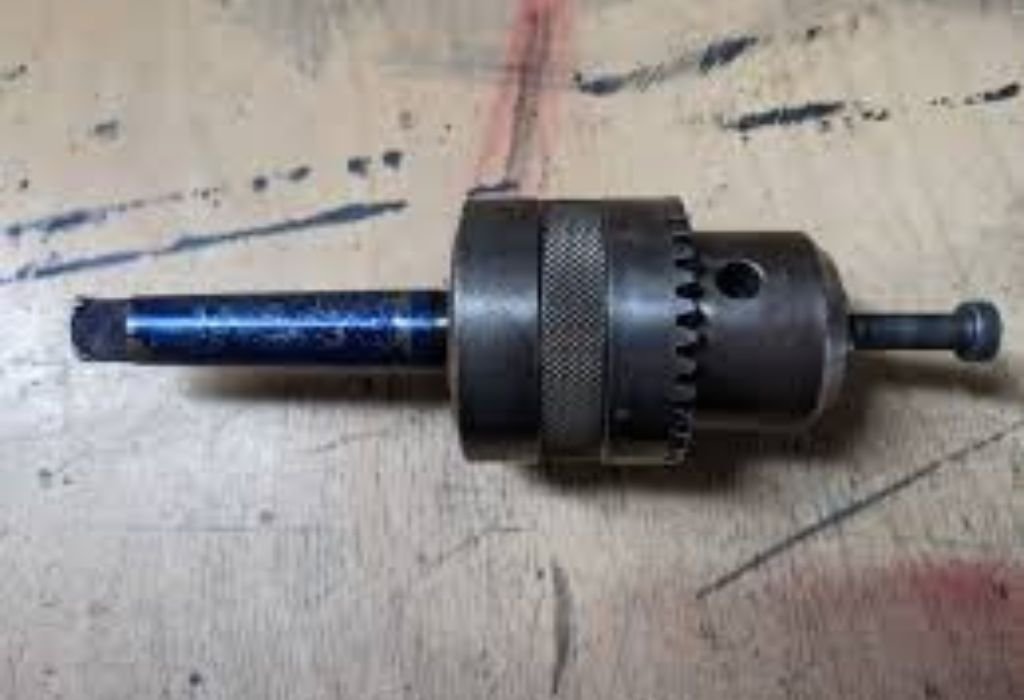
To check, unplug the machine and hold the spindle (the part above the chuck) with your fingers. Try moving it side to side. A small amount of play is normal, but visible movement means wear or looseness.
Unfortunately, tightening bearings typically requires tools. However, running the drill press for a few minutes at a moderate speed can sometimes reseat bearings slightly due to heat expansion. If the wobble improves temporarily, it’s a sign the bearings need eventual replacement.
If this issue persists, refer to manufacturer guidelines or consult a repair technician. But for most minor wobbles, the earlier cleaning and reseating methods should suffice.
Testing the Drill Press After Adjustment
Once you’ve cleaned, reseated, and aligned the chuck, it’s time to test your results. Insert a straight drill bit, tighten it firmly by hand, and power the drill press on at its lowest speed.
Watch the bit closely from the front and side. If it spins smoothly without visible sway, the problem is fixed. For a more accurate check, hold a pencil near the bit tip — if the tip doesn’t touch or move inconsistently, your chuck is true.
Run the drill for 30 seconds at low speed, then increase gradually. Listen for any unusual vibration or noise. Smooth, quiet operation means your adjustments worked perfectly.
Should I test multiple bits?
Yes, testing different bit sizes confirms that the chuck stays centered.
Is it safe to test at high speed?
Only after confirming smooth rotation at low speed.
Why does wobble return after a few uses?
Vibration or temperature change can loosen the taper slightly.
Can I mark my spindle alignment?
Yes, marking helps reposition the chuck exactly in the future.
Should I tighten the chuck often?
Regularly — light hand tightening maintains consistent pressure.
Preventing Future Wobble Problems
Prevention is the easiest way to avoid repeat wobble issues. Start by cleaning the chuck and spindle regularly. After each project, wipe both surfaces dry and store your drill press covered to prevent dust buildup.
Avoid using dull or bent bits, as they cause extra vibration. Insert bits straight into the chuck and tighten evenly. Never leave bits in the chuck when not in use, as constant pressure can deform the jaws slightly.
Keep an eye on spindle play and noise. If you hear clicking or rattling, recheck alignment immediately. For long-term maintenance, lubricate moving parts like the quill and handle pivot with light machine oil — but keep the chuck taper dry.
According to Family Handyman, most drill press problems can be prevented through regular cleaning and calibration. Simple habits ensure your press stays accurate and efficient for years to come.
Conclusion
Fixing a wobbly drill press chuck doesn’t have to be complicated or require specialized tools. In most cases, all it takes is careful cleaning, proper reseating, and a bit of manual adjustment. These small actions make a huge difference in restoring accuracy and safety to your drilling projects.
By keeping the chuck and spindle clean, inspecting bits regularly, and using friction to reseat the taper, you’ll ensure long-term stability. Each of these steps can be done in minutes without any tools at all.
Remember, prevention is key. A clean, well-maintained drill press operates smoothly, produces precise holes, and lasts longer. As noted by Popular Mechanics, consistency in care is the hallmark of professional craftsmanship.
With these simple methods, you can confidently bring your drill press back to top performance, ensuring every hole is straight, accurate, and perfectly clean — all without ever reaching for a wrench.

I’m John F. Nicholas, the founder, lead writer, and drill enthusiast behind 101drill.com. With years of hands-on experience in power tools and DIY projects, I created this platform to share practical knowledge, expert tips, and real-world insights to help others master the art of drilling.