
Drilling through a metal fence post looks simple until the moment your drill bit skids off the curved surface and scratches the steel. Many people try pushing harder, but that only heats the bit, dulls the edges, and makes drilling even more difficult.
I once watched someone ruin three drill bits while trying to install a gate hinge because they didn’t understand how metal fence posts react under pressure.
Metal fence posts are designed for strength, not convenience, which is why drilling them the same way you drill wood or plastic never works.
The curved shape, hardened steel, and protective coating all work together to resist the drill bit. Without the right technique, the bit slips endlessly or overheats within seconds.
The good news is that drilling metal fence posts becomes easy once you use slow RPM, cobalt drill bits, and proper lubrication. A simple center punch mark dramatically improves accuracy by giving the bit a place to bite.
In this guide, you’ll learn the exact method professionals use to drill clean holes into any metal fence post safely and without damaging it.
Why Metal Fence Posts Are Difficult to Drill
Metal fence posts are designed to withstand outdoor conditions, strong winds, and environmental pressure, which makes them much harder to drill than regular metal sheets.
Their curved surface prevents the drill bit from staying in place, causing the bit to slip and scratch the metal repeatedly. Many beginners try drilling fast, but high speed only increases heat and makes the steel even tougher to cut.
The steel used in fence posts is often galvanized or coated to protect it from rust. These coatings are slippery and melt under heat, which causes the drill bit to skate on the surface instead of biting into the metal. When coatings melt, they can also stick to the drill bit and reduce cutting efficiency.
Another challenge is that metal fence posts are hollow, meaning they vibrate when drilling begins. This vibration causes poor accuracy, jagged holes, or broken drill bits. Without proper stabilization, the bit can jump suddenly and damage the surrounding surface.
Fence posts are round or square, creating difficult drilling angles. Curved surfaces make it harder to maintain perpendicular drilling, which increases the risk of bit wandering. Without a strong punch mark and steady hand, creating a stable starting point becomes extremely difficult.
Heat buildup is another problem when drilling steel. Metal absorbs heat quickly, and overheated bits lose sharpness or break. Cooling cycles and lubrication become essential for safe drilling.
Finally, people sometimes use the wrong bits, such as masonry or wood bits. These bits are not designed for steel and dull immediately upon contact. Understanding these drilling challenges helps you approach metal fence posts safely and correctly.
Tools You Need to Drill Through a Metal Fence Post
To drill through a metal fence post safely, you must use the correct tools built for metal drilling. A variable-speed drill is essential because metal drilling requires slow, controlled RPM instead of fast speeds. Cordless or corded drills both work, but high torque is necessary.
Cobalt drill bits are the best choice for drilling into steel. These bits resist heat, maintain sharpness, and cut through metal easily. High-speed steel bits work on thin posts but dull faster, while titanium-coated bits offer moderate durability.
A center punch and hammer are necessary for creating a starting point on the post. Without a punch mark, the drill bit will slip around the curved metal surface. The punch helps create a stable, precise guide hole.
Cutting oil or any metal lubricant is crucial for cooling the drill bit. Lubrication prevents overheating and reduces friction during drilling. Proper cooling also prolongs the life of your drill bits.
Clamps or stabilizer blocks help keep the fence post steady during drilling. If the post is already installed in the ground, bracing it with wooden blocks or leaning body weight can help reduce vibration. Stability is necessary for accuracy and safety.
A measuring tape and marker help you mark the exact drilling location. Marking prevents mistakes and ensures consistent installation. Clear measurement is especially important when drilling for hinges, brackets, or fencing panels.
Safety gear such as goggles and gloves protect you from metal chips and slipping tools. Metal shavings can fly quickly and cause injury without proper protection. Using all tools correctly ensures smooth and effective drilling.
How to Prepare the Fence Post Before Drilling
Preparation is the key to drilling success on a metal fence post. Start by cleaning the drilling area using a cloth or wire brush to remove dirt, rust, or debris. Clean surfaces improve grip when punching and drilling.
Mark the drilling location with a permanent marker. Double-check the measurement to ensure proper alignment, especially if installing fencing brackets or gates. Accurate marking saves time and prevents errors.
Use a center punch to create a deep dent on the drilling spot. This helps the drill bit stay in place and prevents slipping on the metal’s curved surface. Make sure the punch mark is clearly visible and strong enough.
Apply a small amount of penetrating oil if the surface has rust or corrosion. This softens rust and helps the drill bit bite more effectively. Let the oil sit for a few minutes before drilling.
Stabilize the fence post to reduce movement. If the post is installed in the ground, push against it or brace it with wooden blocks. If the post is loose or removable, clamp it to a workbench securely.
Ensure the drill bit is sharp and in good condition before starting. Dull bits cause excessive heat and poor drilling results. Checking bit condition prevents breakage and saves time during drilling.
Gather all your tools before starting to avoid interruptions. Preparation helps maintain steady focus during drilling. With proper setup, drilling through metal fence posts becomes predictable and safe.
Step-by-Step Method to Drill Through a Metal Fence Post
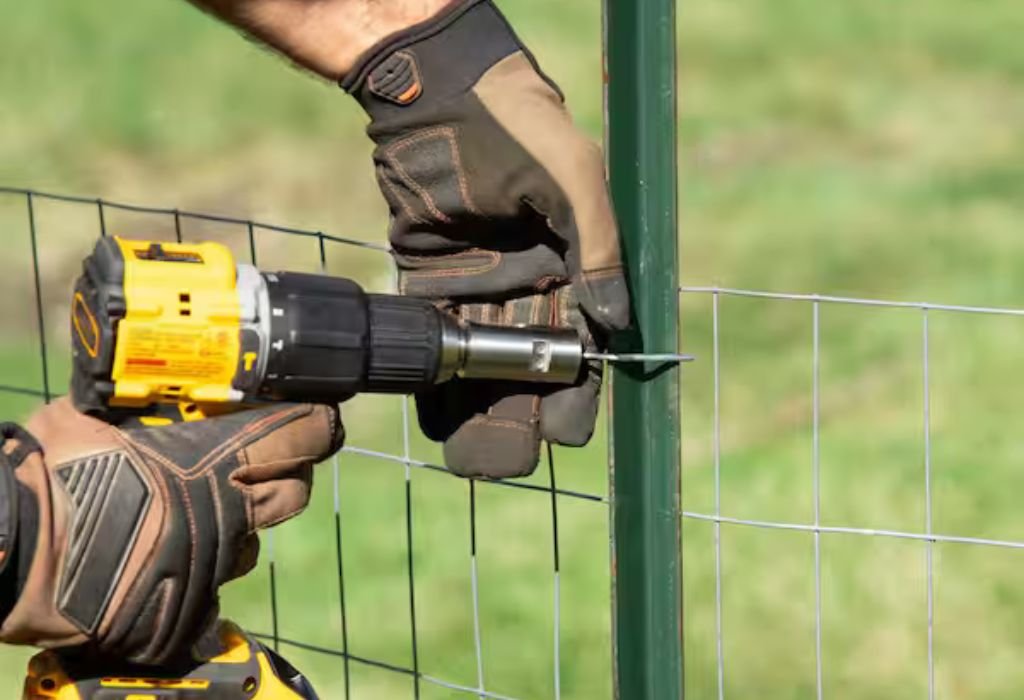
Begin drilling at the lowest possible speed on your drill. Slow RPM prevents slipping and reduces heat buildup, which is important for cutting steel effectively. High speed will cause the bit to skate and overheat instantly.
Place the drill bit into the punch mark created earlier. Hold the drill firmly with both hands to maintain alignment. Keeping a perpendicular angle ensures the bit cuts evenly and cleanly.
Apply light, steady pressure as the drill bit begins cutting. Let the bit do most of the work instead of forcing it through the metal. Excess pressure increases wear and makes the bit more likely to break.
Add cutting oil to the drilling area as you continue. Lubrication helps dissipate heat and improves cutting efficiency. Reapply oil regularly to maintain smooth drilling.
Drill in short bursts to prevent overheating. Steel heats quickly, and allowing the bit to cool between bursts helps maintain sharpness. These short cycles also reduce metal deformation.
Once the pilot hole is complete, switch to the final drill bit size. Use the same slow-speed approach and steady pressure. Let the drill progress gradually through the post.
When the bit breaks through the back side of the post, reduce pressure. Breakthrough moments require control to prevent sudden jumps or jagged hole edges. Smooth completion ensures a clean hole suitable for screws or bolts.
How to Prevent Overheating and Bit Breakage
Bit breakage is common when drilling metal, but it is entirely avoidable. The most important rule is to drill slowly to keep friction low. Low friction means lower heat and less wear on the bit.
Cutting oil is essential because it cools both the drill bit and the metal. Oiling the spot frequently keeps temperatures safe and prevents drill bit discoloration. When a bit turns blue, it indicates overheating and permanent damage.
Pausing frequently during drilling allows the bit to cool. Cooling intervals help prevent metal fatigue inside the bit. Even a few seconds of rest can significantly reduce heat buildup.
Use cobalt bits because they are designed to withstand high temperatures. They stay sharper for longer periods when drilling dense metals. Cobalt bits are much less likely to chip or snap during drilling.
Never drill at an angle because side pressure weakens the bit. Bit bending stresses the cutting edges and increases the risk of snapping. Angle consistency is crucial for long-term bit performance.
Inspect your drill bits regularly to ensure they are not chipped or worn. Worn bits require more force to cut, which produces more heat. Replacing old bits keeps drilling efficient and safe.
Correct drilling speed and lubrication prevent nearly all overheating problems. The combination of slow rotation and coolant ensures bit longevity. Following these rules guarantees smooth, controlled drilling.
How to Avoid Post Bending or Structural Damage
Metal fence posts are hollow and can bend when drilling is done incorrectly. Avoid pressing too hard because excessive pressure can deform the post. Gentle drilling protects structural strength and maintains shape.
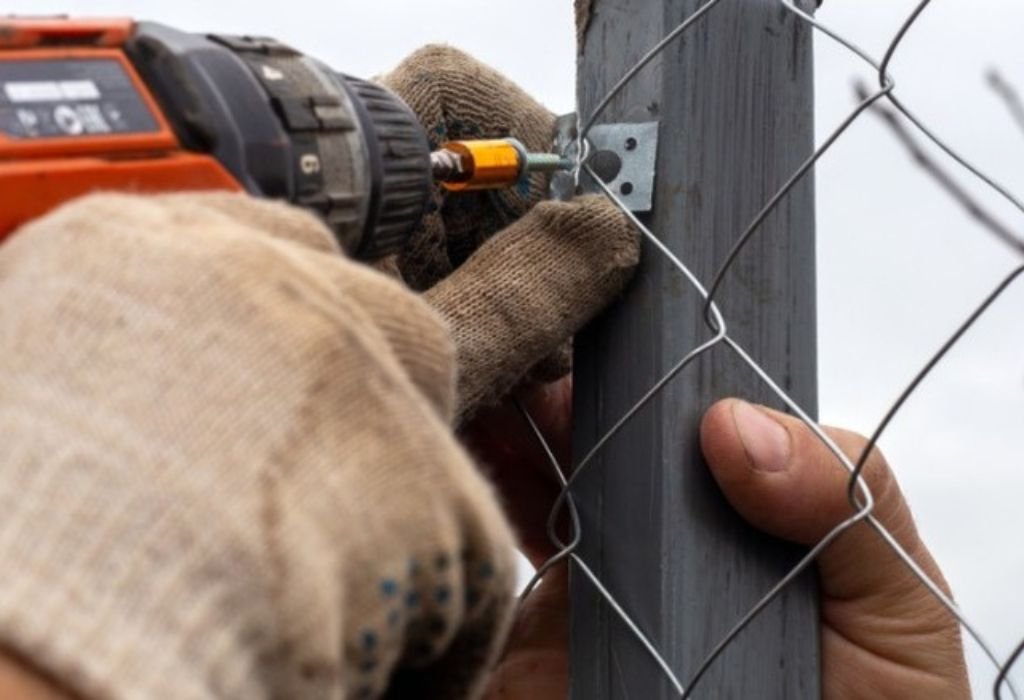
Support the back of the post using wooden blocks. These blocks absorb pressure and balance the drilling force. Extra support helps prevent dents and bending during drilling.
If the post is installed, press your body weight slightly to stabilize it. Stability reduces vibration and ensures accurate drilling. Vibrations cause inaccurate holes and may weaken the post.
Clamping the post is essential if working with a loose or removable post. Use heavy-duty clamps to secure the metal firmly. Secure clamping prevents sudden movements during drilling.
Choose the correct drill bit size before drilling. Oversized bits require more pressure and increase risk of bending. Using a pilot hole first reduces overall strain.
Never use a hammer drill because the hammering action can damage metal. Hammer mode is designed for concrete, not steel. Using hammer mode weakens the post and destroys drill bits.
Maintaining control and patience prevents structural damage. Each step must be slow and steady to protect the metal. Proper technique ensures safe drilling without stress on the post.
How to Smooth and Finish the Hole After Drilling
After drilling, the hole may have sharp edges or metal burrs. Use a deburring tool to remove these rough edges. Smooth edges help prevent injury and allow screws to fit cleanly.
If a deburring tool is unavailable, use a round file or sandpaper. Circular sanding around the hole helps shape the edges evenly. Filing also removes any leftover metal fragments.
Wipe the hole clean after smoothing to remove metal dust. Dust can interfere with screw insertion and cause friction. A clean finish improves durability and performance.
Apply a rust inhibitor to the newly drilled area. Drilling exposes raw metal that may rust quickly if unprotected. A thin layer of rust-preventive paint or spray works well.
Test-fit your screw or bolt to ensure smooth entry. Proper fit indicates the hole is clean and accurately sized. If resistance occurs, sand slightly more.
Finishing the drilled hole improves both appearance and functionality. Proper finishing keeps the fence post strong and weather-resistant. Smooth holes offer safer and longer-lasting installation.
Metal Fence Post Drilling FAQ
How do I stop the drill from slipping on the post?
Use a center punch to create a deep starting point that guides the drill.
What kind of drill bit works best?
Cobalt drill bits are ideal because they cut steel easily and resist heat.
Do I need cutting oil for drilling?
Yes, cutting oil reduces heat, friction, and drill bit wear.
Can I drill a fence post that’s already installed?
Yes, just stabilize it with blocks or body weight to reduce vibration.
Why is my drill bit burning?
You’re drilling too fast or not using enough lubrication.
Should I drill a pilot hole first?
Yes, a pilot hole improves accuracy and reduces stress on the larger bit.
Can I use a hammer drill?
No, hammer mode damages metal and can break your drill bits.
What if the post bends while drilling?
Reduce pressure and support the post with wooden blocks behind it.
How do I avoid jagged holes?
Use slow speed, lubrication, and smooth breakout when finishing the hole.
How do I prevent rust after drilling?
Apply primer or rust-resistant coating to the exposed steel.
Conclusion
Drilling through a metal fence post may seem difficult at first, but the right technique makes the process safe, smooth, and predictable.
Metal fence posts resist drilling because of their hardened surface, protective coatings, and hollow construction, but cobalt bits, slow speed, and proper lubrication solve nearly all these challenges.
When drilling begins from a strong punch mark and continues with gentle pressure, the bit stays centered even on curved steel.
Every step, from preparing the surface to creating a pilot hole, plays a vital role in accuracy and tool protection. Short drilling cycles prevent overheating, while cutting oil keeps both the bit and the metal cool.
Once the hole is drilled, smoothing the edges and applying rust protection ensure long-term durability against weather and corrosion. Drilling into fence posts becomes far simpler when you prioritize stability, safety, and proper technique.
By avoiding common mistakes like drilling too fast, using the wrong bit, or skipping lubrication, you protect both the fence post and your tools.
The final hole will be clean, strong, and ready for screws, bolts, or hardware attachments without weakening the post. With the correct steps, drilling through metal fence posts becomes an easy, efficient process that delivers professional-quality results every time.

I’m John F. Nicholas, the founder, lead writer, and drill enthusiast behind 101drill.com. With years of hands-on experience in power tools and DIY projects, I created this platform to share practical knowledge, expert tips, and real-world insights to help others master the art of drilling.