
You pick up a piece of wood and visualize a neat, cone-shaped recess for a dowel, screw head, or decorative fitting. You start drilling, but the hole ends up rough, uneven, or too wide at the edges.
Anyone who has tried making cone-shaped holes knows how tricky they can be. Yet, with the right drill bits and a steady hand, even a beginner can make perfect tapered holes.
Drilling a cone-shaped hole is more than just pressing a bit into wood. It’s a combination of choosing the right tool, setting the correct speed, and maintaining precise angles.
Wood reacts differently than metal or plastic, so understanding its grain direction and resistance makes a huge difference.
Whether you’re building furniture, installing hardware, or crafting decorative items, a clean cone hole can elevate your project’s finish. In this guide, we’ll cover every step — from choosing the right bit to polishing the finished hole.
By the end, you’ll know how to make cone-shaped holes with accuracy and control, without splintering or burning your wood surface. Let’s begin with the basics of how these holes are formed.
Understanding Cone-Shaped Holes in Wood
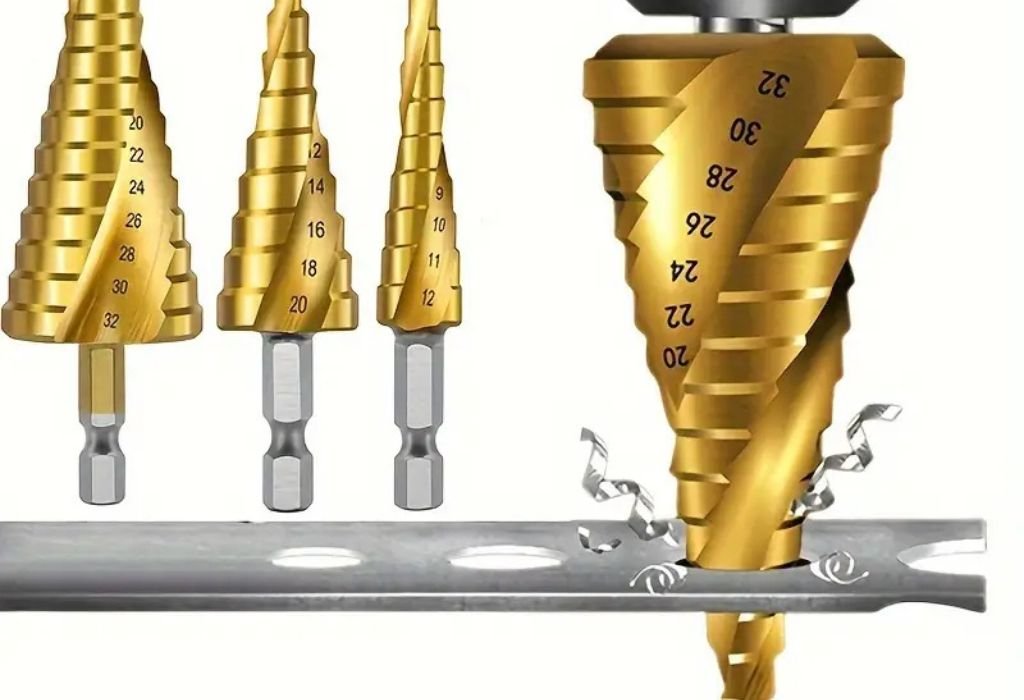
A cone-shaped hole is a tapered recess that narrows gradually toward the bottom. It can serve both functional and decorative purposes in woodworking. Functionally, it’s often used to fit countersunk screws or wooden plugs flush with the surface. Decoratively, it adds depth and shadow to carvings and designs.
Creating a perfect cone involves removing wood in a controlled, angled pattern. This taper requires a bit designed to widen at the top and narrow below. Unlike standard twist bits, which cut straight, cone bits shape the sides of the hole as they go deeper.
The smoothness of the cone depends on bit sharpness and drilling stability. Dull bits cause burning or chatter marks along the wall of the hole. Stable drilling with even pressure prevents vibration that can distort the cone’s symmetry.
Different woods behave differently during cone drilling. Softwoods like pine drill easily but may tear out near the surface. Hardwoods like oak require slower drilling speeds and sharper bits to avoid cracks. Knowing your wood type helps you adjust speed and pressure.
Cone-shaped holes can also be created in stages. Some woodworkers first drill a small pilot hole, then widen it gradually using larger bits or countersink attachments. This layered approach provides more control and reduces splintering.
For larger projects like furniture assembly, precise cone holes ensure that screw heads sit flush or slightly below the surface. This not only looks clean but also prevents interference with moving parts or finishes.
Finally, cone-shaped holes can be artistic too. Many woodturners use tapered holes for candle holders, handles, or ornamental bowls. With practice, the shape can be tailored for any purpose.
Tools Needed to Drill a Cone-Shaped Hole
Having the right tools is essential before starting. The type of bit you choose will determine both the angle and smoothness of your cone. Each bit style serves a specific purpose, so understanding their differences helps you achieve cleaner results.
The most common tool is a countersink bit, specifically designed for creating conical recesses for screw heads. It usually has a 82° or 90° cutting angle, perfect for typical woodworking applications.
Another great option is a step drill bit, which gradually increases in diameter along its length. It can be used to drill conical holes with a gentle taper. However, step bits are best for thin wood or layered adjustments rather than deep cones.
Spade bits and Forstner bits are also useful. A spade bit with a slight tilt can start a cone shape before finishing with sandpaper or a countersink. Forstner bits, with their clean edges, can help form smooth entry points that transition well into a conical recess.
A drill press provides the best accuracy, but a handheld power drill works fine with careful control. The key is to maintain even pressure and consistent speed throughout drilling.
You’ll also need clamps to secure the wood firmly. Movement during drilling can cause wobbling, which ruins the symmetry of your cone. A scrap backing board underneath prevents blowout when the bit exits the wood.
Lastly, sandpaper or a conical rotary sander helps refine the surface inside the cone. This finishing step ensures smooth texture and clean edges, especially for decorative pieces.
Choosing the Right Drill Bit for a Cone Hole
Not all bits can create cone-shaped holes effectively. The ideal bit depends on your purpose — whether you want a countersunk screw hole or a deeper decorative cone.
Countersink bits remain the go-to choice for most woodworkers. They are designed to match standard screw head angles, ensuring a professional, flush finish. These bits are available in multiple sizes and can be adjusted for different screw diameters.
If you’re aiming for a larger, more artistic cone, step bits and tapered reamers provide better control. Step bits cut multiple diameters, while reamers can smooth out rough edges to create a gentle taper.
Forstner bits can also help start the hole before switching to a conical bit. This combination keeps the entry hole clean and prevents chipping. The Forstner bit’s flat-bottom design allows a sharp cone transition from a stable base.
When selecting a bit, pay attention to its coating and sharpness. High-speed steel or titanium-coated bits last longer and stay sharper when working through hardwood.
Always match drill speed to bit size — larger bits require slower speeds to avoid burning. For hardwoods, 600–900 RPM works best, while softwoods can handle up to 1500 RPM safely.
Using cheap, dull bits can ruin your project quickly. The extra cost of a quality countersink or step bit pays off through smoother results and longer lifespan.
Can I use a normal drill bit for cone holes?
Not effectively. Standard twist bits create straight holes, not tapered ones, so they can’t produce a true cone shape.
What is the best angle for cone holes?
Most cone holes for screws are drilled at 82° or 90°, depending on screw type and finish preference.
Can spade bits make cone shapes?
Yes, but only shallow ones. You’ll need sanding or a secondary bit to refine the cone’s shape.
Do I need a drill press for accuracy?
Not necessarily, but a drill press improves symmetry and reduces wobble compared to handheld drills.
How do I keep bits sharp?
Use a fine file or bit sharpener and store them in a dry case to prevent rust or dulling.
Step-by-Step Process for Drilling a Cone-Shaped Hole
Start by marking the hole location on your wood piece using a pencil and center punch. The punch mark helps guide the bit and prevents it from wandering.
Clamp the wood securely onto your workbench or under your drill press. Stability ensures even drilling and avoids kickback, especially with high-speed bits.
Begin with a small pilot hole using a regular twist bit. This hole should be slightly smaller than the narrowest part of your desired cone. It acts as a guide for the larger bit to follow.
Next, switch to your countersink or step bit. Align it precisely over the pilot hole and start drilling at a slow speed. Keep pressure light at first, then gradually increase as the bit bites into the wood.
Drill in short bursts rather than continuous pressure. This prevents overheating, which can scorch the wood or dull the bit. Periodically lift the bit to clear sawdust and check depth.
Once the cone shape forms, inspect its walls for smoothness. If you notice ridges, use a finer bit or sanding attachment to refine the slope.
Finally, clean out the debris with compressed air or a soft brush. The finished hole should have a smooth, even taper that perfectly fits your hardware or decorative purpose.
Tips to Avoid Splintering and Burn Marks
Splintering happens when wood fibers tear instead of cutting cleanly. To prevent this, always use sharp bits and moderate drill speed. Dull tools or excessive force cause tearing near the hole’s edge.
Using masking tape over the drilling area reduces surface chipping. The tape holds wood fibers in place during cutting, resulting in cleaner edges once removed.
Keep your drill speed balanced. Too fast can burn wood, while too slow can catch and tear fibers. Most medium-speed settings between 900–1500 RPM work well for cone holes.
Backing boards are another key protection. Placing scrap wood underneath your workpiece prevents blowout when the bit exits the hole. It also supports the fibers for smoother results.
If your bit starts to smoke, stop immediately and let it cool. Overheating ruins both the bit and wood surface. Lightly sanding burned spots can restore a clean finish afterward.
Always drill with the grain whenever possible. Going against it increases the risk of splitting or uneven cuts. Adjust bit entry angles slightly to follow natural grain flow.
Lastly, never rush. Take small passes, check your progress often, and let the tool do the work. Patience always produces cleaner, more professional results.
Why does my wood smoke while drilling?
High speed, dull bits, or too much pressure cause friction heat that burns the wood. Reduce speed and clear debris frequently.
How can I stop tear-out?
Use masking tape, backing boards, and sharp bits to support fibers while drilling.
Should I use lubricant?
For wood, lubricant isn’t necessary — but cleaning the bit regularly prevents heat buildup.
Can sanding fix a rough cone hole?
Yes, fine-grit sandpaper wrapped around a cone-shaped dowel smooths the interior walls effectively.
Does wood type affect burning?
Yes, dense hardwoods like maple or oak burn more easily than softwoods, requiring slower drilling speeds.
Finishing and Polishing the Cone Hole
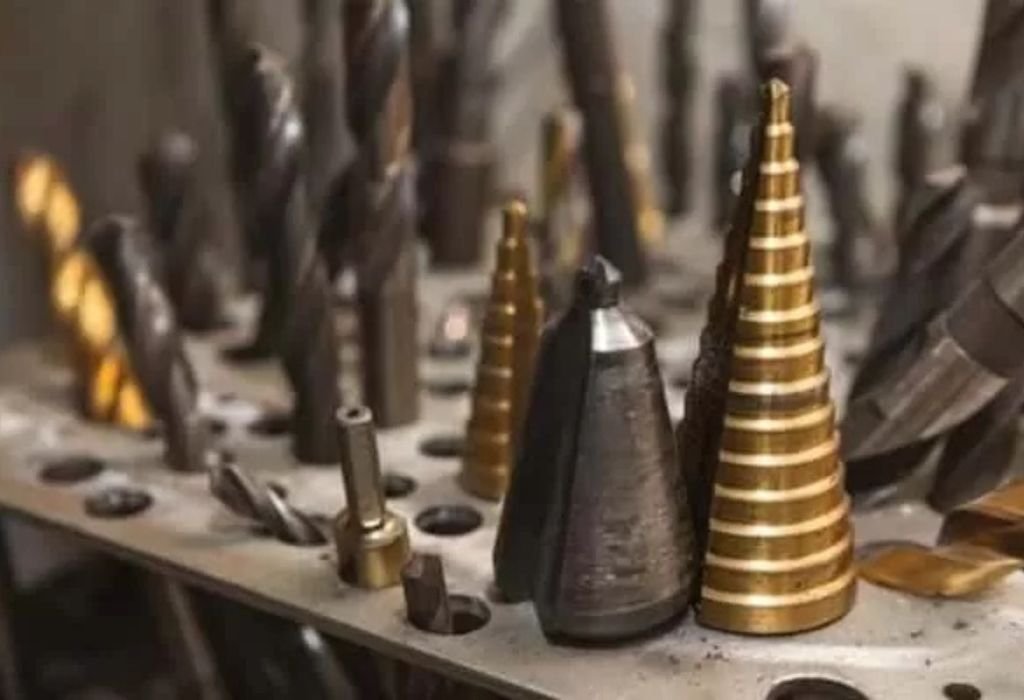
Once your cone-shaped hole is drilled, finishing makes all the difference in how it looks and functions. Start by gently brushing away sawdust or debris using a soft brush or vacuum.
Use fine-grit sandpaper (220–400 grit) to smooth the cone’s interior. Wrap it around a tapered dowel or pencil to match the angle of your hole. Sand lightly in circular motions until the surface feels smooth.
If the cone will remain visible, apply wood filler to close any tiny chips, then sand again after it dries. This step ensures a seamless, professional finish.
Applying wood conditioner before staining helps the surface absorb color evenly. Uneven staining can make the cone appear patchy or darker in spots.
When staining or painting, use a small brush or cotton swab to reach inside the cone. Apply thin coats and wipe away excess to avoid buildup at the base.
A final layer of clear polyurethane or varnish protects the wood from moisture and wear. It also gives the cone hole a polished, glossy look.
If your project involves inserting hardware, ensure the finish is fully cured before fitting. This prevents peeling or damage during installation.
Common Mistakes to Avoid When Drilling Cones
One of the most common mistakes is using the wrong bit type. Many beginners try using standard twist bits, resulting in straight holes with jagged edges. Always use bits designed for tapering or countersinking.
Drilling too fast is another frequent problem. Excess speed causes burning, chatter marks, and poor control. It’s better to go slow and steady for precision.
Ignoring pilot holes often leads to bit wandering. Without a starter guide, your cone may end up off-center or uneven in depth.
Skipping clamping is risky. Unsecured wood can shift or spin during drilling, ruining both safety and accuracy.
Over-drilling is another mistake. Going too deep can remove too much material, making the cone too wide or thin at the bottom. Measure and mark depth before starting.
Neglecting maintenance shortens bit lifespan. Dirty, dull bits don’t cut cleanly and cause unnecessary strain on your drill.
Finally, avoid rushing the finishing process. A poorly sanded or stained cone ruins the look of an otherwise well-crafted piece.
Why is my cone hole uneven?
The bit may be dull, off-center, or drilled at an angle. Ensure alignment and use even pressure.
What if the cone is too deep?
You can fill part of it with wood filler, then re-sand for a shallower depth.
Why do edges splinter easily?
You may be drilling too close to the edge or using high speed without tape support.
How can I fix a burnt cone?
Sand lightly to remove scorched layers, then reapply finish if needed.
Can I redrill a cone to fix shape?
Yes, but use a slightly larger bit and shallow depth to restore even walls.
Conclusion
Drilling a cone-shaped hole in wood may sound difficult, but with the right tools and steady technique, it becomes a simple, rewarding task. The key is using the correct bit, maintaining consistent speed, and preparing your wood properly before drilling.
Cone holes serve both functional and decorative purposes, whether for countersunk screws, dowels, or creative woodworking designs. Taking your time and following step-by-step precision ensures clean, professional-looking results every time.
From selecting high-quality bits to mastering your drill control, every detail contributes to the perfect finish. Once you’ve practiced a few times, creating cone-shaped holes will become second nature, helping your woodworking projects look cleaner, stronger, and more refined.

I’m John F. Nicholas, the founder, lead writer, and drill enthusiast behind 101drill.com. With years of hands-on experience in power tools and DIY projects, I created this platform to share practical knowledge, expert tips, and real-world insights to help others master the art of drilling.