
You’re working on a quick project and realize you don’t have a saw nearby. The only tool within reach is your power drill. You start wondering, “Can I use this to cut through wood?” It feels powerful enough, but is it safe or even possible?
Many DIYers ask this question when improvising with limited tools. While a drill spins fast and seems strong, it’s built for boring holes, not slicing or cutting. Using it as a cutter can be done in limited ways — but only with the right attachments and a lot of caution.
A drill works through rotation and torque rather than linear cutting motion. That means it can grind, shape, or carve wood to some degree, but not produce long, straight cuts like a saw. The results depend entirely on the bit or attachment you use.
In this guide, we’ll explore whether you can cut wood with a drill, what tools you need, and what to avoid. You’ll learn the physics behind drills, safe methods to experiment with, and when to switch to a proper cutting tool instead.
By the end, you’ll know exactly what your drill can handle — and how to make precise, safe cuts without damaging your wood or your tool.
Why People Try Cutting Wood with a Drill
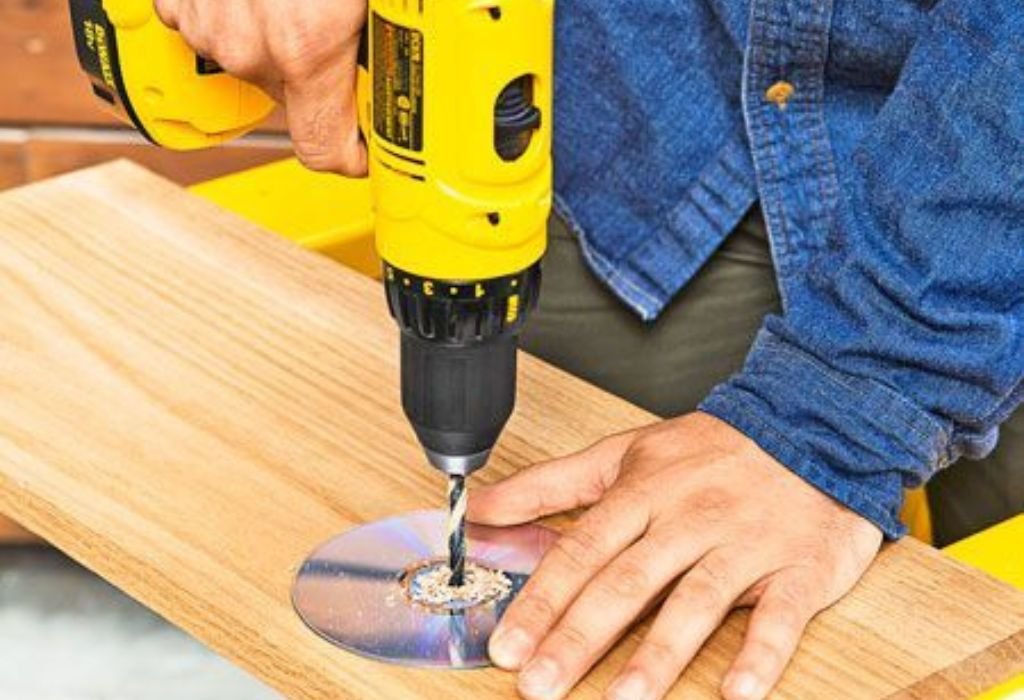
It’s common for people to assume that a drill can replace several woodworking tools. After all, it spins fast and cuts through wood when making holes. The idea of using it for shaping or cutting feels practical in small projects.
In most cases, people try this when they lack a saw or router. The drill already has cutting power, so it seems like a convenient alternative. However, its design limits both precision and control when used for cutting.
Another reason is cost-saving. Buying separate cutting tools can seem unnecessary for occasional use. Many beginners believe they can make do with just a drill and a few bits for multiple purposes.
Some woodworkers use drills to create large holes, which resemble cuts. With hole saws or grinding attachments, the drill does appear to cut material. This success can be misleading if extended to real cutting tasks.
DIY videos and social media hacks sometimes encourage unconventional drill uses. While some techniques work temporarily, they often shorten tool life or cause poor-quality results.
Understanding why people attempt it helps highlight the risks and realistic limits of what a drill can achieve safely.
Can a Drill Really Cut Wood? The Technical Explanation
Drills generate torque — rotational force designed for drilling holes. Cutting, however, requires a shearing or slicing action that moves through material horizontally. That’s why saws, routers, and sanders perform differently.
When you press a spinning drill against wood, it bores material away vertically. This movement doesn’t produce a clean, linear edge like a saw blade would. The result is rough and irregular.
Drills also spin at variable speeds that depend on pressure and bit size. Cutting wood properly requires a consistent speed to avoid burning or splintering. Drills often lack this precise control.
The shape of the drill bit affects the outcome. Bits with cutting edges (like spade or auger bits) can remove wood fast, but only in a circular pattern. You can’t guide them in straight lines safely.
Drills also lack stability when used laterally. Because the torque isn’t supported for sideways pressure, applying force this way can strain the motor and bearings. This shortens the drill’s lifespan.
So technically, yes — a drill can “cut” wood under certain conditions, but not efficiently or safely for full cuts. It’s more accurate to say a drill can carve or shape rather than slice through wood.
Drill Attachments That Can Cut Wood
Several attachments allow a drill to perform limited cutting or shaping. Each serves a specific purpose and has distinct advantages and limitations. Choosing the right one depends on the project size and desired finish.
A hole saw is one of the most common attachments. It cuts circular holes by spinning a ring of sharp teeth around a central guide bit. This is effective for openings in doors, cabinets, and wooden panels.
Rotary rasps and burr bits grind away material instead of slicing it. They’re useful for shaping, enlarging holes, or carving curved edges. However, they remove material slowly and create rough surfaces that need sanding afterward.
Drum sanders are cylindrical attachments that fit into drills. They smooth and shape wood edges but aren’t meant for deep cuts. They work best for finishing or rounding corners.
Rotary cutting bits resemble miniature router bits. They can groove or notch wood with precision, though control is limited compared to an actual router. These are great for decorative work or small cuts.
Some DIYers experiment with cutting wheels or saw discs on drills, but these are unsafe for handheld use. Drills aren’t designed to stabilize spinning blades, making kickback likely.
While these attachments expand your drill’s versatility, none replace a true cutting tool. They offer creative flexibility for light tasks, not heavy woodworking.
Step-by-Step Guide to Cutting Wood with a Drill
If you still plan to cut wood with a drill, do it carefully. The process requires proper setup, the right attachment, and steady control. Follow these steps for safe and effective results.
Step 1: Prepare your workspace.
Work on a stable, flat surface. Secure the wood piece using clamps so it doesn’t move. Ensure your area is clean, well-lit, and free of flammable dust.
Step 2: Choose the right attachment.
For circular holes, use a hole saw. For shaping or carving, use a rotary rasp or burr bit. Always check that the attachment is tightly fitted into the chuck.
Step 3: Adjust drill speed.
Start at low speed to establish control. Gradually increase the RPM as the bit engages with the wood. Too much speed generates heat and burns the surface.
Step 4: Apply steady pressure.
Let the tool do the work. Pushing too hard can jam the bit or overheat the motor. Gentle, consistent pressure gives smoother results.
Step 5: Keep the bit cool.
Stop periodically to remove sawdust and allow air cooling. Overheating dulls bits and scorches wood. A quick break every minute keeps both tool and surface safe.
Step 6: Finish the edges.
Once you complete the cut or hole, sand the area smooth. Removing splinters and burn marks improves both appearance and fit for later assembly.
By taking your time and following these steps, you can cut or carve small wood sections with a drill safely and neatly.
Limitations of Cutting Wood with a Drill
Even with attachments, a drill’s cutting ability is limited. The tool isn’t balanced for side pressure, which reduces precision and safety. Using it for extended cutting increases the chance of motor strain.
Because drills rely on rotational motion, they can’t maintain consistent depth during cuts. The result is uneven edges and jagged surfaces. This makes it unsuitable for joints or professional woodworking.
Heat buildup is another issue. Wood fibers burn easily at high speeds, leaving dark marks or smoke. Overheated bits lose sharpness quickly, leading to rougher cuts.
Controlling the drill’s direction is difficult during lateral movement. The bit may slip or dig deeper than intended, damaging your workpiece. This also increases the risk of kickback.
Cutting large or thick pieces of wood is nearly impossible with a drill. The tool lacks both torque and blade diameter for such jobs. You’ll spend more time and energy than necessary.
Finally, repeated misuse shortens the drill’s lifespan. Bearings, chucks, and gears wear out faster under improper loads. Repairing or replacing them costs more than buying a proper saw.
While cutting with a drill can work for quick fixes, it’s never the ideal long-term solution.
Better Alternatives for Cutting Wood
If your goal is clean, efficient cuts, switch to tools designed for the task. Each cutting tool serves a specific purpose and delivers professional results. Knowing when to use them saves time and prevents frustration.
A circular saw is perfect for straight cuts in panels and boards. It uses a high-speed rotating blade that slices through wood evenly. Adjustable depth and guide rails make it precise and fast.
A jigsaw excels at curved or intricate cuts. Its up-and-down blade motion allows excellent control over shapes and corners. It’s the best option for custom patterns or cutouts.
Oscillating multi-tools handle small trimming and flush-cutting tasks. Their compact design is great for tight spaces where larger saws can’t reach.
For shaping or edging, use a router or rotary tool. These produce smooth grooves and rounded edges with accuracy drills can’t match.
Even a hand saw often outperforms a drill for clean, controlled cutting. It requires more effort but eliminates the vibration and heat of power tools.
Choosing the right cutting tool makes every project safer, faster, and more precise. A drill should complement these tools, not replace them.
Safety Tips for Using a Drill on Wood
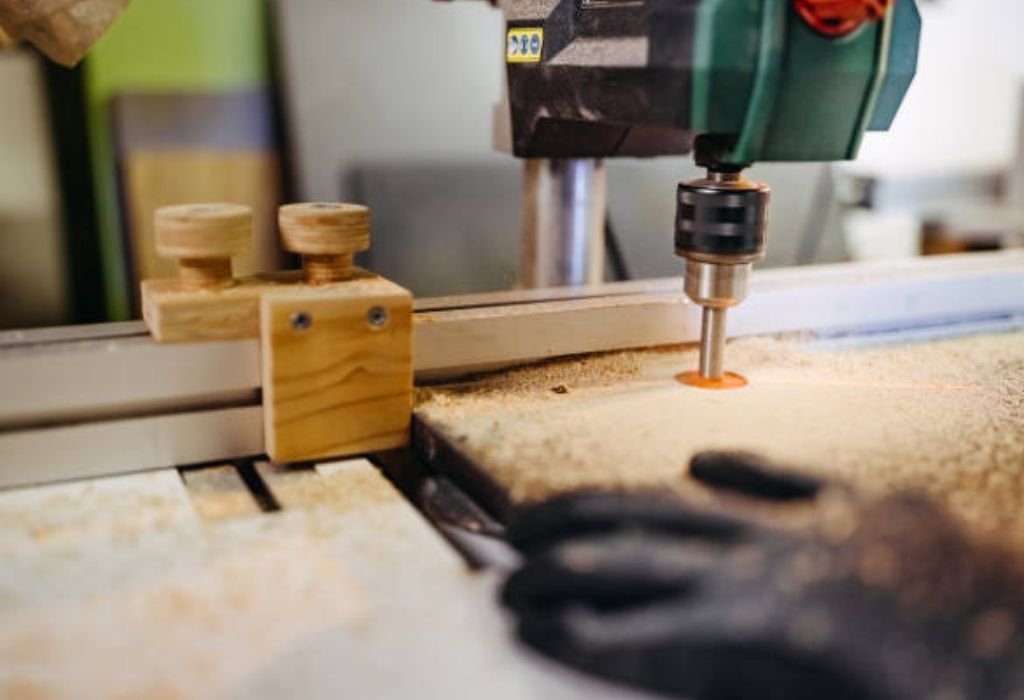
Always start with protective gear — safety glasses, gloves, and ear protection. Wood chips can fly unpredictably when using cutting attachments. Never operate power tools without proper safety measures.
Secure the wood tightly with clamps. A moving piece increases the chance of the bit catching or slipping. Stability ensures accuracy and prevents kickback.
Keep both hands on the drill for maximum control. Avoid awkward angles or one-handed operation. This improves balance and reduces vibration.
Use appropriate speed settings for each attachment. High speeds can burn wood, while low speeds may stall the bit. Experiment with medium speed first for smoother performance.
Never force the bit sideways to “saw” with it. Drills aren’t designed for lateral movement, and this can damage internal bearings. Always cut gradually and let the attachment do the work.
Unplug or remove the battery before changing attachments. This simple precaution prevents accidental activation and injuries.
Finally, keep your workspace clean. Remove sawdust frequently to prevent slipping or reduced visibility. Safety and cleanliness go hand in hand in woodworking.
Frequently Asked Questions on Drill Cutting Techniques
Can a drill cut through plywood?
Yes, but only for making holes or small cutouts using a hole saw or burr bit. For straight cuts, use a circular or jigsaw. A drill alone cannot produce smooth or accurate edges.
What attachment turns a drill into a cutter?
Rotary rasps, hole saws, and rotary cutting bits can all remove material from wood. However, they’re meant for shaping or boring, not slicing like a saw blade.
Can I use a drill to carve or shape wood?
Yes, with carving or grinding bits, you can shape small details or grooves. These are great for craft projects but not large structural cuts.
Why does my drill smoke when cutting wood?
Smoke indicates overheating due to friction or excessive speed. Stop immediately, let the bit cool, and reduce RPM. Overheated bits can warp and burn wood.
Is it safe to use hole saw bits for deep cuts?
Only if you go slowly and clear debris frequently. Deep cuts cause heat buildup and binding. Keep the hole shallow and let the drill rest between passes.
Conclusion
A drill is an incredibly versatile tool, but it isn’t a replacement for a saw. While it can cut wood in limited ways using attachments, it’s designed primarily for drilling holes. Understanding this difference ensures safer and cleaner results.
Hole saws, burr bits, and rotary attachments can handle small cuts and shaping tasks. However, drills lack the precision, balance, and speed control required for deep or straight cuts. Pushing the tool beyond its design risks damage and injury.
For professional or frequent woodworking, use saws, routers, or oscillating tools. They’re faster, safer, and deliver consistent results. Your drill should assist those tools, not replace them.
By using the right equipment for each job, you protect both your tools and your craft. So next time you’re tempted to cut wood with a drill, remember — it can do a little, but a real saw will always do it better.

I’m John F. Nicholas, the founder, lead writer, and drill enthusiast behind 101drill.com. With years of hands-on experience in power tools and DIY projects, I created this platform to share practical knowledge, expert tips, and real-world insights to help others master the art of drilling.