
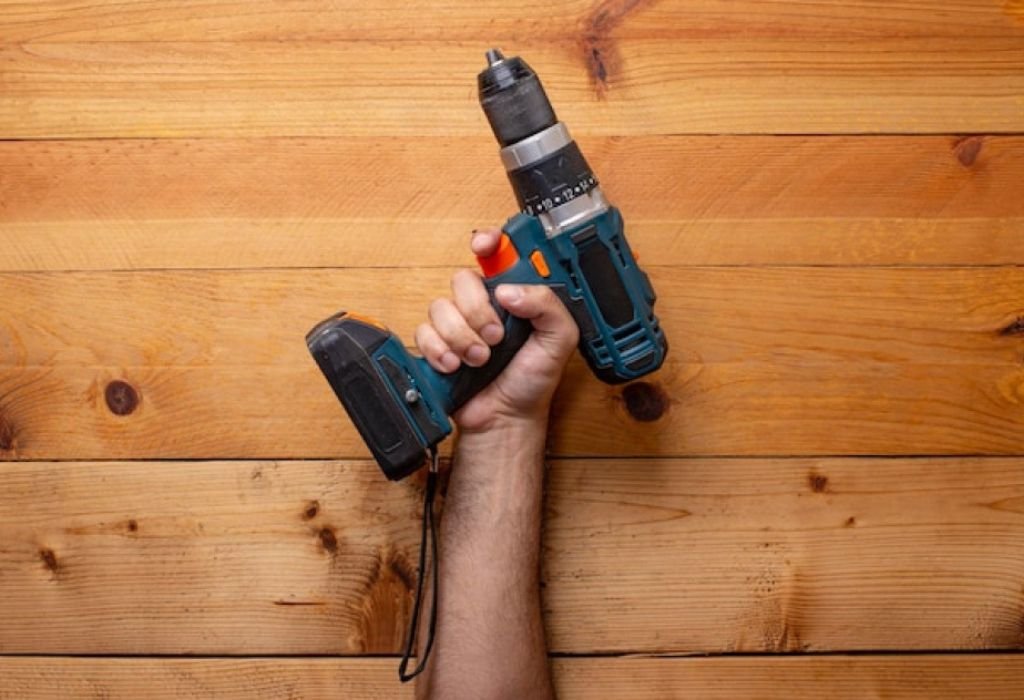
A technician once left a brand-new cordless screwdriver sitting on the charger overnight, only to find the battery still dead the next morning. Frustration mounted as deadlines loomed and no charging indicator gave any clue what went wrong. At that moment, recognizing subtle signs of a charging process (or its failure) became mission-critical.
Imagine expecting your cordless screwdriver to be ready, but it never actually charged — this can delay a project, ruin productivity, or even damage battery life. How can one reliably tell if a cordless screwdriver is charging, especially when the indicators are faint or ambiguous?
Studies show that improper charging behavior (overcharge, under-charge, or erratic charging) reduces battery lifespan by up to 20–30% over 500 cycles in lithium systems (source).
This guide explains in depth how to tell if a cordless screwdriver is charging, what to watch for, troubleshooting steps, and best practices to ensure safe, efficient charging. It will help both hobbyists and professionals avoid hidden pitfalls and maintain tool reliability.
Understanding How Cordless Screwdriver Charging Works

Before interpreting signs of charging, it helps to know how the charging system operates.
A cordless screwdriver typically includes:
- A battery pack or internal cell (NiCd, NiMH, or Li-ion)
- A charging circuit or charger unit
- Protection and control electronics (voltage sensors, cutoff, thermal detection)
- Indicator system (LEDs, lights, or display)
When the charger connects, the circuit monitors voltage, current, and temperature to control the charging rate until full charge is reached. Many chargers display status through LED lights — red for charging, green for full, and sometimes amber or yellow for standby (DK Tools Manual).
Because charging circuits often taper current as batteries approach full, the visible signs may weaken or stop entirely, confusing users.
Why do some screwdrivers not show any charging indicator?
Some budget models omit LEDs or displays entirely, providing no visible charging feedback.
What is constant current / constant voltage charging?
The charger first supplies constant current, then switches to constant voltage as the battery fills.
Does battery chemistry affect charging behavior?
Yes. Li-ion batteries include smart circuits; older NiCd/NiMH rely on simpler indicators.
What role does a protection circuit play?
It prevents overcharge, overheating, and over-discharge by cutting current at safety limits.
Can the charging circuit fail silently?
Yes, internal faults can block charging even if everything appears connected.
Common Indicators That Show a Cordless Screwdriver Is Charging
Once you understand the system, it’s easier to spot reliable charging signs.
LED Light Indicators (Red / Green / Yellow)
Many models use LEDs to show charging progress. Typical patterns include:
- Solid red while charging
- Green when fully charged
- Yellow or amber for standby or partial charge
- Blinking lights for evaluation or error modes (manuals.plus)
What does a blinking red LED mean?
It may signal battery error, overheating, or a faulty cell.
What if the LED never turns green?
The battery might not reach full voltage or the indicator circuit may be stuck.
Does LED color always indicate correctly?
Not always. Faulty sensors can misreport the charge state.
Can green LED appear while battery is still low?
Yes — early cutoffs or calibration faults sometimes trigger green prematurely.
Battery Warmth or Slight Heating
During charging, the battery may warm slightly — that’s normal.
- Warm but not hot indicates current flow
- Excessive heat signals overcurrent or malfunction
Is warmth a reliable indicator?
It helps, but warmth alone doesn’t confirm charging — use it with other clues.
How hot is too hot?
Temperatures above 45 °C (113 °F) are concerning.
Can a battery feel cold while charging?
Yes, especially in cool rooms or low-current chargers.
Charging Current or Voltage Monitoring
With a multimeter or USB power meter, you can confirm charging activity.
- Nonzero current means charging is active
- Voltage rising toward rated capacity confirms progress
- Current tapers off near full charge
Can measuring current damage the tool?
Not if done properly with correct polarity.
What if current reads zero but LED shows red?
Likely an indicator or wiring fault.
Does current stay constant?
No, it gradually declines as the battery fills.
Time Estimation and Expected Duration
Manufacturers publish approximate charge times (e.g., 2–4 hours).
If charging lasts much longer or ends too soon, there may be a problem.
Is following the published time enough?
Yes, under normal conditions.
What if charging stops too early?
This could indicate sensor or voltage cutoff issues.
Should you unplug right after the timer ends?
Yes, to avoid unnecessary trickle charging.
Behavioral Clues from the Tool
After charging, performance can reveal success.
- The screwdriver powers up normally
- Runtime improves compared to before
- No sudden shutdowns under load
Can the tool run without full charge?
Yes, but runtime will be shorter.
Does long runtime confirm full charge?
Usually, but weak cells can still limit total capacity.
Can bad cells still power the tool briefly?
Yes, but voltage will drop quickly.
Why Charging May Not Show Obvious Signs
Sometimes there’s no clear visual or physical indicator of charging, leading to confusion.
No Indicator or Minimal Design
Some screwdrivers have no LED or display.
How to know if it’s charging?
Use a multimeter, feel for warmth, or time the charge cycle and test.
Should you assume charging if it’s plugged in?
Only if the charger and contacts are confirmed good.
Faulty Indicator Light
LEDs can fail while charging continues normally.
How to confirm if LED is broken but charging works?
Measure voltage or current — if values rise, charging is active.
Can you fix the LED?
Sometimes, but often replacement requires service tools.
Faulty Charger, Cable, or Contacts
Broken cables or dirty terminals often prevent power transfer.
What should be checked?
Outlet, cable, and both charger and tool contacts.
Can charger lights be misleading?
Yes — they can glow even if no power reaches the battery.
How to confirm charger health?
Test its output voltage or try a known working charger.
Internal Battery or Circuit Problems
If internal circuits fail, charging might silently stop.
Can a cell degrade without symptoms?
Yes — damaged chemistry may block energy storage.
Does protection circuitry sometimes refuse charge?
Yes, in cases of overheating or undervoltage.
What is “evaluation mode”?
Some batteries test internal health before full charge, showing yellow or blinking LEDs.
Step-by-Step Guide: Confirming Charging Status
Here’s a practical way to verify charging.
Step 1 — Check the Indicator Light
Connect the charger and note LED color changes.
What if LED stays off?
Proceed to connection checks.
What if LED stays red forever?
Sensor or cutoff issues may exist.
Step 2 — Inspect Connections and Charger
Ensure power outlet, cable, and charger pins are clean and properly seated.
How to clean contacts?
Use alcohol and a cotton swab.
Can bent pins stop charging?
Absolutely — even minor misalignment can break the circuit.
Step 3 — Measure Current and Voltage
Use a multimeter to measure power flow.
What current should you see?
Depends on the model — typically 0.5A to 1A.
What if it’s too low?
There may be high resistance or internal faults.
Step 4 — Monitor Battery Temperature
After 20–30 minutes, feel for gentle warmth.
What’s a safe range?
Under 45 °C (113 °F).
Can overheating stop charging?
Yes — thermal sensors will shut it off.
Step 5 — Test the Tool
After expected charge time, unplug and test performance.
Can a battery show full but fail under load?
Yes, due to weak cells.
Should you discharge fully before recharging?
Not for Li-ion — partial charges are fine.
Troubleshooting When Charging Isn’t Obvious
If indicators fail, follow these proven solutions.
Use a Known-Good Charger or Cable
Swap with a tested unit to rule out charger faults.
Is it safe to use third-party chargers?
Only if specifications match perfectly.
Clean or Adjust Contacts
Dust or corrosion can interrupt current flow.
Can oxidation block charging?
Yes — even mild oxidation increases resistance.
Replace a Faulty Battery
Old or swollen batteries often cannot hold a charge.
Can you replace internal cells?
Sometimes, but sealed units require full pack replacement.
What signs show battery failure?
Rapid voltage drop and excessive heat.
Reset Battery Protection Mode
Some batteries enter safety lockout.
How to recover from protection mode?
Use a smart charger or allow the system to reset after several minutes.
Contact the Manufacturer
If internal electronics fail, professional service may be required.
Will warranty cover it?
Often yes, depending on brand and usage.
Does DIY repair void warranty?
Yes, for sealed devices.
Best Practices to Extend Battery Life and Ensure Proper Charging
Maintaining your cordless screwdriver’s battery health helps avoid charging confusion:
- Use only the official charger
- Charge in moderate temperature (20–25 °C)
- Avoid deep discharge cycles
- Unplug after full charge
- Store at 40–60% charge for long periods
- Clean contacts periodically
- Cycle battery occasionally if recommended (Hi-Spec Tools)
Conclusion
Recognizing when a cordless screwdriver is charging isn’t always straightforward. By combining signs like LED color, warmth, current flow, and runtime, you can confidently verify the process.
When uncertainty persists, follow the systematic checks — inspect connections, measure voltage, or try another charger. These steps not only confirm charging status but also extend the lifespan of your tool.
Next time your cordless screwdriver shows no clear signal, use this guide to test and confirm the truth behind the light. Share it with others who rely on their tools daily — a little awareness can save hours of frustration and keep your projects running smoothly.

I’m John F. Nicholas, the founder, lead writer, and drill enthusiast behind 101drill.com. With years of hands-on experience in power tools and DIY projects, I created this platform to share practical knowledge, expert tips, and real-world insights to help others master the art of drilling.