
A quick shelf project turns tense when screws wobble, strip, or split the wood. The fix is learning how to use a cordless drill as a screwdriver with control.
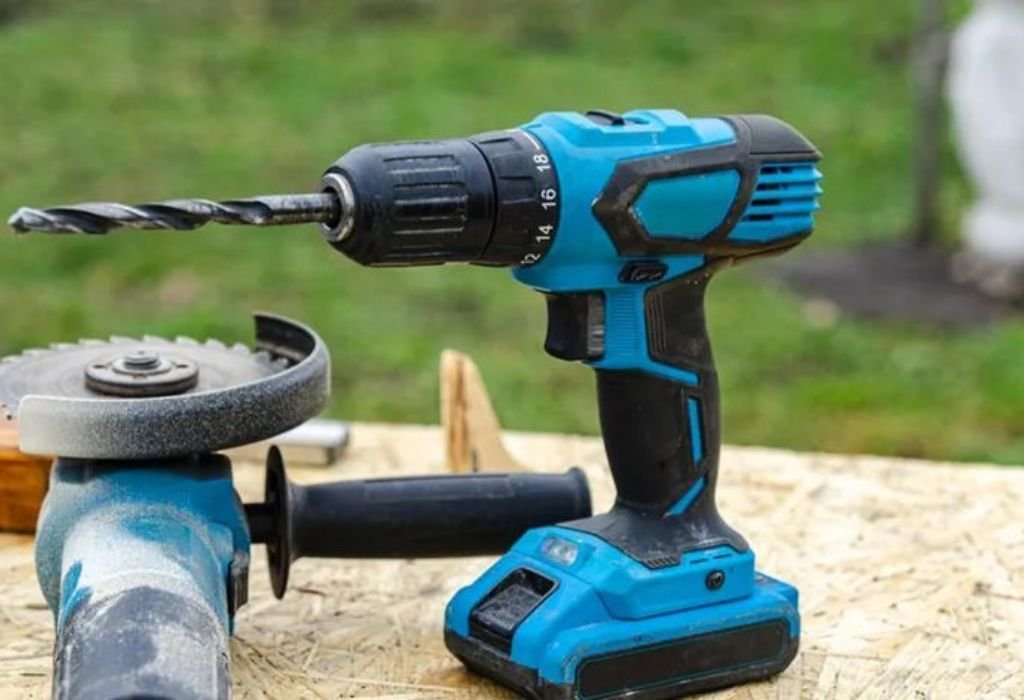
Most modern drills include a clutch and two-speed gearbox that tame power for delicate driving. Low gear delivers slow speed and higher torque for clean, predictable results.
Bit choice matters more than many expect. Phillips heads are known to cam out by design, which raises the chance of stripped screws in harder materials.
Torx and Square bits transfer torque more efficiently and resist cam-out under load. Their geometry increases contact and requires less downward force to hold the bit in place (Torx).
Material prep decides whether boards crack or stay pristine. Pilot holes sized to the screw’s core reduce splitting and lower the force required to drive fasteners (Pilot hole guide).
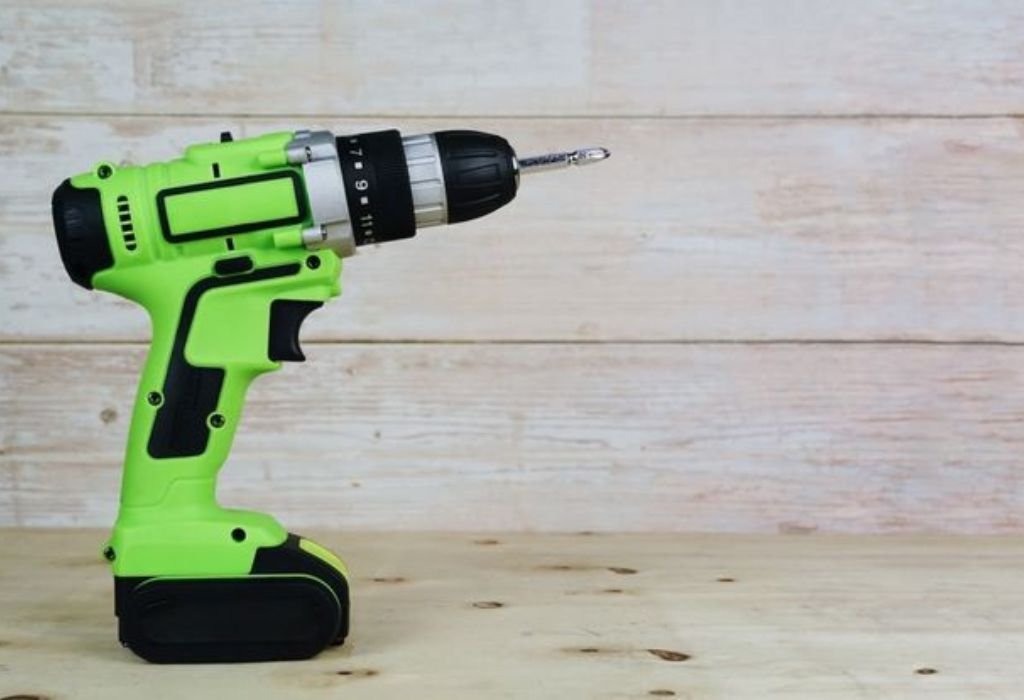
Control starts with the clutch ring. Lower numbers limit torque so fasteners stop flush instead of burying below the surface.
Speed is the second lever. Short trigger pulses in low gear keep the bit seated and prevent cam-out as the head nears the surface.
Alignment is the quiet hero of accuracy. Keeping the drill perfectly in line with the screw prevents side load, slipping, and damaged heads.
This guide explains settings, bits, pilot holes, and step-by-step technique. Each section adds quick Q&A so answers are easy to scan during a project.
By the end, driving screws will feel smooth, quiet, and repeatable. The workflow protects workpieces, preserves bits, and speeds every build.
Can you really use a cordless drill as a screwdriver?
Yes, a cordless drill/driver can drive screws accurately when set up correctly. The clutch and low gear are the keys to control.
Impact drivers are stronger but less forgiving at low speed. A drill/driver excels when finesse matters and surfaces must remain clean.
What features make a drill suitable?
A torque clutch, a two-speed gearbox, and a variable speed trigger.
Why not a corded drill for delicate driving?
Many corded drills lack clutches and can overdrive hardware.
Does a drill replace manual screwdrivers entirely?
Manual drivers remain useful in cramped or highly sensitive spots.
Is a 12V drill enough for cabinets and trim?
Yes, 12V models handle light to medium screws very well.
When is an impact driver a better choice?
Use an impact for long screws, lag screws, or rusted hardware.
Parts and settings that matter for screwdriving
The clutch ring sets slip torque so the bit disengages before damage. The drill icon bypasses the clutch and should be reserved for drilling.
Use gear 1 for low speed and higher torque. Use gear 2 for drilling or quick removal only after practice.
What do clutch numbers mean?
Lower numbers equal less torque and a gentler stop.
What does the drill symbol do?
It disables the clutch and delivers maximum power.
Which direction switch is correct for driving?
Forward for driving and reverse for removal.
Why is gear 1 preferred for screws?
It offers slow control and reduces cam-out.
How should the drill be held?
Keep the bit straight in line with the screw.
Bit selection: Phillips, Pozidriv, Torx, Square, and Hex
Match the bit to the screw head exactly. Worn tips or wrong profiles cause skipping and early damage.
Torx and Square deliver the best grip for beginners learning how to use a cordless drill as a screwdriver. Phillips and Pozidriv work well with fresh bits and firm alignment.
Why does Phillips strip more easily?
The tapered design tends to eject the bit under load.
How to reduce cam-out fast?
Use Torx or Square and press straight with steady pressure.
Are impact-rated bits necessary?
They last longer and resist torsion, even in drills.
Long or short bits for control?
Short bits wobble less in tight spaces.
When should a bit be replaced?
Replace when the tip rounds or rocks inside the recess.
Step-by-step: how to use a cordless drill as a screwdriver
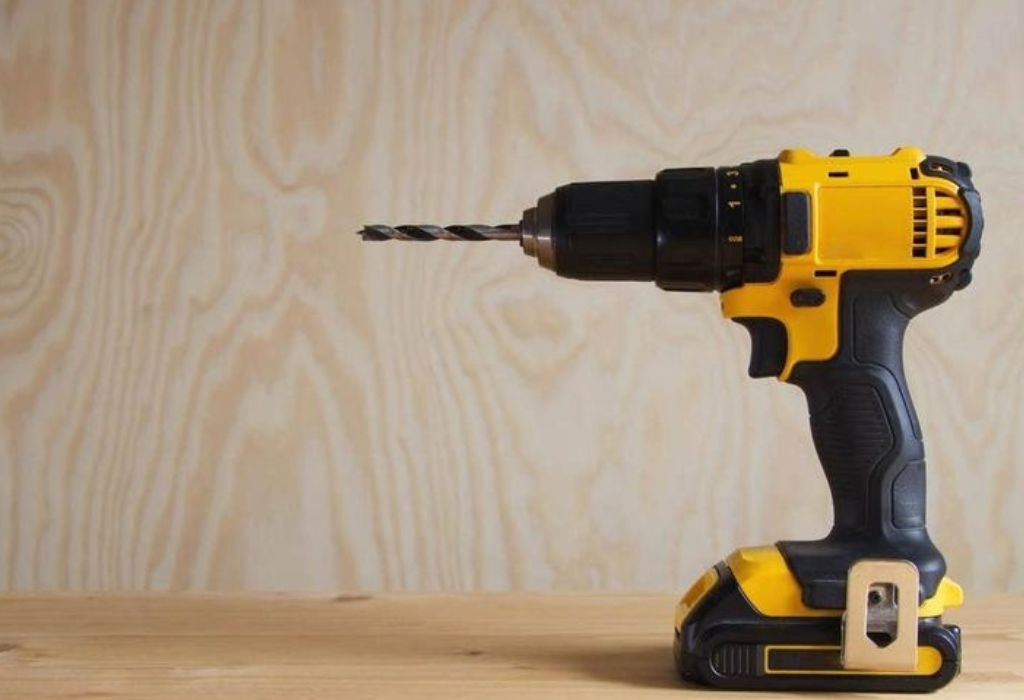
Set the drill to gear 1 and choose a matching bit. Set the clutch to a low number and test on scrap of the same material.
Start slowly with the screw aligned and the bit fully seated. Raise the clutch one click at a time until the screw finishes flush without chewing the head.
Where should the clutch start?
Start low and increase gradually after each test.
What does the clicking sound mean?
The clutch is slipping to protect the screw and surface.
How fast should the trigger be pulled?
Use short pulses and slow down as the head seats.
What if the screw stalls halfway?
Back out, enlarge the pilot, and try again.
What if the screw sinks too deep?
Lower the clutch number or add a depth stop.
Pilot holes, countersinks, and depth control
A pilot hole reduces splitting and keeps screws straight. Countersink bits create a neat recess for flat heads.
Depth control comes from clutch slip, depth-stop collars, or bit stop rings. Practicing on scrap reveals the right combination for each material.
Do softwoods always need pilots?
Small pilots help alignment and reduce wandering.
Are pilots mandatory in hardwoods?
Yes, pilots prevent splitting and reduce effort.
How to size a pilot quickly?
Match the bit to the screw’s core diameter.
Do drywall screws need pilots?
No, but use a drywall depth-stop bit for consistent seating.
How to avoid raised fibers around the hole?
Countersink lightly before driving.
Driving technique to prevent stripping and cam-out
Keep the drill square to the screw at all times. Apply steady axial pressure and ease the trigger as the head nears the surface.
Let the clutch do the work at the finish. A single slip is cheaper than a stripped head or a crushed board.
Why do screws strip near the end?
Speed stays high as resistance rises.
What helps most against cam-out?
A fresh bit, straight alignment, and low speed at finish.
Is pushing harder always good?
Use firm, steady pressure without rocking.
Should the wrist be locked or flexible?
Keep the wrist straight to hold alignment.
Does pre-lubrication help in hardwood?
A touch of wax reduces friction and heat.
Material-specific recipes
Softwood cabinets and shelving
Use Torx or Phillips #2 with a small pilot. Keep clutch mid-low and stop when the head is just flush.
Hardwood furniture and trim
Drill full-depth pilots and countersinks. Drive slowly in gear 1 and finish with a gentle clutch slip.
Drywall and studs
Use drywall bits with depth stops for clean paper. Drive steadily and let the collar set depth.
Sheet metal and thin aluminum
Use self-tapping screws with pre-drilled holes. Keep speed low and deburr for clean seating.
Plastics and laminates
Drill clearance and pilot holes to avoid cracking. Use low clutch and avoid heat buildup.
How to choose bit style by material?
Torx for hard woods, Phillips or Torx for drywall and studs.
What pilot sizes work most often?
Match the screw’s core for wood and use the tap drill for metal.
What if chips pack the threads?
Back out to clear chips and resume driving.
How to hide screw heads in furniture?
Countersink and plug or use finish washers.
What prevents tear-out on laminates?
Score the surface and use a sharp countersink.
Accessory upgrades that make screwdriving easier
A magnetic bit holder speeds changes and reduces drops. A right-angle adapter reaches tight corners where a long driver cannot.
A flex-shaft extension helps around obstructions. A depth-stop collar makes depth repeatable across dozens of screws.
Why carry a mixed bit kit?
Different jobs need Phillips, Pozidriv, Torx, Square, and hex.
Do quick-release holders matter?
They lock bits securely and speed swaps.
When is an electronic clutch worth it?
It adds repeatability for cabinet runs.
Is a compact 12V drill handy?
Yes, it fits tight locations without fatigue.
What about magnetic screw holders?
They stabilize long screws during starting.
Common mistakes and how to fix them
Wrong bit size, no pilot, and clutch set too high are the top errors. High speed at the finish can destroy a head in seconds.
Avoid shifting the top gear while the chuck spins. Pause first, shift, and confirm the selector is fully engaged.
Why does the drill smoke or smell hot?
Friction from dull bits or excessive speed.
Screw spins but will not sink, what now?
Drop speed, press straight, and switch to a fresh bit.
Board cracked during driving, how to recover?
Back out, glue and clamp, then re-drive with a pilot and lower clutch.
Hole wallowed out by accident, what helps?
Use a dowel and glue, then re-drill a proper pilot.
Chuck keeps loosening, what causes that?
Bits not fully seated or debris in the jaws.
Troubleshooting: wobble, weak drive, or crooked screws
Wobble usually comes from a worn bit holder or bent bit. Replace the accessory and re-seat the bit fully.
Weak drive means the clutch is too low, the battery is low, or gear 2 is chosen by accident. Switch to gear 1 and recharge the pack.
Why are screws going in at an angle?
The pilot is too small or alignment is off.
Why does the clutch click immediately?
Increase the number one click at a time.
Why does the bit pop out under load?
Use Torx or Square and reduce speed near the end.
Why do heads round in soft brass?
Lower clutch and use fresh, well-fitting bits.
Does pre-drilling solve most issues?
Yes, pilots prevent splits and cut drive torque.
Safety essentials for using a drill as a screwdriver
Wear eye protection and secure the workpiece before driving. Remove the battery when changing bits or adjusting the chuck.
Keep fingers away from the bit path and loose clothing out of the chuck area. Work on a stable surface with good lighting.
Gloves or no gloves for control?
Use tight, thin gloves if needed and avoid loose material.
Where should the free hand go?
Hold the work or clamp it, never the screw line.
How to avoid slipping on ladders?
Use a holster and keep three points of contact.
Is an LED useful indoors?
Yes, it improves alignment and depth accuracy.
What is the safest way to stop?
Release the trigger before setting the drill down.
Maintenance and storage for consistent results
Keep bits organized and replace worn tips quickly. Clean dust from the chuck and store batteries within the recommended charge range.
Add a light drop of oil to steel countersink cutters when used on hardwood. Keep the drill dry and avoid extreme temperatures.
How long do bits last?
Longevity depends on material and speed control.
Should batteries be stored full or mid-charge?
Most lithium packs store best around mid-charge.
Do chucks need periodic cleaning?
Yes, blow out dust and wipe jaws with a dry cloth.
How to keep depth consistent over time?
Record clutch numbers for each material in a small chart.
What extends bit life the most?
Using the correct pilot and lower speed at finish.
Future trends in drill-based screwdriving
Electronic clutches and smart modes deliver repeatable stops. Brushless motors add runtime and finer low-speed control.
Gyroscopic drivers and compact angle attachments improve access. New bit alloys and anti-cam coatings reduce wear in hard materials.
Are electronic clutches accurate enough for furniture?
They improve consistency in repetitive runs.
Will drills replace impacts for heavy screws?
Each tool keeps a role; drills excel at finesse.
Is gyroscopic control practical?
It suits light assembly and overhead work.
Do smarter chargers help?
Balanced packs hold torque longer during long sessions.
Are quick-change chucks improving?
Yes, newer chucks grip hex bits with less wobble.
Conclusion
Learning how to use a cordless drill as a screwdriver turns messy driving into clean, repeatable work. The method is simple and reliable.
Pick the right bit, set gear 1, start the clutch low, and raise it until screws finish flush. Add pilots and a light countersink where needed, then slow down at the finish to avoid cam-out.
Keep alignment straight and let the clutch protect the surface. With a small bit kit and a written clutch chart, every project runs faster and looks better.
What is the one habit that prevents most damage?
Slow down near the finish and keep the drill square.
What upgrade helps beginners the most?
Switch to Torx or Square bits for stronger engagement.
What should be practiced first?
Driving a few screws into scrap with the clutch set low.
How to unlock the fastest improvement?
Use pilots in hardwood and record proven clutch numbers.
Ready to start now?
Set the drill to gear 1, pick the correct bit, and test on scrap before touching the project.

I’m John F. Nicholas, the founder, lead writer, and drill enthusiast behind 101drill.com. With years of hands-on experience in power tools and DIY projects, I created this platform to share practical knowledge, expert tips, and real-world insights to help others master the art of drilling.