
Most people first learn to use a keyless chuck when switching from an old drill with a chuck key. At first the smooth twist and quick tightening feel surprisingly simple compared to the older system.
After a few uses the process becomes routine and bit changes happen automatically without much thought. However many users never learn the correct technique and the chuck eventually begins slipping or tightening itself during drilling.
A keyless chuck relies on proper hand pressure and correct rotation rather than mechanical locking. When used correctly it holds the drill bit securely and releases smoothly without extra tools.
Understanding how to use a keyless chuck prevents stuck bits worn jaws and damaged sleeves. With the right method even beginners can operate the drill confidently and safely.
This guide explains the process step by step so anyone can tighten release and maintain a keyless chuck without frustration. Learning the basics ensures smoother drilling and longer tool life.
What a Keyless Chuck Does and How It Functions
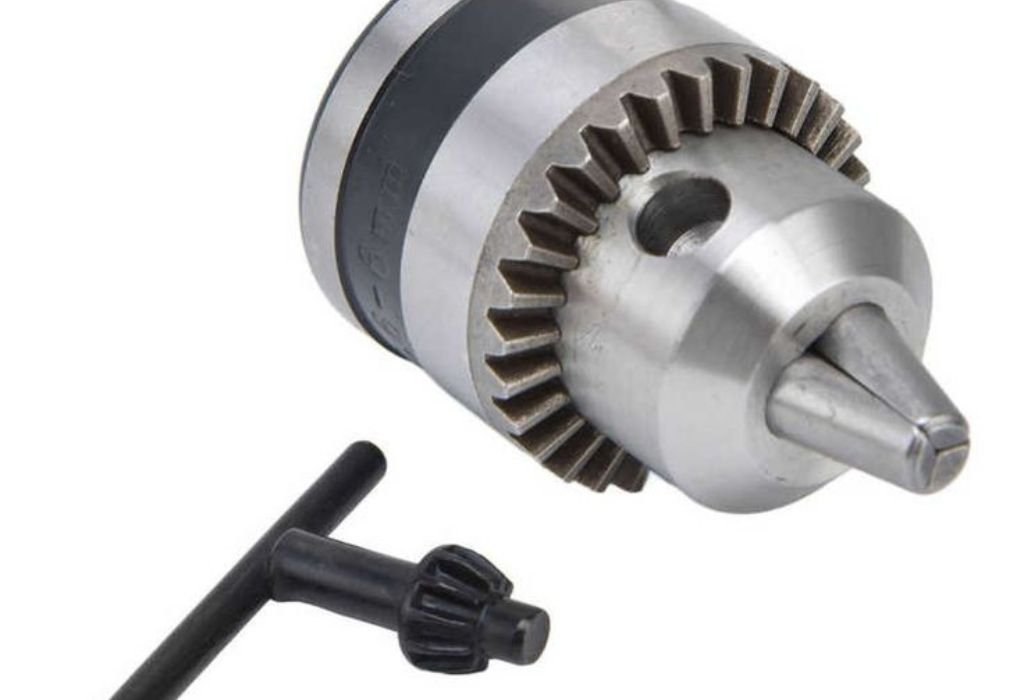
A keyless chuck is designed to hold and release drill bits without using a separate tightening key.
Instead the user rotates the outer sleeve by hand to tighten or loosen the jaws around the bit. This creates faster bit changes and simplifies operation for both beginners and professionals.
Inside the chuck are three metal jaws that move inward or outward depending on sleeve rotation. When turned clockwise the jaws close evenly and grip the bit securely. When turned counterclockwise the jaws retract and release the bit smoothly.
The chuck relies on friction and internal bearings to maintain grip. Unlike keyed chucks that use gear engagement the keyless mechanism depends on hand force and proper tightening technique. This design reduces time spent switching between bits during projects.
Keyless chucks are commonly found on cordless drills because they allow quick adjustments on the job. DIY users appreciate the convenience while tradespeople rely on efficiency for continuous work. The system supports drilling into wood metal plastic and other materials.
Single sleeve and double sleeve versions offer different handling experiences. Single sleeve chucks tighten with one hand while double sleeve models require both hands for secure locking. Both types function similarly but provide different stability depending on the drill design.
Understanding how the mechanism works helps prevent operational mistakes. Knowing the internal movement reduces the chance of forcing the chuck or damaging components. This knowledge supports safe and reliable drill use.
How to Insert and Tighten a Drill Bit Correctly
Begin by rotating the chuck counterclockwise to open the jaws fully. The opening should be wide enough to insert the drill bit without forcing it. Holding the bit against the jaws ensures proper alignment before tightening.
Insert the bit straight into the center of the chuck until it sits deep enough for support. A shallow insertion can cause wobbling or slipping during drilling. Keeping the bit centered prevents uneven pressure on the jaws.
Tighten the chuck by rotating the sleeve clockwise using firm steady pressure. Avoid twisting aggressively because excessive force does not improve grip. Proper tightening requires controlled movement rather than strength.
Once hand tightened squeeze the drill trigger briefly while holding the chuck. This final action locks the jaws more securely and prevents loosening during operation. Many users skip this step which leads to slipping bits later.
Check that the bit does not wobble by spinning it slowly by hand. Any visible movement means the bit is misaligned or not tightened completely. Reopening and reseating the bit fixes most alignment issues.
Correct tightening ensures safe and efficient drilling. Using the proper method prevents slipping broken bits and chuck wear. Practicing these steps builds confidence and improves tool performance.
How to Release and Change Bits Safely
Start by stopping the drill completely and disconnecting power. For cordless models remove the battery and for corded drills unplug the cable. This prevents accidental activation during bit removal.
Hold the chuck firmly with one hand and rotate it counterclockwise. Slow controlled movement releases the jaws without locking them further. Avoid sudden twisting because it may tighten the chuck accidentally.
If resistance occurs open the jaws gradually rather than applying force. Sometimes dust or heat causes temporary tightness. Allowing the chuck to cool or adding light lubrication helps improve release.
Remove the drill bit by pulling it straight out of the chuck. Tilting or bending can damage the jaws or scrape the interior surfaces. A smooth removal keeps the mechanism functioning correctly.
After removal close the jaws slightly to protect the internal threads. Leaving them fully open allows debris to enter during storage. Partial closing keeps the chuck clean and reduces long term wear.
Safe bit changes prevent jamming and tool damage. Practicing proper technique ensures smooth operation and reduces frustration during projects. This careful handling keeps the chuck reliable for continued use.
Common Mistakes When Using a Keyless Chuck
Over tightening the chuck is one of the most frequent errors. Many users believe more force provides better grip but it only stresses the jaws. Excessive pressure makes removal difficult and increases long term wear.
Holding the chuck while the drill runs in reverse is another mistake. This can tighten the jaws instead of loosening them unexpectedly. It also increases the risk of injury from sudden rotation.
Using pliers to tighten or loosen the chuck damages the outer sleeve. Metal tools leave scratches and dents that interfere with rotation. Once damaged the chuck becomes harder to operate smoothly.
Allowing debris to build up inside the jaws causes slipping and sticking. Drilling through masonry or metal produces fine particles that settle inside the mechanism. Without cleaning these particles restrict movement over time.
Failing to seat the drill bit deeply enough creates wobbling. A bit held at the tip instead of the base places uneven pressure on the jaws. This increases the chance of breakage during drilling.
Avoiding these mistakes keeps the chuck functioning properly. Learning correct technique reduces frustration and prevents expensive tool replacement. Good habits improve safety and drilling consistency.
Maintenance Tips to Keep a Keyless Chuck Working Smoothly
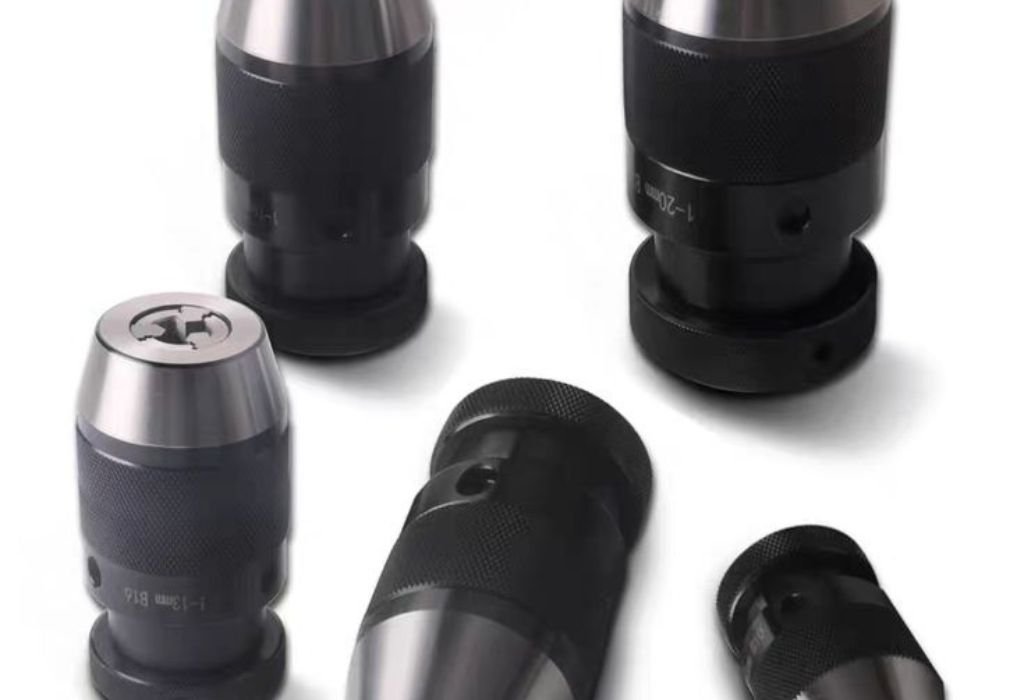
Clean the chuck regularly by blowing out dust and debris. Compressed air removes material that collects in jaw openings. Routine cleaning prevents sticking and improves long term performance.
Apply a small amount of light lubricant to the jaw area occasionally. Avoid heavy grease because it traps debris and creates buildup. Light oil maintains smooth movement and reduces internal friction.
Inspect the jaws for wear or uneven gripping surfaces. Worn jaws cannot hold bits securely and should be replaced. Early detection prevents slipping and safety hazards during drilling.
Allow hot drill bits to cool before removing them from the chuck. Heat expansion causes temporary tightening and makes release more difficult. Waiting a few minutes reduces strain on the jaws.
Store the drill in a clean dry place when not in use. Moisture causes corrosion inside the chuck and affects movement over time. Keeping the tool protected extends its lifespan significantly.
Regular maintenance keeps the keyless chuck operating reliably. Small care steps prevent mechanical failure and improve daily usability. Consistent attention ensures smooth performance for years.
Frequently Asked Keyless Chuck Operation Questions
Do I need tools to tighten a keyless chuck?
No hand tightening is enough when done correctly. Extra tools can damage the sleeve. Proper technique ensures strong grip.
Why does my bit slip while drilling?
The bit may not be seated fully or the jaws may be worn. Retighten using correct method. Replace jaws if slipping continues.
Can I use a keyless chuck with all drill bits?
Yes most standard bits are compatible. Hex shank bits may grip better in some models. Damaged bits should not be used.
Why does the chuck tighten itself during use?
Sudden stops can cause sleeve rotation. This increases jaw pressure unintentionally. Smooth drilling reduces self tightening.
Is it safe to loosen the chuck while the drill is running?
No this can cause injury and damage the mechanism. Always stop the drill first. Remove power before handling.
How often should I clean the chuck?
Clean when stiffness or slipping occurs. Routine external cleaning is usually enough. Internal cleaning is rarely required.
Can a keyless chuck wear out?
Yes jaws and bearings can wear over time. Heavy use increases wear rate. Replacement restores proper function.
Should the jaws close fully when no bit is inserted?
Yes closing slightly protects internal threads. Keeping them wide open attracts debris. Partial closure is recommended.
Can lubrication fix a stuck chuck?
Light oil may help if debris is the cause. It will not fix severe internal damage. Replacement may be required.
Can I upgrade to a better keyless chuck?
Yes many drills accept replacement chucks. Match thread type and size correctly. Upgrading improves grip and durability.
Conclusion
Using a keyless chuck correctly ensures safe drilling and smooth bit changes. Proper tightening prevents slipping while controlled loosening avoids accidental jamming. Learning the correct technique reduces stress on the chuck and improves tool performance.
Avoiding common mistakes protects both the drill and the chuck mechanism. Over tightening using pliers and releasing under power create unnecessary risks. Good handling habits extend the lifespan of the jaws and sleeve.
Regular maintenance such as cleaning and light lubrication keeps movement smooth. Early inspection prevents wear from becoming a safety issue. Proper care ensures the chuck remains reliable during frequent use.
Understanding how to use a keyless chuck gives users more confidence and control. With the right approach drilling becomes easier faster and safer. Consistent practice leads to long lasting performance and fewer tool problems.

I’m John F. Nicholas, the founder, lead writer, and drill enthusiast behind 101drill.com. With years of hands-on experience in power tools and DIY projects, I created this platform to share practical knowledge, expert tips, and real-world insights to help others master the art of drilling.