
Rafi found a vintage glass insulator at a flea market and wanted to turn it into a pendant light. He assumed drilling a hole would be simple, but the bit slipped on the curved surface and the insulator shattered before he even made progress.
What was supposed to be a creative project became an expensive lesson in technique.
Glass insulators look thick and durable, but they react quickly to pressure and heat. Their curved shape creates uneven stress points that make drilling more challenging than flat glass. Without the right method and tools, even a tiny mistake can ruin a rare piece instantly.
Most people think drilling glass requires force, but the process depends on slow grinding. A diamond coated bit, steady cooling, and short drilling intervals protect the glass. Patience matters more than power or expensive equipment.
Whether you are converting insulators into lights, candle holders, or garden décor, learning the proper steps prevents damage. Understanding how to drill safely helps complete projects confidently without losing valuable pieces.
Tools and Materials You Will Need
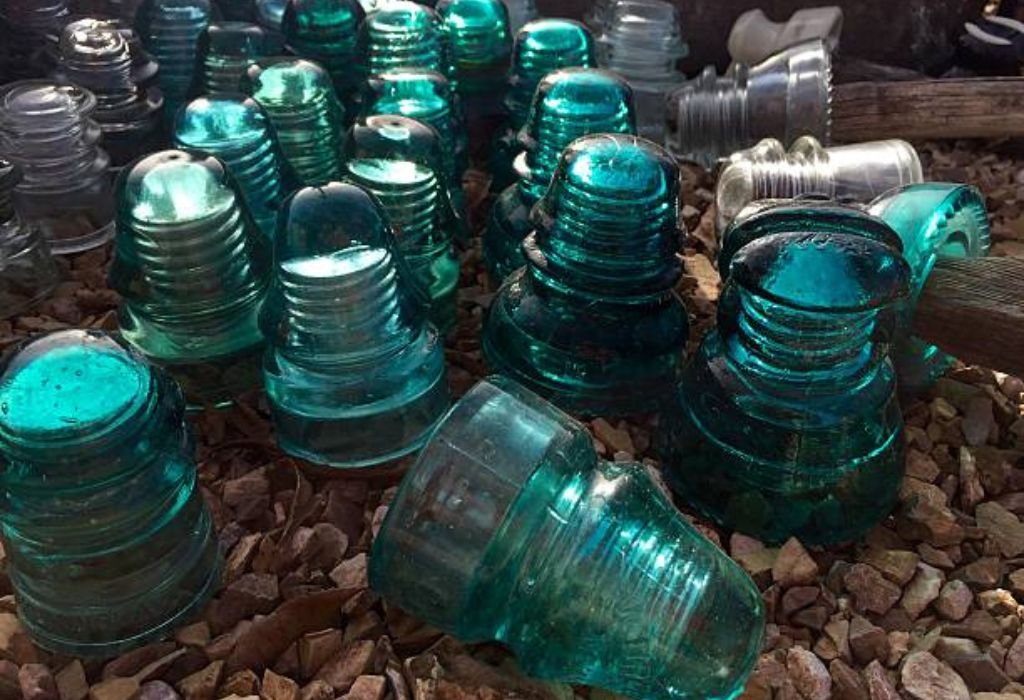
A diamond coated drill bit is essential because standard steel or masonry bits cannot grind glass safely. Diamond particles wear through the surface slowly without applying pressure.
A variable speed drill provides controlled low rotation. High speed creates friction and heat that expands the glass and causes cracking. Hammer settings should never be used when drilling insulators.
Masking tape helps stabilize the drilling point and prevents slipping on curved surfaces. Applying two layers improves the bit’s grip during initial contact.
Water acts as cooling and lubrication throughout the process. A spray bottle, wet sponge, or clay ring filled with water prevents heat buildup. Dry drilling should never be attempted on any type of glass.
A padded stable surface supports the insulator securely. Placing it inside a towel or rubber mat prevents rolling and absorbs vibration during drilling.
Safety equipment includes gloves and protective eyewear. Tiny glass shards can fly unexpectedly, and handling edges without protection increases risk of cuts.
How to Prepare the Glass Insulator Before Drilling
Clean the insulator to remove dirt, residue, and oils. A clean surface allows the drill bit to grind smoothly and prevents slipping during the first few seconds.
Choose the drilling location carefully based on your project. Avoid thick seams, air bubbles, or irregular surfaces because these areas create stress points. Mark the spot using a non-permanent marker.
Apply two layers of masking tape over the marked area. Press the tape flat to create a stable drilling surface and reduce chipping at the starting point.
Secure the insulator so it cannot move. Placing it inside a folded towel or positioning it between sand-filled bags prevents rolling and shifting. Never drill while holding the insulator in one hand.
Prepare your cooling method before starting. Keeping water ready prevents rushing during the drilling process and allows better control.
Double check that the drill is set to the lowest speed with no hammer function. Proper preparation increases the chance of a clean successful hole.
Step by Step Process to Drill a Glass Insulator
Position the drill bit gently on the taped area without applying pressure. Begin at the slowest speed and allow the bit to grind into the glass naturally. Force increases stress and causes cracks instantly.
Start at a slight angle for the first few seconds to prevent slipping. Once a small indentation forms, slowly move the drill upright to maintain balance during drilling.
Keep the drilling point continuously wet. Spray water frequently or press a wet sponge against the surface. If the area becomes dry, pause immediately and reapply moisture.
Drill in short intervals, not continuously. Five to seven seconds of drilling followed by a brief pause helps control temperature and reduces internal stress inside the glass.
As the bit approaches breakthrough, reduce speed and pressure even more. The final stage is the most delicate because the glass becomes thinner and weaker. Allow the drill to finish under its own weight.
Remove the tape carefully and clean the hole once finished. Inspect the edges for sharp fragments and smooth them with fine sandpaper if necessary.
Common Mistakes to Avoid While Drilling
Using the wrong drill bit leads to instant breakage. Regular bits cut instead of grind and are unsafe for glass insulators. Only diamond coated bits should be used.
Drilling too fast generates heat that spreads cracks across the surface. Insulators cannot tolerate sudden temperature changes, especially older vintage pieces.
Applying pressure when progress feels slow often leads to sudden fractures. The bit needs time to wear through the glass gently. Forcing the drill dramatically increases risk.
Skipping lubrication allows heat to build rapidly under the bit. Water is required throughout the process to prevent stress and overheating.
Failing to stabilize the insulator creates uneven tension. A rolling or shifting surface increases the chance of slipping and cracking. Supporting the insulator properly is essential.
Ignoring safety protection increases risk of injury from sharp fragments. Gloves and goggles should always be used even for small holes.
Safety Tips and Final Precautions
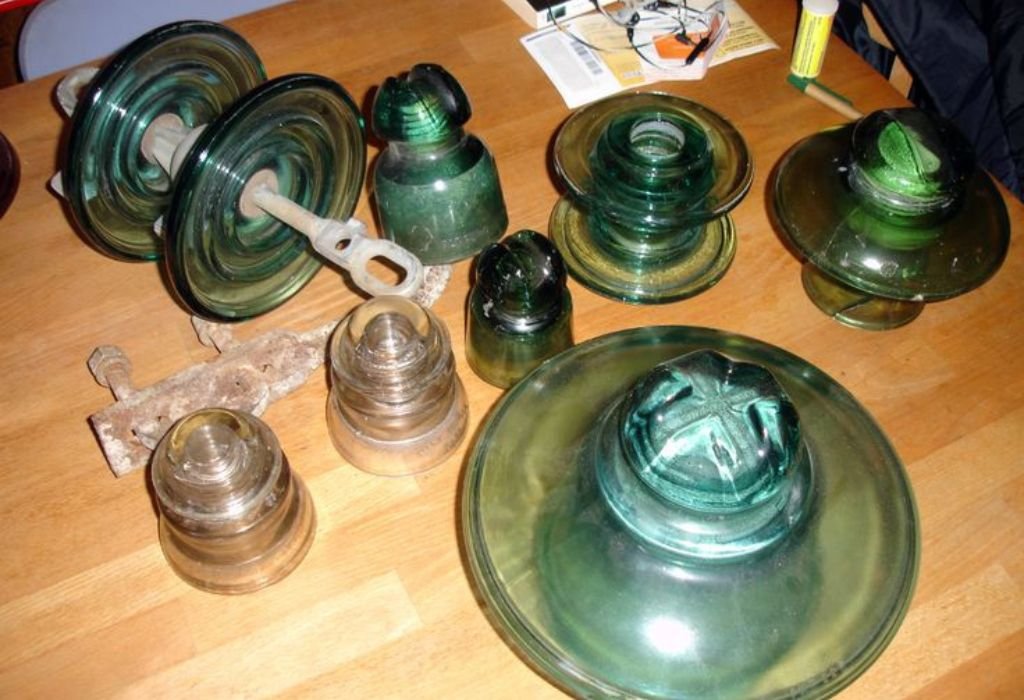
Never drill tempered or chemically treated glass insulators because they may shatter instantly. If unsure, test on a non-valuable piece first.
Work slowly and avoid rushing at any stage. Glass reacts quickly to mistakes, and patience leads to cleaner results. Preparing the workspace ahead of time keeps the process controlled.
Do not use impact mode or hammer settings. Vibration creates micro-fractures that spread across the insulator. Only smooth grinding at low speed is safe.
Keep children and pets away from the work area. Small glass fragments are sharp and difficult to see. Limiting movement prevents accidents.
Dispose of leftover shards using a broom and vacuum. Never pick up pieces with bare hands. Proper cleanup protects everyone in the environment.
Following these precautions ensures a safe and successful drilling experience.
Expert Guidance for Modifying Old Glass Insulators
Can you drill any type of glass insulator?
Not all insulators can be drilled safely. Older pieces with defects or tempered glass may shatter instantly.
What drill bit should be used for glass insulators?
Diamond coated drill bits are required because they grind gently without applying force.
Do you need to keep the insulator wet while drilling?
Yes, continuous lubrication prevents heat buildup and lowers the risk of cracking.
Can you drill an insulator while holding it in your hand?
No, the insulator must be supported securely. Drilling while holding increases stress and slipping.
How slowly should you drill a glass insulator?
Use the lowest drill speed with minimal pressure. Slow grinding is safest.
Is masking tape necessary for drilling insulators?
Masking tape reduces slipping and helps control the bit during the starting stage.
What happens if the insulator begins to crack?
Stop immediately and do not continue drilling. Additional pressure can cause the piece to shatter.
Can you drill through thick glass insulators?
Yes, but drilling will take longer and require more cooling and patience.
Can a regular drill be used for this process?
A regular drill works as long as it has variable speed and no hammer mode.
How long does it take to drill through an insulator?
Depending on thickness, it may take one to four minutes using short intervals and cooling pauses.
Conclusion
Drilling a glass insulator safely requires preparation, patience, and the correct technique. Using a diamond coated drill bit, slow speed, and constant lubrication prevents cracking during the process.
Supporting the insulator securely and marking the drilling spot improves accuracy and reduces slipping.
Most mistakes occur when people rush or apply pressure to speed up progress. Glass cannot absorb sudden stress or heat, and small errors can lead to complete breakage. Drilling in short intervals and cooling the surface keeps the glass stable from start to finish.
Safety should always come first before beginning any glass modification. Wearing protective eyewear and gloves prevents injury from sharp fragments. Confirming the glass type and condition ensures safer handling during drilling.
With careful steps and the right method, you can successfully drill a clean hole without damaging the insulator. Understanding the process saves time and protects valuable pieces. A patient technique leads to smooth results and confidence in future glass projects.

I’m John F. Nicholas, the founder, lead writer, and drill enthusiast behind 101drill.com. With years of hands-on experience in power tools and DIY projects, I created this platform to share practical knowledge, expert tips, and real-world insights to help others master the art of drilling.