
Drilling into metal siding feels simple until the moment your drill bit slips and scratches the surface.
Many beginners damage the siding because they don’t understand how thin exterior metal reacts to pressure and heat. A small mistake can cause dents, cracks, paint chipping, or even water leaks inside the wall.
Most people drill metal siding the same way they drill wood or plastic, but metal behaves differently. It vibrates more, heats faster, and bends if pressed too hard. Without the right method, the hole becomes rough and unusable, leading to expensive siding repairs.
But with proper preparation and the right drill bit, drilling into metal siding becomes a controlled and predictable process. The trick is to stabilize the drill, reduce heat, and use technique rather than force. Once you understand the steps, the hole becomes clean and ready for screws, mounts, or brackets.
Whether you are installing a camera, light fixture, cable outlet, or vent, drilling correctly prevents long-term problems.
A clean hole protects the siding from rust and keeps your wall weatherproof. This guide explains everything you need to drill metal siding safely and professionally
Understanding Metal Siding and Why Drilling Is Tricky
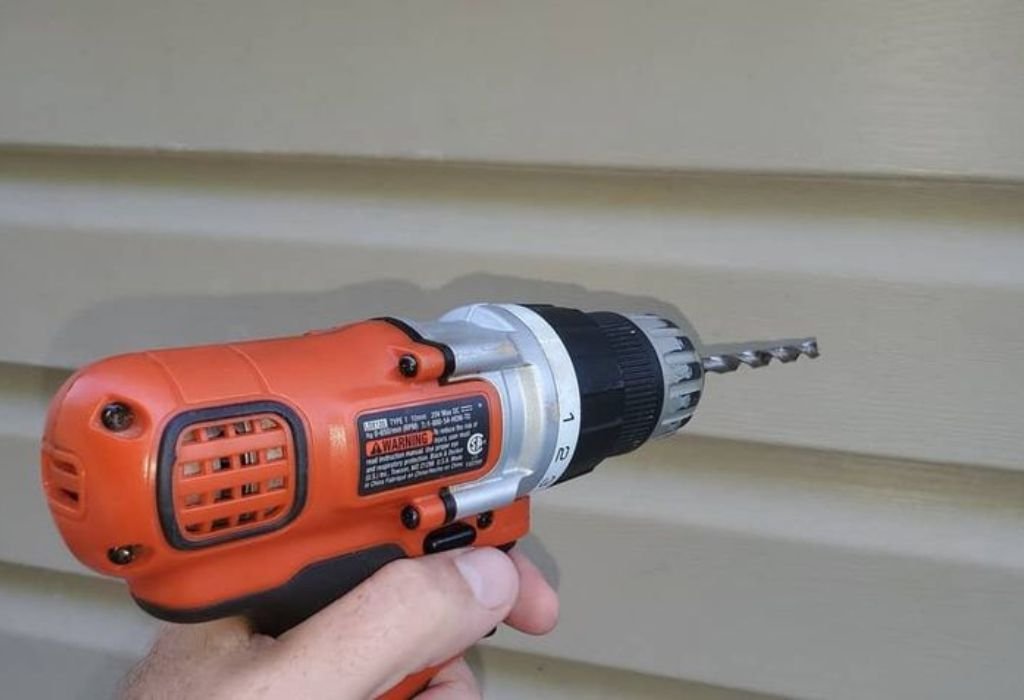
Metal siding is usually made from aluminum or galvanized steel, and both materials are smooth and slippery. The smooth surface increases the chance of the drill bit sliding away before the hole starts. This makes the first few seconds of drilling the most challenging part.
Metal siding is thin, which means it vibrates when drilling pressure is applied. Vibration causes the drill bit to wander and produce uneven holes. Controlling vibration is essential for accuracy and safety.
Exterior metal siding bends more easily than interior sheet metal. Too much pressure can dent the surface and ruin its appearance. Dents are permanent and difficult to repair without replacing entire panels.
Metal siding has protective coatings or paint layers that can chip when drilled. If the coating cracks, the exposed metal becomes vulnerable to rust and corrosion. A clean drilling method protects the finish and prevents future damage.
Behind metal siding, there may be plywood, insulation, or empty space. The hidden structure affects drilling pressure and screw depth. Understanding what is behind the siding ensures safer drilling.
Heat buildup is another issue when drilling metal. High speed or dull bits cause friction that damages the surface and overheats the drill bit. Using proper lubrication prevents this problem.
Metal siding often expands and contracts with temperature changes. Incorrect drilling can create stress points that worsen over time. Proper hole alignment prevents long-term structural issues.
Tools Needed to Drill Into Metal Siding Safely
A variable-speed drill is essential because drilling metal requires slow and controlled speed. Fast drilling increases slipping and overheating. Adjustable speed gives maximum precision.
Cobalt drill bits are ideal because they handle heat well. Their durability allows clean cutting through metal siding without becoming dull quickly. Cobalt bits work on both steel and aluminum siding.
Titanium-coated drill bits also work, especially for lighter tasks. Their coating reduces friction and helps the bit glide smoothly. They are a good alternative for occasional drilling.
A center punch helps create a tiny dent at the drilling point. This dent prevents the bit from slipping and ensures clean alignment. Without a punch mark, drilling metal siding becomes difficult.
Masking tape provides friction and protects paint from chipping. Tape also makes markings easier to see on shiny metal surfaces. It reduces vibration and scratch marks during drilling.
Cutting oil or light machine oil keeps the drill bit cool. Lubrication prevents overheating and produces smoother holes. Even a few drops make a big difference.
A clamp or your free hand may be used to stabilize the siding. Reducing movement improves accuracy. Gloves and safety glasses keep you protected from sharp metal shavings.
How to Locate Studs or Support Behind Metal Siding
Use a stud finder capable of detecting metal behind siding. Slowly glide the tool along the wall until it indicates a stud. Mark the stud location clearly for accurate drilling.
Knock gently on the siding to hear changes in sound. A hollow tone indicates empty space, while a solid thump signals a stud or support. Combining both methods improves accuracy.
If you have access from inside, measure the stud spacing. Most studs follow predictable spacing patterns. Translating the inside measurements to the outside helps locate studs accurately.
Check for electrical wiring by using a stud finder with wire detection. Wires often run vertically or horizontally near studs. Detecting them prevents dangerous accidents.
Look at screws or nail lines on the siding panels. These often indicate the location of structural support. Following these lines gives hints about stud positions.
If drilling near windows or doors, be extra cautious. These areas often contain framing that may interfere with drilling. Understanding the structure prevents unnecessary damage.
Remember that some sections of metal siding have foam backers. Foam creates resistance and changes drill feedback. Knowing this helps you adjust pressure accordingly.
Choosing the Right Drill Bit for Metal Siding
Cobalt bits provide the best cutting performance for metal siding. They stay sharp under high heat and drill cleanly through steel or aluminum. Cobalt bits also resist wear during repeated drilling.
Titanium-coated bits offer good performance at a lower cost. The coating reduces friction and improves speed. They are perfect for typical siding drilling tasks.
Carbide-tipped bits are the strongest option for very hard metal siding. They cut aggressively and retain sharpness for a long time. However, they are more brittle and must be handled carefully.
Step drill bits are excellent for enlarging holes in thin metal siding. They create round holes smoothly without tearing the metal. Step bits also reduce the risk of chipping paint.
High-speed steel bits are the cheapest, but they dull quickly on metal. If you use them, expect slower performance and more heat buildup. They are best for one-time light drilling.
For screws intended to mount hardware, check the recommended bit size. A correct pilot hole prevents screw stripping and ensures tight fastening. Always match the hole size to the screw specification.
Using dull bits is a common mistake that leads to rugged edges. Replacing or sharpening bits ensures clean results. Fresh bits reduce pressure and prevent siding damage.
Preparing Metal Siding Before Drilling
Start by cleaning the drilling area with a cloth. Dust and grease reduce drill bit grip and cause slipping. A clean surface is essential for accuracy.
Place masking tape over the drilling point. Tape adds friction and prevents paint chipping. It also gives the drill bit a surface to lock onto.
Mark the drilling position clearly using a permanent marker. Clear markings help guide the drill properly. Metal siding reflects light, making markings important for visibility.
Use a center punch to make a small indentation. This indentation keeps the bit from wandering. Without this step, the bit almost always slips on metal siding.
Apply one or two drops of cutting oil on the punch mark. Lubrication reduces heat and makes drilling smoother. Oil helps protect both the siding and the drill bit.
Hold the drill perpendicular to the siding. A straight angle ensures clean and even drilling. Tilting the drill causes irregular holes and potential cracks.
Assess what is behind the siding before drilling. Knowing the interior structure prevents hitting electrical wiring or piping. Safe preparation leads to clean and confident drilling.
Step by Step Method to Drill Into Metal Siding
Set your drill to the lowest speed before contacting the surface. Low speed prevents slipping and keeps the bit controlled. Slow drilling is always safer for metal.
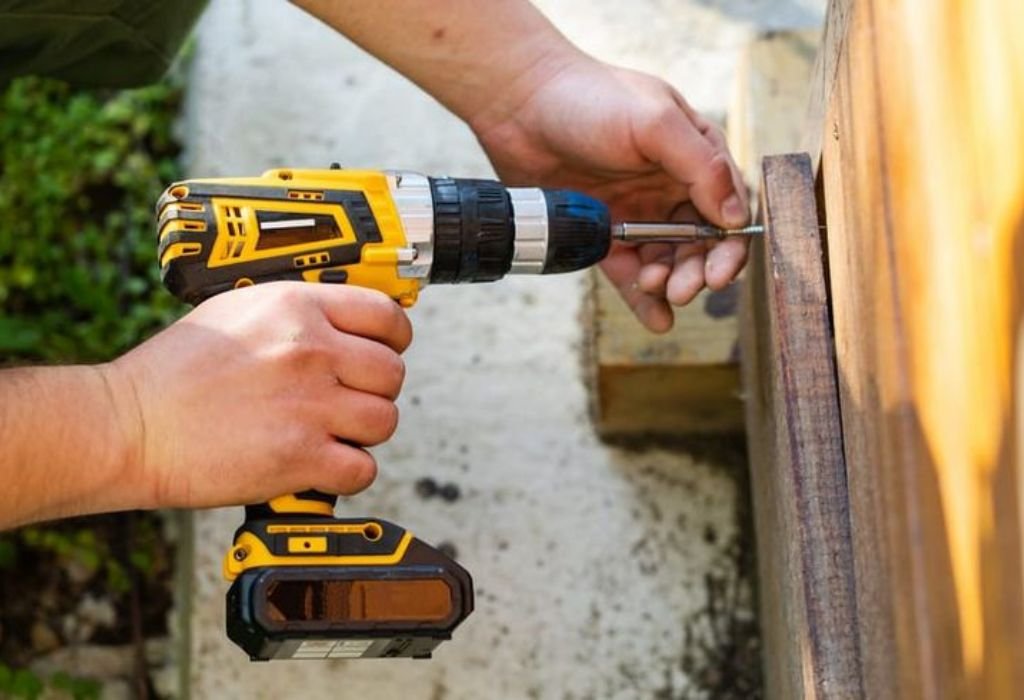
Place the drill bit directly onto the punch mark. Hold the drill firmly with both hands. This ensures stability during the first few seconds of drilling.
Let the bit bite into the metal slowly. Avoid forcing the drill because too much pressure can dent the siding. Patience produces a cleaner and more professional hole.
Add lubrication every few seconds as drilling continues. Oil cools the bit and prevents friction. This keeps the drilling process consistent and smooth.
Once you break through the metal, reduce pressure slightly. The thin metal siding allows the bit to move quickly once the initial layer is pierced. Controlled speed prevents overshooting.
Continue drilling until the bit reaches the underlying surface. If there is plywood or insulation, adjust pressure accordingly. A smooth transition ensures a clean final hole.
Withdraw the drill bit while it is still spinning. Removing it while spinning cleans out shavings. A clean hole ensures better screw grip.
Why does the drill bit skid on metal siding?
Because metal is smooth and requires a center punch for grip.
Should I drill fast to finish quicker?
No, fast drilling overheats the bit and damages the siding.
Can I drill without masking tape?
Tape prevents chipping and slipping, so it is highly recommended.
Why does the bit make a squeaking noise?
This indicates friction and lack of lubrication.
Does metal siding crack easily?
It can crack if drilled too fast or without proper preparation.
How to Prevent Cracking or Denting Metal Siding
Use minimal pressure when drilling metal siding. Too much force causes dents that permanently damage the appearance. Light pressure ensures a smooth hole.
Start with a small pilot hole before using larger bits. Smaller holes require less force and reduce the risk of bending. Gradual enlargement protects the siding.
Use sharp drill bits to reduce resistance. Dull bits require more pressure, which increases denting. Sharp bits cut metal cleanly and safely.
Avoid drilling near edges of panels. The closer you drill to an edge, the higher the risk of cracking. Maintaining distance from edges reduces stress.
Apply lubrication to stay cool during drilling. Lubrication prevents heat expansion that can crack painted metal. Keeping the bit cool protects the finish.
Use both hands to stabilize the drill. Stable drilling reduces vibration that can dent siding. Consistency leads to better results.
Place a small block of wood behind the siding if accessible. This reduces vibration and keeps the siding firm. A firm backing ensures cleaner holes.
Why did my siding dent during drilling?
You applied too much pressure or used a dull drill bit.
Should I pre-drill with a smaller bit?
Yes, it reduces force and prevents cracking.
Is aluminum siding easier to drill?
Yes, aluminum is softer than steel and requires less pressure.
Can I fix a dent easily?
Metal siding dents are difficult to repair without full replacement.
Does lubrication stop cracking?
It helps reduce heat, which prevents cracks in painted metal.
Avoiding Water Leaks When Drilling Metal Siding
Seal the hole immediately after drilling. Leaving it open invites moisture and water penetration. Waterproof sealant protects the area from leaks.
Use outdoor-rated silicone to fill gaps around screws. Silicone prevents water from entering through screw threads. A tight seal keeps interior walls dry.
Install rubber washers with screws if mounting something outdoors. Washers compress against the siding and block moisture. They are useful for long-term protection.
Avoid drilling during rainy conditions. Moisture on the siding affects sealant adhesion. Dry conditions ensure long-lasting sealing.
Inspect the hole after drilling to ensure it is clean. Rough edges allow water to travel through cracks. Smoothing edges improves sealing efficiency.
Use screws with painted heads for better corrosion resistance. Painted screws protect the metal from rusting. This ensures a long-lasting installation.
Check the installation periodically for sealant wear. Sunlight and weather degrade sealant over time. Reapplying sealant prevents water damage.
Common Mistakes to Avoid When Drilling Metal Siding
Drilling too fast is a major mistake. High speed overheats the bit and chips the siding. Slow drilling ensures control and prevents damage.
Skipping the punching step leads to slipping. A punch mark is essential for accurate drilling. Without it, the drill wanders across the metal.
Ignoring lubrication is another common error. Metal generates a lot of heat, and lubrication keeps everything cool. Without oil, bits dull quickly.
Applying too much pressure dents the siding. Metal siding is thin and responds poorly to force. Gentle pressure maintains structural integrity.
Using dull or wrong drill bits produces jagged holes. Jagged holes weaken screw attachment. Always use metal-rated bits.
Failing to check for studs or wires behind the siding can be dangerous. Drilling blindly increases risk. Proper scanning ensures safe drilling.
Not sealing the hole after drilling leads to water damage. Water can enter through even the smallest gaps. Sealing protects the structure behind the siding.
Why is the hole rough on the edges?
Your drill bit may be dull or the speed was too high.
Can I drill with a wood bit?
No, wood bits will not cut metal siding correctly.
Should I cool the bit while drilling?
Yes, cooling prevents heat damage and smoother drilling.
What if I drilled too big of a hole?
Use a washer or metal patch to cover and reseal.
Why did the paint peel around my hole?
High friction or no masking tape caused chipping.
Safety Tips When Drilling Exterior Metal Siding
Wear safety glasses because metal shavings can be sharp and dangerous. Protecting your eyes is essential for safe drilling. Always keep eyewear on when drilling metal.
Use protective gloves to avoid cuts from sharp edges. Metal siding can slice skin easily during handling. Gloves improve safety and grip.
Keep the drill steady with both hands. A secure grip prevents slipping and improves accuracy. Control is critical when drilling metal surfaces.
Ensure the ladder is stable if drilling at height. Unsteady ladders increase the risk of accidents. Stability ensures safer drilling.
Avoid loose clothing that can get caught in the drill. Tight clothing is better when using power tools. Safety begins with proper preparation.
Check for wiring behind the siding before drilling. Hidden wires can create dangerous situations. A good stud finder prevents these issues.
Do not rush the drilling process. Working slowly makes the result cleaner and safer. Patience creates professional finish quality.
Conclusion
Drilling into metal siding becomes simple once you follow the right steps. Slow drilling, sharp metal bits, and proper lubrication produce clean and accurate holes. These techniques prevent cracking, denting, or damaging the exterior finish.
Understanding metal behavior gives you full control during drilling. Preparing the surface, marking safely, and stabilizing the drill ensure professional results. A safe approach protects both the siding and the structure beneath it.
Whether you are installing lights, cameras, vents, or brackets, using the correct method prevents water leaks and long-term damage.
With careful planning and the right tools, drilling metal siding becomes an easy and reliable task. This guide gives you everything needed to drill confidently and safely.

I’m John F. Nicholas, the founder, lead writer, and drill enthusiast behind 101drill.com. With years of hands-on experience in power tools and DIY projects, I created this platform to share practical knowledge, expert tips, and real-world insights to help others master the art of drilling.