
Drilling into a metal lintel often becomes one of the biggest surprises for homeowners because the steel is far stronger than expected.
Many people assume a lintel behaves like any normal metal surface, only to discover the drill bit barely scratches it.
I once watched someone trying to hang curtain brackets and burn two drill bits in minutes because the lintel instantly overheated both.
Metal lintels are hardened structural components designed to carry heavy loads, so they resist drilling more than ordinary steel plates.
When drilled incorrectly, they cause the drill to overheat, smoke, or stop cutting entirely. This leads to frustration and sometimes even fear that the drill or bit might break.
The good news is that drilling into a metal lintel becomes surprisingly easy once the right technique is used.
With a cobalt drill bit, slow drilling speed, cutting oil, and patience, even the toughest lintel can be drilled cleanly. No professional equipment is needed — only proper steps and controlled force.
This guide explains every detail needed to drill into metal lintels safely and accurately. Whether you are installing blinds, shelves, curtains, or a structural bracket, the same technique applies. By the end, you’ll know exactly how to drill a lintel without damaging your drill, bit, or wall.
What Makes Metal Lintels Hard to Drill
Metal lintels are made of structural steel, which has much higher density and hardness than regular mild steel.
This hardness makes drilling difficult because the drill bit must cut through compact grain structures. When the bit touches the lintel, the heat builds quickly due to the metal’s resistance.
The lintel’s position within brickwork or concrete also complicates drilling. Access is often limited, and the angle is harder to maintain. Even slight movement during drilling can cause the bit to slip or wear unevenly.
Metal lintels also absorb heat rapidly, transferring it directly into the drill bit. This increases the risk of bit dulling or breaking if drilling is done too quickly. High RPM creates extreme heat, softening bits and turning them blunt within seconds.
Another difficulty is the smooth surface of lintels, which makes starting a hole challenging. Without a punch mark, the drill bit simply slides on the metal instead of biting into it. This often leads to inaccurate holes or surface scratches.
Lintels are load-bearing components, so drilling incorrectly may create stress points. Careless drilling may affect the structural integrity if located too close to the lintel’s edge. This is why placement and precision are crucial.
Finally, lintels often have paint or corrosion-resistant coatings. These coatings can clog drill bits when heated, making drilling even tougher. Understanding these challenges helps you adapt your technique for better results.
Tools You Need to Drill Into a Metal Lintel
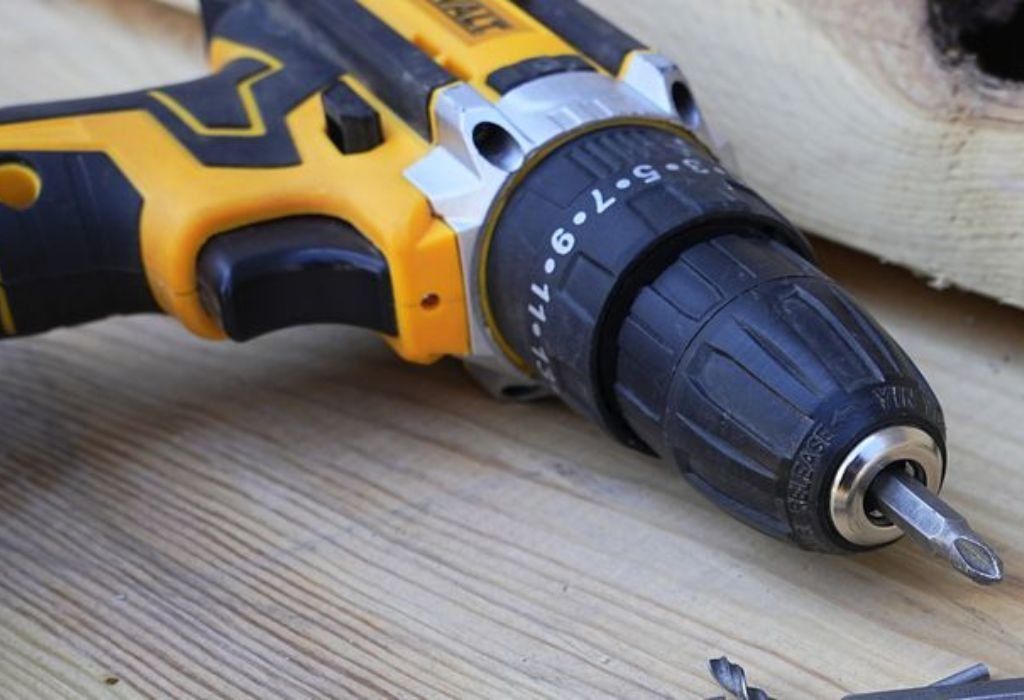
To drill into a lintel safely, the right tools are essential. A standard electric drill with variable speed control is preferred because metal must be drilled at slow RPM. Hammer drill mode must never be used because it damages both the bit and the lintel.
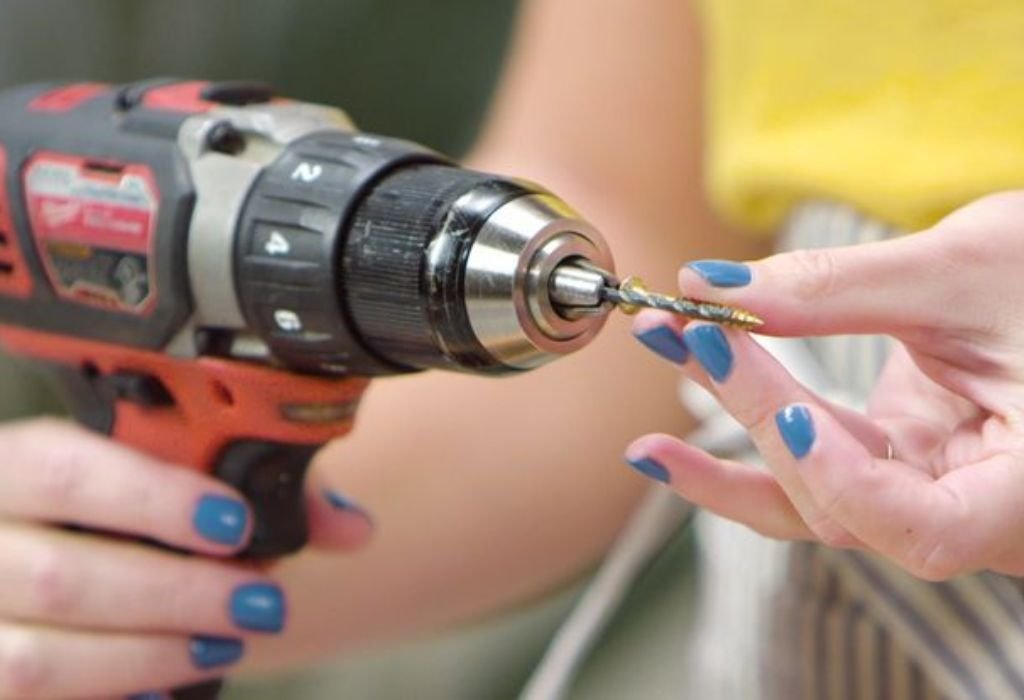
Cobalt drill bits are the best choice for lintels because they withstand heat and cut through structural steel easily. Titanium-coated bits or high-speed steel bits work for thinner lintels but cobalt offers the highest durability. Using the wrong bit leads to immediate dulling or snapping.
Cutting oil is important because it keeps the drill bit cool during use. Without lubrication, heat builds quickly and weakens the bit. Applying oil regularly extends drill bit life and ensures smoother drilling.
A center punch helps create an indentation that guides the drill bit. This prevents slipping and allows precise drilling. Starting without a punch mark increases the risk of inaccurate holes.
Clamps can be used when drilling exposed lintels, although most lintels are inside walls and do not require clamping. However, stabilizing the drill with two hands improves accuracy. Stability reduces wobbling and prevents excessive pressure.
A sturdy ladder or platform may be required for overhead drilling. Overhead angles increase fatigue, so proper support helps maintain control. Comfort and stability improve drilling accuracy on lintels significantly.
Can I use a masonry bit for drilling a lintel?
No, masonry bits are not designed for steel and will not cut the lintel.
Do I need a hammer drill to drill a lintel?
No, hammer mode must be off; use only rotation mode with cobalt bits.
Why is cobalt the best drill bit for lintels?
Cobalt withstands high heat and cuts structural steel effectively.
Do I need cutting oil?
Yes, cutting oil keeps the bit cool and reduces friction.
Can I drill a lintel with a cordless drill?
Yes, as long as it has strong torque and slow RPM settings.
Choosing the Right Drill Bit for Drilling a Lintel
Choosing the correct drill bit is critical because lintels are made from hardened steel. Cobalt drill bits are the strongest option because they are heat-resistant and maintain sharpness under extreme friction. These bits are specifically designed for drilling metal.
Titanium-coated bits offer reduced friction and are suitable for medium-hard steel. While not as strong as cobalt, they work for lighter lintel surfaces. However, they require more lubrication and slower drilling speed.
High-speed steel bits are acceptable for thin or older lintels, but they dull faster. Using them on modern structural lintels may cause immediate dulling. These bits are better suited for thin plates than load-bearing beams.
Step drill bits are useful for enlarging existing holes. They should not be used for the initial drilling into dense metal. After creating a pilot hole, step bits help clean up or widen the hole if needed.
Bit size matters: small bits break easily if too much pressure is applied. Starting with a small pilot bit ensures accuracy and reduces stress on the main bit. Pilot holes create a pathway for larger bits to follow.
Maintaining sharp drill bits is essential for lintel drilling. Dull bits cause friction, generate heat, and risk breakage. Sharp cobalt bits allow slow rotation drilling without excessive pressure.
Preparing the Area Before Drilling Into the Lintel
Preparing the area properly ensures safe and accurate drilling. Start by removing or loosening any wall covering or plaster around the drilling point. Exposing enough surface helps ensure your drill angle is correct.
Mark the exact drilling point using a pencil or marker. Double-check measurements because lintels are load-bearing, and improper placement can affect strength. Accuracy at this stage is critical to prevent unnecessary damage.
Use a center punch to create a deep indentation in the lintel. This prevents the drill bit from slipping on the smooth steel. The punch mark acts as a guide for the drill and ensures a clean starting point.
Gather the necessary tools and prepare the workspace. Overhead drilling requires stable footing with a ladder or standing platform. Proper posture and comfort improve drilling precision and reduce the chance of errors.
Check for electrical wiring or hidden pipes above or below the lintel area. Lintels may be embedded within walls containing cables. Safety checks prevent dangerous mistakes.
Have cutting oil or lubricant ready for use. Lubrication reduces heat buildup and ensures smoother drilling. Preparing lubrication beforehand makes drilling easier and safer.
Step-by-Step Method to Drill Into a Metal Lintel
Begin drilling at the slowest RPM setting. Fast drilling overheats the bit instantly due to the density of the lintel. Slow drilling allows gradual cutting and heat control for better results.
Hold the drill firmly with two hands and position it perpendicular to the lintel. Drilling at an angle can cause the bit to wander and damage the hole. Maintaining a straight angle is critical for accuracy.
Place the drill bit into the punch mark and start drilling slowly. Apply light pressure to allow the bit to bite into the steel. Avoid forcing the drill because excessive pressure weakens and snaps the bit.
Once the bit starts cutting, add drops of cutting oil to the drilling spot. This reduces friction and extends the bit’s lifespan. Reapply oil consistently as drilling continues.
Drill for a few seconds, then pause briefly to allow cooling. Overheating happens quickly with lintels, so these pauses are necessary. Cooling periods ensure the bit remains strong during deeper cutting.
After creating a small indentation, drill deeper using steady pressure. The pilot hole will guide the bit straight into the lintel. Take your time — lintel steel requires patience, not speed.
Once the pilot hole is done, switch to the desired bit size and repeat the process. Use slow speed and plenty of lubrication for the final hole depth. Gradual drilling guarantees a clean and accurate hole.
Why does the bit smoke when drilling a lintel?
Because drilling speed is too fast or lubrication is not used.
Should I use more pressure to drill faster?
No, more pressure bends or snaps the bit; slow and gentle is best.
Why does the drill keep slipping?
You need a deeper center punch to guide the bit.
How long does it take to drill a lintel?
Usually a few minutes depending on thickness and bit sharpness.
Do cordless drills work well?
Yes, if they have high torque and slow speed settings.
How to Prevent Overheating and Drill Bit Breakage
Overheating is the main reason bits fail during lintel drilling. Structural steel is dense and transfers heat rapidly into the bit. Using slow drilling speed reduces friction and keeps temperatures low.
Lubrication plays a major role in preventing overheating. Applying cutting oil frequently keeps the bit cool and reduces resistance. Without lubrication, the bit heats instantly and becomes brittle.
Pausing intermittently allows natural cooling. These breaks prevent heat buildup inside the bit. Cooling intervals should be short but frequent to maintain cutting performance.
Using sharpened cobalt bits reduces friction. Dull bits generate excessive heat and require more pressure. Keeping bits sharp ensures smoother cutting with less effort.
Avoid hammer drill mode at all costs. Hammering action increases friction and can crack the bit. Rotation-only mode is the only safe method for drilling lintels.
Maintaining proper drilling angle prevents sideways stress. Side stress generates micro-bending in the bit, leading to breakage. Straight drilling reduces strain and improves control.
Proper RPM control keeps heat manageable. High speed turns the bit red hot quickly. Low speed with lubrication is the safest combination for lintel drilling.
How to Smooth and Finish Lintel Holes
Finishing a drilled lintel hole improves appearance and prevents sharp edges. Start by removing any burrs with a deburring tool. Burrs are common due to steel hardness and must be removed for safety.
If a deburring tool is unavailable, use sandpaper or a file. Sanding the edges helps soften sharp fragments left behind by the drill. This ensures bolts or screws fit smoothly without catching.
For larger holes, use a round metal file to refine the edges. Filing gradually shapes the entry and exit points. Smooth surfaces make installation cleaner and safer.
Wipe the hole with a clean cloth to remove metal dust. Metal dust can interfere with screws or anchors later. A clean surface ensures better engagement for hardware.
Apply anti-rust coating or primer around the hole. Drilling exposes raw steel that may rust over time. A thin coat of rust-preventive spray protects the metal.
Use high-quality fixings sized correctly for the drilled hole. Using the wrong screw size can damage the hole or loosen over time. Proper fitting ensures longevity.
Finishing the hole properly enhances appearance and functionality. It also protects the lintel from corrosion and structural weakness. Smooth and treated holes provide long-lasting durability.
Do I need to deburr a lintel hole?
Yes, burrs can cut wires, damage screws, and weaken hardware fit.
What if the lintel rusts after drilling?
Apply rust-protective paint immediately to prevent corrosion.
Can sanding fix uneven hole edges?
Yes, sanding works well for minor irregularities.
Should I file both sides of the hole?
Yes, filing both entry and exit makes the hole safer and cleaner.
Does finishing affect strength?
Proper finishing improves long-term durability and prevents rust damage.
Mistakes to Avoid When Drilling Lintels
One major mistake is using the hammer-drill setting. Hammer mode is meant for masonry, not metal, and can destroy drill bits quickly. It also damages the lintel surface.
Another mistake is drilling too fast. High speed overheats bits and causes premature dulling. Slow drilling ensures better longevity and cleaner holes.
Using the wrong drill bit type is also common. Masonry bits cannot cut steel and simply grind uselessly. Always use metal-rated cobalt or titanium bits.
Applying too much pressure snaps bits instantly. Lintels require gentle and steady force. Forcing drilling increases stress and reduces accuracy.
Skipping lubrication is another common error. Without oil, the bit overheats in seconds. Lubrication is essential for clean drilling and bit safety.
Failing to create a punch mark increases slipping. Slipping causes scratches and misaligned holes. Punching ensures precision and control.
Drilling near the lintel edge is risky. Lintels are structural, and holes near edges can weaken them. Always drill at safe distances unless guided by engineering plans.
Safety Precautions When Drilling Into a Lintel
Wear protective eyewear to prevent metal shavings from reaching your eyes. Lintel drilling produces sharp flakes that can fly unpredictably. Eye protection is non-negotiable.
Use gloves to improve grip and protect hands from heat. Steel edges can be extremely sharp. Gloves help prevent cuts and slipping while drilling.
Ensure proper ventilation if drilling in a confined space. Cutting oil and metal shavings may release fumes. Good airflow ensures safer working conditions.
Avoid drilling directly above your head without stable footing. Overhead drilling increases fatigue and risk of losing control. Use solid ladders or platforms for stability.
Check for hidden wires or pipes inside the wall. Lintels are often positioned near utility runs. Avoid drilling until you confirm the area is safe.
Never drilling blindly into structural members without confirming integrity. Some lintels support heavy loads. Careful handling protects both you and the structure.
Take breaks to avoid arm fatigue. Fatigue leads to poor angle control and unsafe drilling. Slow, steady, and well-rested drilling is safest.
Conclusion
Drilling into a metal lintel may seem difficult at first, but once you understand how structural steel behaves under pressure, the process becomes far more manageable.
Metal lintels are designed to carry heavy loads, which is why they resist drilling more aggressively than ordinary metal surfaces. Using the right tools and the right technique is the key to drilling them safely and effectively.
Applying slow RPM, maintaining a straight angle, and lubricating the drill bit consistently helps keep the temperature under control.
When the bit stays cool, it cuts smoothly instead of burning or becoming dull. These small adjustments dramatically expand the lifespan of your drill bits and improve drilling precision.
Creating a proper punch mark before drilling ensures the bit stays centered from the moment it touches the lintel.
This prevents slipping, wobbling, or misaligned holes, which are common mistakes during lintel drilling. Good preparation saves time and prevents unnecessary damage to both the wall and the drill bit.
Finally, finishing the drilled hole with smoothing and rust protection helps maintain the structural integrity of the lintel.
Clean edges allow screws or anchors to sit securely without weakening the metal. With patience, proper tools, and careful technique, drilling into a metal lintel becomes a safe, predictable, and highly successful task every time.

I’m John F. Nicholas, the founder, lead writer, and drill enthusiast behind 101drill.com. With years of hands-on experience in power tools and DIY projects, I created this platform to share practical knowledge, expert tips, and real-world insights to help others master the art of drilling.