
Drilling an oval hole in metal is very different from drilling a normal round hole, and many beginners discover this only after trying it the first time. The cut often turns out crooked, jagged or uneven, creating a shape that does not match the intended design.
This becomes a serious issue when the oval hole must fit a moving component or align with a specific mechanical slot.
Many people think there is a special drill bit that creates an oval hole instantly, but no such bit exists for metal drilling.
Oval holes are produced through a combination of drilling, cutting and shaping techniques that require patience and precision. Understanding these techniques prevents costly mistakes and helps produce clean results.
Metalworkers use oval holes for slots, adjustment paths, cable routing and weight reduction. These holes allow controlled movement or flexibility that cannot be achieved with round holes alone.
Because of this, maintaining shape accuracy becomes extremely important in both DIY and professional metalworking tasks.
Before beginning, it is essential to prepare the work surface properly. Marking the oval shape correctly, center punching and clamping the metal give you full control of the cutting path. Skipping these steps often leads to misaligned or uneven holes.
You must also choose suitable tools for each stage of the process. Drills, jigsaws, rotary tools and files all play important roles in creating and refining the oval. Each tool performs a specific part of the shape and supports the accuracy of the final result.
This guide explains the entire process step by step so you can drill an oval hole efficiently and cleanly.
Whether you are working on fabrication, automotive bodywork or creating custom slots, these techniques will help you achieve a professional finish. By the end of this article, you will know exactly how to shape a precise and smooth oval hole in metal.
What Is an Oval Hole in Metal
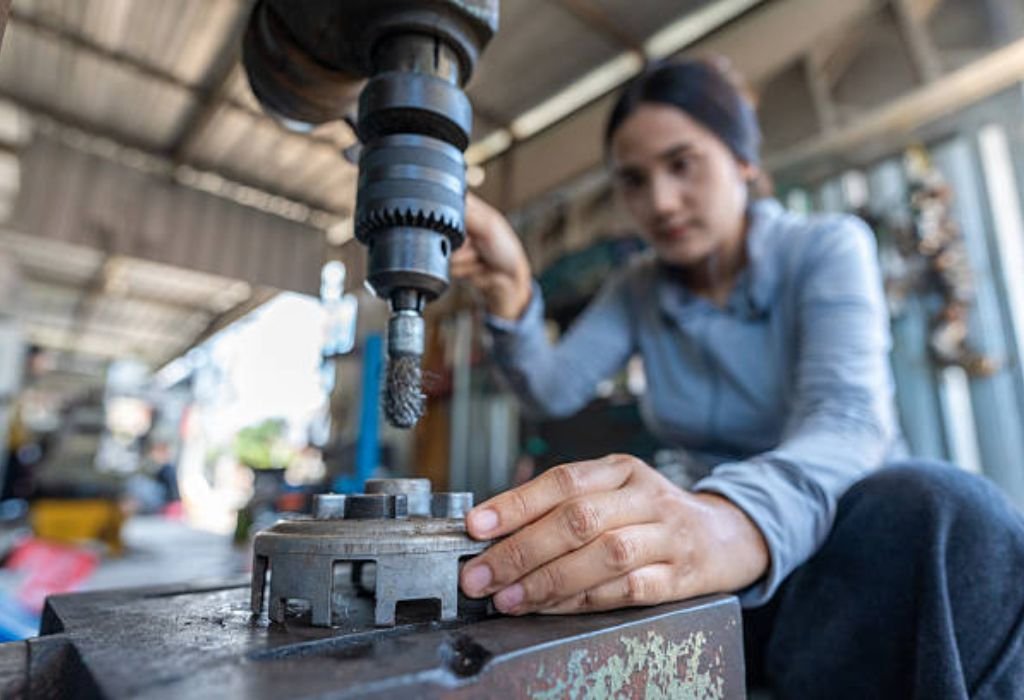
An oval hole is a noncircular opening that has a stretched shape with two rounded ends and parallel sides.
This shape allows parts to move or adjust within a specific range instead of being fixed in a single position. Oval holes are a common feature in mechanical assemblies where controlled motion is needed.
Unlike round holes, oval holes distribute stress differently. The elongated sides provide support for movement while maintaining structural stability. This combination of strength and flexibility makes oval holes ideal for alignment and adjustment systems.
Oval holes are used in both light and heavy metalwork. They appear in brackets, automotive components, machinery housings and adjustable mounting plates. Their presence often improves functionality even when space is limited.
Creating an oval hole requires several cutting steps because no drill bit produces this shape directly. You must combine drilling, cutting and filing to achieve the correct geometry. This process allows the oval to match precise mechanical requirements.
Oval holes may vary in width, length and curvature depending on the project. Some require tight tolerances, while others allow smoother transitions. Understanding these variations helps choose the right technique for shaping.
Accurate oval holes enhance mechanical performance and reduce system wear. A poorly shaped oval can cause sticking, misalignment or premature damage. Properly shaped openings however improve movement and reliability.
Why Oval Holes Are Used in Metalworking
Oval holes provide controlled movement for adjustable components. These holes allow bolts or fasteners to slide within a limited range. This movement helps align parts during assembly and improves final stability.
Many mechanical systems require slightly shifting alignment. Oval holes compensate for manufacturing tolerances by giving room for adjustment. This ensures accurate fitment even when parts are not perfectly positioned.
Oval holes are also used to reduce weight without compromising structural strength. Removing metal in an elongated pattern maintains rigidity while reducing excess material. This is useful in automotive, aerospace and structural applications.
Cable routing often requires oval openings so wires or hoses pass through easily. The elongated shape prevents pinching and allows gentle movement. This provides better durability for sensitive components.
Airflow holes in ventilation panels sometimes use oval shapes. Oval openings improve airflow while maintaining material strength. This supports efficient design in both industrial and home applications.
Oval holes also enhance aesthetic design. Smooth elongated openings create clean visual lines in custom fabrication projects. This provides practical benefits along with improved appearance.
Tools Needed to Drill an Oval Hole in Metal
To begin shaping an oval hole, you need a drill with multiple twist bits. These bits help create the initial holes that outline the oval. Each hole contributes to forming the final elongated shape.
Step drill bits are helpful for enlarging openings smoothly. They remove material gradually without tearing the metal. This is useful for creating large oval holes with controlled expansion.
A jigsaw with metal cutting blades is useful for cutting between drilled holes. The jigsaw connects the round cuts into a single continuous opening. This step is essential for forming the rough oval shape.
Rotary tools with grinding or sanding bits refine the shape. They remove small high spots and help contour the inner edges. The rotary tool provides the detail work needed to finalize the oval.
Metal files are required for smoothing and shaping the interior walls. Flat files, half round files and needle files help achieve accurate curves. Filing creates the final precision needed for perfect oval geometry.
Clamps or a vise are needed to secure the metal during cutting. Movement causes uneven cuts and potential tool damage. A stable workspace improves accuracy and safety.
Preparing the Metal Before Drilling
Start by cleaning the entire metal surface. Removing oil, rust or debris ensures accurate marking and prevents drill slippage. Clean surfaces improve every step of the shaping process.
Use a marker or scribe to draw the oval outline on the metal. A clear outline helps maintain the shape during drilling and cutting. Templates are helpful when identical ovals are required.
Center punch the beginning points around the outline. Punch marks help guide the drill bit so it does not wander. This maintains hole spacing and alignment throughout the cut.
Secure the metal using a vise or clamp system. Movement during cutting creates uneven shapes and jagged edges. A stable workpiece ensures accurate shaping.
Choose the correct drill bits based on the oval size. Small holes allow smoother shaping while larger holes remove more material quickly. The hole layout determines how clean the final shape will be.
Apply a small amount of cutting oil to the drilling area. Lubrication reduces heat and friction during drilling. This protects the drill bit and improves cutting smoothness.
Step by Step: How to Drill an Oval Hole in Metal
Begin by drilling several small holes along the marked oval shape. These holes should be close enough to touch or almost touch each other. They form the foundation for the final shape.
Once the first set of holes is complete, enlarge them gradually. Use a slightly larger drill bit or a step drill to widen each opening. This creates smoother transition areas between holes.
After drilling all the required holes, connect them using a jigsaw. The jigsaw blade travels along the outline to remove the metal between each drilled hole. This action creates a rough oval opening.
Use a rotary tool to grind the high areas inside the hole. The rotary tool smooths sharp edges and gives the interior a more accurate curve. This is the first round of refinement.
Switch to metal files for detailed shaping. Files give you control over each section of the oval. Slow steady filing results in smooth curves and consistent dimensions.
Finally, clean the interior with a sanding drum or polishing bit. This removes burrs and leaves a clean professional finish. Proper cleaning ensures safe and functional edges.
How to Use a Jigsaw to Create Oval Holes
Choose a jigsaw blade designed for metal. Metal blades have fine teeth that cut smoothly without tearing the material. Using the right blade prevents jagged edges during cutting.
Drill an entry hole large enough for the jigsaw blade. The blade must fit comfortably to prevent binding. A properly sized entry hole improves control during cutting.
Begin cutting slowly along the drilled outline. Allow the blade to follow the curve naturally. Forcing the cut results in rough edges and reduced accuracy.
Adjust the cutting angle as needed to follow the oval shape. Gentle directional changes help maintain clean curves. Keeping a steady hand is crucial for smooth lines.
Use cutting oil to reduce blade friction. Lubrication keeps the blade cool and prevents metal from welding to the teeth. This extends blade life and improves cut quality.
Stop and inspect the cut regularly. Frequent checks help guide adjustments and prevent overcutting. Careful cutting results in a cleaner oval shape.
Using Rotary Tools for Shaping the Oval
Select a grinding bit suitable for metal. Grinding bits remove small high spots and refine internal contours. They help achieve smoother shapes after rough cutting.
Use low to medium speed on the rotary tool. High speed creates unnecessary heat and damages the metal. Controlled speed gives better precision.
Move the tool in small circular motions. This allows even removal of material and improves shape accuracy. It also prevents deep gouges from forming.
Check the oval frequently as you work. Frequent checking helps maintain symmetry and prevents over shaping. Small adjustments produce the best results.
Switch to sanding drums for final surface smoothing. Sanding drums remove small imperfections left by grinding. They leave the interior edges smooth and safe.
Clean the hole with compressed air when finished. Dust or metal particles can hide imperfections. Clean visibility ensures a flawless final inspection.
Filing Techniques for Refining Oval Holes
Start with a half round file for general shaping. This file shape fits the oval curve and removes excess material quickly. Its versatility helps refine the entire interior.
Use gentle forward strokes when filing. Controlled pressure creates smooth curves without tearing the metal. Fast aggressive filing causes uneven surfaces.
Switch to a flat file for the straight portions of the oval. Flat sides require precise filing to maintain alignment. Even small mistakes can distort the overall shape.
Use needle files for detailed correction. These small files reach tight areas and refine delicate curves. They help correct minor imperfections around edges.
Alternate between files to maintain symmetry. Using multiple file types ensures each part of the oval receives correct attention. This improves overall balance and shape.
Finish by deburring the entire edge. Deburring removes sharp points and improves safety. A clean deburred edge also improves the appearance of the oval.
Measuring and Inspecting the Oval Hole
Use calipers to check the overall width. Width accuracy determines how well components fit. Even slight measurement errors can affect performance.
Measure the height to confirm full oval dimensions. Height accuracy is just as important as width. Proper measurements ensure compatibility with mounted components.
Inspect the curve symmetry visually. Proper symmetry prevents mechanical binding during movement. Irregular curves cause uneven operation.
Check the surface smoothness using your fingertips. Smooth surfaces reduce friction and wear. Rough areas require additional sanding or filing.
Insert the intended part to test fit. A successful test confirms the oval shape matches design requirements. Poor alignment indicates reshaping is needed.
Shine a flashlight into the hole to inspect for high spots. High areas appear as bright reflections. Removing these imperfections improves overall accuracy.
Common Mistakes When Drilling Oval Holes
Spacing the drilled holes too far apart causes rough cutting. Wide spacing leaves too much metal between holes. This leads to uneven jigsaw cuts.
Using a dull cutting blade results in jagged edges. Sharp blades ensure cleaner cuts and smoother curves. Dull tools require more force and reduce precision.
Skipping the center punch step causes wandering. Wandering drill bits distort the outline. Punch marks maintain alignment during drilling.
Applying too much force when jigsaw cutting damages the shape. Excess pressure causes blade flexing and crooked lines. Gentle cutting produces cleaner results.
Filing too aggressively creates flat spots. Oval holes require gentle shaping to retain natural curves. Over filing ruins symmetry.
Failing to clamp the metal tightly causes vibration. Vibration affects cutting accuracy and damages blades. Secure clamping is necessary for perfect shapes.
Best Metals for Drilling Oval Holes
Mild steel is easy to drill and shape. It cuts cleanly with standard tools. This makes it ideal for beginners.
Aluminum is soft and quick to shape. However it produces long sticky chips that clog tools. Frequent chip clearing ensures clean results.
Stainless steel is harder and requires slow drilling speeds. Its strength makes shaping more challenging. Proper lubrication is essential for smooth cutting.
Brass cuts cleanly and produces minimal burrs. Many professionals prefer brass for precision shaping. Its soft but consistent texture improves control.
Cast iron breaks into small powder like chips. This reduces clogging and improves cutting flow. Care must be taken to avoid edge chipping.
Thin sheet metal requires careful cutting. The thin surface bends easily under pressure. Using fine tools prevents distortion.
Recommended Tools and Brands for Oval Holes
Bosch twist drill bits offer reliable performance. Their sharp edges cut cleanly through most metals. These bits are suitable for all initial drilling.
DeWalt jigsaw blades for metal provide smooth cutting. Their fine tooth design reduces tearing. Professionals use these blades for precise cuts.
Dremel rotary tools offer excellent control. Their wide range of grinding and sanding bits refines oval shapes effectively. Many hobbyists rely on Dremel for detail work.
Irwin metal files provide high quality shaping performance. Their durable teeth maintain cutting efficiency. This ensures smooth filing over long use.
Tap Magic cutting oil improves drilling smoothness. It reduces friction and keeps bits cool. This oil improves tool life significantly.
WEN drill presses offer stability during drilling. Stable drilling improves hole accuracy. This support makes shaping easier in later steps.
Troubleshooting Poorly Shaped Oval Holes
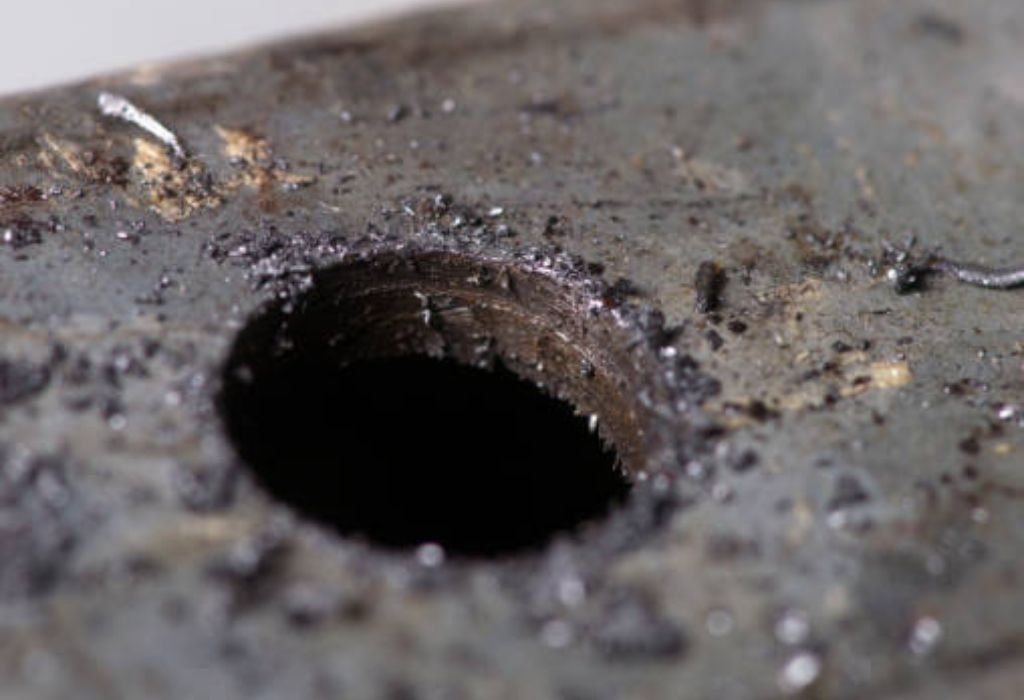
If the oval has flat sections, use a half round file to restore curvature. File gently along the transition points. Small adjustments improve shape consistency.
If the edges are rough, use a sanding drum to smooth the interior. Sanding removes chattering marks left by cutting tools. Proper sanding produces a clean finish.
If the oval is too small, enlarge it slowly with a rotary tool. Remove small amounts of metal at a time. Gradual shaping protects accuracy.
If the oval is too large, file inward from wide spots. Focus on high areas that distort the shape. Consistent filing restores correct dimensions.
If the oval is asymmetrical, remeasure with calipers. Mark high points and correct them one area at a time. Symmetry returns through careful adjustment.
If burrs remain after shaping, deburr the entire hole thoroughly. Burrs cause friction and can cut wires or components. Proper deburring ensures a safe final edge.
Common Questions About Drilling Oval Holes in Metal
How do you make a perfect oval hole in metal?
You make an oval hole by drilling several small holes along the outline and connecting them. Then you shape the inside using a jigsaw, rotary tool and files. This combination creates a smooth and accurate oval.
Can a drill bit create an oval hole directly?
No, no drill bit creates an oval hole directly because drill bits only cut round shapes. Oval holes must be formed using multiple holes plus shaping. This technique ensures the correct elongated shape.
How do I mark the oval shape before drilling?
Use a marker or scribe to draw the oval on the metal. Templates help if you need perfect symmetry. Clear markings guide drilling and cutting accurately.
Do I need to drill multiple holes to make an oval?
Yes, several overlapping holes form the rough shape of the oval. These holes remove most of the material efficiently. After that, cutting tools refine the interior.
Can I use a jigsaw to cut the oval hole?
Yes, a jigsaw with a metal cutting blade is perfect for connecting the drilled holes. It removes the bulk of the metal quickly. Slow steady cutting improves accuracy.
What tool is best for smoothing the oval edges?
Rotary tools with grinding or sanding bits smooth rough areas. They remove high spots and help shape curves. Files then add accuracy and fine detailing.
How do I prevent jagged edges when shaping the oval?
Use sharp blades and bits during cutting. Apply cutting oil to reduce friction. Smooth shaping strokes prevent tearing or chipping.
What is the fastest method for making an oval hole?
The fastest method combines drilling multiple holes and cutting with a jigsaw. After that, refine the shape using a rotary tool. This approach saves time while maintaining accuracy.
Why is my oval hole uneven or crooked?
Uneven shapes occur when holes are spaced too far apart or cutting is rushed. Misalignment also happens if the metal is not clamped securely. Careful marking and steady shaping fix these issues.
How do I check if the oval is symmetrical?
Use calipers to measure width and height at several points. Compare both sides visually with good lighting. Smooth curves on both ends confirm proper symmetry.
Conclusion
Drilling an oval hole in metal requires a combination of drilling, cutting and detailed shaping techniques.
With the right tools and a steady approach, it is possible to create accurate and clean oval holes that fit specific components or mechanical assemblies. Careful preparation and controlled shaping ensure that the final hole meets project requirements.
Oval holes offer unique benefits in alignment, adjustment and cable routing. A properly shaped oval enhances both function and appearance in metalwork. Taking the time to shape and refine the interior curves improves long term durability and performance.
By following each step in this guide, you can confidently produce oval holes that look professional and work reliably.
Whether you are creating custom brackets, modifying equipment or completing a DIY project, these techniques will help you achieve precise and smooth results. If you ever need a version with FAQs added or want this structure applied to a new keyword, just let me know.

I’m John F. Nicholas, the founder, lead writer, and drill enthusiast behind 101drill.com. With years of hands-on experience in power tools and DIY projects, I created this platform to share practical knowledge, expert tips, and real-world insights to help others master the art of drilling.