
Drilling a threaded hole in metal can feel intimidating when you try it for the first time because it requires accuracy, patience and the right steps.
Many people worry about breaking the tap, damaging the metal or misaligning the threads during the process. These concerns often come from not knowing the correct sequence for drilling and tapping.
Imagine you are building a metal bracket and need a bolt to go directly into the metal without using a nut.
You measure everything carefully, choose your bolt and start drilling, only to realize the hole size is wrong or the tap is not cutting straight. A mistake like this can ruin the project and force you to start over.
Threaded holes are common in machine parts, automotive repairs and metal fabrication. They allow bolts to hold tightly inside the metal without needing extra hardware. Once you understand how drilling and tapping work together, the whole process becomes simple and predictable.
Metal is strong and rigid, so tapping threads creates a secure path for screws to hold firmly. But metal also requires careful handling because forcing a tap too quickly can cause cracks or broken tools.
The right combination of drill size, speed and lubrication makes the difference between success and failure.
A well made threaded hole can last for years and withstand strong forces. This makes the technique valuable for anyone who works with metal in DIY, repair or fabrication projects.
With the correct steps and preparation, you can drill a threaded hole confidently and achieve professional results.
This guide explains how to choose the correct drill bit, how to tap the metal safely and how to avoid common mistakes during threading.
By following these steps slowly and carefully, you can create clean, accurate threads in any metal surface. Once you learn the method, you will be able to thread holes in metal with ease.
Why Threaded Holes Are Important in Metalworking
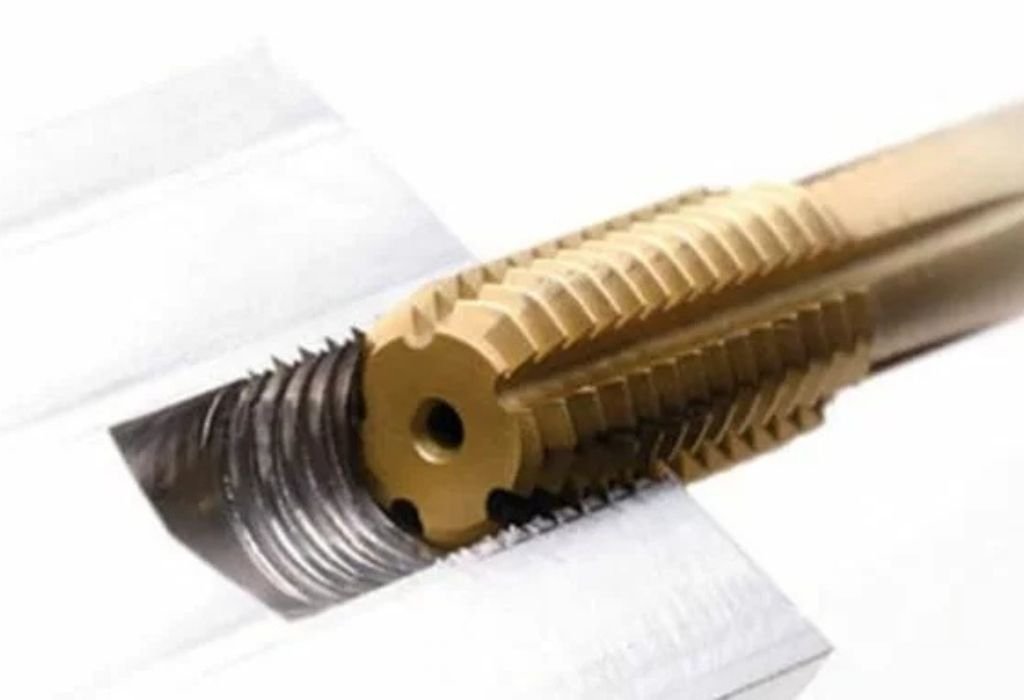
Threaded holes are essential because they allow bolts to tighten directly into the metal, creating a secure connection without using a nut. This saves space and makes the structure cleaner and more compact. Threaded holes are used in engines, machines and structural metal parts.
A threaded hole distributes force more evenly than a regular bolt and nut combination. The metal around the threads holds the bolt firmly in place. This improves strength and reduces the chance of loosening.
Threaded holes also make maintenance easier. When a part needs to be removed or replaced, the bolt can be taken out without disturbing other components. This improves both efficiency and convenience.
Creating a threaded hole ensures precise alignment. When drilling is done correctly, the tap follows the drilled path perfectly. This guarantees straight, clean threads every time.
Threaded holes reduce the number of hardware pieces needed in a project. This improves aesthetics and reduces clutter. It also makes construction simpler.
These holes are ideal for metal that cannot easily accommodate nuts on the opposite side. Tight spaces or enclosed structures rely heavily on threaded connections. This allows strong fastening without extra space.
Threaded holes are more reliable for repeated assembly. Bolts can be removed and reinstalled many times without damaging the metal if the threads are made correctly. This long term durability makes threaded holes valuable in countless applications.
Tools You Need to Drill and Tap a Threaded Hole in Metal
A power drill with adjustable speed is the first tool you need. Drilling at the correct speed ensures the hole is clean and ready for tapping. Both corded and cordless drills work well for this purpose.
The proper drill bit is essential because the hole size must match the tap size. Each tap has a specific drill bit size recommended for the best thread depth. Using the wrong drill bit can ruin the threading process.
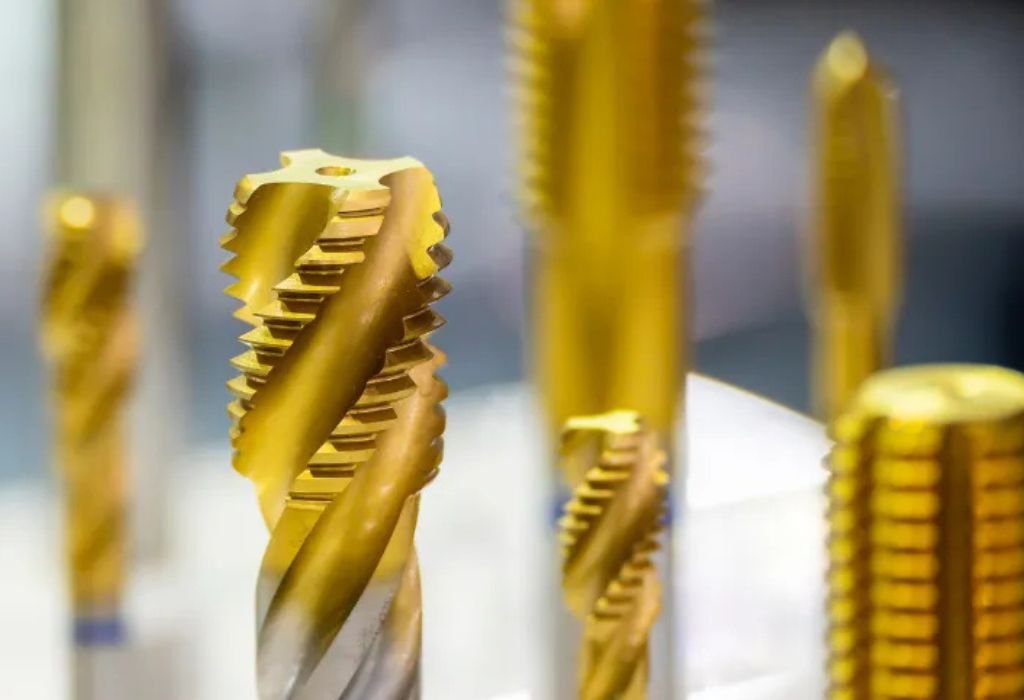
Taps come in sets including taper, plug and bottoming taps. The taper tap starts the threading process smoothly. The plug and bottoming taps finish the threads cleanly.
A tap wrench holds the tap securely and allows you to turn it with control. It gives leverage to cut threads without applying too much force. This tool is necessary for accurate threading.
Lubricating oil reduces friction while cutting threads. Metal tapping creates heat and resistance, so oil improves smoothness and protects the tap. A few drops are enough for most metals.
Clamps keep the metal piece steady while drilling and tapping. Any movement during drilling can cause misalignment or damage the hole. Securing the workpiece improves both accuracy and safety.
Safety gear protects you during the process. Safety glasses keep metal chips away from your eyes. Gloves and hearing protection make the work more comfortable and secure.
Choosing the Correct Drill Bit Size for Threaded Holes
Choosing the right drill size is crucial for creating strong threads. Every tap requires a specific drill bit that matches the thread size. Too large a hole will weaken the threads and reduce gripping strength.
Tap drill charts provide the exact drill bit diameter needed for each thread size. These charts are easy to read and help avoid mistakes. Using the correct size ensures perfect threading.
A drill bit that is too small makes tapping difficult. The tap may break because it is forced to cut too much metal. This is one of the most common tapping errors.
The hardness of the metal affects the drill bit choice. Hard metals require stronger bits like cobalt or titanium coated bits. Softer metals can be drilled with standard high speed steel bits.
Depth matters because threaded holes must be deep enough to hold the bolt securely. The drilled depth should match the bolt’s engagement length. Shallow holes lead to weak fastening.
Sharp drill bits cut cleaner holes. A dull bit creates rough surfaces that make tapping difficult. Smooth holes are easier to thread and reduce tool wear.
Using cutting oil during drilling improves accuracy. Oil reduces heat and extends the life of the bit. This results in a cleaner hole for better thread formation.
How do I know which drill bit size to use with a tap?
Use a tap drill chart that lists the recommended drill size for each tap.
Can I use a slightly bigger drill bit for tapping threads?
No, a bigger hole will make the threads too shallow to hold properly.
What happens if the drill bit is too small?
The tap may break because it has to cut too much metal.
Do I need special drill bits for hard metal?
Yes, cobalt or titanium coated bits are better for drilling hard metals.
Why does the hole look rough after drilling?
A dull drill bit or incorrect speed can cause rough cutting surfaces.
Marking and Preparing the Drilling Spot for Threading
Marking the drilling location ensures the threaded hole goes exactly where it is needed. A marker, scribe or center punch helps create a clear guide. Proper marking prevents misalignment.
A center punch creates a small dent for the drill bit to sit in. This dent prevents the drill from slipping across the metal surface. It helps keep the hole centered and accurate.
Stabilizing the metal is very important. Movement during drilling causes crooked holes that ruin the threading process. Clamps keep the workpiece firmly in place.
Cleaning the surface removes dirt or oil that might cause slipping. A clean surface improves friction and drilling control. This helps create a smoother and more precise entry point.
Lighting affects your ability to see the marking clearly. Shadows or dim light increase the chance of mistakes. A bright working area improves accuracy.
Measuring twice ensures the threaded hole lines up perfectly with other parts. Incorrect alignment can cause components to sit unevenly. Double checking measurements prevents errors.
The drill should be prepared before starting. The drill bit must be tightened securely and the drill set to the correct speed. Proper preparation leads to cleaner and more accurate results.
How to Drill the Starter Hole Before Tapping
The starter hole is the first step in creating a threaded hole. The drill bit must fit perfectly into the center punch mark to start straight. Slow drilling prevents the bit from wandering.
Keeping the drill level ensures the hole is straight. Tilting the drill creates angled holes that cannot be tapped correctly. A steady hand improves accuracy.
Drilling should begin at low speed. Slow entry reduces heat and increases control. Once the bit digs in, the speed can be adjusted slightly.
Cutting oil helps the bit cut smoothly. Metal generates friction that can overheat the drill bit. Lubrication keeps the temperature low and improves performance.
Pulling the drill out occasionally removes metal chips. These chips can clog the hole and affect drilling. Clearing the chips makes the hole cleaner.
The depth of the hole must match the thread length needed. A hole that is too shallow cannot hold a bolt securely. Measuring depth before drilling helps avoid mistakes.
Once drilling is complete, the hole should be inspected. Smooth and centered holes are easier to tap. Any rough edges can be cleaned before tapping begins.
How to Tap Threads in Metal Step by Step
Tapping begins by placing the taper tap into the drilled hole. The taper tap starts the first few threads gently. Slow pressure ensures the tap enters straight.
A tap wrench gives full control over the tap. Turning the wrench slowly helps the tap cut metal evenly. Too much force can break the tap.
Lubrication is important when tapping metal. Cutting oil reduces friction and allows smoother cutting. This protects the tap from snapping.
The tap should be turned a half turn forward and then a quarter turn back. This backward movement breaks the metal chips and clears the path. This reduces cutting resistance and protects the threads.
Keeping the tap perfectly straight ensures clean threads. Even a slight tilt can create uneven or damaged threads. Constant alignment checks prevent mistakes.
As the tap goes deeper, resistance increases. Slow turning is safer because it avoids sudden pressure. Patience helps prevent tool breakage.
Once the threads are cut, the tap can be removed slowly. Cleaning the hole removes metal shavings. This prepares the threaded hole for the bolt.
Avoiding Common Mistakes When Drilling and Tapping Threads
Using the wrong drill size is a common mistake. A hole that is too big or too small will ruin the threads. Correct sizing is essential for proper bolt fit.
Skipping lubrication increases friction. Friction can cause both the drill bit and tap to overheat. Heat damage weakens tools and threads.
Applying too much force during tapping is risky. Excessive pressure can break the tap inside the hole. Removing a broken tap is difficult and time consuming.
Drilling too fast creates rough holes. Rough surfaces make tapping harder and increase wear on the tap. Slow and steady is the best approach.
Starting the tap at an angle creates crooked threads. This makes the bolt sit unevenly or get stuck. Proper alignment ensures smooth threading.
Not clearing metal chips is another mistake. Chips clog the tap and increase resistance. Back turning the tap helps clear these chips.
Using dull tools leads to poor thread quality. Sharp taps and drill bits produce cleaner holes. Replacing worn tools improves results.
Why does my tap keep getting stuck in the hole?
Chips may be clogging the threads, or you may not be using enough cutting oil.
Why did my tap break inside the metal?
Excess pressure, wrong hole size or hard metal can cause tap breakage.
Why do the threads feel rough?
A dull tap or lack of lubrication can create rough thread surfaces.
Why is the bolt not fitting properly?
The hole may have been drilled too large or tapped incorrectly.
Why is tapping harder in stainless steel?
Stainless steel is harder and needs stronger taps and more lubrication.
Safety Tips for Drilling and Tapping Metal
Safety glasses protect your eyes from metal chips. Small chips can fly quickly and cause injuries. Wearing glasses ensures safe working conditions.
Gloves should be used with caution. Tight gloves protect your hands while loose gloves can get caught in the drill. Proper fitting gloves improve safety.
Clamping the metal prevents accidents. Movement during drilling or tapping can damage tools or cause injury. A stable workpiece increases control.
Loose clothing should be avoided. Clothing can get pulled into the drill. Proper attire keeps you safe.
The drill bit becomes extremely hot during drilling. Touching it too soon can cause burns. Let the bit cool naturally before handling.
The work area should remain organized. Clutter increases the chance of accidents and poor footing. Clean spaces make drilling safer.
Hearing protection is useful when working with heavy metal drilling. Some drills produce loud noise that can damage hearing. Using ear protection creates a safer environment.
Do I need eye protection when tapping metal?
Yes, metal chips can fly unexpectedly during tapping and drilling.
Are gloves safe during drilling?
Only tight fitting gloves are safe because loose gloves can get caught.
Should I clamp the metal before drilling?
Yes, clamping prevents movement and improves safety.
Why is the drill bit too hot to touch?
Metal drilling generates heat and requires cooling time.
Is tapping oil necessary for safety?
Yes, lubrication reduces friction and prevents overheating.
Finishing, Cleaning and Testing the Threaded Hole
After tapping, the hole should be cleaned thoroughly. Metal shavings can remain inside the threads. A small brush or air blower removes these particles.
Deburring the opening makes the hole look cleaner. Sharp edges can scratch tools or fingers. Smoothing the edges improves safety.
Testing the threads with the correct bolt ensures the hole is properly tapped. The bolt should turn smoothly without resistance. Tight or loose spots indicate poor threading.
Polishing the surface improves the final finish. Smooth surfaces help bolts seat properly. This creates a secure fit for the fastener.
Oiling the threads protects them from corrosion. Light oil prevents rust and keeps the threads clean. This is helpful for outdoor metal parts.
Inspecting the hole ensures proper depth and alignment. A straight hole holds the bolt securely. Proper inspection confirms a successful threading job.
Preparing the threaded hole for final use ensures long lasting performance. With clean and smooth threads, the bolt will sit firmly. This completes the process with a professional result.
Conclusion
Drilling and tapping a threaded hole in metal is a precise but manageable process when you follow the right steps.
Creating a clean starter hole and choosing the correct drill size are essential for perfect threads. Proper tapping technique ensures the tap cuts smoothly and safely.
Cutting oil, slow drilling and frequent chip clearing help protect both the metal and the tools. These small details make a big difference in the quality of the threaded hole. With practice, anyone can create strong and accurate threads in metal.
Threaded holes offer strength, precision and convenience in metal projects. When made correctly, they hold bolts securely and last for a long time. By taking your time and working carefully, you can achieve professional threading results with confidence.

I’m John F. Nicholas, the founder, lead writer, and drill enthusiast behind 101drill.com. With years of hands-on experience in power tools and DIY projects, I created this platform to share practical knowledge, expert tips, and real-world insights to help others master the art of drilling.