
Drilling a large hole, like a 1.5 inch hole in wood, is a task that requires precision and proper tools. Unlike small holes, large holes can easily split the wood or cause uneven edges. Understanding the right technique ensures clean, accurate results.
Many beginners struggle because they use the wrong drill bits or improper speed. A hole this size demands careful planning and steady pressure. Rushing or forcing the drill often leads to mistakes or damaged wood.
Proper drilling techniques not only improve the appearance but also increase the functionality of your project. Large holes are often needed for pipes, dowels, or wiring, making accuracy crucial. This guide covers everything from tool selection to finishing touches.
By following these steps, you’ll achieve professional results even with a 1.5 inch diameter. You’ll save time, reduce errors, and preserve your wood. Let’s start by understanding the tools needed for this job.
Tools Needed to Drill a 1.5 Inch Hole in Wood
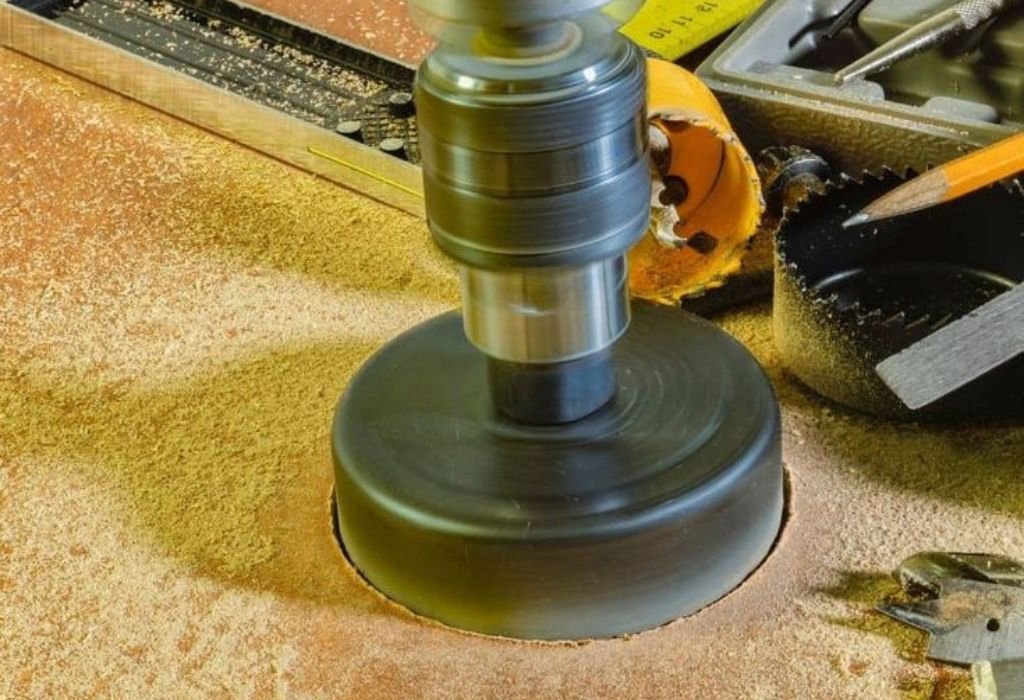
A sturdy power drill is essential for large holes. Corded drills provide consistent power, while cordless drills offer mobility. Choose a drill with adjustable speed control for better handling.
You need the right drill bit designed for large diameters. Spade bits, hole saws, and Forstner bits are the most common choices for a 1.5 inch hole. Each has advantages depending on the wood type and finish.
A clamp or vise helps secure the wood. Large holes require steady material to prevent wobbling or shifting. Safety and accuracy both improve when the piece is firmly held in place.
Measuring tools like a ruler, pencil, or marking template are necessary for precision. Marking the exact center ensures a properly positioned hole. Misaligned drilling can ruin a project or create weak points.
A drill guide or jig can improve accuracy for beginners. It keeps the drill bit perpendicular to the surface. This prevents angled or uneven holes.
Optional accessories include backing boards to reduce tear-out. Placing scrap wood behind the drilling site supports fibers and prevents splintering.
Finally, always have safety gear ready. Eye protection, gloves, and dust masks protect against flying wood chips and dust. Proper safety preparation is just as important as tool selection.
Choosing the Right Drill Bit for Large Holes
Spade bits are flat with a pointed tip and two cutting edges. They are fast and easy to use, but may leave rough edges. Ideal for rough construction or pilot holes.
Hole saws create large, circular cuts by removing a cylinder of wood. They leave cleaner edges and are perfect for pipes or conduits. Attach a pilot bit to maintain center alignment.
Forstner bits produce extremely clean, flat-bottomed holes. They are slower but deliver the best finish and precision. Best for fine woodworking and visible surfaces.
Consider the wood type when choosing a bit. Hardwoods like oak or maple need stronger, sharper bits. Softwoods like pine or cedar are easier and less wear-intensive.
Check the drill bit size markings. Confirm 1.5 inch diameter to avoid misfit parts. Accurate sizing prevents resizing or patching later.
Finally, sharpen or replace dull bits. A sharp bit reduces splintering, burns, and excessive effort. Smooth cutting requires well-maintained tools.
Preparing the Wood Surface for Accurate Drilling
Mark the drilling point clearly using a pencil or template. A precise center mark prevents off-center holes. Accuracy is especially important for joinery or pipe fittings.
Secure the wood using clamps or a vise. Movement during drilling can cause angled or oversized holes. Holding the piece steady is essential for precision.
Place a backing board underneath the drilling site. It prevents tear-out on the exit side. This is especially helpful with soft or thin wood.
Drill a pilot hole if needed. A small guide hole helps the large bit follow the correct path. Pilot holes reduce stress on the wood fibers.
Ensure the surface is clean and free of debris. Dust or chips can shift the drill bit. Clear surfaces improve both safety and accuracy.
Check that the drill is charged or plugged in. Consistent power prevents stalling or uneven cutting. Preparation ensures a smooth drilling session.
Step-by-Step Guide to Drilling a 1.5 Inch Hole
Step 1: Place the drill perpendicular to the marked center point. Maintaining a 90-degree angle ensures a straight hole.
Step 2: Start slowly to create a pilot path. Applying gentle pressure prevents wandering. Let the drill bit cut gradually.
Step 3: Increase speed steadily while keeping firm control. Avoid forcing the bit; let the edges do the cutting. Smooth pressure reduces tear-out.
Step 4: Drill all the way through, using a backing board to support fibers at the exit. Remove the drill slowly at the end.
Step 5: Inspect the hole edges for splintering. Sand rough edges lightly for a clean finish.
Step 6: Clean up wood chips and dust. This prevents clogging in subsequent drills and ensures a neat work area.
Step 7: Test fit any dowels, pipes, or components. Adjust hole size slightly if needed using sandpaper or a file.
Techniques for Clean and Smooth Holes
Slow and steady drilling produces cleaner cuts. Rushing or applying too much pressure creates jagged edges. Let the drill do the work.
Use a pilot hole to guide the larger bit. This reduces walking and splitting. Small pilot holes increase accuracy.
Always support the exit side with scrap wood. This prevents blowout when the bit emerges. Smooth exit edges are crucial for visible surfaces.
Keep the bit sharp and lubricated if necessary. Hardwoods generate heat that can burn the wood. Cooling improves cutting performance.
Clamp the wood securely for stability. A steady piece reduces vibration and uneven cuts. Stable workpieces equal professional results.
Drill in stages if needed. Large holes may benefit from starting with a smaller bit. Gradual enlargement prevents tearing.
Avoiding Common Mistakes and Wood Splitting
Never drill without securing the wood. Shifting boards lead to angled or oversized holes. Use clamps or a vise every time.
Avoid excessive speed in hardwoods. Fast spinning can burn fibers and dull the bit. Moderate speed ensures cleaner results.
Don’t force the drill through. Let the cutting edges do the work. Forcing creates splintering and uneven holes.
Use a backing board to prevent exit tear-out. Without support, the wood fibers tear on the underside. Support makes a professional finish.
Check bit sharpness regularly. Dull bits tear rather than cut. Replace or sharpen as needed.
Mark the center accurately. Misalignment leads to crooked or offset holes. Precision matters for joinery and fittings.
Safety Precautions While Drilling
Safety is the first priority whenever you operate power tools, especially when drilling large holes. A 1.5 inch hole requires substantial force and a wide bit, which can cause accidents if handled carelessly. Understanding potential risks and following precautions ensures both your safety and better results.
Always wear eye protection. Wood chips and debris can fly at high speeds during drilling, posing a risk to your eyes. Safety glasses or goggles create a barrier and prevent serious injury.
Gloves are highly recommended, but make sure they are snug-fitting. Loose gloves can get caught in spinning bits, while tight gloves protect hands from splinters and sharp edges. Safety is always about reducing exposure to hazards.
Secure your wood with clamps or a vise. Large holes put extra torque on the drill, and unsecured boards can spin or shift unexpectedly. Clamping ensures the piece remains stable, reducing accidents and improving precision.
Maintain a stable stance while operating the drill. Avoid awkward positions or overreaching, which can cause slips or loss of control. Balanced posture helps you guide the bit accurately and safely.
Keep your workspace clear and well-lit. Remove obstacles, cords, and clutter to avoid tripping or accidental contact with the drill. A tidy work area reduces distractions and improves focus.
Never wear loose clothing, jewelry, or dangling accessories near the drill. These items can get caught in the rotating bit, causing severe injury. Tuck in sleeves and remove rings or bracelets before starting.
Always disconnect power or remove the battery before changing bits, adjusting the drill, or cleaning the work area. This simple step prevents accidental starts and ensures safe handling at all times.
Finally, take your time and never rush. Forcing the bit or hurrying increases the chance of splintering or slipping. A calm, methodical approach not only keeps you safe but produces cleaner, more precise holes.
Tips for Finishing and Smoothing the Hole
Once you’ve drilled a 1.5 inch hole, finishing and smoothing it is essential for both appearance and functionality. Rough edges or splintering can interfere with dowels, pipes, or fasteners. Proper finishing ensures the hole is clean, safe, and precise.
Use medium-grit sandpaper to smooth the edges of the hole. Wrap the sandpaper around a dowel or cylinder slightly smaller than the hole. Rotate it inside the hole to sand evenly and remove splinters.
For a cleaner edge, use a round file or reamer. This helps remove rough spots that sandpaper cannot reach, especially on the exit side of the hole. Controlled filing prevents accidental enlargement of the hole.
Apply a backing board while sanding to stabilize the wood. This reduces vibration and prevents tear-out at the bottom of the hole. Supporting the wood during finishing improves accuracy and prevents damage.
Consider rounding the edges slightly with a file or sanding block. Rounded edges reduce the chance of cracks or splits during insertion of pipes, dowels, or hardware. It also gives a more professional appearance.
Clean all dust and debris from inside the hole before fitting any component. Dust can interfere with tight tolerances or adhesives. Use compressed air or a soft brush to clear out particles thoroughly.
Seal or finish the edges with wood varnish, stain, or paint if desired. This protects the wood from moisture, swelling, and splitting over time. A properly sealed hole lasts longer and maintains its quality.
Finally, test the fit of your dowel, pipe, or component before final assembly. Minor adjustments with a file or sandpaper may be necessary for a snug, precise fit. Careful finishing ensures both functionality and a professional-looking result.
Maintenance of Drill and Bits for Large Holes
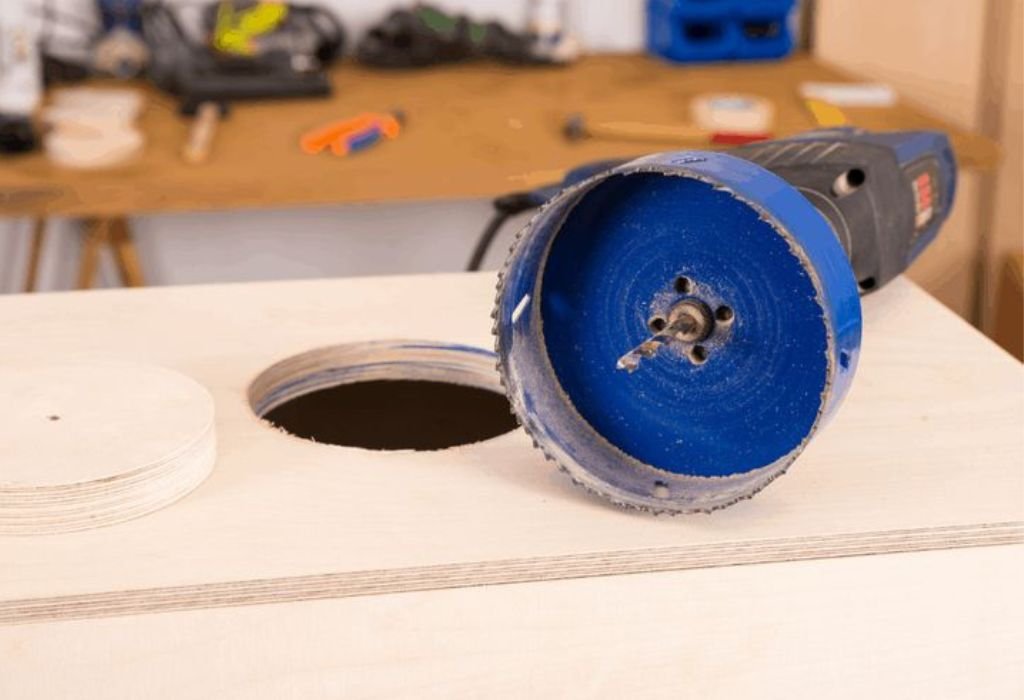
Proper maintenance of your drill and bits is essential for clean, precise holes and long-lasting performance. Large-diameter holes, like 1.5 inches, put extra strain on the drill and cutting edges. Neglecting maintenance increases wear, reduces accuracy, and can even cause accidents.
Clean your drill bits after every use to remove wood chips and dust. Sawdust buildup in the flutes reduces cutting efficiency and increases friction. A simple brush or cloth wipe keeps the bit sharp and ready for the next job.
Sharpen bits regularly, especially spade, Forstner, and hole saw bits. Dull bits require more force, which increases the risk of splitting or tearing the wood. Properly sharpened bits make drilling faster and produce smoother edges.
Lubricate bits when drilling hardwood or dense timber. Applying a small amount of cutting oil reduces heat, minimizes friction, and prolongs bit life. This also prevents scorching the wood surface and ensures cleaner cuts.
Inspect your drill for loose parts, worn chucks, or frayed cords. A secure and well-maintained drill provides stable rotation and consistent torque. Addressing minor issues early prevents damage to the machine and workpiece.
Store drill bits in a protective case or on a dedicated rack. Proper storage prevents nicks, bends, and rust formation. Organized storage also saves time and ensures you always use the correct bit for the job.
Check the wood before drilling for knots, nails, or embedded metal pieces. Hitting hard objects can damage both the bit and the drill motor. Inspecting beforehand protects your tools and ensures smooth drilling.
Finally, perform a periodic full inspection of your drill and bits. Look for signs of wear, misalignment, or corrosion. Regular attention keeps your tools reliable, efficient, and safe for every large-hole project.
FAQs – How to Drill a 1.5 Inch Hole in Wood
What is the best drill bit for a 1.5 inch hole in wood?
Hole saws, Forstner bits, or spade bits work well depending on finish and wood type.
Can I drill a 1.5 inch hole without a pilot hole?
Yes, but a pilot hole improves accuracy and reduces splitting.
How do I prevent wood from splintering?
Use a backing board and drill slowly. Keep the bit sharp and apply steady pressure.
What speed should I use for hardwood?
Moderate speed prevents burning and ensures smooth cuts.
Do I need a drill guide or jig?
Optional, but helps maintain perpendicular alignment for precision.
Can I use a cordless drill for large holes?
Yes, ensure sufficient battery power and torque for smooth drilling.
Should I clamp the wood?
Always, especially for large holes. Prevents movement and improves safety.
How can I clean rough edges?
Sandpaper or a small file works best for smoothing edges.
What if the drill bit overheats?
Pause and allow it to cool, or apply a small amount of lubricant.
How do I drill a deep 1.5 inch hole?
Use a long Forstner bit or drill in stages to avoid tear-out.
Can I drill at an angle?
Yes, but a drill guide helps maintain accuracy.
How do I measure the center for the hole?
Use a ruler, compass, or template to mark precise center.
Is a spade bit better than a hole saw?
Spade bits are faster but rougher; hole saws give cleaner edges.
Should I wear safety gear?
Yes — gloves, goggles, and dust masks are essential.
Can I use a hand drill for a 1.5 inch hole?
Technically yes, but it’s slow and requires effort; power drills are much easier.
Conclusion
Drilling a 1.5 inch hole in wood can seem challenging, but with the right tools and techniques, it becomes straightforward and precise.
Following proper steps, from preparation to finishing, ensures clean edges and accurate placement every time. This approach saves time, prevents mistakes, and protects your wood from splitting.
Using clamps, backing boards, and pilot holes reduces the risk of damage and makes the process safer. Choosing the correct bit and maintaining sharpness allows for smoother, effortless drilling.
Even beginners can achieve professional results by combining careful planning with steady execution.
By applying these methods consistently, every large hole you drill will be precise and functional. Proper preparation, safety measures, and post-drilling finishing enhance both durability and appearance.
Mastering this skill improves the quality of your woodworking projects while boosting confidence and efficiency.

I’m John F. Nicholas, the founder, lead writer, and drill enthusiast behind 101drill.com. With years of hands-on experience in power tools and DIY projects, I created this platform to share practical knowledge, expert tips, and real-world insights to help others master the art of drilling.