
Drilling a large hole in wood can look easy until the drill starts to smoke, stall, or tear out the surface fibers.
Many DIYers and carpenters face this challenge when working with thicker lumber or framing materials. Whether you’re making a pass-through for pipes, vents, or cables, precision and control matter most.
An 8 inch hole requires more than just a standard drill bit. You need the right tools, proper drilling technique, and careful preparation to avoid damaging the wood. Without these, the bit may jam, overheat, or splinter the material.
This guide explains step-by-step how to drill a clean, round 8 inch hole in wood using different tools like hole saws and auger bits. It covers everything from tool selection to drilling depth and speed control.
By following these methods, you can achieve professional-quality results safely and efficiently.
Tools You Need to Drill an 8 Inch Hole in Wood
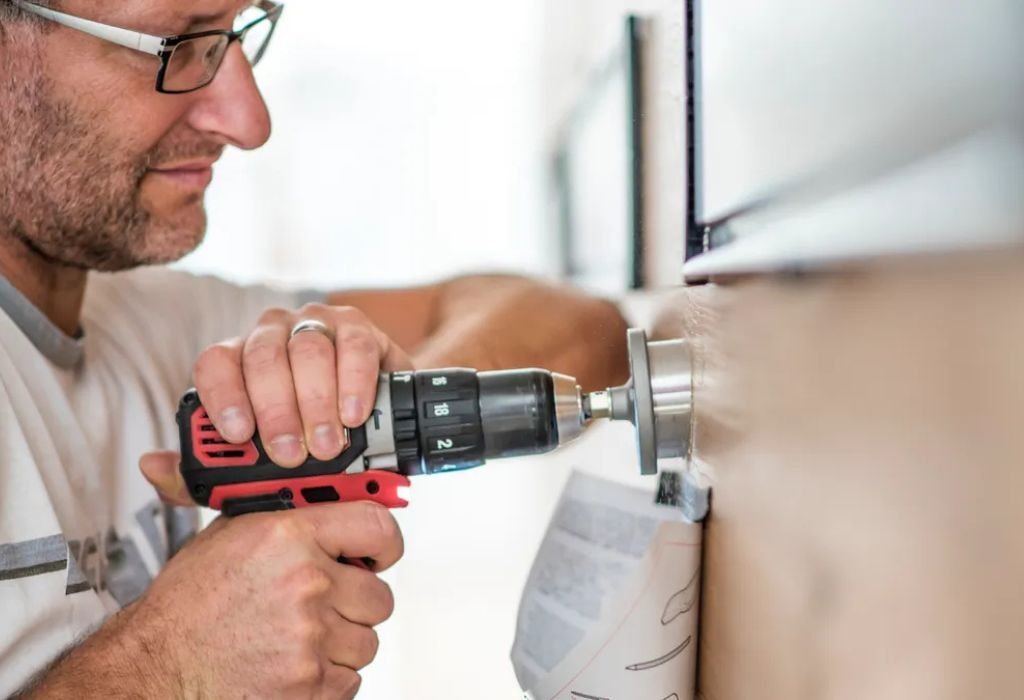
Before drilling, you must have the correct tools and attachments ready. An 8 inch hole is large, so using the wrong bit or drill can cause motor strain or uneven results. Preparing the right setup ensures safety and precision.
Start with a powerful corded drill or drill press. Battery-powered drills may not provide enough torque for large holes. A corded drill ensures consistent power throughout the process.
You’ll need a hole saw kit rated for wood that includes an 8 inch saw. Hole saws provide clean, circular cuts and are available in bi-metal or carbide-tipped versions. Ensure the saw is securely attached to an arbor with a pilot bit for stability.
If you’re drilling deeper holes, use an auger bit or spade bit extension. These bits cut efficiently through thick lumber and help remove debris as they drill. For an 8 inch diameter, a hole saw with deep teeth is ideal for most wood types.
Gather additional supplies like clamps, measuring tape, and safety gear. Clamps keep the wood steady while drilling, preventing movement or injury. Safety glasses, gloves, and ear protection should always be worn during the process.
Finally, keep lubricant or cutting oil nearby if you’re working with hardwood. It reduces friction and heat buildup, preserving both the drill and bit. Proper preparation ensures smooth drilling and long-lasting tools.
Preparing the Wood Before Drilling
Preparation is key for clean, precise results when drilling large holes. The bigger the bit, the higher the chance of tear-out or splintering without proper setup. Taking a few minutes to prepare ensures accuracy and safety.
First, mark the exact center point where you want the hole. Use a measuring tape and pencil to ensure correct alignment. A center punch or small pilot hole helps guide the bit accurately.
Secure the wood firmly using clamps or a vise. Movement during drilling can ruin the cut and damage the bit. Clamping ensures stability and allows better control over pressure and speed.
Place a scrap backing board under your workpiece if drilling all the way through. This prevents blowout on the backside of the wood. It also keeps the drill bit from hitting the workbench beneath.
Check your drill’s speed settings before you start. Large hole saws require slower speeds for better control and less heat buildup. Always begin at low RPM and increase gradually if needed.
Inspect the drill bit or hole saw for sharpness and proper installation. Dull blades can cause smoke, burning, and uneven edges. A sharp tool ensures smoother cuts and less vibration during drilling.
Finally, make sure the work area is clean, flat, and well-lit. Debris or uneven surfaces can interfere with drilling precision. Preparation not only improves results but also reduces safety risks.
Step-by-Step Process to Drill an 8 Inch Hole in Wood
Start by attaching the 8 inch hole saw to your drill. Double-check that the arbor and pilot bit are tightened properly. A loose connection can cause wobbling and uneven cuts.
Position the pilot bit on the center mark and start drilling slowly. Allow the pilot bit to establish a guide hole before the outer teeth of the saw contact the wood. This ensures stability and reduces tear-out.
Apply steady, moderate pressure as you drill. Forcing the tool can overheat the bit or cause the drill to stall. Let the teeth do the cutting while maintaining consistent speed.
If you notice smoke or burning, pause to let the bit cool down. Remove sawdust from the teeth and apply a small amount of cutting oil. Keeping the bit cool improves both performance and durability.
For thicker wood, drill halfway through from one side, then flip the board and complete the cut from the other side. This technique prevents splintering and creates cleaner edges.
When the hole is complete, gently remove the saw and clean the edges with sandpaper. Smoothing out any rough spots enhances the finish and prevents splinters. The result is a clean, precise 8 inch circular hole ready for use.
Safety Tips for Drilling Large Holes in Wood
Drilling large holes requires attention to safety as much as precision. Improper handling of tools can lead to injuries or damaged materials. Following safety guidelines ensures both you and your tools remain protected.
Always wear safety glasses and gloves when drilling. Flying wood chips and dust can injure your eyes or hands. Ear protection is also recommended when working with high-powered drills.
Keep a firm grip on the drill with both hands. Large hole saws generate torque that can twist or jerk the drill unexpectedly. A stable stance and secure grip help maintain control.
Avoid excessive pressure or speed while drilling. Let the drill bit do the work gradually. Forcing it can overheat the tool and damage both bit and wood.
Make sure your wood is securely clamped before starting. Loose materials can spin or move suddenly, increasing the risk of injury. Stability is key to accurate drilling.
Never reach under the drill or into the hole while the bit is moving. Wait until the drill completely stops before adjusting or cleaning. This prevents accidental cuts or burns.
Lastly, keep your workspace clean and free of clutter. Loose cords, sawdust, or tools can cause tripping or loss of focus. A safe environment promotes smoother and more confident drilling.
Common Mistakes to Avoid When Drilling an 8 Inch Hole
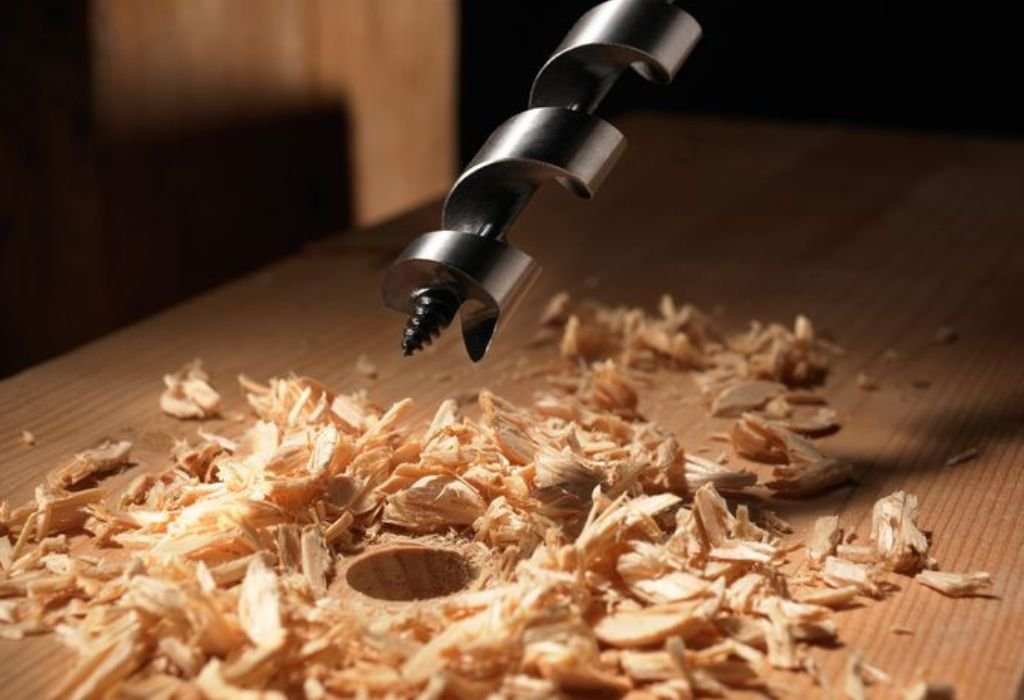
One of the biggest mistakes is using the wrong type of bit. Not all bits are suitable for large-diameter holes, and using undersized or low-quality ones can damage both drill and material. Always match the bit type to the project.
Another mistake is drilling too fast. High speeds create friction, heat, and burning. Slow, steady drilling ensures cleaner results and prolongs bit life.
Failing to clamp the wood securely is another frequent issue. Unsecured pieces can move or spin, ruining precision. Proper clamping also prevents potential injuries from slipping materials.
Some users forget to clear sawdust regularly. Sawdust buildup increases heat and pressure, making the bit work harder. Pause occasionally to remove debris for smoother progress.
Using a dull or dirty bit can lead to splintering or jagged edges. Sharp, clean tools produce cleaner holes and minimize effort. Always inspect and maintain your bits before each use.
Ignoring cooling periods between drills can overheat both tool and bit. Continuous use without rest causes motor strain and dulls teeth faster. Controlled pacing delivers better and safer results.
Finally, skipping measurements or center markings can result in uneven placement. Always plan and mark before drilling large holes. Precision starts with accurate preparation.
Frequently Asked Questions About Drilling 8 Inch Holes in Wood
What type of drill is best for an 8 inch hole?
A heavy-duty corded drill or a drill press is ideal for drilling an 8 inch hole. Cordless drills often lack the torque needed for such large cuts. Using a corded tool ensures steady power and smoother results.
Can I use a hole saw to drill through thick wood?
Yes, a hole saw is the most efficient tool for cutting large circular holes. For thicker pieces, drill halfway through and finish from the opposite side to prevent splintering. Always use slow speed and steady pressure.
Do I need a pilot bit when using a hole saw?
Yes, the pilot bit guides the hole saw and keeps it centered during drilling. Without it, the saw may wobble or wander off the mark. Always ensure the pilot bit is sharp and securely attached.
How do I prevent the wood from splintering?
Clamp the wood firmly and use a scrap backing board underneath your workpiece. Drilling halfway and finishing from the other side also reduces tear-out. Keeping the bit sharp helps ensure cleaner cuts.
What speed should I use for drilling large holes?
Always use a low to medium speed setting for large holes. High RPM generates excess heat and can burn the wood. Slow speeds provide better control and prevent tool damage.
Can I drill an 8 inch hole with a spade bit?
No, spade bits are typically limited to smaller diameters. For 8 inch holes, a hole saw or large auger bit is much safer and more efficient. Using the right tool prevents strain on your drill.
Why does my drill start smoking while cutting?
Smoke means there’s too much friction caused by high speed, dull bits, or excessive pressure. Stop drilling, clean the saw teeth, and allow it to cool. Reducing speed prevents overheating.
How do I keep the drill steady during drilling?
Use both hands and maintain a firm grip. Keeping the drill perpendicular to the surface prevents uneven holes. A guide jig or drill press provides even greater stability.
What safety gear should I wear?
Always wear safety glasses, gloves, and ear protection. Flying chips and vibration can cause injuries during large-hole drilling. A dust mask is also useful when cutting multiple holes.
How can I smooth the edges after drilling?
Use sandpaper or a round file to clean the edges of the hole. This removes splinters and gives the wood a polished finish. A smooth edge ensures professional results for any project.
Conclusion
Drilling an 8 inch hole in wood requires patience, power, and the right approach. With a strong drill, sharp bit, and careful preparation, you can create clean, accurate holes safely. Rushing or using the wrong tools can lead to damage or poor results.
The key is to use a hole saw or auger bit designed for large diameters. Work slowly, clear debris often, and avoid overheating. Following each step ensures both safety and precision in your woodworking project.
By understanding how wood reacts to large cuts and maintaining your tools properly, you’ll achieve professional-grade results. Whether you’re working on furniture, framing, or utility projects, this process ensures clean and efficient drilling every time.

I’m John F. Nicholas, the founder, lead writer, and drill enthusiast behind 101drill.com. With years of hands-on experience in power tools and DIY projects, I created this platform to share practical knowledge, expert tips, and real-world insights to help others master the art of drilling.