
You’re drilling into a piece of wood, everything feels smooth, and then — snap. The bit breaks mid-way, leaving a sharp piece of metal stuck deep inside the board. That sound can ruin any DIYer’s day.
It’s a frustrating situation that happens more often than you’d think, especially when using dull bits, excessive pressure, or drilling at the wrong speed. The broken piece might look impossible to remove without damaging the wood, but the good news is, it can be done.
Whether the bit snapped near the surface or deep inside, there are practical ways to pull it out safely. You don’t need expensive tools — just patience, precision, and the right method for your situation.
This guide will walk you through step-by-step techniques to remove a broken drill bit from wood, prevent future breakage, and save your workpiece from unnecessary damage.
Why Drill Bits Break Inside Wood
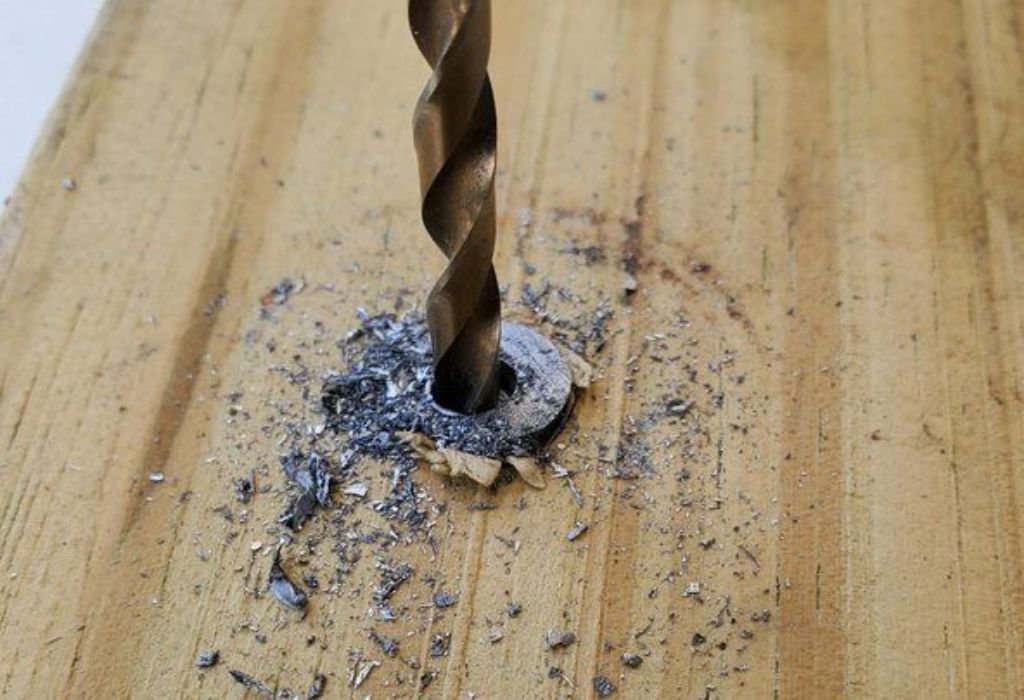
Drill bits usually break because of too much pressure, the wrong drilling angle, or overheating. When the bit bites too aggressively into dense wood fibers, it can twist and snap under stress.
Using dull or low-quality bits also increases the chance of breakage. They don’t cut efficiently and cause the drill to struggle, generating more torque than the bit can handle.
Drilling at high speed without pulling out periodically to clear chips creates friction. The trapped sawdust builds heat, softens the bit, and makes it brittle.
Sometimes, the bit binds because of a knot or hidden nail in the wood. This sudden stop can shear off the bit instantly.
Even improper alignment or wobbling from a loose chuck can contribute to breakage.
Knowing why it happens helps you avoid it next time — but first, let’s get that stuck piece out without ruining your work.
Assessing the Situation Before Removing the Bit
Before trying to remove the broken bit, take a moment to assess where it’s stuck and how deep it went. The removal method depends on whether the bit is above, flush, or below the surface.
If part of the bit is still sticking out, that’s the easiest case. You can grip it with pliers and twist it out gently.
When the bit is flush with the surface, you’ll need precision tools like locking pliers, needle-nose tweezers, or a small magnet.
If it’s buried deep inside the wood, extraction becomes trickier. You’ll have to expose it carefully using drilling, tapping, or pulling methods.
Always stop the drill immediately after snapping a bit. Continuing to spin could drive the broken piece deeper, making removal harder.
Work in good lighting so you can see the exact position of the fragment. If needed, use a magnifying glass to check how much metal is visible.
Understanding the situation first prevents panic and saves the wood from unnecessary damage.
Simple Methods for Removing a Broken Drill Bit
If the broken bit is slightly visible, start with locking pliers or vise grips. Grip the exposed part firmly and twist counterclockwise to unscrew it.
For bits that broke just below the surface, use a flathead screwdriver or awl to gently wedge under the edge and lift. Apply slow, steady pressure — don’t force it.
If it’s deeper, try a strong magnet. Many drill bits are made from ferrous metals that respond to magnetic force. Wave the magnet over the area until the bit shifts enough to pull it out.
Alternatively, use a wood screw extractor or left-hand drill bit. Run it slowly in reverse; it may catch the broken piece and pull it free.
When all else fails, create a small hole beside the stuck bit using a slightly smaller drill. This releases pressure on the surrounding wood, letting you loosen the fragment.
After extraction, sand or fill the area with wood filler to restore the surface.
Each method works best for specific situations — start with the gentlest approach and move to stronger ones only if necessary.
How to Remove Deeply Embedded Broken Drill Bits
If the bit snapped deep inside the wood, removal requires extra care. First, locate it precisely by shining a light or using a metal detector if available.
Use a center punch to mark a tiny spot beside the embedded bit. Then, drill a small hole parallel to it using a thin, sharp bit. This relieves wood pressure and allows space to grip the fragment.
Try using a needle-nose pliers or a pick tool to nudge and twist the piece out gently.
For very deep bits, use a screw extractor set. Insert the extractor into the hole, tap it lightly with a hammer, and twist counterclockwise. The reverse-threaded tip grabs the metal and unscrews it as you turn.
Avoid digging around aggressively — gouging the wood may cause more harm than the stuck bit itself.
If nothing works and the bit isn’t visible, sometimes it’s best to leave it buried and drill a new hole slightly aside.
The key is patience and control — forcing the bit out usually causes more damage than waiting and working slowly.
Tools That Help Remove Broken Drill Bits from Wood
A few simple tools make this job much easier and safer.
- Locking pliers or vise grips: Best for gripping exposed fragments.
- Screw extractor kit: Works for embedded bits using reverse threading.
- Strong magnet: Useful for shallow bits just below the surface.
- Center punch and hammer: Helps relieve pressure and guide extraction.
- Needle-nose pliers or tweezers: Ideal for small fragments in tight spots.
- Wood drill bit set: For creating relief holes next to stuck fragments.
- Wood filler or sandpaper: To restore surface after removal.
Having these basic tools in your kit ensures you’re ready for any stuck drill situation.
Always work slowly and wear eye protection — metal splinters can fly unexpectedly during extraction.
Preparedness and patience are far more valuable than force when it comes to removing broken drill bits safely.
How to Prevent Drill Bits from Breaking in Wood
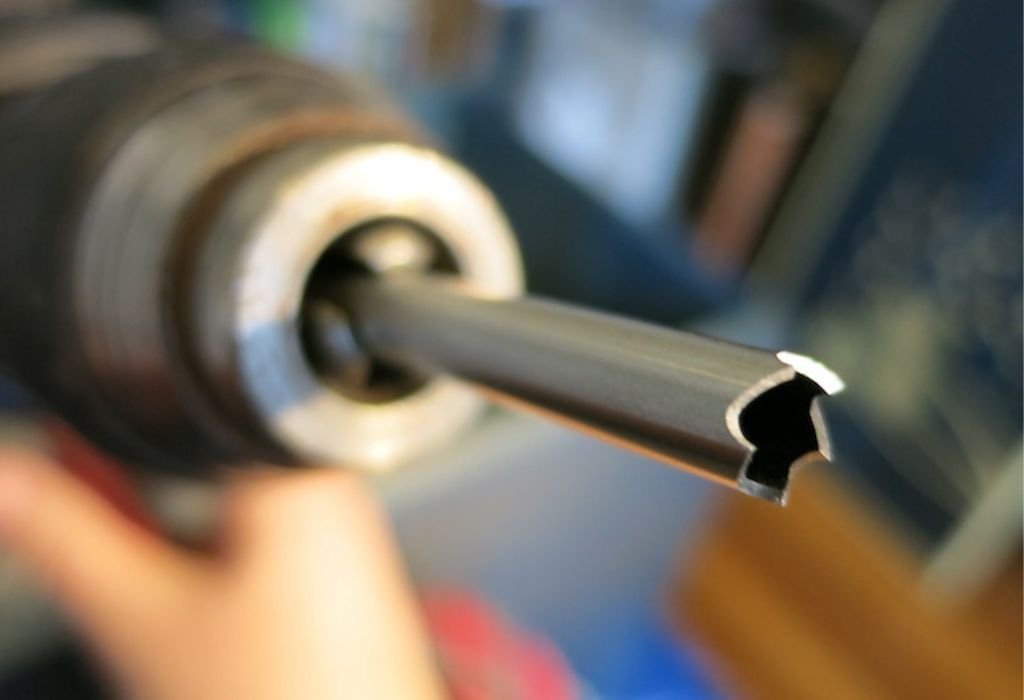
Prevention is always easier than repair. Start with a sharp, high-quality drill bit that matches your material type. Dull bits create more friction and heat, leading to breakage.
Always drill at a steady, moderate speed. Going too fast causes overheating; too slow increases torque and twisting pressure.
Pull the bit out periodically to clear sawdust and let it cool. This keeps cutting edges clean and reduces binding.
Avoid pushing too hard, especially in dense hardwoods. Let the bit cut naturally without excessive force.
If you hit a knot, slow down and apply light pressure. Trying to force through a knot almost always leads to snapping.
Lubricating the bit with a tiny amount of wax or oil helps reduce friction in thicker pieces of wood.
Finally, store bits properly. Rust or dullness from improper storage weakens them before use.
With these precautions, your bits will last longer and your woodworking projects will stay smooth and frustration-free.
DIYers’ Common Questions on Removing Drill Bits from Wood
How do I remove a broken drill bit from wood?
Use pliers, magnets, or an extractor depending on how deep the bit is embedded.
What if the broken bit is deep inside the wood?
Drill a small relief hole beside it or use a screw extractor to pull it out.
Can I leave a broken drill bit inside the wood?
Yes, if it’s too deep and not in the way, leaving it is often safer.
Will a magnet help remove a stuck drill bit?
Yes, for shallow bits. A strong magnet can lift ferrous metals from wood.
Can I use a left-hand drill bit for removal?
Yes, it can catch and unscrew the broken piece as it spins in reverse.
Why did my drill bit break inside the wood?
It likely overheated, was dull, or hit a knot that caused twisting pressure.
Can I drill next to a broken bit?
Yes, drilling a small hole beside it can relieve pressure and make removal easier.
How can I avoid damaging the wood during removal?
Work slowly, avoid prying aggressively, and use fine tools to minimize impact.
Should I use lubricant when removing a broken bit?
A small amount of oil can reduce friction if the bit is stuck tightly.
Can I use pliers on a flush or buried drill bit?
Only if part of the bit is exposed — otherwise use an extractor.
How do I know when to stop trying to remove it?
If the bit won’t budge after several attempts, it’s better to leave it and fill the hole.
Can I fill the hole after removing the bit?
Yes, use wood filler or dowel plugs, then sand it smooth once dry.
Is it normal for drill bits to break in hardwoods?
Yes, hardwoods create more resistance, so bits wear faster without proper technique.
What’s the best way to avoid overheating the bit?
Drill at medium speed and clear sawdust often to prevent heat buildup.
Can I reuse a drill bit that snapped near the tip?
No, it’s unsafe. Replace it with a new one for clean, accurate drilling.
Conclusion
A broken drill bit inside wood can feel like a nightmare, but it’s rarely the end of your project. With the right approach, tools, and patience, you can remove it cleanly and continue working without damage.
Start with gentle methods like pliers or magnets before moving to extractors or relief holes. Each situation requires its own balance of care and control.
More importantly, prevent future breakage by drilling slowly, clearing chips often, and using sharp, high-quality bits.
Remember — forcing tools rarely helps, but steady, deliberate movement always does. With practice, you’ll handle broken bits like a pro and keep your woodworking projects safe, smooth, and frustration-free.
A broken bit is just a setback, not a disaster — and now you know exactly how to handle it.

I’m John F. Nicholas, the founder, lead writer, and drill enthusiast behind 101drill.com. With years of hands-on experience in power tools and DIY projects, I created this platform to share practical knowledge, expert tips, and real-world insights to help others master the art of drilling.