
You’ve been sanding wood by hand for what feels like hours. The paper wears out fast, your arm starts to ache, and the surface still isn’t as smooth as you want. Then you notice your power drill on the bench and think, can I use that to sand wood faster?
The answer is yes — and when done correctly, it can turn a simple drill into a powerful sanding machine. A drill not only saves time but also creates a smoother, more uniform finish with much less effort.
However, sanding wood with a drill requires proper tools, speed control, and technique. Without them, you could burn the wood, create uneven spots, or damage the surface completely.
This guide will teach you everything you need to know about how to sand wood with a drill, from choosing attachments and setting speeds to mastering angles and achieving that silky finish professionals love.
By the end, you’ll be able to sand any wooden surface efficiently, whether you’re refinishing furniture, smoothing edges, or prepping for paint.
Can You Sand Wood with a Drill
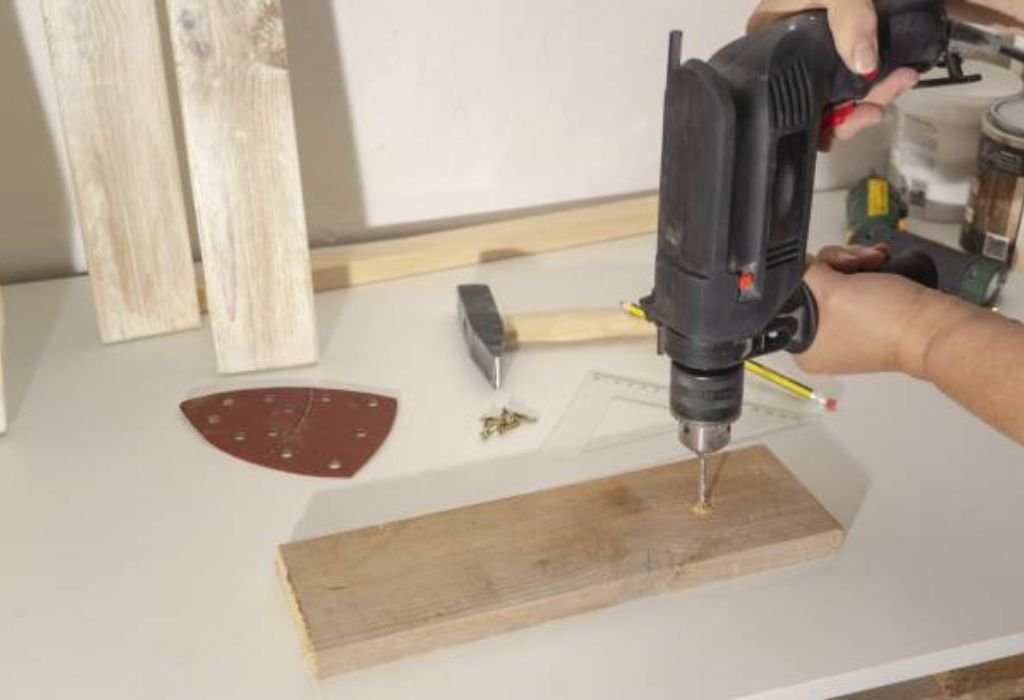
Yes, you can absolutely sand wood with a drill, as long as you use the right attachments and methods. Drills are versatile power tools capable of more than just drilling holes.
When equipped with sanding accessories, a drill can handle rough shaping, smoothing, or even polishing wood surfaces. It’s especially useful for curved areas, corners, and tight spaces that regular sanders can’t reach.
However, a drill wasn’t designed for sanding originally, so it needs proper speed control. Running it too fast can overheat the sandpaper, burn the wood, and wear out the attachment.
You’ll also need to hold the drill steadily and move it evenly across the surface to avoid gouges.
When used correctly, sanding with a drill saves time and energy, making it a smart choice for both small repairs and large projects.
It’s not a replacement for all sanders, but it’s an excellent tool for precision and flexibility.
Essential Tools and Attachments You Need
Before you begin, gather the right accessories. A standard drill alone can’t sand wood without proper attachments.
The most common and versatile attachment is a sanding drum. It fits into the drill chuck and uses cylindrical sleeves of sandpaper in different grits. Ideal for curves, edges, and contours.
A sanding disc pad attachment allows you to use round sanding discs. It’s perfect for flat surfaces like tabletops or furniture panels.
For detailed areas, flap wheels and abrasive polishing balls work well. They adapt to irregular shapes and corners easily.
If you need to reach tight holes or grooves, try drum sanders with flexible shafts or mini sanding mandrels.
Keep multiple grits on hand — coarse (60–80) for removing rough material, medium (120–150) for smoothing, and fine (220+) for finishing.
Lastly, ensure your drill has a variable speed trigger. This helps you control rotation speed to match the grit and surface type.
Having the right tools is half the battle when sanding wood efficiently.
Choosing the Right Sanding Grits
Selecting the correct grit sequence determines the smoothness and quality of your final finish. Each grit removes scratches left by the one before it.
Start with a coarse grit (60–80) for heavy removal — like stripping paint or leveling rough wood. It quickly evens out the surface but leaves visible scratches.
Then move to medium grits (120–150) to refine the texture and remove coarse sanding marks. This stage is where the surface begins to feel smooth to touch.
Finally, finish with fine grits (220–320) to polish the wood, prepare for staining, or get that silky final touch.
For hardwoods, you may need to go even finer, up to 400 grit, especially before applying oil or lacquer.
Never skip grits. Jumping directly from coarse to fine may look faster, but it leaves uneven micro-scratches that appear once you finish the wood.
Proper grit progression ensures a flawless, professional-quality surface every time.
How to Attach Sanding Tools to Your Drill
Attaching sanding accessories correctly is essential for both safety and performance.
First, unplug or power off the drill before attaching anything. Insert the sanding drum’s shank or pad mandrel into the chuck — the three-jaw clamp at the front of your drill.
Tighten it securely using the chuck key or by hand if it’s keyless. Make sure it’s centered and snug to prevent wobbling during operation.
If you’re using a sanding disc pad, screw the backing plate onto the mandrel, then stick the adhesive or hook-and-loop disc on the face.
For sanding drums, slide the sleeve over the drum cylinder and tighten the screw so it grips firmly.
Double-check stability by spinning it manually before turning on the drill.
Loose attachments can vibrate dangerously and damage both the tool and the wood.
Once set up properly, your drill becomes a compact sanding powerhouse ready for action.
Step-by-Step: How to Sand Wood with a Drill
Now that your drill is set, it’s time to start sanding. Follow this sequence for best results.
- Secure the wood piece. Clamp it firmly on a stable surface. Never try to hold it with your hand while sanding — the spinning motion can pull it away.
- Start with coarse grit. Use slow speed and light pressure. Let the sandpaper do the work rather than forcing it.
- Move in steady strokes. Work along the grain of the wood, not against it. Circular motions cause swirl marks.
- Check your progress often. Stop every minute or two to inspect smoothness and avoid over-sanding one area.
- Switch to finer grits. Repeat the process with medium, then fine sandpaper for a polished surface.
- Clean between grits. Wipe off dust with a tack cloth before switching — leftover grit can scratch the wood.
- Finish with detail sanding. Use flap wheels or smaller pads to smooth corners and edges.
Following this method ensures consistent sanding without burning, tearing, or uneven spots.
Always remember: speed control and patience produce the best finish.
Controlling Drill Speed and Pressure
Speed and pressure make the biggest difference between a professional finish and a damaged surface.
Start slow, especially when using coarse grits. High speed at the beginning can dig into the wood and leave deep marks.
Most drills have a variable trigger — squeeze lightly for slower rotation, harder for faster. Stay between 800 to 1,500 RPM for most sanding tasks.
Too much pressure can also cause heat buildup, wearing out sandpaper and burning the wood. Apply just enough to maintain contact with the surface.
Let the sandpaper cut naturally; if it’s not removing material efficiently, switch to a coarser grit instead of pressing harder.
When sanding curves or corners, reduce speed further for better control.
Mastering these two elements — pressure and speed — gives you the smooth, balanced results that define quality workmanship.
Avoiding Common Sanding Mistakes
Even with the right tools, mistakes can happen easily if you’re not careful.
One of the most common errors is using too much pressure. It causes uneven surfaces and overheats both wood and sandpaper.
Another issue is staying in one spot too long. Keep the drill moving constantly to prevent dips or shiny burn marks.
Using worn-out sandpaper is another mistake. Once it’s dull, it polishes instead of cuts, wasting time and reducing quality.
Always sand with the grain, not across it. Cross-grain sanding leaves scratches that become visible after staining.
Skipping grits or sanding too fast between stages can also leave swirl marks that ruin the final appearance.
Finally, neglecting dust removal can clog sandpaper and reduce efficiency. Clean the surface regularly during sanding.
Avoiding these simple but common errors ensures your results remain smooth, even, and professional.
Best Surfaces and Projects for Drill Sanding
A drill isn’t ideal for every project, but it shines in several specific applications.
It’s perfect for curved surfaces like table legs, chair arms, or sculpted designs where standard sanders can’t reach.
Furniture restoration projects benefit greatly, especially when removing old varnish or stains from detailed trim.
You can use it to smooth rough lumber, prep surfaces for painting, or round sharp edges on wood planks.
Drills also work well for small woodworking crafts — such as boxes, handles, or toys — where flexibility is more important than coverage.
For large flat surfaces, though, an orbital or belt sander still performs better. The drill may leave uneven results if you can’t maintain consistent motion.
Understanding which jobs your drill excels at helps you save time and achieve better finishes across multiple projects.
Sanding Edges, Corners, and Curves with a Drill
Edges and curves are tricky because they require precision and control.
Use sanding drums or flap wheels for curved edges. Their cylindrical shape naturally follows contours without gouging.
When sanding corners, switch to cone-shaped or pointed abrasive attachments. They reach tight angles easily without removing too much material.
Always reduce your speed around delicate areas. High rotation can dig in quickly and ruin the shape.
Hold the drill at a slight angle for smoother blending between flat and curved sections.
For intricate carvings or moldings, use abrasive polishing balls or flexible shafts. These conform to the wood shape without flattening details.
Patience is crucial. Take your time, inspect frequently, and use finer grits for finishing these areas.
Precision sanding separates great craftsmanship from average work.
Dust Control and Safety Tips
Sanding creates a lot of fine dust that can harm your lungs and tools if not managed properly.
Always wear a dust mask or respirator rated for fine particles. Even short sanding sessions release microscopic dust you can’t see.
Wear safety glasses to protect your eyes from airborne debris. Gloves improve grip and prevent friction burns from the drill handle.
Attach a shop vacuum or dust collection hose near your workspace. This keeps both the area and air cleaner.
Avoid sanding near open flames or sparks — wood dust is surprisingly flammable.
When finished, wipe down the area and vacuum surfaces to prevent dust from settling into finishes or paint later.
Working safely keeps your lungs clear, your shop tidy, and your results cleaner every time.
Finishing Touches After Sanding
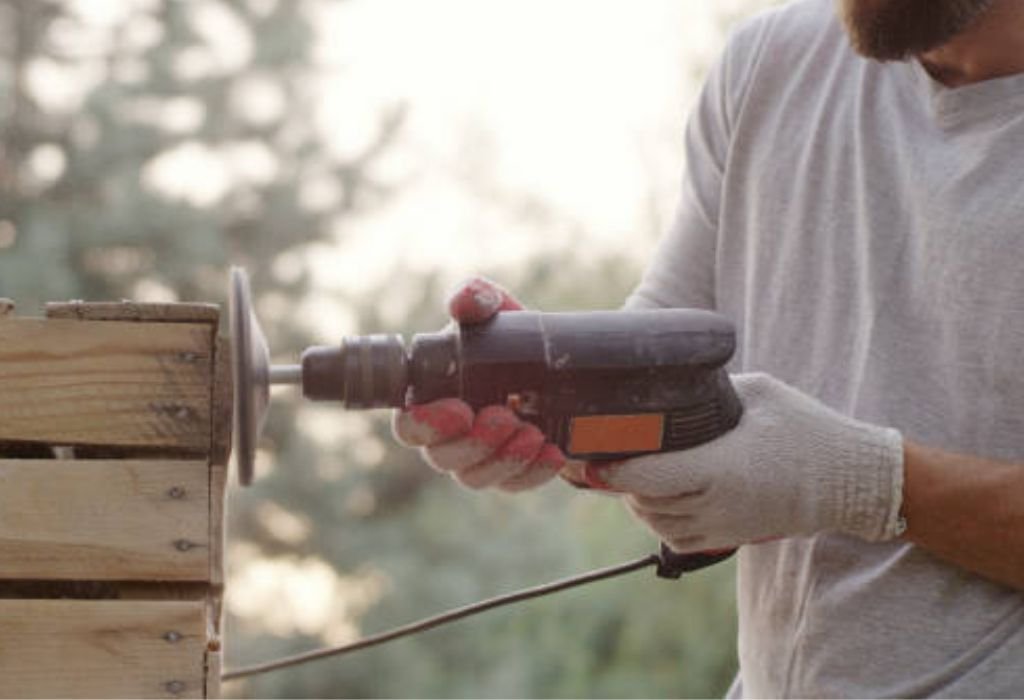
After sanding, the surface may look clean, but fine dust often remains trapped in the grain. Use a tack cloth or microfiber rag to remove all residue before applying any finish. Even small dust particles can cause imperfections once stain or paint is added.
If you’re staining, apply a pre-stain wood conditioner to ensure even color absorption, especially on softwoods like pine or fir. Let it soak for a few minutes, then wipe away excess before staining.
For painted surfaces, start with a thin layer of primer, allow it to dry completely, and sand lightly with 220-grit for smooth adhesion.
When applying clear finishes like varnish, lacquer, or polyurethane, use multiple thin coats instead of one thick layer. Sand lightly with 320- to 400-grit paper between coats for a flawless result. Always wipe off dust between layers to prevent roughness.
Once the final coat dries, polish the surface with 0000 steel wool or a soft buffing pad to enhance luster. Apply a small amount of paste wax or furniture polish for added protection and shine.
Taking these steps ensures your project looks smooth, refined, and professional — the perfect reward for careful sanding work.
Frequently Asked Questions
Can I sand wood with a drill?
Yes, a drill with sanding attachments can smooth wood effectively.
What type of attachment should I use for sanding wood?
Sanding drums and disc pads are the most versatile and efficient options.
What speed should I use for sanding wood with a drill?
Stay between 800–1500 RPM to avoid burning or uneven sanding.
Can I sand large flat surfaces with a drill?
Yes, but keep the drill moving steadily to avoid dips or uneven texture.
Which grit should I start with when sanding wood?
Begin with 60–80 grit for rough sanding and move up gradually.
Can I sand corners and curves using a drill?
Yes, use flap wheels, cone sanders, or flexible shafts for precision.
Will sanding with a drill damage the wood?
Not if you control speed, pressure, and use the correct attachments.
Do I need a variable-speed drill for sanding?
Yes, it helps you adjust speed for different woods and grits.
Can I polish wood with a drill too?
Absolutely. Replace sandpaper with buffing pads and polishing compound.
Is sanding dust dangerous?
Yes, always wear a mask and use ventilation or dust collection.
What’s better: drill sanding or orbital sanding?
Orbital sanders are better for large areas, drills for detail work.
Can I remove paint or varnish with a drill?
Yes, coarse-grit discs or flap wheels can strip finishes efficiently.
How do I prevent swirl marks when using a drill?
Keep motion consistent, sand with the grain, and switch grits gradually.
Do I need to clean the wood after sanding?
Yes, always wipe with a tack cloth to remove leftover dust.
Can I use sanding drums on metal or plastic?
Yes, but check the grit type — use only wood-rated abrasives for timber.
Conclusion
Sanding wood with a drill is a game-changer for DIYers and professionals alike. It combines speed, precision, and convenience in one compact tool.
By choosing the right attachments, controlling speed, and following the correct grit sequence, you can achieve professional-level finishes without buying extra sanders.
Remember to work with patience — let the tool do the job instead of forcing it. Stay safe, keep your workspace clean, and inspect your surface after each grit.
Your drill may have started as a hole-maker, but with the right approach, it becomes a versatile sanding tool capable of shaping, smoothing, and refining wood to perfection.
Once you master these techniques, every project — from furniture to crafts — will look smoother, cleaner, and more refined.
Now you know exactly how to sand wood with a drill — and how to make every piece shine with effortless precision.

I’m John F. Nicholas, the founder, lead writer, and drill enthusiast behind 101drill.com. With years of hands-on experience in power tools and DIY projects, I created this platform to share practical knowledge, expert tips, and real-world insights to help others master the art of drilling.