
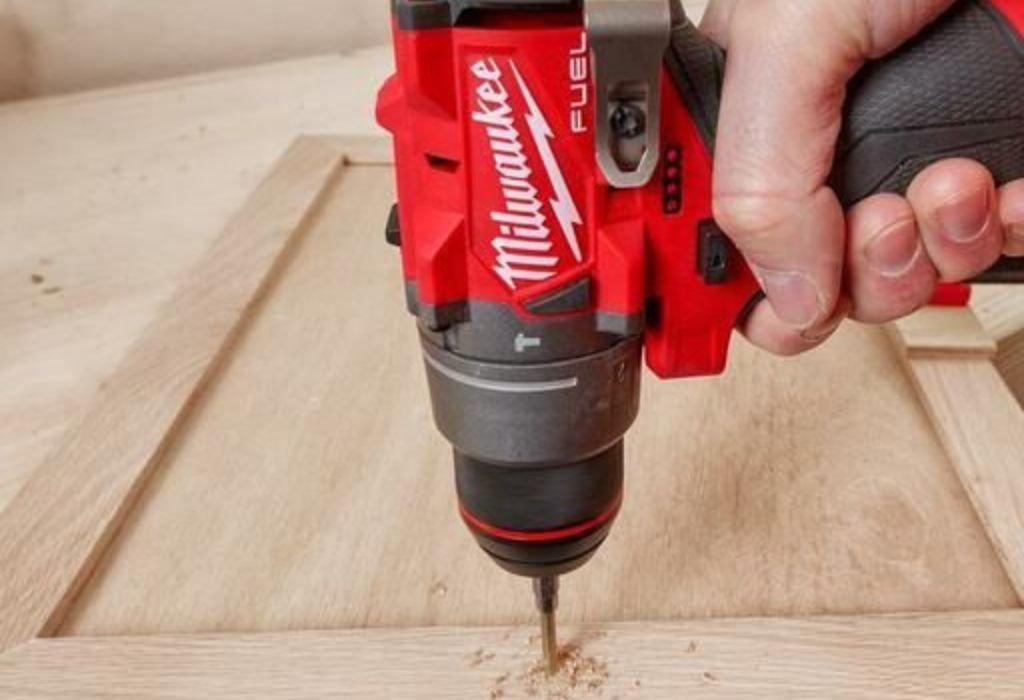
You’re standing in your workshop, drill in hand, staring at a piece of wood. You’ve just finished a few holes in concrete using a masonry bit, and now you’re wondering, can the same bit handle wood too? It looks sharp enough, strong enough, and if it can pierce through stone, surely wood should be a breeze.
That’s one of those tempting moments that every DIYer or builder faces. After all, why change bits if one can do it all?
But here’s the hidden truth: masonry and wood couldn’t be more different in how they react to drilling. One shatters; the other slices. One resists with dust; the other yields in fibers.
A masonry bit can technically go through wood, but the results will rarely be pretty. The hole will be rough, the surface may splinter, and the bit will dull much faster than it should. In some cases, the wood may even burn or split, leaving an uneven finish that ruins the project.
Yet the question is worth exploring because in a pinch, many people end up doing it anyway. In this guide, you’ll learn how masonry bits actually work, what happens when you push one through wood, how to minimize damage if you must, and which drill bits are truly designed for the job.
What a Masonry Bit Is Designed For
A masonry bit is one of the toughest types of drill bits ever made — but not for the reason most people think. It’s not sharp like a knife; it’s strong like a hammer. Instead of cutting through materials, it crushes them.
At its tip sits a piece of tungsten carbide, one of the hardest industrial metals in the world. This tiny blade does the heavy lifting.
When paired with a hammer drill, the bit doesn’t just spin — it punches, thousands of times per minute. The result is a rapid chipping motion that pulverizes surfaces like brick, mortar, or stone into fine dust.
The spiral flutes along its shaft serve a crucial purpose — to remove that dust as quickly as it’s created. This keeps the hole clear and prevents heat buildup inside dense material. For concrete or tile, this system is flawless. It delivers precision and power in every push.
But wood is nothing like concrete. Instead of being brittle, it’s fibrous, flexible, and full of natural resins. The structure of wood requires slicing, not smashing. Masonry bits don’t have cutting edges; they have blunt carbide tips meant for impact. When that meets wood grain, the result is tearing and friction, not smooth drilling.
This mismatch in material and design means a masonry bit is overpowered for wood. You’ll end up with rough holes, smoke, and dull edges. It’s like trying to shave using a sandpaper block, possible, but painfully inefficient.
So while a masonry bit might look like the ultimate tool, its design makes it great at what it does, and terrible at what it wasn’t meant to do.
How Wood Reacts When Drilled With a Masonry Bit
Wood is alive in ways masonry never is. It has fibers, grain direction, natural moisture, and temperature sensitivity. When a drill bit interacts with it, those qualities determine how clean or messy the outcome will be.
When a masonry bit meets wood, the first thing that happens is friction. The bit’s carbide tip, which is slightly blunt, grinds instead of slicing. This grinding motion rubs against the grain, creating resistance and heat. Within seconds, the bit grows hot enough to scorch the wood, leaving behind dark burn marks or smoke.
Because the bit can’t carve cleanly, it starts tearing the fibers apart. Instead of smooth shavings, you get rough splinters and ragged edges. The spiral flutes — designed to carry away dust — fill up with sawdust instead, clogging quickly. Once that happens, the bit loses efficiency, and the heat rises even faster.
The deeper you drill, the worse it gets. The bit may start to wobble, especially in softwood, causing oversized, uneven holes. In hardwood, the tip may dull before you’re halfway through. The result is a hole that looks chewed rather than drilled.
In extreme cases, the heat and pressure can cause the wood to crack. If you’re drilling near the edge of a board, it might even split clean through.
This is why woodworkers rarely improvise with masonry bits. The energy that makes them perfect for concrete simply doesn’t translate to organic materials. Wood wants finesse — not force.
Can a Masonry Bit Drill Through Wood?
Let’s cut to the chase: yes, a masonry bit can drill through wood, but the results are so rough that you’ll wish you hadn’t tried.
Masonry bits are made for grinding through brittle surfaces, not cutting through fibers. When they hit wood, their tip doesn’t slice into the grain — it crushes it. That action produces uneven holes, excessive heat, and often leaves behind a burnt or fuzzy texture around the edges.
If you’re drilling into softwood, like pine or cedar, the bit might make it through with minimal effort. But on hardwoods like oak or walnut, it’ll struggle. The bit dulls fast, the drill motor strains, and smoke usually appears before you finish.
Hammer mode? Forget it. Turning that on will only worsen the damage. The hammering motion causes the fibers to explode outward, leaving cracked surfaces and splintered edges.
Can it be done in an emergency? Sure — if it’s a small hole, a slow speed, and no hammering. But it’s not worth it. Masonry bits are expensive, and using them on wood shortens their life dramatically.
The safer, cleaner, and faster route is always to use the right bit. Wood bits are sharp, pointed, and efficient — designed to glide through grain instead of fighting it.
So yes, it’s possible. But just because something can be done doesn’t mean it should be done.
What Happens When You Try It Anyway
If you’ve ever tested this theory, you already know the signs. The bit begins spinning, and for a moment it feels like it’s working. Then, almost immediately, the resistance builds. The drill starts whining, smoke rises, and you smell something burnt.
That smell? It’s a mix of heated resin, wood sap, and friction. The blunt tip of the masonry bit is grinding away at the fibers, producing heat faster than the wood can dissipate it.
When you pull the bit out, the hole is rough. Around the edges, you’ll notice chipped splinters and scorch marks. Inside, the walls feel uneven — sometimes conical, sometimes fuzzy. If you used too much pressure, the bit tip will appear blackened and dull.
Keep going like this, and the drill itself begins to overheat. The bearings strain, the chuck loosens, and your once-sharp masonry bit becomes a useless chunk of metal.
And the wood? It’s scarred, uneven, and often cracked, especially near the ends or joints.
This experience is a perfect demonstration of why material-specific tools exist. Masonry bits excel where wood bits fail — and vice versa. The wrong match doesn’t just create bad results; it shortens tool life and can even cause safety risks.
So, the next time you feel tempted to test it “just once,” remember: the result might work for the hole, but it won’t work for the project.
When It Might Work
Sometimes, necessity beats logic. If you only have a masonry bit and need to make one hole in wood, there’s a safe way to do it — but it requires patience and precision.
Start by setting your drill to low speed. High speed creates friction fast, and friction means heat. Slow speed gives you control and reduces the chance of burning the surface.
Next, make sure the drill is in rotary mode only — never hammer mode. Hammering may be great for concrete, but it’ll turn your wood into splinters in seconds.
Use masking tape over the drilling area. Tape holds the surface fibers together and prevents splintering when the bit exits. If you’re drilling all the way through, tape the back side too.
Apply gentle, steady pressure — don’t force it. Let the bit scrape slowly into the wood. Stop every few seconds to clear sawdust and allow the bit to cool. You can even add a few drops of light oil or wax to reduce friction.
If you notice smoke or smell burning, pause immediately. Remove the bit, cool it down, and start again at a slower pace.
When done, clean the hole edges with sandpaper to remove any fuzz or burn marks.
This isn’t a recommended long-term technique, but it can save you in an emergency. Still, for consistent work, switching to the proper wood bits will always give you faster, cleaner, and safer results.
Best Drill Bits for Wood (The Right Alternatives)
Woodworking requires precision, and that precision starts with the right drill bit.
Brad Point Bits are the most common. They feature a sharp central spur that guides the bit perfectly, preventing slipping. Their outer spurs slice cleanly through wood fibers before the body removes material, leaving smooth, round holes.
Spade Bits are wide and flat, perfect for drilling large holes quickly. They’re ideal for framing or rough carpentry but should be used at controlled speeds to avoid tear-out.
Auger Bits are heavy-duty and built for deep drilling in thick lumber. Their wide flutes pull chips out efficiently, keeping the bit cool and the hole consistent.
Forstner Bits are used for precision jobs like cabinet hinges or decorative inlays. They create flat-bottom holes with perfectly clean edges.
Each of these bit types works by cutting along the grain — not grinding across it. That’s the main difference from masonry bits. Wood bits are sharp, efficient, and purpose-built for clean drilling.
If you often switch between materials, it’s wise to keep a separate bit set for wood, metal, and masonry. It saves both time and tool life — and guarantees a professional finish on every project.
Safety Tips for Drilling Wood
Drilling wood may sound simple, but it’s easy to make costly mistakes.
Always secure your workpiece with clamps before starting. A spinning board can cause serious injury if the bit catches unexpectedly.
Wear safety glasses to protect against splinters or flying debris. Wood fibers can be unpredictable, especially when using the wrong bit.
Avoid excessive speed. High RPMs generate heat, which burns wood and dulls bits. Adjust speed based on the bit size — larger bits require slower rotation.
Keep both hands on the drill and maintain a steady stance. Sudden kickbacks can happen if the bit binds inside the hole.
When drilling through delicate or visible surfaces, start with a small pilot hole first. It keeps the final bit centered and prevents tear-out on exit.
Lastly, always unplug your drill before changing bits, and store them in dry conditions to prevent rust or dulling.
A careful approach isn’t just safer — it produces better, more professional results every single time.
Conclusion
So, can a masonry bit drill through wood? The answer is yes — but it’s like cutting bread with a hammer. It’ll work, but you won’t like the result.
Masonry bits are built for brute force, not finesse. They thrive on concrete and crumble stone like nothing else, but when it comes to wood, their design simply doesn’t fit the task.
Using them on wood causes rough holes, scorch marks, splintered edges, and a damaged bit. Sure, it’ll get you through in an emergency, but for anyone serious about woodworking, it’s not worth the risk or frustration.
The right wood bits — like brad point, auger, spade, or Forstner bits — are sharper, cooler, and far more precise. They give you smooth, clean holes every time and protect both your material and your drill.
So next time you face a wooden board with only a masonry bit nearby, pause for a second. Ask yourself if it’s worth the smoke, splinters, and scorched holes.

I’m John F. Nicholas, the founder, lead writer, and drill enthusiast behind 101drill.com. With years of hands-on experience in power tools and DIY projects, I created this platform to share practical knowledge, expert tips, and real-world insights to help others master the art of drilling.