
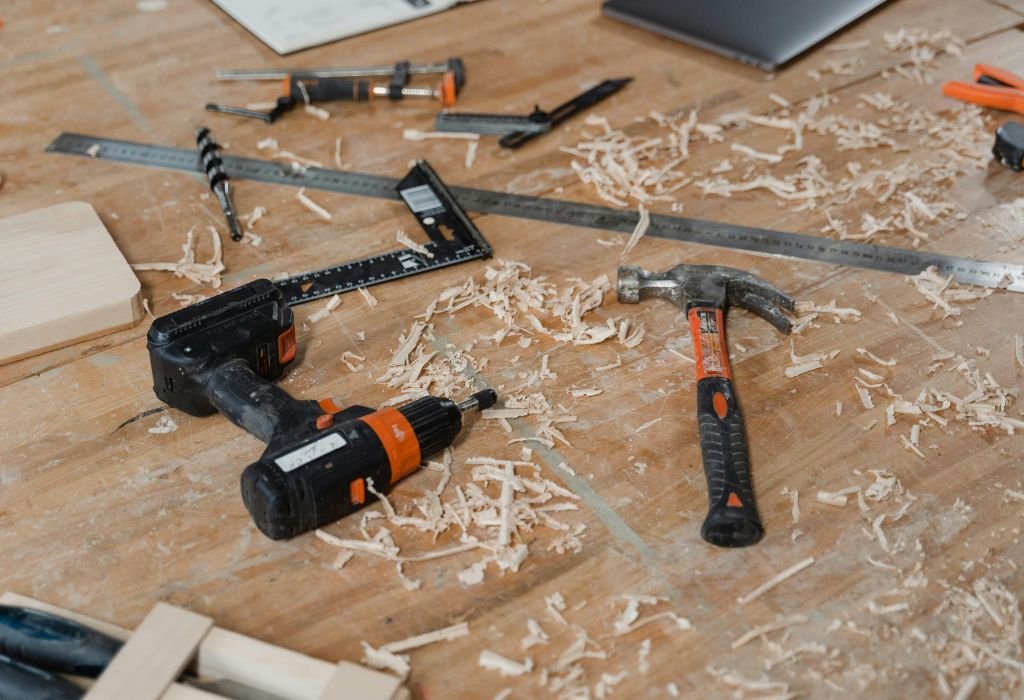
Power tools often intimidate beginners, yet nearly 78% of DIY homeowners prefer cordless drills as their first tool because of their versatility and ease of use (Statista).
A cordless drill can transform simple projects into professional-looking results, but many first-time users make mistakes that cost time, money, and materials.
The good news is that learning to use one properly takes less time than most people think.
From assembling furniture to hanging shelves, a single drill can handle dozens of tasks if you understand its settings, bits, and techniques.
The challenge for beginners is knowing where to start—battery installation, speed control, torque settings, and safety steps all seem overwhelming at first glance.
But with the right guide, you can go from nervous novice to confident DIYer in one afternoon.
This article breaks everything down into simple steps, complete with tips, troubleshooting advice, and pro techniques for perfect results every time.
By the end, you will know exactly how to use a cordless drill safely, efficiently, and like a pro.
Understanding the Basics of a Cordless Drill
Cordless drills are among the most versatile tools in modern DIY and professional toolkits, offering freedom from cords and outlets while maintaining power and precision.
Before you start drilling holes or driving screws, it’s important to understand what a cordless drill is, how it works, and why it’s essential for almost every household and workshop project.
A cordless drill operates using a rechargeable battery pack, usually lithium-ion, which provides consistent power without the need for external electricity sources.
It’s designed to handle drilling tasks through various materials, from wood and metal to plastic and masonry, depending on the drill bit and settings used.
For beginners, knowing the different parts of the drill makes learning easier and helps prevent misuse or damage.
The key components include the chuck, which holds the drill bit; the trigger, controlling the speed; the torque adjustment ring for power settings; the forward/reverse switch for drilling or removing screws; and the battery pack powering the tool.
Some drills also feature built-in lights for better visibility, multiple speed settings, and ergonomic designs to reduce fatigue during extended use.
Cordless drills come in several types, such as drill drivers, hammer drills, and impact drivers, each serving different purposes.
For general household tasks like assembling furniture, drilling pilot holes, or hanging pictures, a basic drill driver is more than enough.
However, if you plan to drill into concrete or masonry, you might need a hammer drill, while impact drivers excel at heavy-duty screw driving.
Understanding these basics ensures you pick the right drill for your needs and use it correctly from the start.
Choosing the Right Cordless Drill for Your Needs
Before buying a cordless drill, it’s important to think about your specific projects and skill level. Choosing the right model ensures better performance, safety, and long-term value.
Power and voltage are two of the most important factors to consider. Drills typically range from 12V for light tasks to 20V or more for heavy-duty work.
Battery type also makes a big difference in convenience and runtime. Modern drills use lithium-ion batteries because they charge quickly, last longer, and don’t suffer from “memory effect” like older nickel-cadmium batteries.
The weight and ergonomic design affect how comfortable the drill feels during long tasks. A lighter, well-balanced drill with a comfortable grip prevents fatigue and improves accuracy.
Speed and torque settings matter for versatility. Look for a drill with variable speed control and an adjustable clutch so you can adapt to different materials and screw sizes.
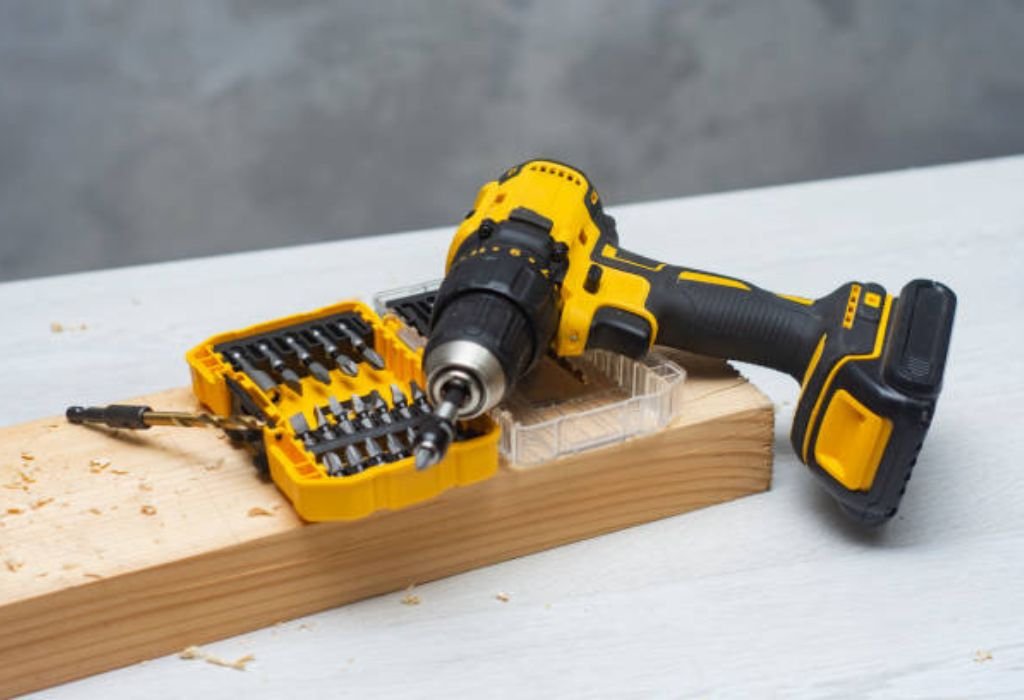
Don’t forget about essential accessories like drill bits, screwdriver bits, and carrying cases. Some kits also include spare batteries and fast chargers, which save time during big projects.
For beginners, brands like DeWalt, Makita, Bosch, Black+Decker, and Ryobi offer affordable yet reliable options. These models balance power, durability, and ease of use for DIYers and hobbyists.
Buying a quality drill at the start prevents headaches later, reducing the need for frequent repairs or upgrades. A good beginner drill should feel simple but still have room for skill growth as you tackle bigger projects.
Safety First – Preparing to Use a Cordless Drill
Safety is the most important part of learning how to use a cordless drill, especially for beginners. Taking the right precautions protects you, your workspace, and your tool from unnecessary accidents.
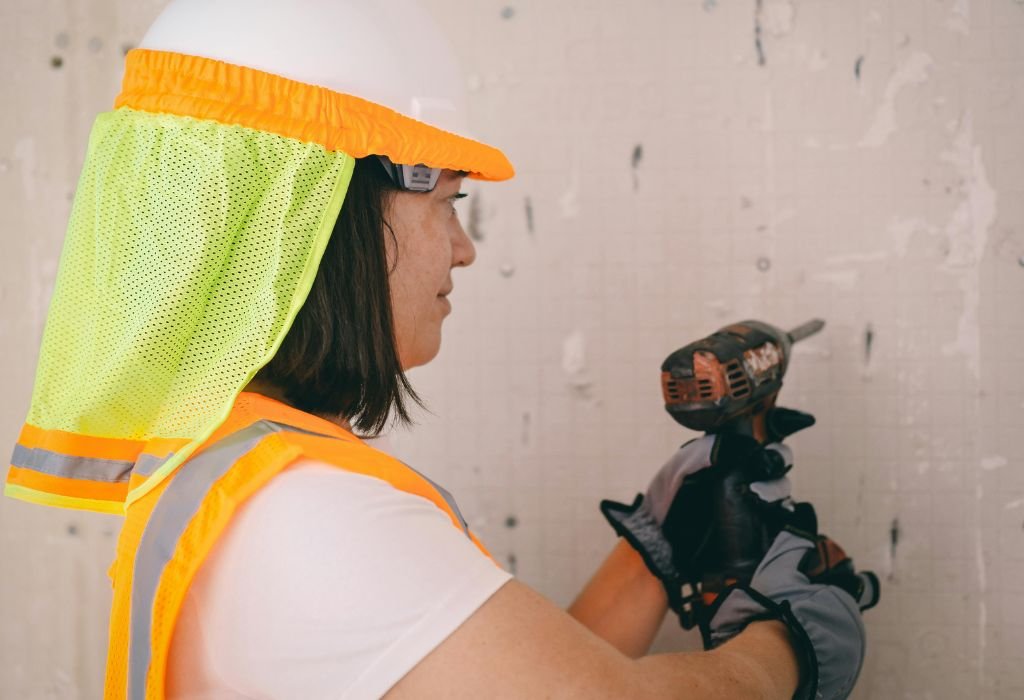
Start with a safety gear checklist before you even pick up the drill. Safety glasses shield your eyes from flying debris, gloves protect your hands, and ear protection helps in noisy environments.
A clutter-free workspace prevents tripping hazards and allows you to move freely while drilling. Make sure the surface you’re working on is stable, well-lit, and free of obstructions.
Understanding the built-in safety features of your drill adds another layer of protection. The torque clutch prevents overdriving screws, while the forward/reverse switch gives you control when removing bits or screws safely.
Check that the drill bit is secured properly in the chuck before starting. Loose bits can slip, break, or cause damage to the material and the drill itself.
Always unplug or remove the battery when changing bits or cleaning the drill. Even a small accidental trigger pull can cause injury if the drill powers on unexpectedly.
By practicing these safety steps consistently, you build confidence and good habits for every project. A safe workspace means fewer mistakes, better results, and a more enjoyable drilling experience.
Beginner’s Step-by-Step Guide to Using a Cordless Drill (Detailed Version)
Learning how to use a cordless drill becomes much easier when the process is broken into small, easy-to-follow steps. Each step builds confidence and ensures you use the tool safely and effectively.
1. Charging and Installing the Battery Properly
Start by connecting the battery pack to the charger and plug it into a standard outlet. Most cordless drills have an LED indicator that turns green when fully charged, so wait until it shows full power before use.
Fully charged batteries deliver consistent torque and speed, making drilling smoother and more accurate. A half-charged battery often slows down mid-task, leading to incomplete holes or stripped screws.
Once charged, slide the battery pack into the bottom of the drill handle until you hear a firm click. A loose battery connection can cause the drill to stop suddenly while you are working
2. Choosing the Right Drill Bit for the Job
Each project requires a different type of drill bit designed for the material you are working with. For example, wood bits have a pointed tip, metal bits are often made of high-speed steel, and masonry bits have a carbide tip.
Check the drill bit size carefully because using the wrong size can make holes too big or too small. Most drills include a bit-size guide in the manual, so refer to it if you are unsure.
For screw driving, use screwdriver bits instead of drilling bits. This prevents damage to the screw heads and gives a cleaner finish.
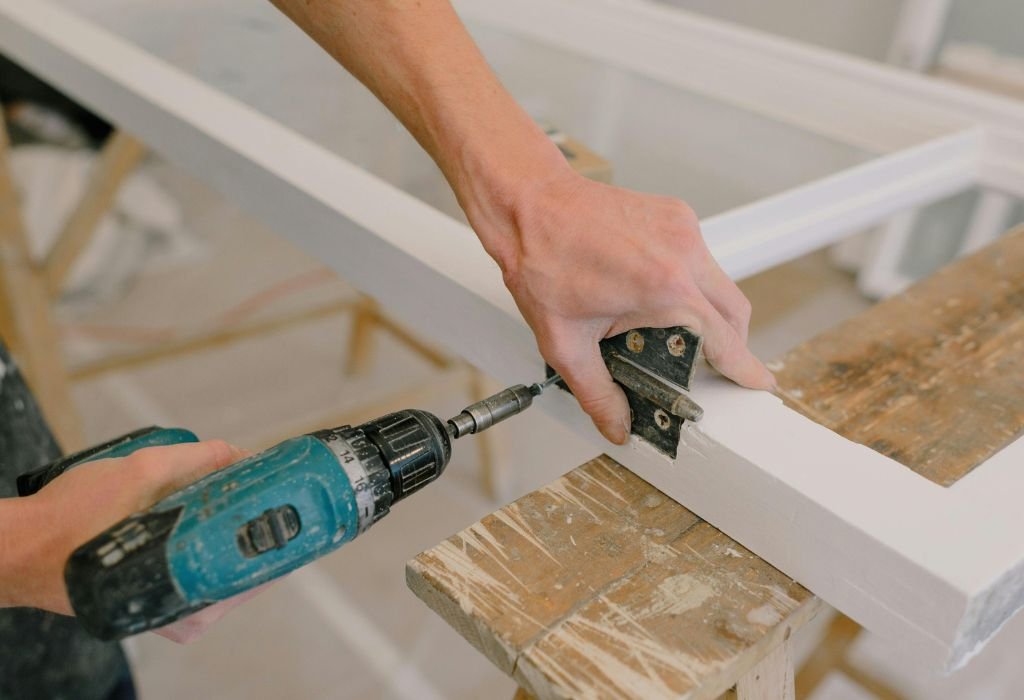
3. Installing the Drill Bit Securely
Open the chuck by rotating it counterclockwise until the jaws are wide enough to insert the bit. Place the drill bit straight into the center and make sure it sits evenly.
Tighten the chuck by hand by turning it clockwise until it grips the bit firmly. For keyless chucks, keep tightening until you hear a clicking sound to ensure the bit doesn’t slip during drilling.
A loose bit can wobble, damage the surface, or even fly out, so double-check tightness before turning the drill on.
4. Setting the Correct Speed and Torque
Cordless drills usually have a speed selector switch labeled “1” for low speed and “2” for high speed. Use low speed for driving screws and high torque, and switch to high speed for drilling holes through softer materials like wood or plastic.
The torque adjustment ring lets you control how much force the drill applies before stopping. For beginners, start with a lower torque setting so you don’t overdrive screws or damage the surface.
5. Marking the Spot Before Drilling
Marking the drilling spot ensures precision and prevents the drill bit from slipping. Use a pencil or marker for wood and a center punch for metal or tile surfaces.
For large projects requiring multiple holes, measure and mark all drilling points before you start. This saves time and keeps the layout neat and professional-looking.
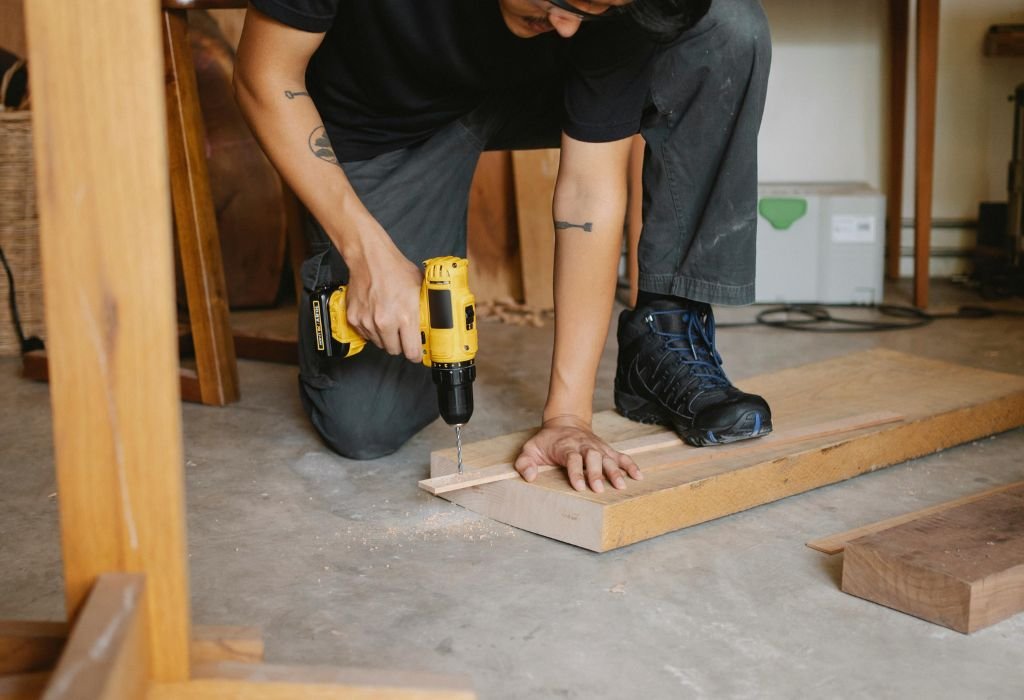
6. Holding the Drill Correctly for Maximum Control
Grip the handle firmly with your dominant hand while placing your other hand on the top of the drill or under the battery for balance. A two-handed grip gives better stability and reduces wrist strain.
Keep your elbows close to your body for better control instead of extending your arms fully. This stance prevents shaky drilling and ensures a straight hole every time.
7. Starting the Drill Slowly and Steadily
Position the drill bit tip exactly on the marked spot and press the trigger lightly to start at a slow speed. The bit should create a small guide hole before you apply full speed.
This approach prevents the bit from wandering across the surface and keeps the hole clean. Beginners often make the mistake of starting too fast, which leads to uneven drilling.
8. Applying Proper Pressure Without Forcing the Drill
Let the drill do the work instead of forcing it into the material. Applying too much pressure overheats the motor and wears out the drill bits quickly.
Use steady, consistent pressure and keep the drill perpendicular to the surface. This ensures the hole stays straight and prevents binding or kickback.
9. Drilling Through Different Materials Safely
For wood, maintain moderate speed and keep the bit clean by lifting it occasionally to remove sawdust. For metal, use a slower speed and apply cutting oil to keep the bit cool.
Masonry surfaces require special carbide-tipped bits and, ideally, a hammer-drill setting if your model supports it. Always check the drill manual to confirm compatibility before tackling tough materials.
10. Removing the Bit and Finishing the Task
Once the hole is drilled, release the trigger and wait for the bit to stop spinning completely before removing it. Pulling out too quickly can damage the hole edges or break the bit.
Switch the drill to reverse mode if you need to back out screws. This prevents stripping the screw head and saves you from using extra tools.
11. Cleaning and Storing the Drill After Use
Wipe down the drill body and chuck with a clean, dry cloth to remove dust and debris. Avoid using water or wet cloths because moisture can damage the motor.
Remove the battery before storing to extend its lifespan and prevent accidental power-ups. Store the drill, bits, and battery in a cool, dry location away from direct sunlight.
1. How long should I charge a cordless drill battery before first use?
Most cordless drill batteries take between 1–3 hours for a full charge. Always check the charger’s indicator light to avoid overcharging and extend battery life.
2. Which drill bit is best for wood vs metal?
Use standard twist bits or brad-point bits for wood and high-speed steel (HSS) bits for metal. Masonry requires carbide-tipped bits designed for concrete or brick.
3. How do I stop the drill bit from slipping inside the chuck?
Tighten the chuck firmly by hand or use a key if your drill requires one. Make sure the bit is straight and seated deep before tightening.
4. What speed setting should I use for beginners?
Start with low speed and high torque for better control when driving screws. Switch to higher speeds only after you feel comfortable with the drill.
5. Why does my drill bit wander across the surface when I start drilling?
This happens if you start too fast or don’t mark the drilling spot properly. Use a center punch or pilot hole to guide the bit and prevent slipping.
6. How much pressure should I apply while drilling?
Apply steady, moderate pressure so the bit cuts smoothly without forcing it. Too much pressure overheats the motor and wears out the bit quickly.
7. Can I drill into metal or tile with a regular cordless drill?
Yes, as long as you use the correct bit and go slowly to prevent overheating. For tile or concrete, use specialized bits and low speed for precision.
8. How do I remove a drill bit safely after drilling?
Release the trigger, wait for the bit to stop spinning completely, then rotate the chuck counterclockwise. Always remove the battery before changing bits for safety.
9. Should I clean the drill after every use?
Yes, wiping off dust and debris after every project prevents buildup inside the chuck and motor vents. It also helps the drill last longer and run smoothly.
10. Where should I store my cordless drill and batteries?
Store them in a cool, dry place away from direct sunlight or moisture. Removing the battery before storage prevents accidental power-ups and preserves battery health.
Tips and Techniques to Drill Like a Pro
Learning the basics is essential, but mastering a few expert techniques will take your drilling skills to the next level. These methods help you achieve cleaner holes, faster work, and more professional results.
One of the most important tips is to use pilot holes before driving large screws or drilling bigger holes. A small pilot hole prevents splitting wood and makes the final drilling much easier and more accurate.
To drill perfectly straight holes, use a drill guide or create a simple jig from scrap wood. This keeps the drill bit aligned vertically and prevents angled or uneven holes.
When drilling through wood, place a scrap board behind the workpiece to avoid splintering as the bit exits. This technique leaves smooth edges on both sides of the hole for a professional finish.
For long drilling tasks, pause occasionally to clear debris from the bit. Sawdust, metal shavings, or concrete dust can clog the bit and increase friction, making the drill work harder.
If you want to countersink screws, use a countersink bit or a combination bit that drills a pilot hole and countersink in one step. This allows screw heads to sit flush or slightly below the surface for a cleaner look.
Always start drilling at a slow speed, then gradually increase speed as the bit bites into the material. This technique gives you more control and prevents wandering or slipping.
When drilling into metal, apply a drop of cutting oil to the bit tip. It reduces friction, keeps the bit cool, and extends its lifespan significantly.
Keep an eye on the drill’s battery level during longer projects. Swapping in a fully charged battery before the current one dies prevents interruptions and maintains drilling power.
Finally, practice on scrap material before starting an important project. It builds confidence and lets you fine-tune speed, pressure, and drill settings before working on the real surface.
Common Mistakes Beginners Make (and How to Avoid Them)
Even with the right tools, beginners often run into avoidable problems when using a cordless drill. Knowing these common mistakes and how to prevent them saves time, effort, and frustration.
One major mistake is using the wrong drill bit for the material. Wood, metal, and masonry each require specific bits, and the wrong choice leads to poor results or damaged tools.
Another frequent error is over-tightening screws, which can strip the screw head or damage the surface. Beginners should use adjustable torque settings to stop the drill at the right point automatically.
Skipping pilot holes is another beginner issue, especially when working with hardwood or thick materials. Pilot holes prevent splitting, keep screws straight, and make drilling smoother.
Some users start drilling at full speed immediately, which causes the bit to slip across the surface. Starting slowly and building speed gradually keeps the drill under control.
Forcing the drill with too much pressure is a common beginner problem that burns out bits and overheats the motor. Letting the drill do the work with steady, moderate pressure produces cleaner results.
Many people also forget to secure the material properly before drilling. Using clamps or a vice prevents the material from moving and ensures accurate drilling.
Failing to maintain the drill by cleaning off dust, checking battery health, and lubricating moving parts reduces its lifespan. Simple care habits keep the drill performing at its best for years.
Finally, ignoring safety gear like goggles or gloves leads to preventable accidents. A few seconds spent putting on protection prevents serious injuries from flying debris or slipping tools.
Cordless Drill Maintenance and Battery Care
Proper maintenance keeps your cordless drill performing like new and prevents unexpected breakdowns. A few simple habits can extend the life of both the tool and its battery significantly.
Start by cleaning the drill after every use to prevent dust and debris from building up. Use a dry cloth to wipe the body, chuck, and ventilation slots so air can flow freely through the motor.
Check the chuck and drill bits regularly for signs of wear or damage. A worn-out bit makes drilling harder, while a dirty chuck may struggle to grip the bit tightly.
Lubricate the moving parts like the chuck jaws occasionally with light machine oil. This keeps the chuck rotating smoothly and prevents rust from forming over time.
Battery care is just as important as drill maintenance. Lithium-ion batteries last longer if you avoid completely draining them before recharging.
Always use the charger provided by the manufacturer to avoid overcharging or damaging the battery cells. Some advanced chargers have auto shut-off features that stop charging once the battery is full.
Store batteries in a cool, dry place away from direct sunlight or extreme temperatures. Heat and moisture shorten battery life and reduce overall performance.
Remove the battery from the drill if you’re not using it for a long period. This prevents slow discharge and keeps the battery ready for your next project.
Finally, label batteries if you own multiple ones and rotate their usage. This ensures even wear across all batteries instead of wearing one out too quickly.
Troubleshooting Common Problems
Even with proper care, cordless drills sometimes develop small issues that are easy to fix at home. Knowing how to handle these problems saves time and prevents unnecessary repair costs.
If your drill won’t start, first check the battery charge level and ensure it is inserted correctly. A dead or loose battery is the most common reason for power failure.
When the drill bit keeps slipping, inspect the chuck for dust or wear and tighten it fully around the bit. Switching to a fresh bit often solves slipping problems instantly.
If the drill feels underpowered or stalls, reduce the torque setting or switch to a lower gear. Pushing the drill too hard can overload the motor and drain the battery quickly.
For overheating issues, stop drilling and let the tool rest for several minutes before continuing. Drilling continuously without breaks generates heat that damages the motor and battery.
A battery draining too fast might indicate old or damaged cells. If it no longer holds a charge after full charging cycles, consider replacing it with a manufacturer-approved battery pack.
When the drill makes unusual noises, check for loose parts or worn gears. Lubricating moving parts sometimes fixes the problem, but persistent noise may require professional service.
If you see sparks inside the motor, stop using the drill immediately. This can signal internal electrical problems that need expert inspection.
Finally, always read the user manual troubleshooting section before assuming the drill is broken. Many issues have simple fixes that require no extra tools or skills.
Advanced Drilling Tips for DIY Projects
Once you’ve mastered the basics, you can use your cordless drill for far more than just drilling holes. These advanced techniques help you work faster and achieve professional-quality results on every project.
For furniture assembly or shelving, use depth stops or tape on the bit to ensure consistent hole depth. This prevents overdrilling and keeps all holes uniform, especially for multiple shelves or brackets.
To create large holes for pipes or wiring, attach a hole saw bit to your cordless drill. These specialized bits cut precise circles through wood, plastic, and even thin metal.
Cordless drills can also handle countersinking screws so they sit flush or slightly below the surface. A countersink bit creates a conical opening, allowing screw heads to disappear neatly into the material.
You can even mix paint or drywall compound using a mixing paddle attachment. Just start at low speed to prevent splashing and increase gradually as the mixture thickens.
When working on walls, use a stud finder before drilling to avoid electrical wiring or plumbing pipes. This keeps your projects safe and prevents costly damage.
For repetitive drilling tasks, use a drill guide or jig to maintain perfect alignment. These inexpensive tools save time and ensure accuracy across multiple holes.
If you want to hang cabinets or heavy objects, use toggle bolts or wall anchors with your drill. They provide extra holding power on drywall and hollow walls.
Finally, experiment with angled drilling techniques using a right-angle drill attachment. This allows you to reach tight spaces where a standard drill won’t fit.
FAQs – Quick Answers for Beginners
1. What is the easiest cordless drill for a beginner to use?
Lightweight models with simple controls, like an 18V drill driver, are best for beginners. These drills balance power and ease of use without overwhelming features.
2. How long does a cordless drill battery usually last?
Most lithium-ion batteries last 3–5 years with proper care. Charging before complete depletion and storing in cool, dry places extends their life.
3. Can I use a cordless drill as a screwdriver?
Yes, cordless drills can drive screws with the right screwdriver bits. Use the torque setting to avoid stripping screw heads or overdriving them.
4. How do I know which drill bit size to use?
The size depends on the screw or anchor you plan to insert. Check the packaging of screws or wall plugs for the recommended bit size.
5. Why does my drill bit keep slipping in the chuck?
This happens if the chuck isn’t tightened enough or the bit is worn. Always insert the bit fully and turn the chuck until it clicks tightly in place.
6. What safety gear should I wear when using a cordless drill?
Wear safety goggles, gloves, and hearing protection for longer drilling tasks. These prevent injuries from flying debris, slipping tools, or loud noise.
7. Can I drill into concrete with a cordless drill?
Yes, but you need a hammer drill function and masonry bits. Standard drill drivers struggle with hard materials like brick or concrete.
8. Why does my drill stop suddenly while drilling?
This may be due to low battery power, too much pressure, or an overloaded motor. Reduce pressure, recharge the battery, or adjust the torque setting.
9. How can I drill straight holes without a drill press?
Use a drill guide or a homemade wooden jig to keep the drill aligned. Some right-angle attachments also help maintain straight drilling angles.
10. What’s the best speed for drilling metal vs wood?
Use low speed and steady pressure for metal to prevent overheating. For wood, medium to high speed works well with sharp bits.
11. Why is my drill overheating after a few minutes?
Continuous use without breaks causes heat buildup. Stop drilling for a few minutes to let the motor and battery cool down.
12. How do I prevent wood from splitting when drilling?
Drill a pilot hole before inserting screws, especially in hardwood. This reduces stress on the material and keeps it from cracking.
13. How do I maintain my cordless drill battery?
Avoid full discharges, charge before storage, and use the original charger. Rotate multiple batteries evenly to prevent uneven wear.
14. What is torque on a cordless drill?
Torque is the twisting power the drill applies to screws or bits. Adjustable torque settings prevent overdriving and protect materials from damage.
15. Why won’t my drill hold a charge anymore?
Batteries lose capacity over time due to repeated charging cycles. Replacing the battery pack usually fixes this problem if the drill itself works fine.
16. Can I use one cordless drill for all materials?
Yes, if you use the correct drill bits for each material. For hard materials like concrete or tile, you may need specialized bits and slower speeds.
17. How often should I clean my cordless drill?
Clean the drill after every major project to prevent dust buildup in the chuck and motor vents. A quick wipe-down after each use also helps.
18. Why is my drill making a grinding noise?
This could be due to loose internal parts or worn-out gears. Stop using the drill and check for maintenance needs or professional servicing.
19. What’s the best way to store drill bits?
Keep bits in a labeled case or magnetic strip to prevent dulling and misplacement. Store them in a dry place to avoid rust.
20. Can I leave the battery on the charger overnight?
Most modern chargers stop charging automatically when full, but it’s safer to unplug after charging. Over time, continuous charging may shorten battery life.
Conclusion
Learning how to use a cordless drill doesn’t have to feel intimidating or overwhelming. With the right steps, tools, and safety habits, even complete beginners can handle drilling tasks like seasoned DIYers.
From charging the battery and choosing the correct drill bits to mastering speed settings and drilling techniques, every step plays a role in achieving professional results. Consistency and practice help you build confidence quickly while avoiding common beginner mistakes.
Cordless drills open the door to countless home improvement and creative projects. Shelves, furniture, garden structures, and even simple repairs become easier when you know how to use your tool properly.
By following this guide, you now have the knowledge to handle basic drilling, troubleshoot small problems, and care for your drill so it lasts for years. The key is to start small, stay safe, and learn from each project you complete.
Soon enough, you’ll find that the cordless drill isn’t just another power tool in your garage—it’s a skill-building companion for all your DIY goals. Every hole you drill adds to your experience and turns intimidating tasks into simple weekend projects.

I’m John F. Nicholas, the founder, lead writer, and drill enthusiast behind 101drill.com. With years of hands-on experience in power tools and DIY projects, I created this platform to share practical knowledge, expert tips, and real-world insights to help others master the art of drilling.