
Working on concrete or masonry can quickly become frustrating when ordinary drills fail to deliver. Bits slip, motors overheat, and progress slows to a crawl.
This is when many DIYers and professionals turn to a tool designed for the toughest jobs: the rotary hammer drill.
Unlike standard drills, a rotary hammer combines rotation with powerful hammering action. This unique mechanism allows it to break through concrete, brick, and stone with ease.
For anyone tackling renovations, construction, or heavy-duty home projects, learning how to use a rotary hammer drill is a skill that saves both time and effort.
The demand for reliable masonry drilling has grown with the rise of home improvement projects.
In fact, the global power tools market is projected to reach $45 billion by 2030, with rotary hammers playing a key role in that growth (Grand View Research).
More homeowners and tradespeople are investing in these drills for their strength, speed, and versatility.
However, while powerful, rotary hammer drills can also intimidate beginners.
Improper use can damage materials, wear out bits prematurely, or even cause injury.
That’s why understanding the right setup, techniques, and safety practices is essential.
In this guide, we’ll walk through how to use a rotary hammer drill step by step.
You’ll learn when to use it, how to prepare, proper drilling techniques, and safety measures.
Whether you’re hanging shelves on a brick wall or drilling anchors into a concrete slab, this article will give you the confidence to handle the job like a professional.
What Is a Rotary Hammer Drill and When to Use It?
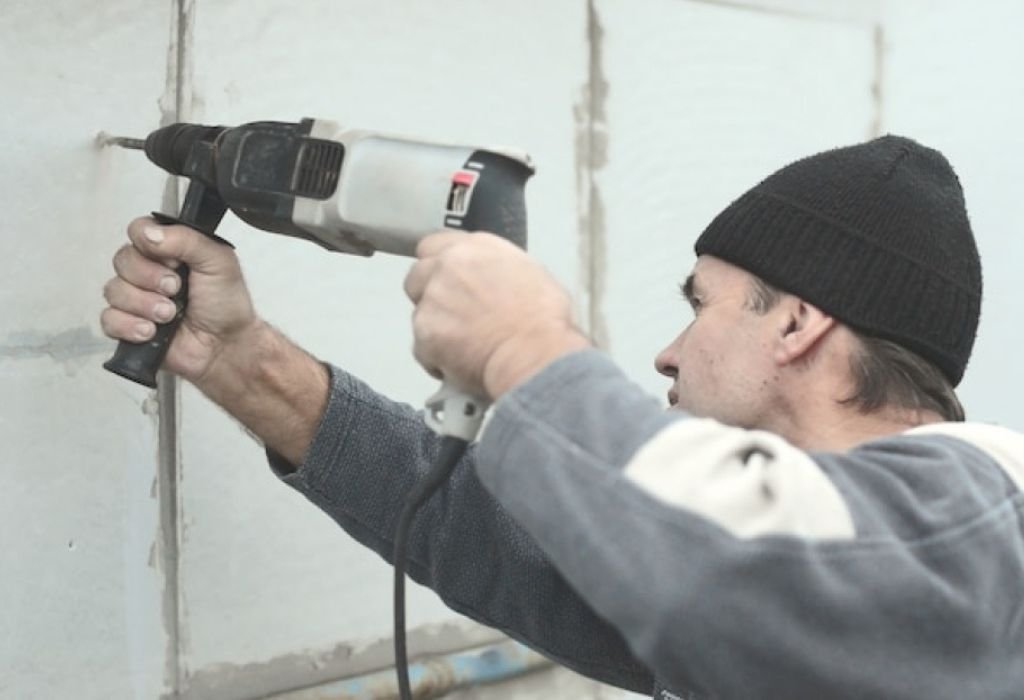
A rotary hammer drill is a heavy-duty power tool designed for drilling into hard materials like concrete, brick, and stone. It uses a piston mechanism to deliver a strong hammering force combined with rotation, making it far more effective than a standard drill or hammer drill.
This tool is especially useful for construction, renovation, or DIY projects that involve anchoring bolts, installing fixtures, or running wiring through masonry. Unlike traditional drills, it not only drills holes but also breaks through dense surfaces with minimal effort.
Is a rotary hammer the same as a hammer drill?
No. While both combine drilling and hammering, a rotary hammer delivers much more power and is suited for tougher jobs.
When should you use a rotary hammer drill?
Use it when working with concrete, masonry, stone, or other dense materials that regular drills can’t handle.
Can it be used on wood or metal?
Yes, but only with the proper setting. For softer materials, switch to drill-only mode and use the right bit.
Why is it better than a regular drill for masonry?
Its hammering mechanism transfers more force, letting you drill faster and with less strain.
Is it suitable for home DIY projects?
Absolutely. While often used by professionals, many homeowners rely on rotary hammers for tasks like mounting shelves on brick or securing anchors in concrete.
Key Features of a Rotary Hammer Drill
Understanding the features of your rotary hammer drill helps you use it correctly and extend its lifespan.
Most rotary hammers include multiple operating modes: drill-only, hammer-only, and hammer-drill. Drill-only is for softer materials, hammer-only is for chiseling, and hammer-drill is for concrete and masonry.
They also use SDS (Slotted Drive System) bits, which lock into place more securely than traditional drill bits, preventing slipping during heavy-duty work.
What are SDS bits?
SDS bits have grooves that fit into the drill’s chuck, allowing quick changes and a strong grip.
Why are multiple modes important?
They let you adapt the tool for drilling, chiseling, or light demolition.
Do rotary hammers need special bits?
Yes. Standard drill bits won’t fit properly; you’ll need SDS or SDS-Plus bits.
Can you use it for chiseling tiles or concrete?
Yes, switch to hammer-only mode and attach a chisel bit.
Is a rotary hammer overkill for small jobs?
For light drilling, yes. But for masonry, it saves effort and prevents damage to bits and materials.
Preparing Before You Drill
Preparation is crucial for safe and efficient use. Start by selecting the correct bit for your task. For masonry, use a carbide-tipped SDS bit. For chiseling, use a flat or pointed chisel.
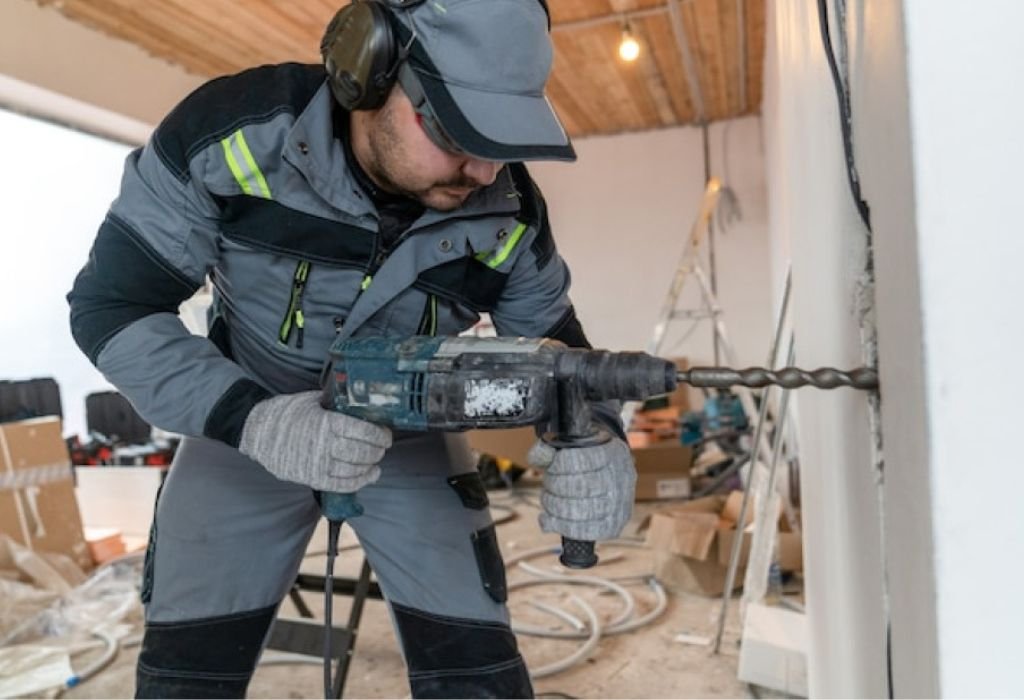
Mark your drilling spot and ensure the surface is stable. Wear protective gear, including safety glasses, dust mask, and gloves. Check your drill’s power source—whether corded or cordless—and make sure the battery is fully charged or the cord is in good condition.
Do you need to mark drilling spots?
Yes. Marking ensures accuracy and prevents mistakes.
What protective gear is essential?
Glasses, dust mask, gloves, and hearing protection.
Should you check for pipes and wires?
Always. Use a stud finder or detector to avoid hitting hidden utilities.
How do you choose the right bit?
Match the bit type to your material and task—carbide bits for masonry, chisels for demolition.
Do you need to lubricate bits?
For deep holes, yes. Cooling the bit with water can prevent overheating.
Step-by-Step: How to Use a Rotary Hammer Drill
- Set the mode – Choose hammer-drill for masonry, hammer-only for chiseling, or drill-only for softer surfaces.
- Insert the bit – Slide the SDS bit into the chuck until it locks in place.
- Position the drill – Hold it with both hands, perpendicular to the surface.
- Start slow – Begin at low speed to guide the bit before applying full power.
- Apply steady pressure – Let the hammer action do the work; don’t force it.
- Clear debris – Pull the bit out occasionally to remove dust.
- Finish carefully – As you near the end, reduce pressure to avoid cracking the material.
Do you need to push hard when drilling?
No. Light pressure is enough; the hammering does the work.
What speed should you use?
Start slow, then increase as the bit stabilizes.
How do you prevent overheating?
Pause occasionally, cool the bit, and clear dust.
Can you drill overhead?
Yes, but use caution, safety glasses, and firm support.
How deep can you drill?
Depth depends on your bit, but most rotary hammers handle ½-inch to 1½-inch holes easily.
Safety Tips for Using a Rotary Hammer Drill
Rotary hammers are powerful tools, so safety should never be overlooked. Always wear protective equipment and keep both hands on the drill. Use side handles for stability.
Avoid loose clothing and tie back long hair. Keep the drill perpendicular to the surface to prevent bit binding. If the bit jams, release the trigger immediately.
Do rotary hammers create dust hazards?
Yes. Always use dust collection or wear a mask.
Can kickback occur?
Yes. If the bit jams, the drill may twist suddenly. Hold it firmly.
Should children use rotary hammers?
No. These are professional-grade tools.
Is hearing protection necessary?
Yes. The hammering action can exceed safe noise levels.
What if the drill smells or overheats?
Stop immediately. Check for overload or worn parts.
Common Mistakes to Avoid
Many beginners push too hard, thinking more force means faster drilling. This only wears out the motor and bits. Another mistake is using the wrong bit for the job, leading to poor results and damaged materials.
Skipping protective gear or ignoring dust control are also frequent errors. Always follow manufacturer guidelines for bit size and depth.
What happens if you push too hard?
It stresses the motor and may break the bit.
Is using a standard bit a mistake?
Yes. Use SDS bits only for proper fit and strength.
Why is dust control important?
Dust clogs holes, overheats bits, and harms your lungs.
Can the wrong setting damage the tool?
Yes. Drilling on hammer-only in wood or metal can ruin the surface.
Do beginners often skip safety steps?
Yes, but protective gear prevents injuries.
Maintenance and Care for Rotary Hammer Drills
Proper maintenance extends the life of your drill. Clean dust and debris after each use. Check and replace worn brushes, bits, and cords. Store in a dry place.
Lubricate moving parts if recommended by the manufacturer. For cordless models, store batteries at half charge to prolong lifespan.
How often should you clean the drill?
After every use. Dust can damage internal parts.
Do SDS bits wear out?
Yes. Replace when tips become dull.
Should you oil the chuck?
Yes, if the manual recommends it.
Can you store it in a damp place?
No. Moisture causes rust and electrical issues.
How long does a rotary hammer last?
With care, 5–10 years for DIY use, less under constant heavy-duty use.
Conclusion
Learning how to use a rotary hammer drill like a professional is a valuable skill for both DIYers and contractors. This powerful tool makes drilling into concrete, brick, and stone easier, faster, and more efficient. By understanding its features, preparing properly, using correct techniques, and following safety guidelines, you can complete tough projects with confidence.
Avoiding mistakes and maintaining your drill ensures it will serve you for years. Whether you’re anchoring shelves, running wiring, or chiseling tiles, a rotary hammer drill is your best ally for heavy-duty work.

I’m John F. Nicholas, the founder, lead writer, and drill enthusiast behind 101drill.com. With years of hands-on experience in power tools and DIY projects, I created this platform to share practical knowledge, expert tips, and real-world insights to help others master the art of drilling.