
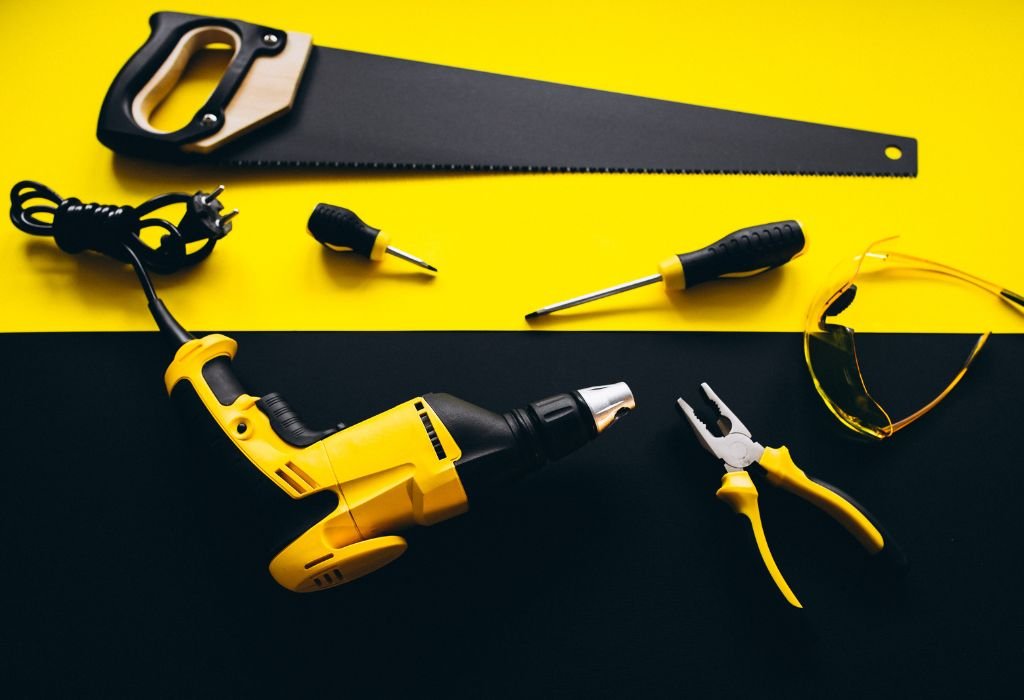
A workbench cluttered with drills, batteries, and tangled cords slows every project.
The solution is learning how to build a cordless drill holder that keeps tools organized, charged, and ready to go.
Most walls have studs spaced 16 inches on center, making it easy to mount a sturdy and safe holder with the right fasteners (Popular Mechanics).
Safety matters too because lithium-ion batteries require airflow, certified chargers, and protection from heat sources (NFPA).
DIY guides show compact wall-mounted stations with drill slots, charger shelves, and cord management systems for a neat finish (Instructables, Home Depot).
French cleat systems make the cabinet removable, self-leveling, and locked securely to the wall under heavy load.
This article explains step-by-step how to build a cordless drill holder and how to build a cordless drill organizer with batteries, chargers, and storage options included.
By the end, the shop gains a professional-grade station that keeps tools off the bench, charged, and easy to find when projects begin.
What This Project Solves and Delivers

Every shop reaches the point where drills, drivers, chargers, and batteries spread across the workbench, wasting time and space. A cordless drill holder keeps everything organized, off the bench, and ready to use.
It provides fast access, safe charging bays, and prevents damage from tools piling on top of each other. A well-built holder also keeps cords under control, reducing hazards in a busy shop environment.
This project also answers how to build a cordless drill organizer that expands to hold batteries, bits, and even a power strip with surge protection.
How many drills should a holder fit?
Plan for at least 3–5 slots for drill, driver, and impact tools.
Is wall mounting better than benchtop placement?
Yes, wall mounting frees workspace and centralizes charging.
Can this double as a charging station?
Yes, add a power strip, cord routes, and ventilation gaps.
Does it work in small garages or sheds?
Yes, vertical wall storage saves floor and bench space.
Will it hold impacts and drivers too?
Yes, slot dimensions fit most pistol-grip cordless tools.
Planning the Build — Dimensions, Layout, and Capacity
Good planning ensures the holder fits tools, batteries, and chargers comfortably without wasting material. Start by measuring the handle width, chuck length, and battery height of each tool.
Leave ventilation space above chargers for safety, and make slots wide enough for the largest tool to slide smoothly without snagging.
A 3/4-inch plywood carcass with 12–14 inches of depth gives enough strength and clearance for drills and charger shelves.
What material thickness works best?
3/4-inch plywood provides rigidity for heavy tools.
How wide are typical slots?
2–2.5 inches per slot works for most drill handles.
How deep should the cabinet be?
12–14 inches accommodates drills and batteries comfortably.
Is a back panel necessary?
Yes, for mounting to studs or a French cleat rail.
Should batteries get their own cubbies?
Yes, this avoids tangled cords and speeds battery swaps.
Tools and Materials Checklist (with Cut List Call-Outs)
A cordless drill holder uses common materials and simple woodworking tools. The main components include plywood, screws, wood glue, and basic shop hardware.
Essential tools: circular saw or table saw, drill/driver, pocket-hole jig, clamps, tape measure, square, sander, and stud finder.
Materials: 3/4-inch plywood sheet, 1-1/4 inch screws, wood glue, power strip, cable grommets, and optional edge banding for a cleaner look.
Are pocket holes strong enough for this build?
Yes, when combined with glue, they create solid joints.
Do dados or rabbets help with alignment?
Yes, they add strength and make assembly easier.
What finish works best?
Polyurethane or paint protects surfaces from dust and oil.
Is edge banding required?
No, but it creates a smooth, professional appearance.
Any must-have safety gear?
Use glasses, hearing protection, and a dust mask while cutting.
Mounting Method — French Cleat vs. Direct-to-Stud
Two popular mounting options are French cleat systems and direct stud mounting. French cleats allow the cabinet to be lifted off the wall for cleaning or shop rearrangement.
Direct mounting works well for permanent installations and requires fewer materials, but the cabinet stays fixed in one spot.
French cleats use two beveled boards interlocking at 45 degrees, one on the wall, one on the cabinet back.
Which is stronger for shop cabinets?
Both are strong when mounted into wall studs.
How far apart are typical wall studs?
16 inches on center is common in most walls.
Can drywall anchors be used instead of studs?
Not for heavy cabinets—always mount into studs for safety.
What screws work best for mounting?
Use structural screws or heavy-duty cabinet screws.
Does a French cleat require hardwood?
No, plywood works if properly fastened and sized.
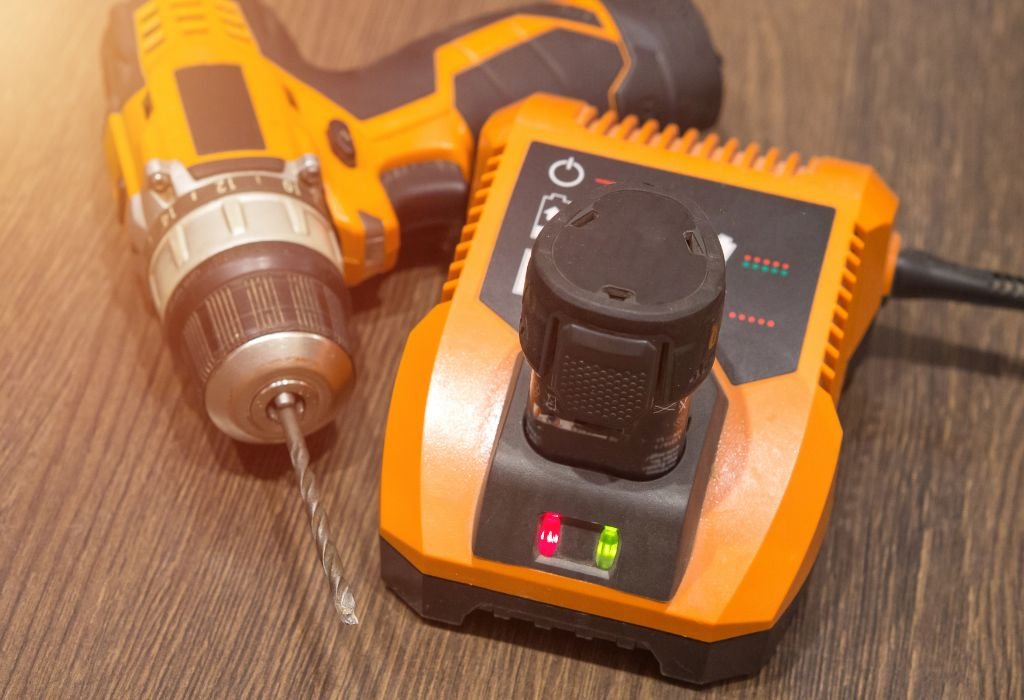
Electrical Setup — Safe Charging and Cable Management
Integrating a power strip transforms the holder into a charging station for drills and batteries. Keep cables organized with grommets, cable clips, or Velcro straps to avoid messy tangles.
Allow airflow around chargers because lithium-ion batteries heat up while charging. Never block ventilation holes or mount chargers in tightly enclosed spaces.
Add a surge-protected power strip to safeguard tools from voltage spikes. Mount the strip on the side or top of the cabinet for easy access and cord routing.
Is it safe to charge batteries inside the holder?
Yes, if airflow is maintained and chargers follow manufacturer guidelines.
Should chargers be on a timer?
Yes, timers prevent overcharging by shutting off power automatically.
Do grommets help with cable routing?
Yes, they protect cables from wear and create a clean look.
Is surge protection necessary?
Yes, it protects chargers and batteries from power fluctuations.
Can batteries be stored while charging?
Yes, but avoid direct sunlight and extreme heat areas.
Step-by-Step Build — How to Build a Cordless Drill Holder
Start by cutting all plywood pieces using a circular saw or table saw. Label each part according to your cut list to prevent mistakes.
Assemble the cabinet box first, using wood glue and pocket-hole screws. Next, cut U-shaped slots on the bottom panel for the drill handles to slide into.
Add shelves for chargers and batteries, drilling cord pass-through holes before final assembly. Sand edges smooth to prevent snagging when inserting tools.
How to cut U-shaped slots accurately?
Use a jigsaw or hole saw for clean, rounded slot openings.
Do slots need edge protection?
Yes, sand edges or add trim to prevent scratching tools.
What assembly order works best?
Assemble the main box, then add shelves and slot panels.
How to keep the cabinet square?
Check diagonals before fastening the back panel or cleat.
When to apply finish?
Before final assembly for hard-to-reach interior surfaces.
Finishing Touches — Organizer Add-Ons and Labeling
Add small drawers for drill bits, hooks for accessories, or a magnetic strip for driver bits under the shelf. A labeled layout ensures each tool returns to its slot.
Apply a polyurethane coat or paint for durability and dust resistance. Light-colored paint makes it easier to see tools in dim shops.
If using a French cleat, label the top edge for alignment marks when reinstalling after shop rearrangements.
Do magnetic strips help with organization?
Yes, they hold bits and small metal accessories securely.
Can pegboard sections be integrated?
Yes, for hanging tools like pliers or wrenches beside drills.
Is labeling worth the extra effort?
Yes, labels save time when multiple people share the shop.
Should extra outlets be added?
Yes, for chargers, lights, or future tool expansions.
Do drawers improve organization?
Yes, they keep small accessories from cluttering shelves.
Safety Checklist — Shop, Wall, and Battery Precautions
Mount the cabinet into wall studs using heavy-duty screws or structural fasteners. Drywall anchors alone cannot support the weight of loaded tools and chargers.
Keep batteries away from heat sources and maintain ventilation during charging to prevent overheating. Follow all safety guidelines provided by the battery manufacturer.
Wear safety glasses, hearing protection, and a dust mask during cutting, drilling, and sanding to prevent injuries.
What PPE is essential during the build?
Safety glasses, ear protection, gloves, and dust masks.
How to confirm wall stud locations?
Use a stud finder or measure 16 inches from corners.
Should flammable materials be stored nearby?
No, keep charging stations away from solvents or fuels.
Is fire risk a concern with lithium-ion batteries?
Yes, avoid overcharging and use manufacturer-approved chargers.
Do ventilation gaps really matter?
Yes, airflow prevents heat buildup and extends battery life.
Common Mistakes and How to Avoid Them
Several common mistakes can weaken the cabinet or create safety hazards. Rushing cuts often leads to uneven slots that snag drill handles.
Blocking charger ventilation slots is another problem that can overheat batteries and shorten their lifespan.
Mounting into drywall alone instead of studs risks the entire cabinet pulling free under load, especially when tools and chargers add weight.
Why do drills get stuck in the slots?
Slots cut too narrow or with rough edges cause snagging.
Why do chargers overheat in some cabinets?
Poor ventilation or enclosed spaces trap heat around chargers.
Why do cabinets sag over time?
Weak joints or mounting into drywall instead of studs.
What causes cords to look messy?
No grommets, clips, or cord management built into the design.
How to prevent alignment problems during assembly?
Mark reference lines and dry-fit panels before adding screws.
Cost, Time, and Skill Level
Building a cordless drill holder is budget-friendly and requires only basic woodworking skills. One sheet of 3/4-inch plywood is often enough for the main structure.
The entire project typically takes 4–8 hours depending on finishing touches like drawers, paint, or labeling.
This build is beginner-friendly with simple cuts, screws, and glue, but rewards careful measuring and planning for a professional look.
What’s the approximate cost for materials?
Under $100 for plywood, hardware, and a power strip.
Is this project suitable for beginners?
Yes, basic carpentry skills and tools are enough.
How much time does it take to finish?
Most builds fit into a single weekend.
Are detailed printed plans necessary?
Not required but helpful for beginners to stay organized.
Can scrap wood be used instead of new plywood?
Yes, as long as structural parts remain full thickness.
Future-Proofing and Conclusion — How to Build a Cordless Drill Holder That Lasts
Designing extra slots and modular sections ensures the holder works as your tool collection grows. French cleat systems let you relocate or expand the cabinet easily when rearranging the shop.
Adding extra outlets, drawers, and battery cubbies now prevents rebuilding later as more tools or chargers appear.
The finished project solves the problem of cluttered workbenches and scattered chargers. It keeps tools secure, batteries organized, and charging safe with proper ventilation and cord management.
Is this project worth the effort?
Yes, it saves time and space while protecting expensive tools.
What is the single biggest safety tip?
Mount into wall studs and leave airflow gaps for chargers.
How can the design adapt over time?
Use modular sections, removable cleats, and expansion bays.
Does this improve shop workflow?
Yes, tools stay charged, labeled, and ready for use.
Where should beginners start?
Gather measurements, plan slot sizes, then cut panels first.

I’m John F. Nicholas, the founder, lead writer, and drill enthusiast behind 101drill.com. With years of hands-on experience in power tools and DIY projects, I created this platform to share practical knowledge, expert tips, and real-world insights to help others master the art of drilling.