
A homeowner sets out to anchor a heavy shelf into a concrete wall. The screws look strong, the impact driver feels powerful, but halfway in, the Tapcon refuses to budge.
The bit slips, the screw binds, and frustration sets in. Many have faced this moment, unsure if the tool is wrong or if the method is flawed.
Curiosity sparks the question: can an impact driver really handle Tapcon screws in tough concrete?
The answer is yes, but success depends on preparation and technique.
Tapcons are designed with hardened threads that cut into masonry, yet they demand a properly drilled pilot hole, accurate depth, and dust-free channels to grip with full strength.
Skipping these steps often leads to stripped threads or broken heads.
This matters because Tapcon screws are among the most widely used masonry fasteners in residential and commercial projects.
Industry reports note that over 70% of DIY installers encounter issues with Tapcon installation due to improper drilling or dust-filled holes (source).
Another study highlights that concrete fasteners can lose up to 50% of their holding power if holes are not cleaned before driving screws (source).
The good news is that with the right tools and a few expert adjustments, an impact driver can seat Tapcon screws quickly and securely.
This guide explains the process step by step, clarifies the role of hammer drills, and shares essential torque control tips.
Many professionals rely on these methods daily to secure framing, electrical boxes, or shelving. Learning the correct sequence makes concrete fastening less intimidating for DIY users.
By the end of this guide, readers will know how to avoid common pitfalls and achieve consistent, professional-quality results with Tapcon screws.
Can I use an impact driver for Tapcon screws?
An impact driver can be used for Tapcon screws, but only after the correct pilot hole is drilled with a hammer drill and a carbide masonry bit. The driver provides the torque and impact pulses needed to seat the threads into hardened concrete.
The key is preparation. Tapcons are engineered to cut threads into the wall of a hole with very tight tolerances. If the hole is undersized, dusty, or misaligned, even an impact driver will struggle.
Over-torquing is the most common mistake. While impact drivers deliver power, too much force at the end of installation can shear the screw head. Stopping as soon as the screw head meets the fixture surface prevents failures.
Impact drivers excel because their rotational pulses reduce the risk of bit cam-out compared to a regular drill. This makes them highly efficient for repeated fastenings in tough materials.
Still, driving Tapcons is not just about torque. Ensuring the hole dimensions match Tapcon’s requirements is what allows the impact driver to work effectively.
Does Tapcon allow impact tools?
Yes. Tapcon instructions note that an impact driver or torque wrench can be used for tightening after proper drilling and cleaning.
Can a drill driver replace an impact driver?
A standard drill driver can work, but an impact driver delivers higher torque pulses that reduce cam-out and make seating easier.
Do you still need a hammer drill?
Yes. A hammer drill is essential for creating the pilot hole in concrete. The impact driver is only for driving the screw.
Why do screws stop halfway?
Dust left in the hole creates friction that stalls the screw. Cleaning is critical.
Why do screw heads shear off?
Over-torque or using the wrong hole size can snap screw heads, especially with smaller diameters.
Tools and materials checklist
The right tools make Tapcon installation smoother and safer. Without them, even a strong driver will fail.
At minimum, you need a hammer drill, ANSI-rated carbide masonry bit, impact driver, the right screw head bit, and dust removal equipment. A depth stop and protective gear add safety and accuracy.
Having the correct accessories prevents frustration. Using a star or hex drive bit minimizes cam-out, while a depth stop ensures proper embedment.
Safety gear is equally important. Eye protection shields against flying chips, and hearing protection reduces the impact of high-noise tools.
What drill bit sizes match Tapcons?
Use 5/32″ for 3/16″ Tapcons and 3/16″ for 1/4″ Tapcons.
What embedment should be targeted?
Minimum 1″, maximum 1-3/4″, not including the fixture thickness.
How deep to drill?
At least 1/4″ deeper than the planned embedment to allow dust.
Do bits need ANSI compliance?
Yes, to maintain the hole tolerance Tapcon threads expect.
Which head style is easiest to drive?
Hex washer or star/Torx heads reduce cam-out compared to Phillips.
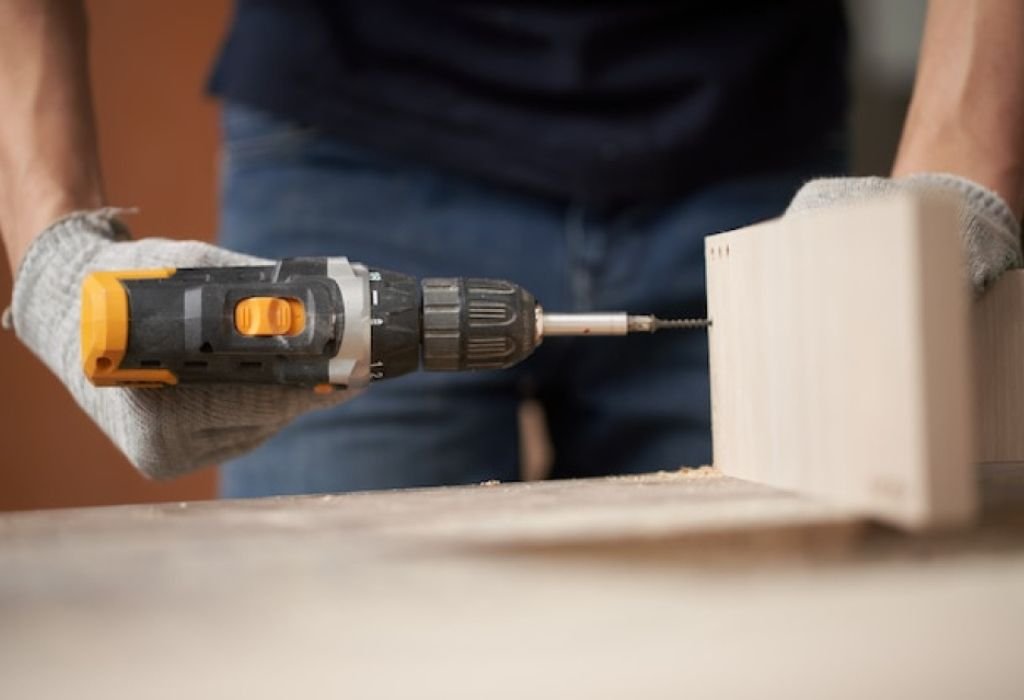
Step-by-step: drilling the pilot hole correctly
Drilling is the foundation of a successful Tapcon installation. Accuracy, depth, and cleanliness matter more than driver power.
Use a hammer drill at steady pressure, withdraw periodically to clear spoils, and always clean the hole before seating the screw.
Proper depth is crucial. Too shallow reduces embedment, while too deep risks weakening the holding capacity.
Cleaning the hole is non-negotiable. Even small amounts of dust act like ball bearings, preventing threads from biting into concrete.
Why 1/4″ extra depth?
It keeps dust from binding under the screw tip.
Is 1/2″ extra safer?
Some pros allow 1/2″ clearance for heavy dust.
What if the hole gets oversized?
Threads will not bite, so upsize to 1/4″ Tapcon or relocate the hole.
Can a regular drill make the hole?
It can in soft concrete, but progress is slow and bit wear is high.
Do you need to countersink?
Only when using flat heads and flush finishes.
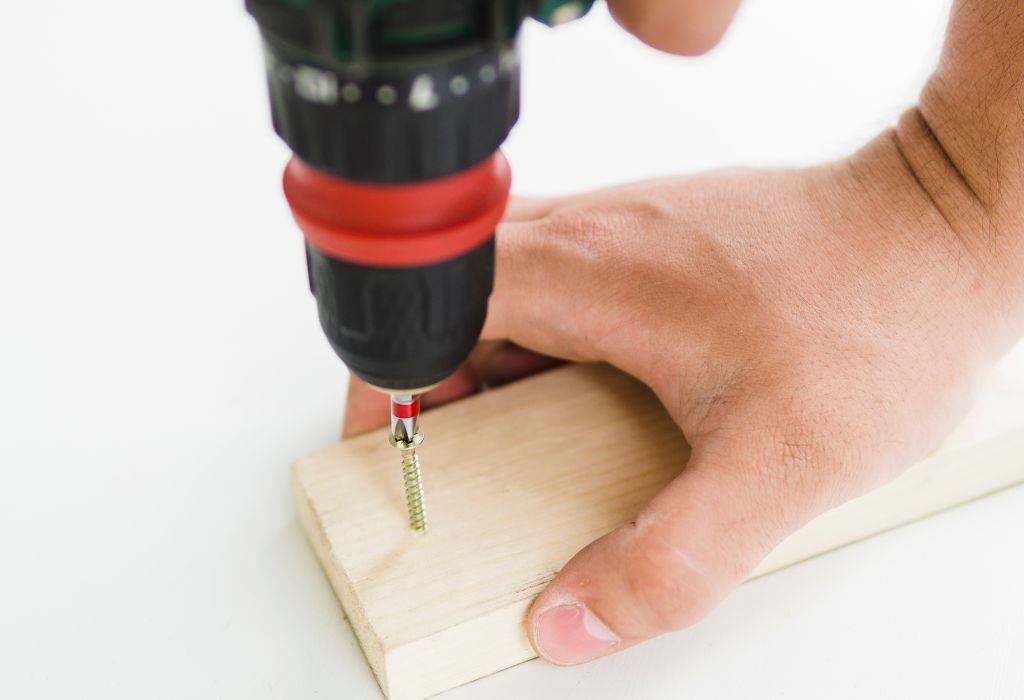
Step-by-step: driving Tapcon screws with an impact driver
After a clean, precise hole, an impact driver makes seating Tapcons faster. The pulses help drive threads into the concrete walls.
Feather the trigger near the end, as too much torque risks snapping heads. Listening for the pitch change when the head seats helps control force.
Start screws by hand before engaging the driver. This prevents cross-threading and aligns the screw with the pilot hole.
Avoid continuous full-speed driving. Short bursts give more control and reduce the chance of over-torquing.
What clutch setting should be used?
Impacts bypass the clutch, so feather the trigger and finish gently.
Why does the screw spin without advancing?
Dust or glazed hole walls are likely. Re-clean or redrill.
Can lubricant be used?
Avoid oils that trap dust. Use clean, dry holes per instructions.
What if the head starts to twist?
Stop immediately, back out, re-clean, and restart to avoid shearing.
Is a manual torque wrench better for final snugging?
For sensitive fixtures, yes.
Sizing rules: length, embedment, and spacing
Choosing the right length ensures full strength without overdriving. Too shallow and screws pull out; too deep and heads may snap.
Correct embedment is between 1″ and 1-3/4″. Edge spacing prevents cracks and ensures load distribution.
Screw length must account for fixture thickness plus embedment. Measuring both prevents misalignment or short holds.
Always check manufacturer charts for guidance. These ensure safe loads under both tension and shear.
What is the minimum embedment?
1 inch.
What is the maximum embedment?
1-3/4 inches.
Is deeper always stronger?
Strength increases until threads bind or heads shear.
What diameter is more reliable?
1/4″ Tapcons resist breakage better in hard concrete.
How to handle thin fixtures?
Use washers or shorter screws to keep embedment within range.
Common problems and quick fixes
Most Tapcon issues come from poor pilot holes or dust-filled channels. Over-torque adds to failures.
Identifying the cause helps fix problems quickly without damaging the workpiece.
If screws snap often, reassess hole size and driving technique. If threads strip, move the hole or use larger diameter screws.
Regularly replacing worn bits prevents undersized or oversized holes. Sharp tools make clean cuts in concrete.
Screw stops halfway every time?
Clean dust and ensure the correct bit size.
Heads keep snapping with an impact driver?
Reduce impacts at the end or finish by hand.
Hole too loose?
Up-size to 1/4″ Tapcon or relocate.
Bit burns out fast?
Use hammer mode with ANSI carbide bits.
Screw spins in hole after seating?
Threads stripped. Move location or use a larger diameter.
Safety and best practices
Fastening into concrete creates dust, noise, and vibration. Proper safety steps protect both users and materials.
Use PPE, clean holes thoroughly, and control torque to avoid breakage.
Keep a safe distance from edges to avoid cracking concrete. Maintain minimum spacing between holes for structural strength.
Always check for hidden pipes or electrical lines before drilling. Scanning tools or building plans reduce risks.
What PPE is required?
Eye and hearing protection are essential.
How to manage silica dust?
Use vacuums or blow-out bulbs and clean the hole thoroughly.
Can impacts damage brittle fixtures?
Yes, finish with low torque or hand tools.
Is pre-drilling through the fixture recommended?
Yes, to maintain alignment and tolerance.
Should stainless Tapcons be treated differently?
Follow the same hole rules and avoid galling with clean holes.
Performance basics to reference
Tapcon publishes strength data for tension and shear at different diameters and embedments. These numbers help guide safe use.
Following their charts ensures screws perform as tested in 3,000–4,000 PSI concrete.
Charts also highlight the difference between 3/16″ and 1/4″ screws. Larger diameters provide more strength but require larger pilot holes.
Data also shows the importance of embedment depth. Too shallow reduces pull-out resistance, while too deep may increase the risk of breakage.
Do published values assume clean holes?
Yes, they assume holes are drilled and cleaned correctly.
Does concrete strength change ratings?
Yes, higher PSI increases tension and shear values.
Are tables different for stainless Tapcons?
Values vary by diameter and concrete PSI.
Can user torque exceed screw limits?
Yes, over-torque can shear heads regardless of pull-out strength.
Is 1/4″ diameter safer for novices?
Often yes, due to reduced breakage risk.
Conclusion
Using an impact driver for Tapcon screws is possible, but preparation is everything. Drill the right hole, clean it thoroughly, and seat the screw with controlled impacts.
By following embedment rules and torque guidelines, Tapcons will hold securely in concrete. With these tips, even tough jobs can be handled confidently and safely.
Concrete fastening no longer has to be a frustrating task. With the right tools and methods, impact drivers become powerful allies in handling Tapcon screws.

I’m John F. Nicholas, the founder, lead writer, and drill enthusiast behind 101drill.com. With years of hands-on experience in power tools and DIY projects, I created this platform to share practical knowledge, expert tips, and real-world insights to help others master the art of drilling.