
You’ve glued two wooden boards together and the joint feels rock solid. Now you need to drill a hole — but a thought stops you: can you drill into wood glue? Will the bit slip, crack the joint, or weaken the bond?
This is one of the most common concerns among woodworkers and DIY builders. Wood glue creates strong, lasting joints, but drilling through them requires care and understanding. The wrong approach can undo hours of precise craftsmanship.
Drilling into wood glue isn’t just about strength — it’s about timing, technique, and the right tools. The glue behaves differently when wet, tacky, or fully cured. Knowing when and how to drill ensures the joint stays stable and the surface smooth.
In this guide, you’ll learn how wood glue reacts to drilling, how to test for readiness, and the safest ways to handle glued joints. Let’s separate the myths from the facts once and for all.
Understanding How Wood Glue Works
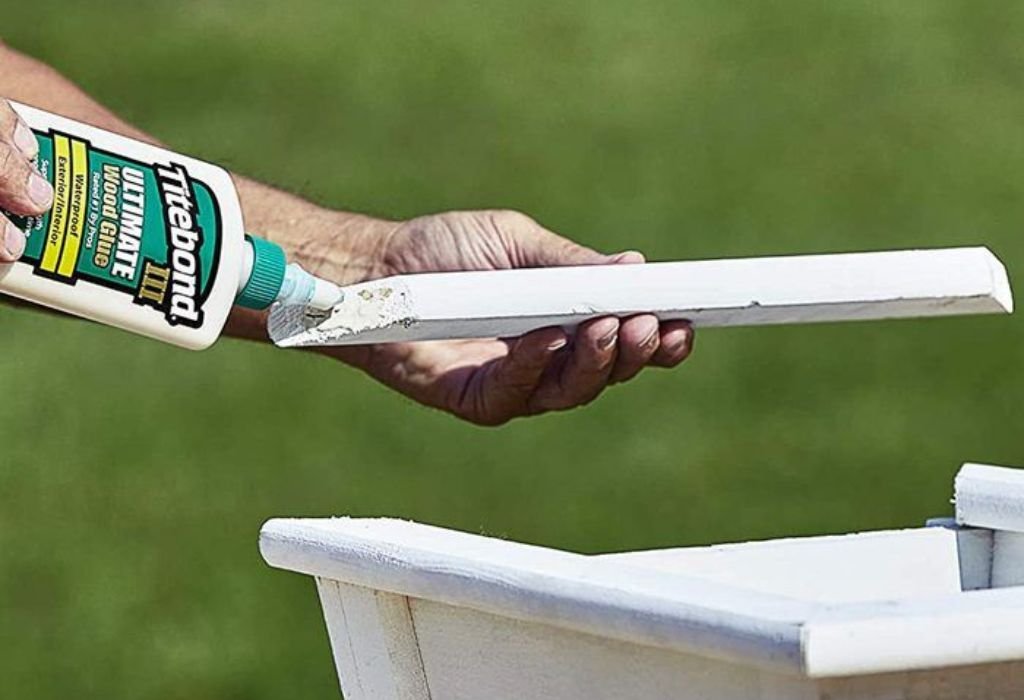
Wood glue doesn’t just stick wood together — it fuses the fibers on a molecular level. When applied, the liquid seeps into the pores of the wood and hardens as the moisture evaporates. The result is a bond that’s often stronger than the wood itself.
Most wood glues, like PVA (polyvinyl acetate), cure by water evaporation. As they dry, they form a tough plastic-like layer between the surfaces. Other types, like epoxy or polyurethane, create a chemical reaction that hardens into a durable structure.
When fully cured, wood glue can handle significant pressure, vibration, and even limited drilling. However, drilling too early — before the glue sets completely — can cause cracks or separation. The key is knowing when the glue has reached maximum hardness.
Moisture, temperature, and wood density affect curing time. Cooler, humid environments slow the process, while warmth and ventilation speed it up. Giving glue proper time to cure is the first rule before you ever pick up a drill.
Once hardened, the glued seam behaves like dense plastic embedded in the wood. This changes how a drill bit cuts through it compared to natural grain. Understanding this behavior helps prevent damage and ensures cleaner holes.
Wood glue’s strength comes from patience. Letting it cure completely before drilling preserves the integrity of both the bond and your project.
Can You Drill Into Wood Glue? The Short Answer
Yes, you can drill into wood glue — but only after it has fully cured. Once the adhesive hardens completely, it becomes strong enough to handle most drilling operations without losing strength. The trick is waiting long enough and using the proper bit.
Drilling into wet or semi-cured glue is a bad idea. Soft glue gums up the drill bit, smears on the surface, and may even tear the joint apart. Always allow at least 24 hours of curing, or follow the manufacturer’s recommendation.
Fully cured glue reacts differently than raw wood. It’s denser and less fibrous, which means the bit cuts slower and may generate more friction. Using moderate speed and pressure prevents overheating and chipping.
If you must drill through a glued seam, align the hole so that it passes cleanly through both glued and unglued sections. This keeps the drill centered and reduces wobbling. For extra precision, start with a smaller pilot hole first.
The answer depends on patience and technique. You absolutely can drill into wood glue — but only if you respect the curing process and handle it correctly.
When Is It Safe to Drill Into Wood Glue
Timing is everything. The most critical mistake beginners make is drilling before the glue has cured. Doing so risks weakening the bond permanently.
Most PVA wood glues need 24 hours to reach full cure. Some fast-drying versions may feel dry to the touch after an hour, but that doesn’t mean the bond has hardened internally. Always give the joint time to stabilize completely.
You can test readiness with gentle pressure. If the joint feels cold, flexible, or tacky, it’s still too wet. Fully cured glue feels warm, rigid, and seamless to the touch.
Temperature and humidity influence drying speed. At 70°F and moderate humidity, most wood glues cure overnight. In cooler or more humid rooms, waiting up to 48 hours is safer.
If you’re unsure, wait longer. It’s better to drill late than ruin a joint you spent hours aligning. Patience guarantees a stronger result every time.
Once the glue is cured, clamp removal and drilling can proceed without risk. Your joint will be solid, resilient, and ready for precision work.
Choosing the Right Drill Bit for Glued Joints
The type of drill bit determines how cleanly you cut through hardened glue. Because glue is denser than wood, bits designed for plastic or composite materials often perform better.
A brad-point bit is the best choice for general woodworking. Its sharp tip centers the hole precisely, while outer spurs slice the surface cleanly. This prevents chipping when transitioning from wood to glue.
For larger holes, auger bits or Forstner bits work well. They remove material efficiently and resist wandering when hitting the harder glue layer. Keep your drill steady to maintain straight alignment.
Avoid cheap or dull bits. Hardened glue dulls metal quickly, especially if you drill multiple holes. Sharpen or replace your bits frequently for smoother results.
If the joint is particularly thick, start with a smaller pilot hole first. This reduces pressure and keeps the bit from overheating. Step up gradually to your final diameter for a clean finish.
Coated or titanium-plated bits are more resistant to heat and glue buildup. They stay sharper longer and require less cleaning afterward. Choosing quality bits is an investment in precision and tool life.
Best Drilling Techniques for Glued Wood
Drilling through wood glue requires patience and control. Rushing the process leads to splintered edges and possible separation of the joint. Technique matters as much as the tools.
Start by marking your hole position clearly. Use a center punch or awl to make a shallow indentation. This helps the drill bit stay steady as it enters the harder glue layer.
Drill at medium speed using light, consistent pressure. Too much force can crack the seam, while too little creates uneven holes. The goal is smooth, controlled progress.
Back the bit out occasionally to clear chips and heat. Hardened glue produces fine dust that clogs flutes easily. Regular clearing keeps drilling efficient and prevents friction buildup.
Use a backing board when drilling all the way through. This prevents tear-out as the bit exits the wood. It’s especially useful when drilling near edges or on thin panels.
If you hear squeaking or smell burning, stop immediately. That means friction is too high. Slow the drill, clean the bit, and continue gently.
Proper technique ensures clean holes without compromising joint integrity. It’s all about steady motion and patience.
Drilling Into Different Types of Wood Glue
Not all glues behave the same way. The type of adhesive you used determines how it reacts to drilling. Knowing the difference helps you adjust your speed and pressure.
PVA wood glue is the most common and easiest to drill once dry. It hardens into a smooth, slightly plastic surface. Use medium speed and sharp bits for best results.
Polyurethane glue expands as it cures, filling gaps and creating a foamy core. It’s harder and more brittle to drill, so use slower speed and minimal pressure to prevent cracking.
Epoxy resin forms an extremely hard surface that can dull drill bits quickly. Carbide or titanium bits handle it best. Keep drilling speed low and let the bit do the work.
Hide glue, used in antique or fine woodworking, is more brittle once cured. It drills easily but can chip if you rush. Light pressure and a sharp bit prevent flaking.
Knowing your glue type lets you adapt your approach. Each adhesive has unique hardness and resistance levels, so one speed doesn’t fit all.
Avoiding Damage to the Joint While Drilling
Preserving joint strength is the top priority. Even perfectly cured glue can fail if drilled incorrectly. Simple precautions protect your hard work.
Never drill directly along the glue seam if it’s the only connection. That risks splitting the bond. Instead, offset your holes slightly so both wooden surfaces share the load.
If you must drill through the seam, clamp both sides tightly. This keeps pressure consistent and prevents the joint from separating. Clamps also reduce vibration during drilling.
Use low-to-medium speed with short bursts. High-speed drilling creates heat, softening glue temporarily. Controlled drilling maintains structural stability.
Avoid hammer drills or impact drivers for glued joints. Their vibration can crack the hardened adhesive. Stick to a standard variable-speed drill for precision.
After drilling, inspect the hole edges. If small cracks appear, fill them with wood glue or wood filler to reinforce the area. Light sanding afterward restores a clean finish.
Gentle handling during drilling maintains a joint as strong as the wood itself.
Safety and Maintenance Tips
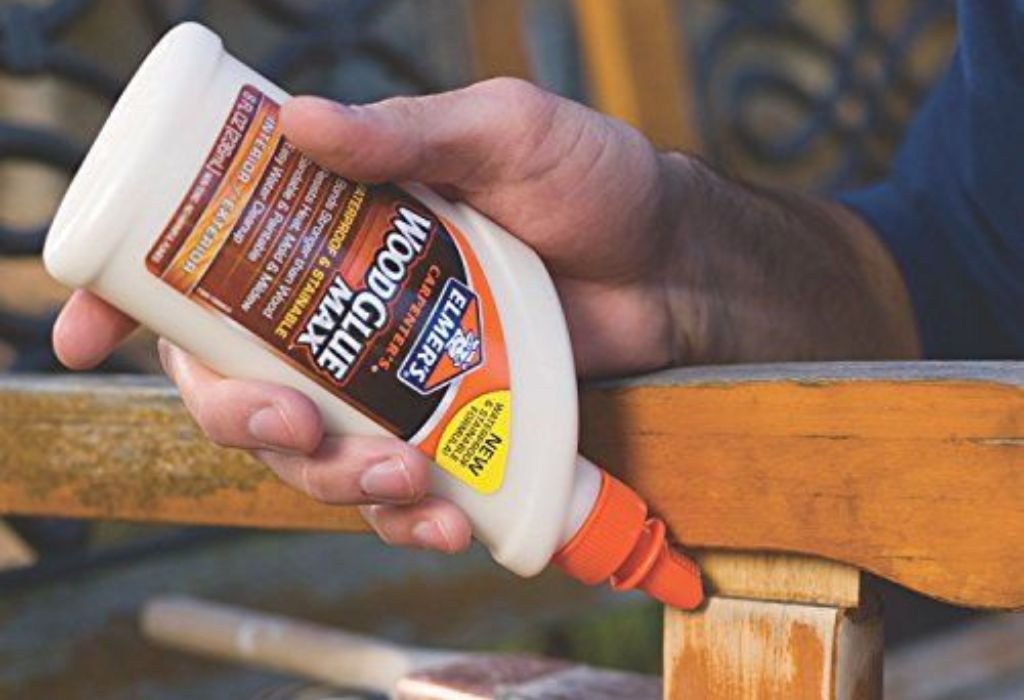
Working with wood glue involves more than drilling — it’s about protecting tools and yourself. Moisture and friction from glue can affect performance if ignored.
Always wear safety glasses and a dust mask. Dried glue produces fine dust that can irritate eyes and lungs. Good ventilation keeps your workspace safe and comfortable.
Clean drill bits immediately after use. Glue residue hardens quickly on metal surfaces, dulling the cutting edge. Wipe them with a cloth dipped in mineral spirits for easy cleanup.
Store tools in a dry place. Glue dust attracts moisture, which can cause rust on bits and drill chucks. Regular maintenance extends tool life.
Use clamps for stability during drilling. They keep glued joints from shifting under pressure. A stable base ensures straight holes and fewer mistakes.
Keep glue bottles sealed tightly to prevent thickening. Proper storage ensures consistent curing for future projects. Organization saves time and frustration.
Safety and maintenance go hand in hand with precision. A clean workspace and sharp tools lead to professional results.
Everything You Need to Know About Drilling Wood Glue
Can I drill through wood glue before it dries?
No. Drilling wet glue ruins the bond and clogs your bit. Always wait until it’s fully cured.
Will drilling weaken a glued joint?
Not if done correctly. Once cured, wood glue is stronger than wood itself. Drill gently and avoid splitting the seam.
What drill bit works best for glue joints?
Brad-point or titanium-coated bits are ideal. They cut cleanly through both wood and hardened glue.
How long should I wait before drilling wood glue?
Wait at least 24 hours for full cure. In humid environments, allow up to 48 hours.
Can I screw into a glued joint after drilling?
Yes, but pre-drill a pilot hole first to prevent cracking. Use light torque when tightening screws.
Does wood glue damage drill bits?
Over time, yes. The hardened resin can dull edges, so clean bits after every project.
Can I drill epoxy glue the same way?
Epoxy is harder than regular wood glue. Use carbide bits and lower speeds for smoother cuts.
What if the glue joint cracks after drilling?
Reinforce the area with fresh wood glue and clamp it until dry. Sand lightly once cured.
Can I drill hide glue joints on antique furniture?
Yes, but go slowly and use a small pilot hole. Hide glue is brittle and can chip under pressure.
Is it better to drill before or after gluing wood?
If precision is crucial, drill before gluing. For joint strength, gluing first and drilling later works fine once cured.
Conclusion
Drilling into wood glue is completely possible — as long as you respect the curing process. Rushing it or using the wrong tools leads to weak joints and rough finishes. Patience, precision, and preparation make all the difference.
Fully cured wood glue behaves like a tough synthetic layer inside the wood. With the right bit, speed, and support, you can drill through it cleanly without compromising strength. It’s all about timing and control.
The best woodworkers know that glue joints aren’t fragile if handled right. Drilling into them properly turns a potential risk into a reliable technique. Once you master it, your projects will look cleaner and last longer.
So yes — you can drill into wood glue confidently. Just wait, plan, and let your tools do the work.

I’m John F. Nicholas, the founder, lead writer, and drill enthusiast behind 101drill.com. With years of hands-on experience in power tools and DIY projects, I created this platform to share practical knowledge, expert tips, and real-world insights to help others master the art of drilling.