
Switching a bit on a cordless screwdriver may seem trivial, yet many users struggle with jammed bits or confusion about the mechanism. Imagine being halfway through assembling furniture only to have the bit slip or jam — a frustrating pause in your workflow. What if changing the bit took just seconds, and never derailed your progress again?
Data shows that improper tool handling leads to up to 30% more project delays among DIY users (Source).
This guide explains step by step how to change bit on a cordless screwdriver — from identifying the chuck type to safety tips and troubleshooting. Expect to finish this article with confidence and skill in bit swapping.
Understanding the Bit-Holding Mechanism
Before attempting to change bits, knowing how a cordless screwdriver grips them is essential. This prevents damage and makes the process smoother.
Different tools use different systems:
- Keyless collet or sleeve chuck — common in modern cordless screwdrivers, uses a sliding collar.
- Magnetic bit holder with quick-release sleeve — bit snaps in and is locked by a spring or sleeve.
- Retaining clip or pin system — less common, usually in older or specialty models.
This section explains how each works and how to spot yours.
Why bits slip or get stuck?
Worn collets, debris inside the chuck, or using the wrong bit size are common causes.
Frequent competitor sites mention terms like collet, sleeve, quick release, retainer, and snap-in.
Step-by-Step: How to Change Bit on a Cordless Screwdriver
Once the mechanism is identified, the actual bit change can be done with confidence. Below is the standard procedure for keyless and quick-release systems, plus tips.
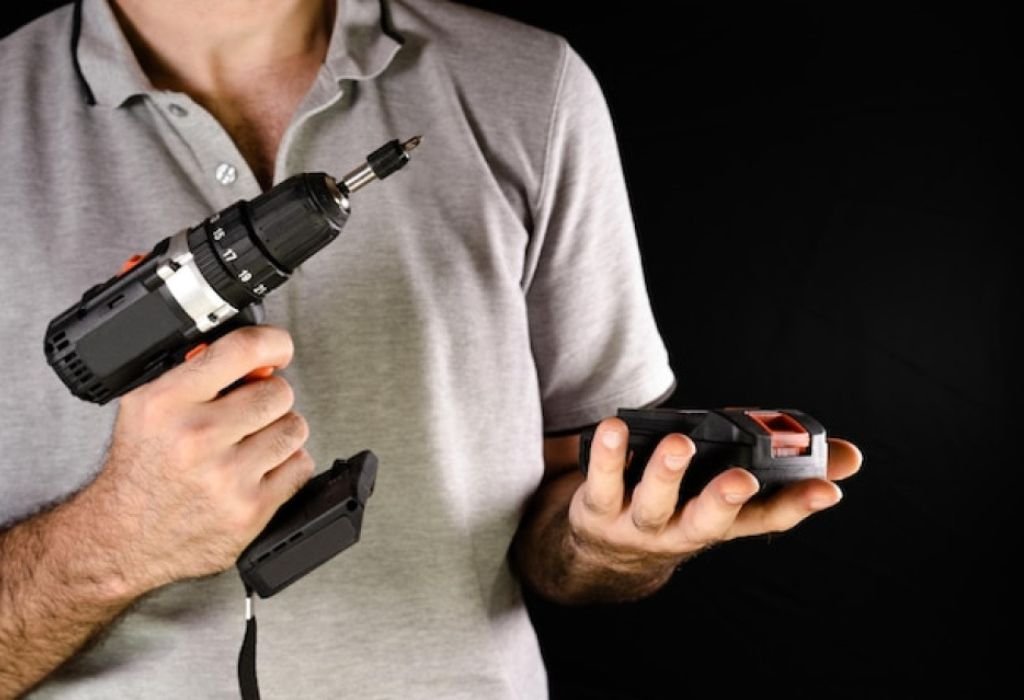
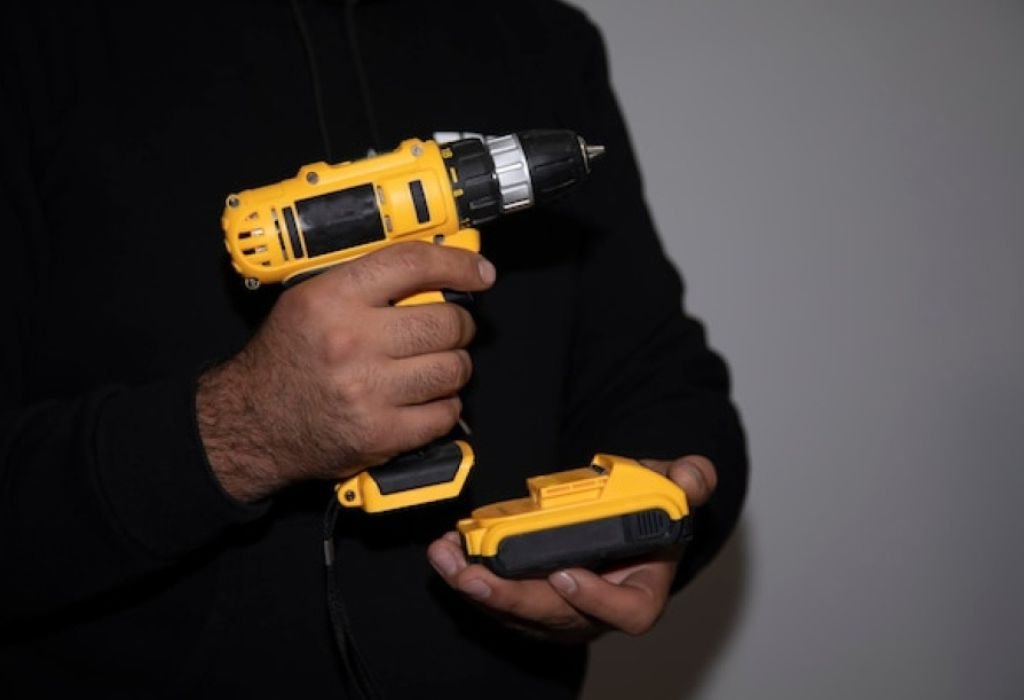
- Power off and remove the battery (or unplug) — always ensure the tool is de-energized.
- Hold the chuck or collar firmly — grip the part surrounding the bit.
- Pull or twist the collar backward or outward — this releases the bit in most designs.
- Remove the old bit — slide it out gently.
- Insert the new bit fully — push it in until it seats.
- Release the collar or sleeve — bit should lock in.
- Test the bit by running briefly in low torque — ensure it’s secure.
How tightly should I pull the collar?
Firm but gentle — too much force can damage the mechanism.
Can I insert a bit halfway?
No, always push it fully in until it seats for correct alignment.
What if the bit does not lock?
Clean the collet interior and check for debris or wear.
Can I change bits while the battery is still plugged in?
No, never — always remove power first to avoid accidental spin.
Do all screwdrivers use the same bit sizes?
No — verify that bit shank diameter and type match your driver (e.g. ¼-inch hex).
Tips and Best Practices for Bit Swapping
Efficiency and longevity of your tools improve when good habits are followed.
- Use high-quality bits — they grip better and reduce slippage.
- Keep the collet or chuck clean — lint, dust, or metal shavings reduce grip.
- Lubricate lightly (if manufacturer allows) — a drop of machine oil occasionally helps.
- Don’t force incompatible bits — mismatched bits can ruin both the bit and the chuck.
- Alternate bit usage — rotating different bits prevents uneven wear.
How often should I clean the chuck?
Clean every few uses or when you notice bit slipping.
Is lubrication necessary?
Only if the manufacturer’s manual permits—use minimal lubricant.
Can I use bits from another brand?
Yes, as long as shank size and drive type match (e.g. ¼-inch hex).
What causes bit wobble after insertion?
Bit not inserted fully or collet jaws are worn.
When should I replace the collet?
If bits consistently slip or you see deformed jaws — consider replacing the chuck.
Troubleshooting Common Problems
Sometimes bits resist removal or won’t lock. Here’s how to diagnose and fix those issues.
Problem: Bit is stuck
Possible causes: dirt, seized collar, bent bit, or rust.
Solutions:
- Gently tug and wiggle the bit while pulling the collar.
- Use needle-nose pliers to grip the bit fin and pull while holding collar retracted (Reddit Source).
- Tap the rear of the tool lightly — the shock can free stuck parts.
- Use a strong magnet to pull bit if metallic.
- As a last resort, partially disassemble the chuck if you have mechanical skill.
Will hitting the tool damage it?
If done gently on non-critical areas, it rarely damages modern tools.
Are there models with push-button bit release?
Yes — some premium screwdrivers include quick-release buttons.
Can heat help free a stuck bit?
Slight warming (not excessive) may ease binding in rare cases.
Should I replace the entire chuck?
Yes, if internal damage or worn jaws persist after cleaning.
Will using pliers void warranty?
Possibly — check your tool’s terms before applying force.
How to Change Bit on Specific Brands and Models
While the general method works for most, some manufacturers add unique tweaks.
- Bosch PSR Select — insert the bit into the tool holder, then push a slide switch to lock or unlock (Manuals.plus).
- DeWALT and Black & Decker — many use quick-release magnetic holders; sliding collar to release (YouTube Guide).
- Metabo PowerMaxx — unscrew the chuck sleeve counterclockwise to open jaws (Manuals.plus).
Do all cordless screwdrivers support quick-release bits?
No — some older or budget models use fixed collets.
Does brand change affect torque settings?
No, torque is independent of the bit change mechanism.
Should I consult the user manual?
Yes — model-specific instructions always help avoid mistakes.
Are there adaptors for specialty bits?
Yes — bit holder extensions or reducers exist for flexibility.
Can a broken bit be removed without damage?
Often yes — using pliers, reverse torque, or partial disassembly.
Safety and Maintenance Considerations
Changing bits safely preserves both the user and the tool.
- Always remove the battery or disconnect power before handling bits.
- Avoid loose clothing, rings, or jewelry near rotating parts.
- Wear protective glasses — bits may fly out in rare cases.
- Store bits securely to prevent damage.
- Inspect bits for wear or rounding — replace if damaged.
Tool mishandling accounts for over 25% of minor workshop injuries annually (SafeWork Australia).
Is it safe to change bits with gloves on?
Thin, snug gloves may be okay, but bulky gloves risk catching.
Should bits be magnetized or unmagnetized?
Magnetism helps hold screws but avoid overly strong magnets near electronics.
How long do high-quality bits last?
Depends on use, but good bits last dozens or hundreds of uses.
What environment is best for storage?
Dry, cool, and free from corrosive chemicals or moisture.
Should collets be periodically replaced?
Yes — especially under heavy use or if performance degrades.
Conclusion
Changing bits on a cordless screwdriver becomes effortless once the mechanism is understood and the right technique is applied. This guide covered how to change bit on a cordless screwdriver from identifying chuck types to troubleshooting stuck bits and using brand-specific methods. Follow the safety guidelines, keep parts clean, and replace worn components when necessary. Apply these techniques and you’ll spend less time stalled and more time completing your projects efficiently.
Want to master other power tool skills? Explore more DIY guides or watch instructional videos for deeper learning.

I’m John F. Nicholas, the founder, lead writer, and drill enthusiast behind 101drill.com. With years of hands-on experience in power tools and DIY projects, I created this platform to share practical knowledge, expert tips, and real-world insights to help others master the art of drilling.