
Many homeowners face confusion the first time they try to mount curtain brackets or blinds above a window and suddenly hit a hard, unmovable surface.
The drill slows down, heat builds quickly, and sparks may even appear, making them wonder if something is seriously wrong. That surprising moment often leads people to stop and question whether drilling into a metal lintel is dangerous.
This confusion grows when someone realizes that the beam above the window is not simply wood or plaster but a thick metal lintel built to carry the structural load of the wall.
People worry that making a hole might weaken the support or cause cracks in the surrounding masonry. These fears lead many to search for answers before continuing their project.
For anyone lacking experience with construction materials, understanding how lintels work is essential.
They perform a critical job in keeping the structure stable and handling the weight above your window. Learning the safe and proper method of drilling can make the entire process stress free.
Drilling into metal can be intimidating, but with the right approach it becomes manageable. You only need proper tools, steady technique, and attention to safety. Once you understand the process, installing curtains, blinds, or brackets becomes much easier.
This guide explains exactly what a lintel is, whether you can drill into it, and how to do it without damaging your home.
You will find clear instructions, expert tips, and solutions if drilling is not the right option for your wall. By the time you finish reading, you will feel confident and prepared to complete your installation safely.
What Is a Metal Lintel Over a Window
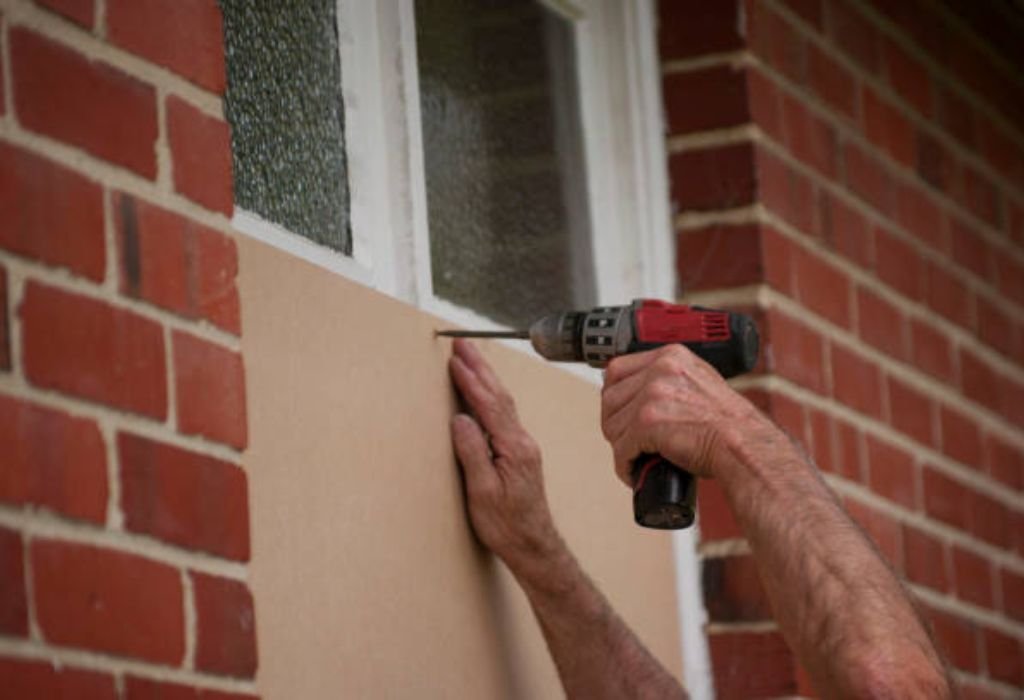
A metal lintel is a solid steel beam placed horizontally above a window or door to carry the weight of the wall above it. It ensures that the masonry or framing does not collapse onto the opening. Builders rely on lintels to maintain stability in both old and modern construction.
These beams are typically made from structural steel that has high compressive and tensile strength. The material is strong enough to resist bending, warping, or cracking even under heavy loads. This stability makes lintels ideal for supporting large or heavy wall sections.
Metal lintels are often hidden behind plaster, drywall, or cladding, making them difficult to identify visually.
Homeowners usually only discover them when drilling reveals unexpectedly strong resistance. The sudden change in material often creates confusion for anyone not familiar with construction.
Lintels distribute weight evenly across the window opening so that no single point carries too much load. This prevents sagging, cracking, or collapse that could damage the structure. Because lintels handle such an essential role, some people assume drilling into them is unsafe.
Although lintels are strong, drilling a small pilot hole normally does not affect their structural performance. The steel can tolerate small penetrations without losing integrity. The key is drilling correctly so the hole is clean and shallow.
Builders also use protective coatings on lintels to prevent rust and moisture damage. These coatings can increase resistance during drilling, making the surface feel even harder. Understanding this helps you anticipate what to expect when starting your hole.
Can You Drill Into a Metal Lintel Over a Window
You can drill into a metal lintel over a window as long as you use the correct tools and follow safe techniques. The steel is strong enough to handle small holes without losing structural ability. Many curtain rods and blinds are safely supported this way.
Builders often mount various fixtures through lintels, including brackets, shelves, and window frames. These installations require precisely the same type of drilling you might be doing. This means the process is common and accepted in construction work.
However, drilling becomes unsafe if you use the wrong drill bits or excessive pressure. Steel heats quickly, and a damaged drill bit can break, causing sharp fragments to fly. This can injure you or damage the wall.
There are situations where drilling is not recommended, such as when electrical wiring or plumbing may be hidden inside or around the lintel. Although rare, these situations require a detector tool. Confirming there are no hazards before drilling prevents accidents.
Some building codes require lintels to remain unaltered in commercial structures. While residential homes are generally more flexible, unique cases may exist. When in doubt, consulting a local contractor gives peace of mind.
Homeowners must also consider what they want to mount. Heavy items may need stronger fixings that lintels might not accommodate easily. Using appropriate anchors ensures stability and reduces risk.
Why Metal Lintels Are Hard to Drill Into
Metal lintels are difficult to drill because steel is much harder than materials like wood, drywall, or masonry. The density of the metal causes significant resistance to standard drill bits. Using the wrong bit results in overheating and damaged tools.
The metal also transfers heat quickly, causing drill bits to wear down faster. As the bit overheats, it becomes less effective at cutting. This can lead to the tip dulling or snapping.
Lintels often have protective coatings that add another layer of hardness. These coatings resist corrosion but also challenge weak drill bits. Piercing them requires strong materials and consistent drilling speed.
Hidden reinforcement inside lintels may increase drilling difficulty. Some lintels are solid while others have flanges or shapes that vary in thickness. These variations change the behavior of the drill as it moves through the metal.
If someone tries to drill too fast, friction builds and creates sparks. This can startle beginners and cause them to stop drilling prematurely. Maintaining a slow speed prevents such issues.
Builders design lintels for durability, which naturally makes them tough against penetration. Their structural purpose demands strength, meaning drilling requires patience and the right technique. Understanding this helps you prepare for the resistance ahead.
Tools Needed to Drill Into a Metal Lintel
The most important tool is a powerful electric drill, preferably corded, because it provides consistent torque. Battery drills can work but may slow down under heavy resistance. Choosing a drill with variable speed control helps you manage heat.
You will also need high quality cobalt or carbide tipped drill bits designed for drilling metal. These bits withstand heat and pressure far better than standard bits. Their cutting edges remain sharp longer, making the drilling smoother.
A center punch helps mark the drilling spot so the bit does not slip. Creating a small indentation gives the bit a guide point. This simple step ensures accuracy and prevents wandering.
Lubricating oil is essential when drilling into steel. It reduces friction and keeps the bit cool as it penetrates the lintel. Cooler bits cut more efficiently and last much longer.
A set of metal anchors or self tapping screws is required for attaching your bracket. These anchors grip steel securely without splitting or cracking. Choosing the correct anchor ensures a solid hold.
You should also wear safety goggles and gloves for personal protection. Sparks and metal shavings can fly during drilling. Proper gear keeps you safe from injury.
How to Drill Into a Metal Lintel Step by Step
Start by marking your drilling point with a pencil or marker. Triple check your measurement so the bracket aligns correctly. A misplaced hole can weaken the mounting strength.
Next, use a center punch to make a tiny dent in the metal surface. This prevents the drill bit from slipping when you begin drilling. A steady indentation ensures accuracy.
Select a small cobalt bit to create a pilot hole. The pilot hole makes the final hole easier because it guides the larger bit. Use slow speed and light pressure to avoid overheating.
Apply a few drops of cutting oil to the drilling area. The oil reduces friction and keeps the bit cool as it rotates. Reapply oil frequently if the bit begins to heat.
Hold the drill level and begin drilling at a slow speed. Maintain steady pressure but do not push too hard. Let the bit do the cutting rather than forcing it.
Once the pilot hole is complete, switch to a larger bit to reach your desired size. Again, use slow speed and frequent lubrication. A clean, round hole ensures the anchor fits correctly.
After drilling, blow away metal shavings and clean the area. Insert your anchor or screw and tighten gently. A secure fit ensures your bracket will hold without wobbling.
Best Drill Bits for Lintel Drilling
The most effective drill bits for drilling into steel lintels are cobalt drill bits. These bits are engineered to handle extremely hard metals. Their heat resistance allows them to stay sharp throughout the project.
Titanium coated bits can also work, although they are not as durable as cobalt. The coating protects the bit from excessive friction. However, repeated drilling through steel may wear the coating quickly.
Carbide tipped drill bits are another strong option. These are extremely hard and can cut through dense metal easily. They are often used in industrial settings for challenging materials.
Step drill bits can be useful when widening holes gradually. They create smooth transitions between sizes. However, not all step bits are rated for thick steel.
Your bit size will depend on the type of anchor you use. Always check the anchor instructions before selecting a bit diameter. A mismatched size reduces the strength of the installation.
Using low drill speed protects the bit from wear. High speed may seem fast, but it creates excessive heat that dulls the bit. Controlled drilling ensures a long lasting tool.
Safety Precautions Before Drilling Into a Metal Lintel
Always check the area above the window for hidden electrical wiring. Using a detector tool helps identify any cables that may run through the wall. Avoiding wires prevents dangerous shocks.
Look for water pipes as well, especially in older buildings. Some plumbing routes are unpredictable. Being cautious prevents leaks and water damage.
Wear safety goggles to protect your eyes from flying metal chips. Steel shavings are sharp and can cause serious harm. Gloves also protect your hands during drilling.
Keep a fire extinguisher nearby in case sparks contact dust or flammable material. Although rare, overheating can cause minor ignition in extreme cases. Preparedness ensures safety.
Ensure the drill bit remains cool during the process. Overheating makes the bit brittle and prone to breaking. Cooling oil helps control temperature.
Work in a stable position to maintain control of the drill. Sudden slips can damage the wall or injure you. Secure footing and steady posture help maintain accuracy.
Alternative Methods If You Should Not Drill Into the Lintel
You can use adhesive based mounting strips designed for heavy loads. These adhesives provide strong hold without penetrating steel. They work especially well for lightweight curtain rods.
Another option is mounting your brackets into the wall beside the lintel. This area may consist of softer material that is easier to drill. It helps avoid the steel beam entirely.
Some window frames have enough space to support small brackets. Mounting directly onto the frame eliminates lintel issues. Always ensure the frame can hold the weight safely.
No drill curtain rod systems offer convenient installation. They use tension or side pressure to secure the rod. These systems avoid drilling altogether.
Magnetic mounting brackets may work if the lintel is close to the surface. Strong magnets can support surprisingly heavy loads. They offer a unique and simple alternative.
You can also use ceiling mounted curtain tracks. These are ideal when window placement makes drilling difficult. The ceiling often provides easier access for anchoring.
Common Mistakes People Make When Drilling Into a Lintel
The most common mistake is using masonry bits instead of metal bits. Masonry bits cannot cut steel and will fail quickly. This misunderstanding causes frustration and damaged tools.
Another common error is drilling at high speed. Steel requires slow, controlled rotation to cut cleanly. Fast drilling generates heat that dulls the bit.
Some people apply too much pressure to force the bit through. Excessive force increases risk of breakage. Gentle pressure produces better results.
Skipping lubrication is another issue. Without oil, friction increases dramatically. This leads to overheating and reduced drilling efficiency.
People also start with a large bit instead of making a pilot hole. This causes the large bit to bounce or wander. A smaller starting hole improves precision.
Drilling too deep can cause unnecessary penetration into hidden areas. This increases risk of hitting wires or structural components. Maintaining shallow drilling protects safety.
Signs You Should Stop Drilling Immediately
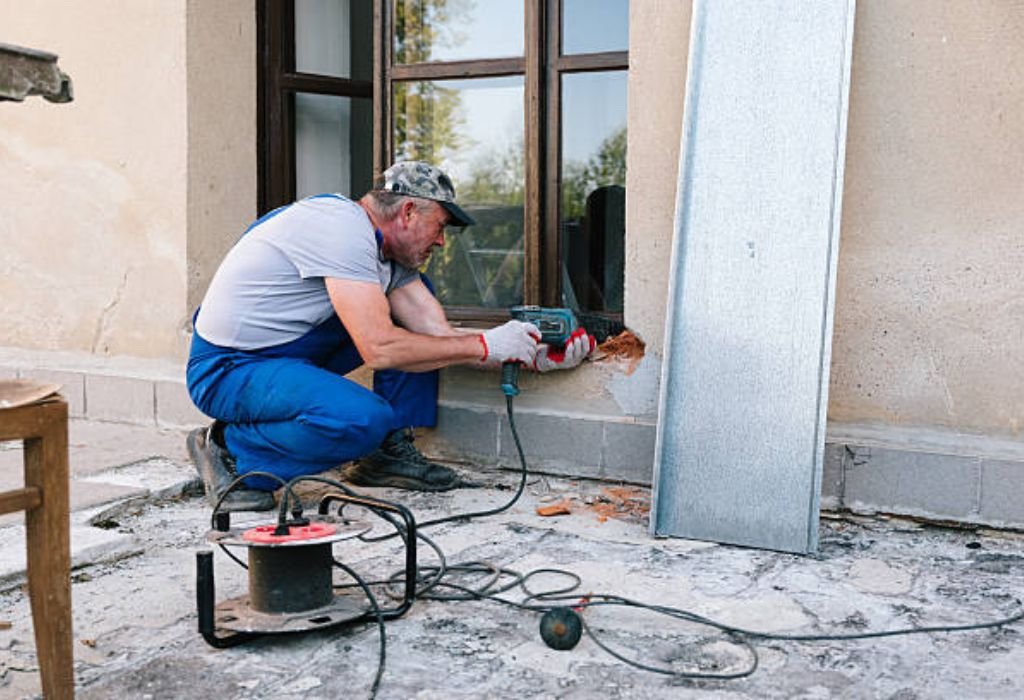
If you smell burning metal or excessive heat, stop drilling. This indicates the bit has overheated. Continuing may cause it to snap.
Sparks larger than normal are another warning. Occasional sparks are fine, but large bursts can signal improper speed. Adjusting technique prevents damage.
If the drill bit seizes or stops spinning, pause the process. The bit may be caught in a tough section. Reposition and reduce speed before continuing.
Unusual vibrations or shuddering should also halt the work. This may indicate uneven pressure or damaged equipment. Taking a break ensures accuracy.
If you notice unexpected resistance that feels abnormal, stop. You may have encountered reinforcement or an unusual layer. Reassessing the material prevents over drilling.
If you hear cracking or shifting in the wall, stop immediately. This may indicate structural stress. Seek professional guidance before continuing.
Quick Answers About Drilling Into Window Lintels
Can drilling into a lintel weaken the structure?
Small holes do not weaken a metal lintel because steel handles minor penetrations easily. The structural strength remains intact. Only large or repeated holes pose risks.
What type of drill should I use for lintel drilling?
A corded electric drill works best because it provides consistent torque. Battery drills may slow down under heavy resistance. Variable speed control is also helpful.
Do I need special screws for mounting into a lintel?
Metal anchors or self tapping screws are required. These screws grip steel securely. Standard wood screws will not work.
How do I prevent my drill bit from overheating?
Use cutting oil to reduce friction. Drill at slow speed for better cooling. Reapply oil as needed.
Can I use a hammer drill for drilling into steel?
Hammer mode should never be used for metal. It damages the bit and the surface. Use regular drilling mode instead.
How deep should I drill into a metal lintel?
Only drill deep enough to fit your anchor or screw. Shallow holes are usually sufficient. Avoid penetrating deeper layers.
What if my drill bit gets stuck in the lintel?
Stop immediately and reverse the drill slowly. Avoid forcing the bit. Reapply oil before continuing.
Can I hang heavy curtains from a lintel?
Yes, lintels support strong anchors. Use heavy duty metal anchors for best results. Ensure your brackets are rated for the weight.
Why does my drill bit slip on the lintel surface?
Metal surfaces are smooth and hard. Use a center punch to make a small dent. This guides the bit correctly.
How do I know if I hit the lintel while drilling?
You will feel sudden resistance and hear a change in sound. The drill speed may slow. Sparks may also appear.
Conclusion
Drilling into a metal lintel above a window may seem intimidating at first, but it becomes much simpler once you understand how the steel works and how to drill it correctly.
Steel lintels are designed to support heavy loads, which means small pilot holes for mounting brackets will not harm them in any way. With the right tools and proper technique, the drilling process becomes smooth and predictable.
Using high quality cobalt bits, applying lubrication, and maintaining slow drilling speed are the keys to success. These steps protect your drill bit, reduce heat, and help create clean holes suitable for strong anchors.
Most homeowners find that once they start with the proper setup, the drilling becomes far easier than they expected.
Safety always matters, so checking for wires and wearing protective gear should be part of every preparation. Each of these habits ensures that the drilling happens without risk to you or your home. Avoid rushing the process, and you will achieve excellent results.
If you prefer no drill options, there are several effective alternatives for mounting curtains or blinds.
These solutions work well in situations where drilling is not recommended or where lighter loads are involved. Choosing the right method depends on your specific window design and installation needs.
With the proper knowledge, drilling into a lintel becomes a simple and manageable task. You gain the confidence to complete your installation without damaging your tools or your wall. Following these guidelines allows your project to succeed safely and efficiently.

I’m John F. Nicholas, the founder, lead writer, and drill enthusiast behind 101drill.com. With years of hands-on experience in power tools and DIY projects, I created this platform to share practical knowledge, expert tips, and real-world insights to help others master the art of drilling.