
Drilling a 5 inch hole in wood can seem intimidating, especially if you’re used to working with smaller bits. The size of the hole means you’ll need more power, precision, and the right technique to avoid splintering or burning the wood.
Whether you’re making space for a pipe, duct, or decorative feature, accuracy and control are essential.
Most beginners try to use a standard cordless drill with small bits and end up with uneven holes or damaged material.
The truth is, drilling a large-diameter hole requires special tools like a hole saw, auger bit, or hole cutter. With the right preparation and careful handling, the task becomes straightforward and clean.
This guide walks you through everything you need to know — from selecting the right tools to mastering each drilling step. You’ll also learn key safety practices, ways to prevent splintering, and how to achieve a smooth finish.
By following this complete tutorial, you’ll be able to create perfect 5 inch holes like a pro woodworker.
Tools You Need to Drill a 5 Inch Hole in Wood
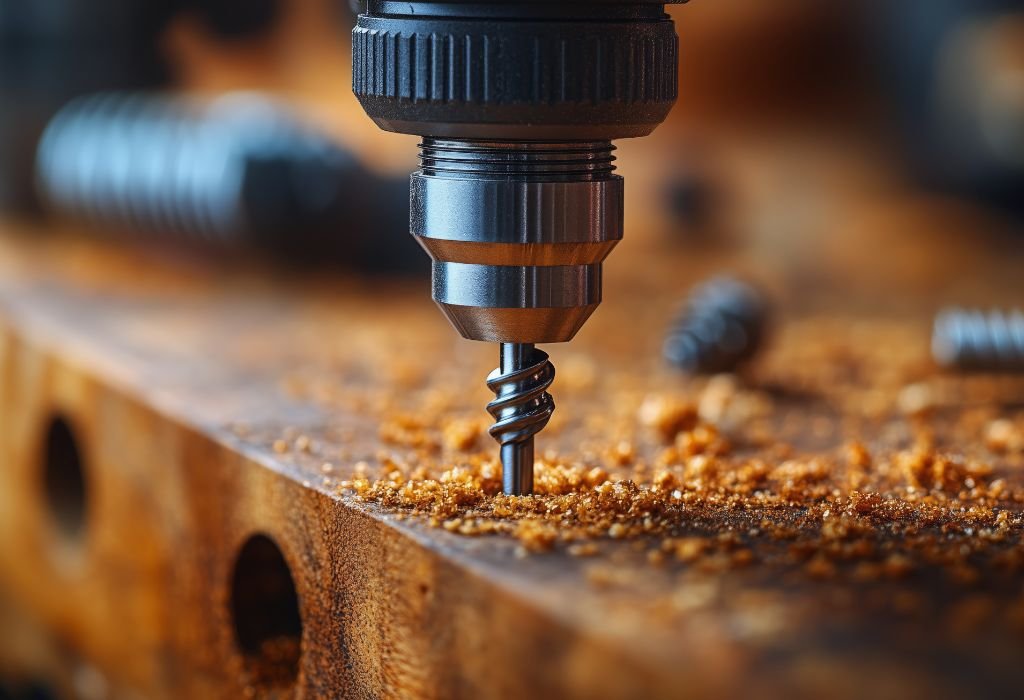
The first step to drilling a large 5 inch hole is gathering the right tools. Regular bits or underpowered drills won’t be effective for such a wide cut. A strong setup ensures cleaner results and prevents tool damage.
Use a corded power drill or drill press capable of high torque. Cordless drills can struggle with the load, especially through hardwood. A corded drill delivers steady power and consistent performance.
A 5 inch hole saw attachment is the most common choice for this task. Hole saws provide smooth, circular cuts and are available with carbide or bi-metal teeth. Make sure to use an arbor with a pilot bit to guide the hole saw accurately.
If you’re drilling deeper or through thick lumber, a long auger bit or self-feed bit is useful. These bits remove wood shavings efficiently and maintain a steady drilling rhythm. Ensure your bit is rated for wood, not metal.
You’ll also need safety gear including goggles, gloves, and ear protection. Large holes generate more debris and noise than smaller ones. Keeping yourself protected ensures safe, comfortable operation.
Additional supplies like clamps, tape measure, pencil, and a scrap backing board will help stabilize your material. Stability is key for clean cuts and preventing sudden jerks during drilling. Having everything ready saves time and improves accuracy.
Preparing the Wood Before Drilling
Preparation makes the difference between a clean professional cut and a rough, uneven hole. Large hole drilling puts stress on both tool and material, so setting up properly is crucial.
Start by measuring and marking the exact center point of your hole. Use a ruler or tape measure to ensure accurate placement. A clear mark helps the pilot bit stay centered throughout the process.
Secure your workpiece using clamps or a vise. Large bits can catch or twist the material if it’s loose. Clamping the wood prevents movement and improves drilling precision.
Place a scrap board beneath the workpiece to prevent tear-out on the underside. This backing board supports the fibers of the wood, creating a cleaner exit hole. It also prevents the bit from damaging your work surface.
Check that your hole saw or auger bit is sharp and clean. Dull tools can burn wood and strain the drill motor. Keeping your bits well-maintained ensures smoother and faster drilling.
Select the correct speed setting on your drill. Large bits require slower speeds to reduce friction and maintain control. Start at a low RPM and increase gradually if needed.
Before starting, make sure the area is well-lit and free of clutter. Having clear visibility ensures accuracy and safety. Proper preparation saves both time and material.
How to Drill a 5 Inch Hole in Wood Step-by-Step
Attach the 5 inch hole saw securely to the drill arbor. Double-check that the pilot bit is properly aligned and tightened. A secure setup prevents wobbling and ensures smooth rotation.
Position the pilot bit at the center mark and start drilling slowly. Allow the pilot bit to cut a guide path before the saw teeth engage the surface. This keeps the hole centered and minimizes vibration.
Apply steady and moderate pressure as you drill. Let the teeth do the work instead of forcing the tool. Forcing too hard can overheat the saw and burn the wood surface.
If you notice smoke or charring, stop and let the bit cool. Clear away sawdust buildup from the teeth. Overheating dulls blades quickly and can scorch the wood.
For thicker pieces, drill halfway through, then flip the wood and finish from the opposite side. This reduces tear-out and ensures a cleaner edge. It also helps the bit stay straight through the entire cut.
Once the hole is complete, remove the bit carefully and sand the inner edges. Use medium-grit sandpaper to smooth any rough spots or splinters. A clean edge gives a professional look to the final result.
Always unplug the drill before changing bits or cleaning debris. Power safety is just as important as technique. A cautious approach ensures a flawless and accident-free project.
Safety Tips When Drilling Large Holes
Large-diameter holes require more torque and control than smaller ones. Following safety guidelines ensures both efficiency and protection during the process.
Always wear protective gear such as safety glasses, gloves, and hearing protection. Sawdust and wood chips can fly during drilling, especially at slower speeds. Staying protected helps prevent injury.
Maintain a firm grip on the drill with both hands. Large bits create torque that can twist the drill suddenly. Keeping your stance balanced helps maintain control and stability.
Avoid excessive pressure or high speed. Let the bit work gradually through the wood. Forcing the tool increases friction, heat, and risk of splintering.
Clamp your workpiece securely before starting. Unstable wood can shift and cause misaligned holes. Proper clamping also prevents the bit from catching or jamming.
Take short breaks if the drill or bit starts to overheat. Allowing time to cool prevents damage to both tool and material. Controlled pacing produces the cleanest results.
Never reach into the drilling area while the bit is spinning. Wait until it has come to a complete stop before making adjustments. Simple safety habits like this prevent serious accidents.
Common Mistakes to Avoid When Drilling a 5 Inch Hole
A frequent mistake is using the wrong drill or bit size. A light-duty drill cannot handle the torque needed for a 5 inch hole. Always use heavy-duty or corded drills designed for large-diameter drilling.
Another mistake is drilling too quickly. High speeds cause heat buildup, burning, and dull blades. Slow, consistent drilling ensures precision and longer tool life.
Failing to clamp the wood securely can lead to rough edges or uneven holes. Movement during drilling can also cause the hole saw to bind. Stability is crucial for clean, professional results.
Some people skip clearing sawdust during drilling. Sawdust blocks airflow and increases friction, which can damage the bit. Pause occasionally to remove buildup for a smoother cut.
Using a dull bit is another major issue. Dull teeth tear fibers instead of cutting them cleanly. Always sharpen or replace worn bits before starting.
Neglecting cool-down periods for the drill can cause overheating and burnout. Continuous drilling without pauses wears down components quickly. Patience leads to better outcomes and extends tool life.
Finally, skipping proper measurement or center marking can misalign the hole. Large holes are difficult to correct once off-center. Always measure twice and drill once.
How to Prevent Splintering and Tear-Out
Splintering is common when drilling large holes, but it’s easy to prevent with the right techniques. Tear-out happens when wood fibers break away at the exit point. Simple adjustments can give you a cleaner finish.
Always use a backing board beneath the workpiece. The scrap wood supports the fibers as the bit exits, preventing tear-out. It also helps achieve smoother edges.
Drill slowly near the exit point to minimize pressure. Rapid movement or high speed can cause fibers to snap. Gentle progress ensures a clean exit hole.
Use sharp, high-quality bits with properly spaced teeth. Dull or cheap bits are more likely to rip fibers. Investing in durable cutting tools produces better results.
For very clean edges, drill halfway from one side, then finish from the other. This balances the pressure and reduces breakout. The two cuts meet neatly in the middle.
Taping the surface around the hole with painter’s tape can also help. The tape holds fibers in place as the bit cuts through. This technique works especially well on veneer or plywood.
Keep the drill steady and avoid wobbly movements. Jerky motions increase vibration and splinter risk. Maintaining firm control ensures a neat and professional finish.
Everything You Should Know About Drilling Big Holes in Wood
What type of drill should I use for a 5 inch hole in wood?
A heavy-duty corded drill or a drill press is best for drilling a 5 inch hole. Cordless drills usually lack the power needed for such a large bit. A corded model ensures consistent torque and smoother operation.
Can I use a hole saw for a 5 inch hole?
Yes, a hole saw is the ideal tool for creating a clean, round 5 inch hole. Make sure to use a high-quality bi-metal or carbide-tipped hole saw with a strong arbor and pilot bit. It provides precision and reduces splintering.
How can I prevent tear-out when drilling large holes?
Place a scrap backing board under your workpiece to support the fibers as the bit exits. Drill halfway through from one side, then complete the hole from the other side. This prevents splintering and gives a cleaner finish.
Do I need a pilot bit when drilling a large hole?
Yes, a pilot bit helps center and stabilize the hole saw during drilling. It keeps the larger bit from wandering or wobbling. Always start with the pilot bit before engaging the full cutting edge.
What speed should I use when drilling a 5 inch hole?
Use a slow speed to reduce friction and prevent burning. High RPM generates too much heat and can damage the bit. Controlled, steady drilling gives smoother, more accurate results.
Can I drill a 5 inch hole with a spade bit?
No, spade bits are not suitable for holes larger than about 1½ inches. For a 5 inch diameter, a hole saw or self-feed bit is safer and more effective. These options remove material evenly without strain on the drill.
Why does my drill get hot while drilling?
Overheating occurs when using too much pressure or drilling at high speed. Stop occasionally to clear sawdust and let the bit cool. Keeping the tool cool prevents wear and extends its life.
How do I make sure my hole is perfectly centered?
Measure and mark the center using a ruler or tape measure before drilling. Use a punch or small pilot hole to guide the bit precisely. Clamping the wood also helps maintain alignment.
Can I use a jigsaw instead of a drill for a 5 inch hole?
A jigsaw can cut large circles, but it’s less accurate than a hole saw. It works if you need a rough or decorative cut rather than a precise round hole. For perfect circles, a hole saw or drill press is recommended.
How do I smooth the edges after drilling?
Use sandpaper, a sanding drum, or a round file to clean the inner rim of the hole. This removes splinters and gives a polished finish. A smooth edge ensures professional results for any woodworking project.
Conclusion
Drilling a 5 inch hole in wood may sound challenging, but with the right approach, it’s simple and precise. Using a powerful drill, sharp bit, and proper preparation ensures smooth, clean results. Rushing the process or using weak tools often leads to rough edges or damaged wood.
Always start slow, keep your tools sharp, and clear sawdust regularly. For deep cuts, drill from both sides to minimize tear-out. These simple habits improve both safety and quality.
By following these detailed steps, you’ll confidently handle large-diameter wood drilling projects. From furniture making to structural installations, precision and patience are your greatest tools. With practice, your holes will be clean, accurate, and ready for any professional application.

I’m John F. Nicholas, the founder, lead writer, and drill enthusiast behind 101drill.com. With years of hands-on experience in power tools and DIY projects, I created this platform to share practical knowledge, expert tips, and real-world insights to help others master the art of drilling.